Your Browsing History


Make informed decisions with expert advice. Learn More


Any questions? Our AI beta will help you find out quickly.

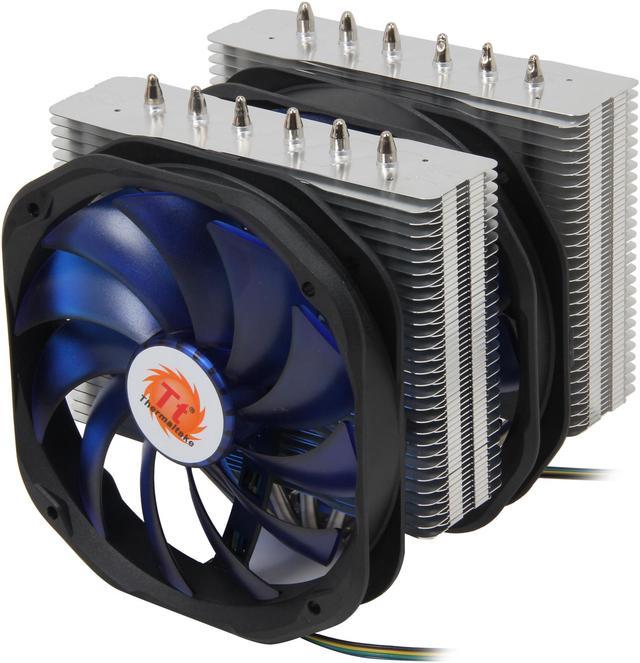
Frio Extreme
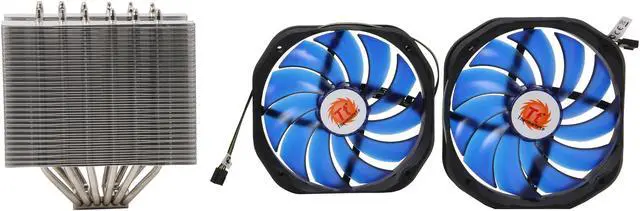
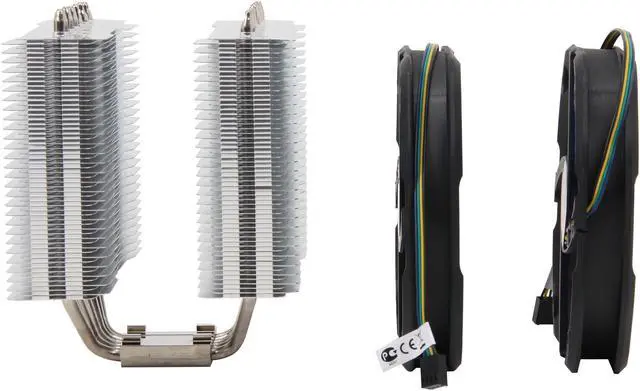
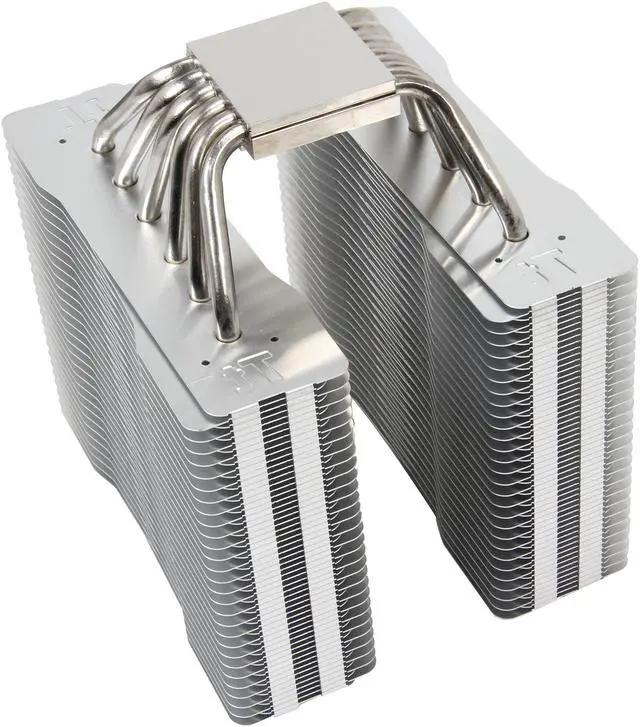
Keep your system in top condition and maximize the life of your CPU with the Thermaltake Frio Extreme CLP0587 140mm CPU Cooler. It features dual-tower heat-sink with 0.4mm aluminum fins, six pieces of ⌀ 6mm U-shaped copper heatpipes, and a mirror-finished copper base, delivering rapid, highly effective heat dissipation. It comes equipped with two high-performance 140mm fans to produce voluminous airflow to maximize cooling performance. And the fans offer the combination of VR mode and PWM Control Function, striking a perfect balance between airflow performance and noise level. Plus, it provides great socket compatibility with both Intel and AMD platforms.

Detailed Feature

Constructed for Overclocking with Support for up to 250W TDP

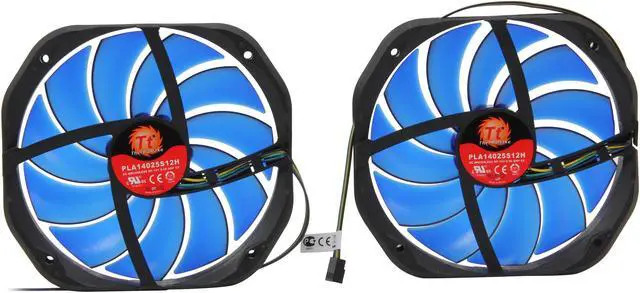
The Combination of VR and PWM Control Function Fan

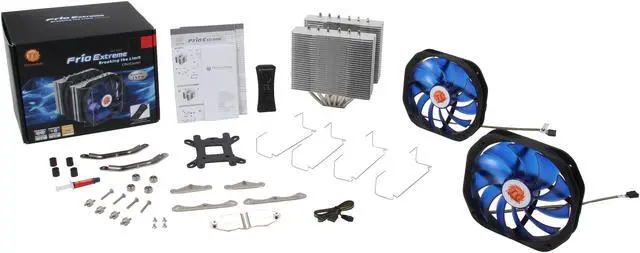
Universal Socket Compatibility & Accessory Package
- Intel: LGA 2011, 1366, 1155, 1156, 775
- AMD: FM1, AM3+, AM3, AM2+, AM2
Dimension

Installation
Intel Motherboard Installation

Step 1
Insert the four long screws through the back-plate into the four holes on the motherboard and secure them with the four plastic spacers evenly.

Step 2
Put the two Intel mounting bars along with the four long screws and secure them with the four nuts.

Step 3
For LGA2011: Screwing the LGA 2011 screw onto motherboard tightly and put the two Intel mounting bars on the LGA 2011 screws. Fasten the four nuts onto the mounting bars tightly.

Step 4
Install the fan clips onto the heat-sink separately.

Step 5
Applying a thin layer of thermal grease onto the CPU.

Step 6
Screw the heat-sink onto the motherboard with the mounting plate tightly.

Step 7
Fix the two fans onto the heat-sink with fan clips separately.

Step 8
Connect two fan cords to the controller close to the VR Knob. Link the power cord to the CPU FAN slot and the right slot of the controller.

Step 9
Connect the 4-pin wire of controller to the motherboard's CPU fan connector. Installation is done.
AMD Motherboard Installation

Step 1
Insert the four long screws through the back-plate into the four holes on the motherboard and secure them with the four plastic spacers evenly.

Step 2
Put the two AMD mounting bars along with the four long screws and secure them with the four nuts.

Step 3
Install the fan clips onto the heat-sink separately.

Step 4
Apply a thin layer of thermal grease onto the CPU.

Step 5
Screw the heat-sink onto the motherboard with the mounting plate tightly.

Step 6
Fix the two fans onto the heat-sink with fan clips separately.

Step 7
Connect two fan cords to the controller close to the VR Knob. Link the power cord to the CPU FAN slot and the right slot of the controller.
Step 8
Connect the 4-pin wire of controller to the motherboard's CPU fan connector. Installation is done.