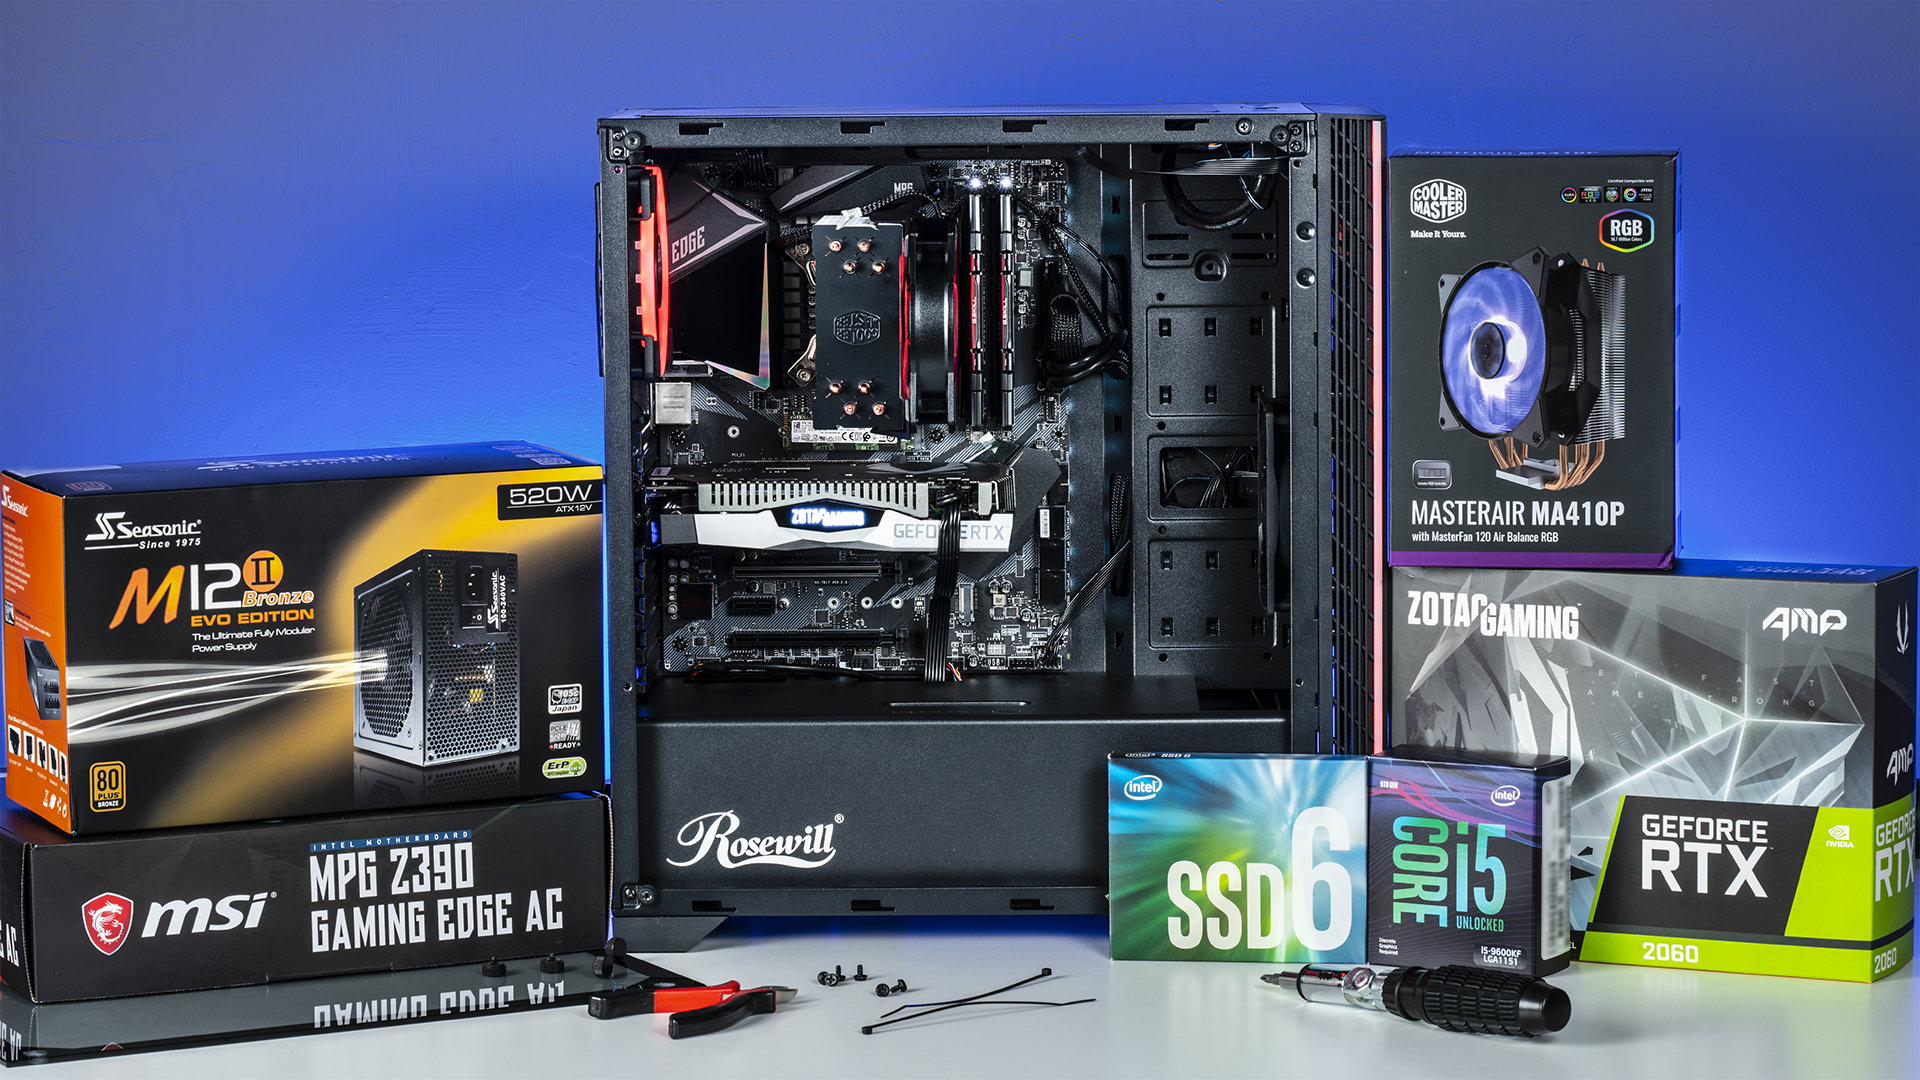
This is the GeForce RTX Intel Gaming PC. A monster of a gaming rig. Even though this is a top level build, we can help coach you through the building process. Whether your a beginner builder, an experienced builder, or even just someone who has wanted to build their own PC, but have found it too intimidating, We have the perfect solution in the Intel® Core™ i5k Unlocked Gaming DIY Kit. This guide will help you build a high-performance gaming desktop, and walk you through a simple step-by-step process to assemble it. As part of the kit we also include Intel Performance Maximizer, an automated overclocking tool, Intel Easy Streaming Wizard, a tool that gets you online streaming in minutes, and a set of free games and software. Let’s get right to assembly!
Table of contents
Intel GeForce RTX Gaming PC Build

Case

Motherboard
CPU

Graphics Card

Power Supply

Storage
The Building Process
We are first going to check to make sure that we have the required components. Starting with the processor we have an overclockable Intel Core i5-9600KF, a high-performance CPU cooler, a 16GB DRAM kit, a 1TB Intel SSD, a GeForce RTX 2060, a 520-watt power supply, an Intel-based Z390 motherboard with Wi-Fi, and a Rosewill RGB + LED chassis. For tools, we need a #2 phillips screwdriver, a #1 phillips screwdriver, and wire cutters (or scissors would work as well).
Tools Needed
Tools Needed: Screwdriver, Zip ties, Wire cutters


STEP ONE
Prepare the Case and Install the Power Supply
When preparing the case for the power supply, you want to make sure the wires of the PSU are facing toward the inside of the case. This makes organizing your cables much easier later on. Before inserting the PSU, you’ll need to unscrew both of the case’s side panels. The front panel is tempered glass and has four front-face screws, and the rear panel is a sheet of metal held to the case by two screws—one near the PSU and one up by the I/O panel. When the panels are off, plug your four cables into the PSU, flip the PSU upside down so the fan is pointed downward for proper airflow, and insert it into the case. The four cables you’ll need are the 24-pin motherboard power cable, a PCIe power cable for the graphics card, a standard molex cable for the RGB controller, and a CPU power cable.

STEP TWO
Prepare the Motherboard and Install the CPU
To make things easier, you’ll want to install the CPU into the motherboard while outside of the case. The first step to preparing the motherboard is unboxing it, placing it on a flat surface, and lifting up the CPU socket cover using the small lever shown in the video. Then, install the CPU by lining up the chip’s divots with the socket and the gold triangle on the top of the CPU with the appropriate corner. Set the CPU into the socket; you shouldn’t need to press it down or apply any force to it at all. Wiggle the CPU with your finger to make sure it’s snug, and then lock the CPU socket cover back down with the same lever. The lever will give you resistance, but that’s normal.

STEP THREE
Install the CPU Cooler onto the Processor and Motherboard
Installing the CPU cooler, you’ll need to attach the back plate by sliding its pegs from the back through to the front of the motherboard, and once your cooler is situated to match your Intel processor, you can dab a pea-sized amount of thermal compound onto the CPU and screw down the cooler. To make sure your configuration is correct, closely follow the manual included with the cooler.

STEP FOUR
Install the Two Memory Sticks onto the Motherboard
Installing memory, or RAM, is pretty straightforward. Make sure the latches on the sides of the second and fourth RAM slots (from the CPU) are in the open position, then simply secure the RAM sticks in place using those slots. There is a notch in each slot, so make sure you line that notch up with the corresponding notch on each memory stick. Once the lock latches are secured, you’re done.
STEP FIVE
Install the M.2 SSD onto the Motherboard
The M.2 slot is located on the front of the motherboard near the PCIe slots. There’s a screw latch for the small-line PCIe slot that the M.2 uses. Just unscrew that, plug in the M.2 SSD, and then use the small screw to secure it in place.

STEP SIX
Install the Motherboard into the Case
Before putting the motherboard into the case, be sure to install the I/O panel, aligning the ports on the motherboard with the corresponding slots in the I/O panel on the case. Then, install the motherboard. The motherboard should fit easily into the case. Line up the screw holes on the motherboard with the standoffs in the case, and then screw them down. There should be 6 screws to secure, but some motherboards come with fewer, or even extra.

STEP SEVEN
Connect Cables from the Case and Power Supply to the Motherboard
Route the case and motherboard cables through the back of the case and out to the front. These cables will include the four PSU cables mentioned earlier (CPU, PCIe, molex, and motherboard), as well as several smaller cables from the case itself, including audio, USB, and front panel power cables. It’s important to follow the video for a visual reference on which cables go where. It’s also important to read the included motherboard manual. As an important note, the PCIe power cable from the PSU will hang loose until the graphics card is installed in the next step.
STEP EIGHT
Install the Graphics Card onto the Motherboard and Case
Before you’re able to install the graphics card (GPU) to the motherboard, you’ll need to prep the case by removing PCIe slot covers, which are small, straight metal strips on the rear of the case lining up with the PCI slots on the motherboard. For this GPU, you’ll need to remove slot covers two and three. Once the slot covers are removed, attach the GPU to the motherboard by securing it into the PCIe slot’s latch. Once latched, then you can screw the GPU onto the case where you removed the slot covers.

STEP NINE
Connect the Power Cables to the Graphics Card and Tidy Up Cables
Find the last remaining loose cable, the PCIe power cable attached to your PSU and brought through to the front of your motherboard in Step 6. Connect this to the GPU, and then use either zip ties or twist ties to bundle and hide cables throughout. This will improve airflow through the case, as well as make it look better.

STEP TEN
Install Microsoft Windows 10 Home on the Computer
Once you have the core components installed, everything is ready to go. Insert the USB containing Windows 10, then power up the system. Be sure to connect the monitor, as well as a mouse and keyboard. When the system boots up, and the Windows installation process begins, simply follow on-screen instructions until it’s finished. When the PC is all set up, be sure to download Intel’s Easy Streaming Wizard to quickly and easily prepare your gaming livestream. You can also download Intel’s Performance Maximizer to make sure you’re getting the most out of your new rig. Now that the hard part is all done, you can start enjoying your new build.
Intel GeForce RTX Gaming PC Build
PHOTO SHOWCASE


Build Comparison
Intel GeForce RTX Gaming PC Build
$ 1,199.99
Part List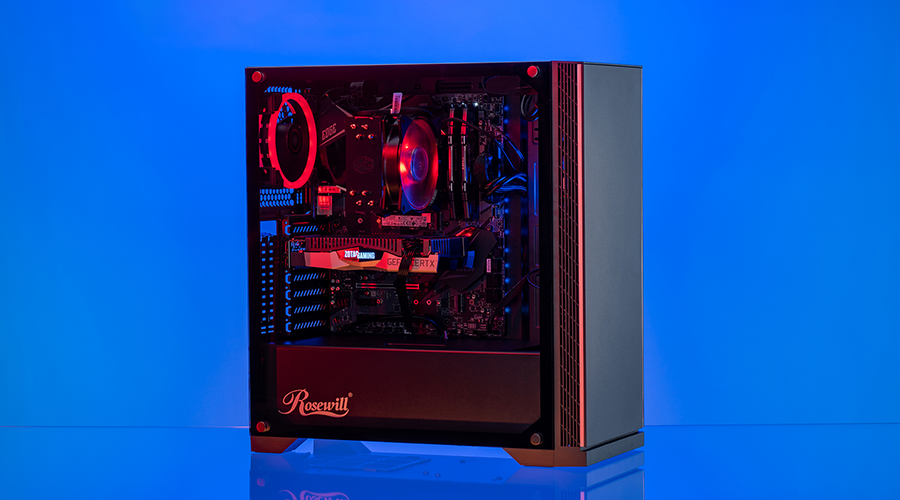
CPU/Processor
Intel Core i5-9600KF Coffee Lake 6-Core
3.7 GHz (4.6 GHz Turbo)
Motherboard
MSI MPG Z390 GAMING EDGE AC LGA 1151 (300 Series) Intel Z390 HDMI SATA 6Gb/s USB 3.1 ATX Intel Motherboard
RAM
G.SKILL Ripjaws V Series 16GB (2 x 8GB) DDR4 SDRAM DDR4
3200 (PC4 25600) Desktop Memory
Storage
Intel 660p Series M.2 2280 1TB PCIe NVMe 3.0 x4 3D2, QLC Internal Solid State Drive (SSD)
Graphics Card
ZOTAC GAMING GeForce RTX 2060 AMP 6GB GDDR6 192-bit Gaming Graphics Card, Super Compact, IceStorm 2.0
Case
Rosewill ZIRCON I ATX Mid Tower Gaming PC Computer Case with RGB Fan & LED Light Strips
Power Supply
SeaSonic M12II 520W 80 PLUS BRONZE Certified Full Modular
Active PFC Power Supply
Operating System
Microsoft Windows 10 Home
(USB Flash Drive)
Intel Budget Gaming PC Build
$ $899.99
Part List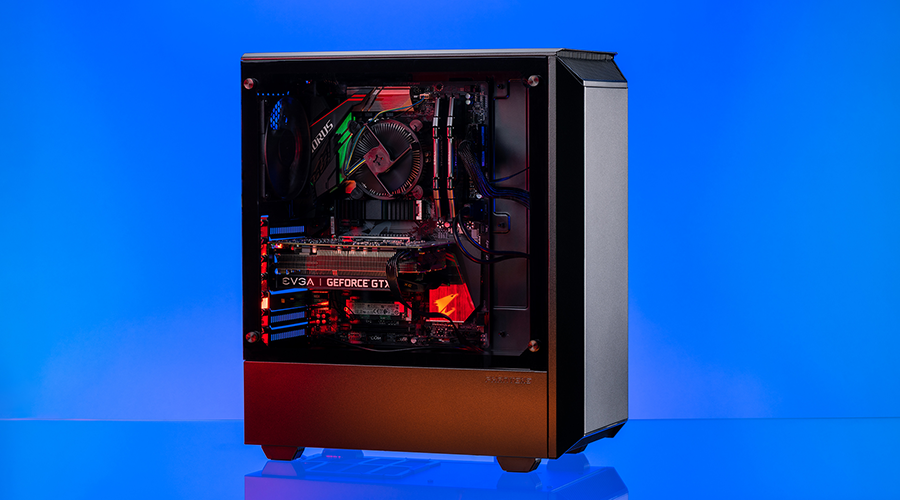
CPU/Processor
Intel Core i5-9400F Coffee Lake 6-Core
2.9 GHz (4.1 GHz Turbo)
Motherboard
GIGABYTE B360 AORUS Gaming 3 WIFI LGA 1151 (300 Series)
Intel B360 ATX Intel Motherboard
RAM
G.SKILL Ripjaws V Series 16GB (2 x 8GB) DDR4 SDRAM DDR4
3200 (PC4 25600) Desktop Memory
Storage
Intel 660p Series M.2 2280 512GB PCI-Express 3.0 x4 3D2 QLC
Internal Solid State Drive (SSD)
Graphics Card
EVGA GeForce GTX 1660 XC Black GAMING, 06G-P4-1161-KR,
6GB GDDR5, HDB Fan
Case
Phanteks Eclipse P300 Steel Chassis, Tempered Glass Window
ATX Mid Tower Case
Power Supply
SeaSonic M12II 520W 80 PLUS BRONZE Certified Full Modular
Active PFC Power Supply
Operating System
Microsoft Windows 10 Home
(USB Flash Drive)