An off-the-shelf desktop is not a sealed appliance, but it is not a blank canvas either. Some upgrades take ten minutes and a screwdriver. Others run into a proprietary power connector, a case with no room, or a BIOS that will not accept the processor you bought. The difference is worth knowing before you order parts. This guide walks through what almost always works, what vendors commonly lock down, and the order to do things in so that if something goes wrong you know exactly which change caused it.
First: Does Opening It Void the Warranty?
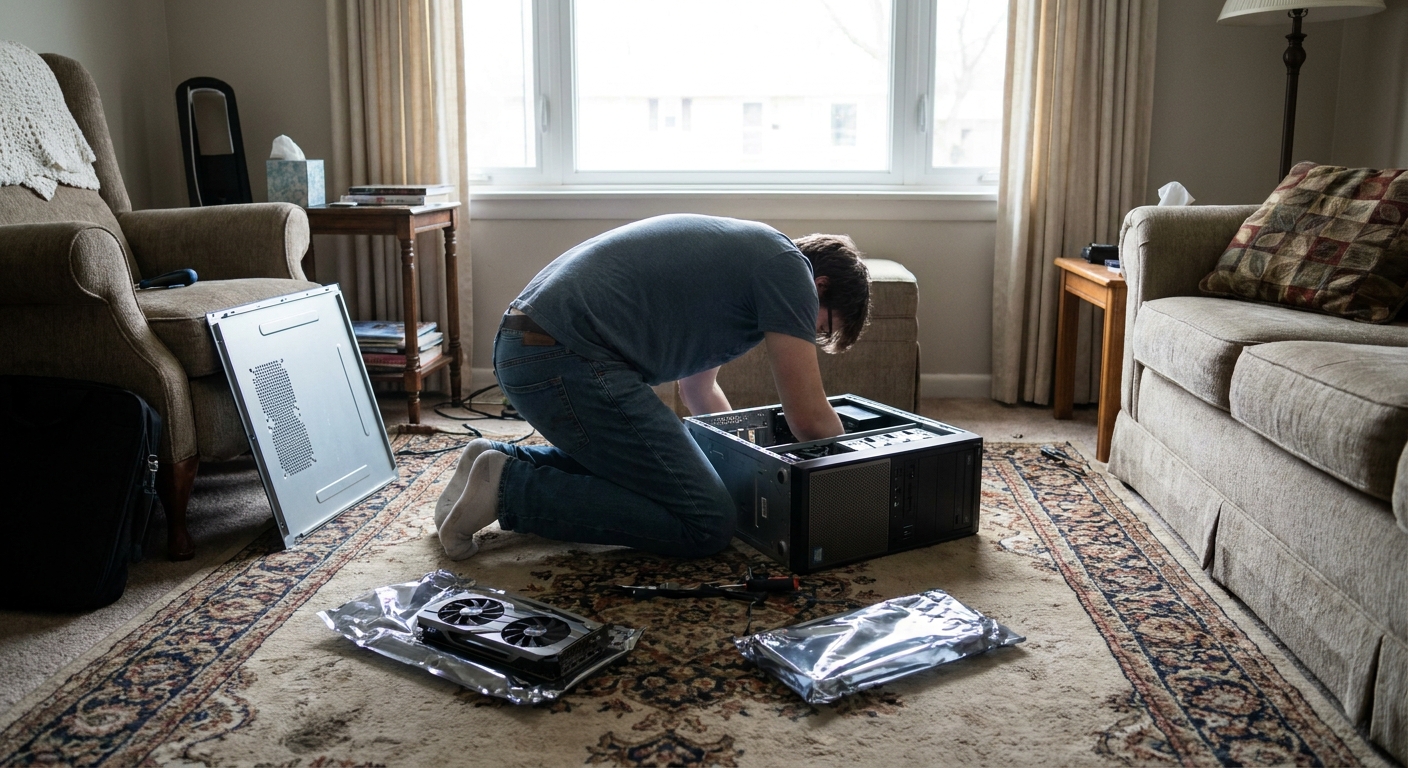
In the United States, generally no. The Magnuson-Moss Warranty Act restricts manufacturers from conditioning coverage on branded parts or authorized service unless those are free, and in April 2018 the FTC sent warning letters to six major companies over exactly that kind of "warranty void if seal removed" language. What it does not cover is damage you cause — so work carefully and keep the original parts.
Step 1: Back Up, and Note Your Windows Situation
Do a full backup first. Then think about activation: Microsoft states that replacing the motherboard means Windows will no longer find a matching license and you will need to reactivate. Memory, storage, a graphics card, the power supply, fans and coolers do not trigger this — only the board does. Link your digital license to a Microsoft account beforehand and the Activation troubleshooter handles it. Note that an OEM license shipped on a prebuilt is tied to the original device, so a board swap may need a retail key.
Step 2: Memory — the Easiest Win
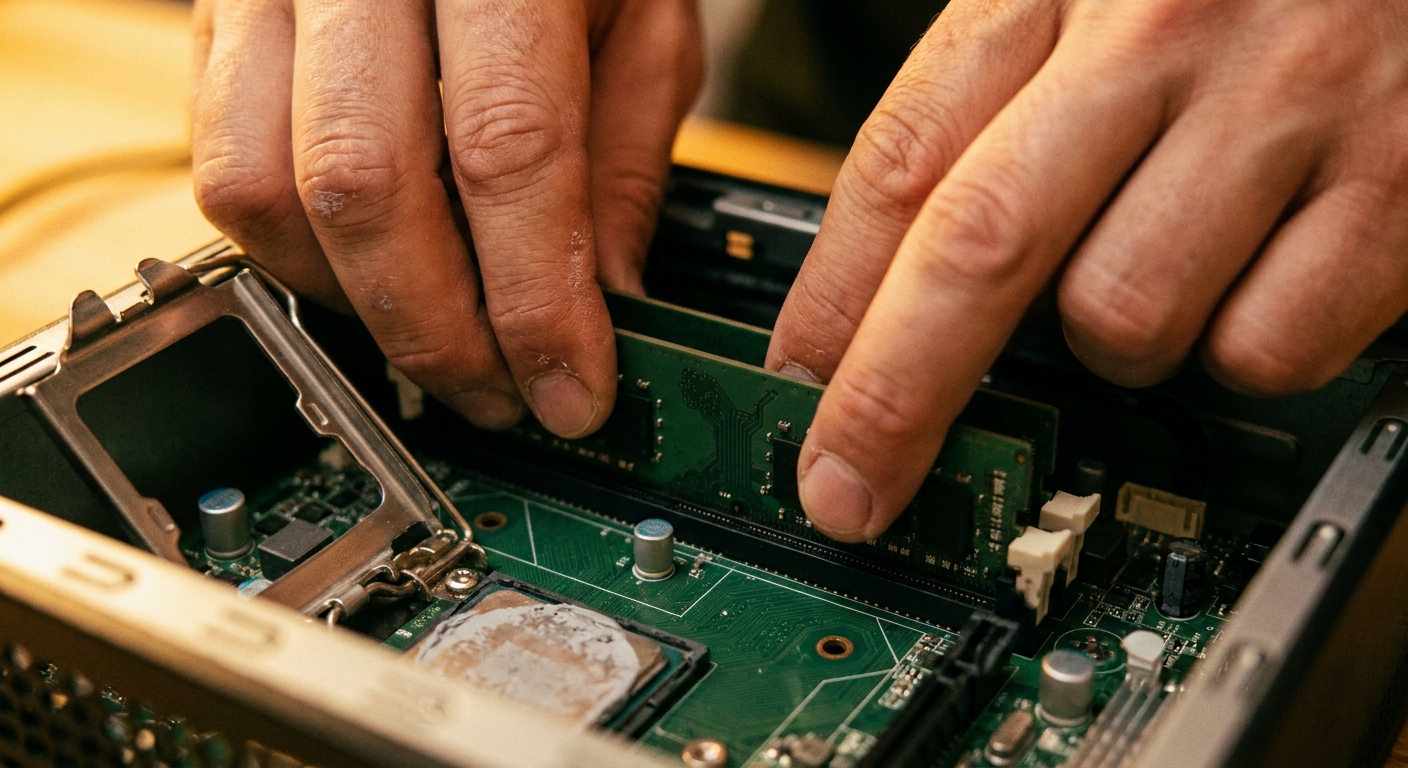
Memory is close to plug-and-play, and on budget prebuilts it is often the single biggest improvement because many ship with one stick in single-channel mode. Adding a matched second module restores dual-channel — measured gains reach roughly 18 to 31% in bandwidth-bound work, and are modest in games.
A 32GB DDR5-6000 CL30 kit such as the Team T-Force Delta RGB 32GB (2x16GB) is the standard mainstream upgrade at 1.35V. One thing to check first: OEM firmware routinely hides the XMP or EXPO toggle, so a fast kit may run at its JEDEC base speed until the vendor exposes the option. It will still work — it just may not run at its rated speed.
Step 3: Storage — the Other Easy Win
Nearly every prebuilt has a free M.2 slot or a free SATA port, and adding a drive is a screwdriver job. For a fast primary or secondary drive, the Crucial P310 2TB is a single-sided M.2 2280 PCIe 4.0 drive rated up to 7,100 MB/s read — the single-sided part matters, because it fits under low-clearance OEM heatsinks and graphics card shrouds where thicker drives will not.
For bulk capacity, a 2.5-inch drive such as the Samsung 870 EVO 2TB SATA SSD is the simplest addition — but count your free SATA data ports and your free SATA power leads before ordering. Slim OEM cases often have exactly one 2.5-inch tray and no spare power connector.
Step 4: The Graphics Card — Where It Gets Interesting
A PCIe x16 slot is standard, so the slot is rarely the problem. Three other things are.
Length and slot width. Measure from the inside face of the rear bracket forward to the nearest obstruction — the drive cage, front fan or radiator — not to the front panel. Case "maximum GPU length" figures assume nothing is in the way, and in an OEM chassis something usually is. Slot width is not a reliable proxy for thickness either; two cards both sold as 2.5-slot have measured 47mm and 49.75mm. Use the millimetre figure.
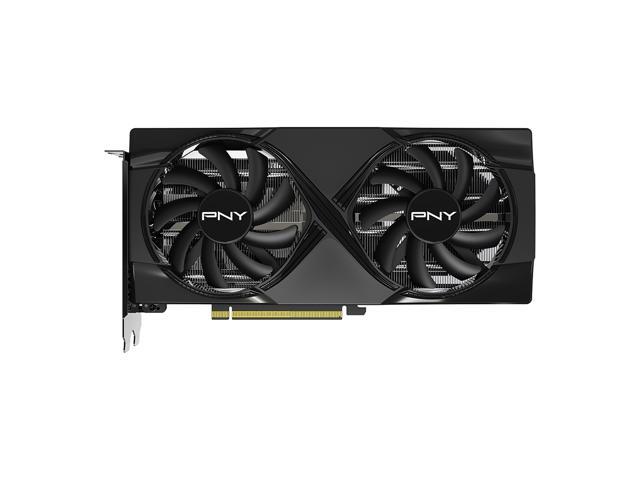
A card like the PNY RTX 5060 Ti 16GB Dual Fan OC is a good prebuilt fit precisely because of its shape: about 245mm long, dual-slot, with a single 8-pin power connector and a 180W board power.
Power. Read the label on the existing supply for total wattage and +12V rail capacity, then count the PCIe power connectors it actually has — many OEM units have one or none. Add your CPU's rated power, the card's board power and roughly 50 to 75W for drives and fans, then leave headroom. Note that a card's "recommended system power" is a whole-system estimate assuming a generic supply, not the card's own draw: the PNY card above is listed at 600W recommended while drawing 180W itself.
Transient spikes are the real risk. The ATX 3.0 specification added a power-excursion allowance requiring units above 450W to deliver 200% of rated power for 100 microseconds. An older or lower-quality OEM supply can trip its protection on those microsecond spikes even when average draw looks fine — which is why a system that seems adequately powered shuts down under load. If you are unsure, replace the supply.
Step 5: The Power Supply — Check the Form Factor First
This is where prebuilts most often say no. Several manufacturers use physically standard-looking connectors with reassigned pins. One vendor's own community documents a proprietary 8-pin main power connector on a current small-form-factor desktop whose pinout differs from earlier generations of the same line and requires a converter to accept a standard ATX unit. Another manufacturer's support forum confirms that some consumer desktops use supplies that are "not bound to any standards," with non-standard enclosure dimensions that stop a normal ATX unit from fitting at all. The blunt version, from a long-standing pinout reference: plugging a generic ATX supply into a branded board can destroy it.
So: confirm the existing unit is standard ATX before ordering. If it is, something like the MSI MAG A750GL PCIE5 is a straightforward replacement — 750W, 80 PLUS Gold, fully modular, ATX 3.1 and PCIe 5.1 with a native 12V-2x6 cable and a ten-year warranty.
Step 6: Cooling and Airflow
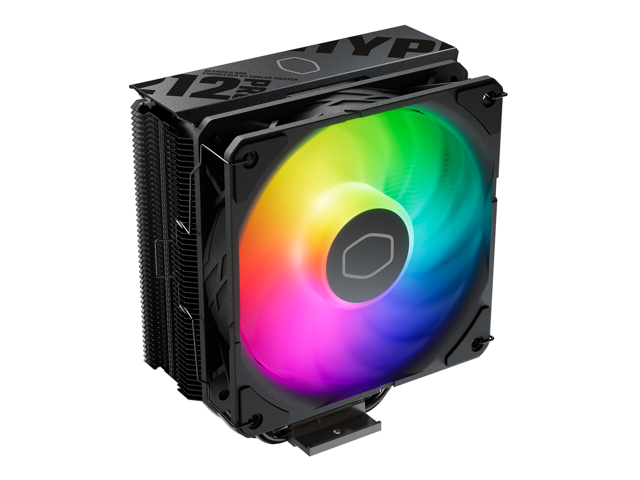
Stock OEM coolers are sized to the shipped processor and no further. The Cooler Master Hyper 212 PRO ARGB is 152mm tall with four copper heat pipes and covers AM4, AM5, LGA1700 and LGA1851 — measure from the processor socket straight up to the side panel and allow a few millimetres of margin before ordering.
The cheaper improvement is airflow. Case fans use a universal mounting pattern and a standard 4-pin PWM header, so a set like the Corsair RS120 PWM 3-pack is often the best value upgrade in a stock chassis. Count your fan headers first — some OEM boards have only one or two.
Step 7: Wireless, If the Machine Shipped Without It
Plenty of budget desktops ship Ethernet-only. A PCIe card such as the TP-Link Archer TXE75E adds tri-band Wi-Fi 6E and Bluetooth 5.3 with high-gain antennas and — importantly for slim cases — a low-profile bracket in the box. It needs a free PCIe slot and an internal USB header for the Bluetooth side.
What You Usually Cannot Change
The processor, often. Support is gated by BIOS microcode, not just the socket, and an OEM board may never receive firmware carrying newer microcode. Where an upgrade is possible, update the BIOS with the old supported processor still installed before swapping — OEM machines almost never have the BIOS flashback feature that rescues you otherwise. And some manufacturers solder the processor to the board entirely, in which case the answer is memory and storage instead.
The motherboard. OEM boards frequently use a single combined front-panel header rather than standard discrete pins, so a retail replacement leaves the case's power button, front USB and audio unusable. At that point you are not upgrading, you are building a new PC around salvaged parts — which, on a platform more than three years old, is usually the better spend anyway.
The Safe Order of Operations
Back up. Link the Windows license to a Microsoft account. Update the BIOS while the machine still works. Shut down, unplug, hold the power button briefly to drain, and move to a hard surface. Ground yourself with a wrist strap and keep parts bagged until installation — electrostatic damage is hard to trace. Photograph the interior and cable routing, measure before you buy, then change one thing at a time, boot, and confirm it is detected and stable before moving on. Browse upgrade parts in Newegg's PC upgrade listings.
Frequently Asked Questions
Does upgrading a prebuilt void the warranty? In the US, generally not. The Magnuson-Moss Warranty Act restricts conditioning coverage on branded parts or authorized service, and in April 2018 the FTC warned six companies about "warranty void if removed" language. It does not protect you from damage you cause during installation, so work carefully and keep the original parts.
Can I put any power supply in a prebuilt? Not always. Several manufacturers use proprietary pinouts on standard-looking connectors or non-standard enclosure dimensions, and connecting a generic ATX unit to such a board can damage it. Confirm the existing supply is a standard ATX form factor with a standard 24-pin pinout before ordering a replacement.
Will a new graphics card fit? Measure rather than assume. Check from the rear bracket forward to the nearest obstruction — usually the drive cage or front fan — and use the card's millimetre length and thickness rather than its slot rating. Then check that the power supply has the right PCIe connectors and enough headroom, remembering that a card's "recommended system power" is a whole-system figure, not its own draw.
Do I need to reactivate Windows after upgrading? Only if you replace the motherboard. Microsoft states that significant hardware changes such as a motherboard swap mean Windows can no longer find a matching license. Memory, storage, graphics, power supply and cooling changes do not affect activation. Link your digital license to a Microsoft account first so recovery is straightforward.
Read More
- How-To Geek: Can You Upgrade a Prebuilt PC? — A plain-language rundown of which parts swap easily and where proprietary hardware stops you.
- Power Supply Pinouts: ATX vs OEM — A reference chart of standard versus proprietary power connector wiring, and why mixing them is risky.
- Microsoft: Reactivating Windows After a Hardware Change — The official guidance on why a motherboard swap breaks activation and how to recover it.
- — A walkthrough of what is realistically upgradeable inside an off-the-shelf desktop.
- Newegg: PC Upgrade Parts — Browse memory, storage, graphics, cooling and power supplies for an existing machine.