Sometimes, you need to grab a screenshot of your entire display, a single window, or just a portion of what you’re working on. The uses can vary, from developing training sessions to simply easily sharing information. Regardless of why you need to capture your screen we’ve created a quick guide on how to use Windows 10’s built-in screen capture tools.
Using the Windows 10 Print Screen key
Probably the easiest way to capture your display is to use the Print Screen feature, which is accessed via the PrtScn key on most Windows PC keyboards. Hit that key and your entire screen is copied to the Windows 10 clipboard, and from there it can be pasted into whatever image editing or other application you desire.
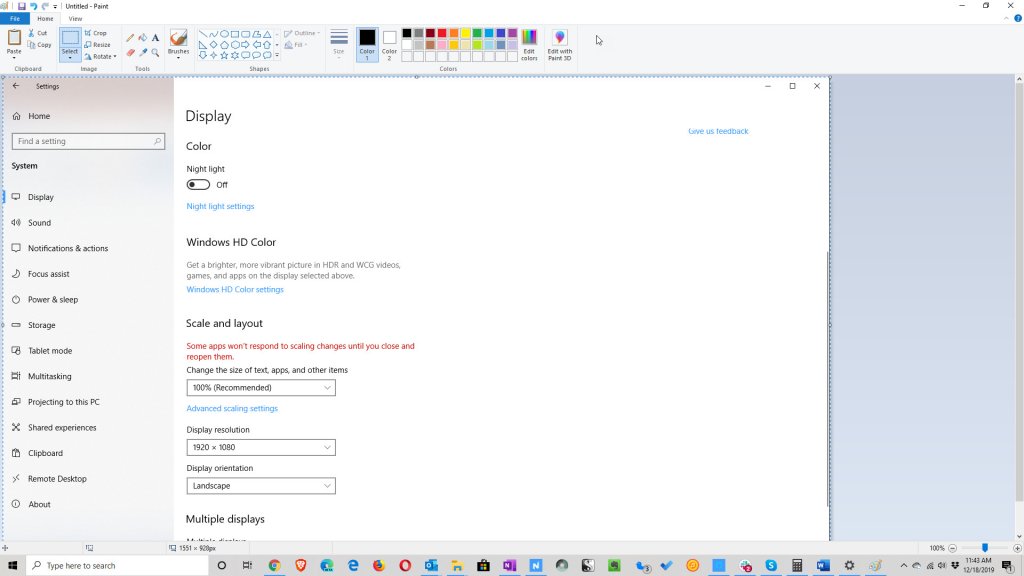
For example, you can hit the PrtScn button and then paste the image into Microsoft Word. Perhaps more useful, you can paste the image into the Windows 10 Paint app, do some light editing, and then save the image wherever you want.
 On some keyboards, you’ll need to hit the Windows Logo key along with PrtScn to capture the screen. If your keyboard doesn’t have a PrtScn button, then you can hit Fn + Windows Logo + Space Bar.
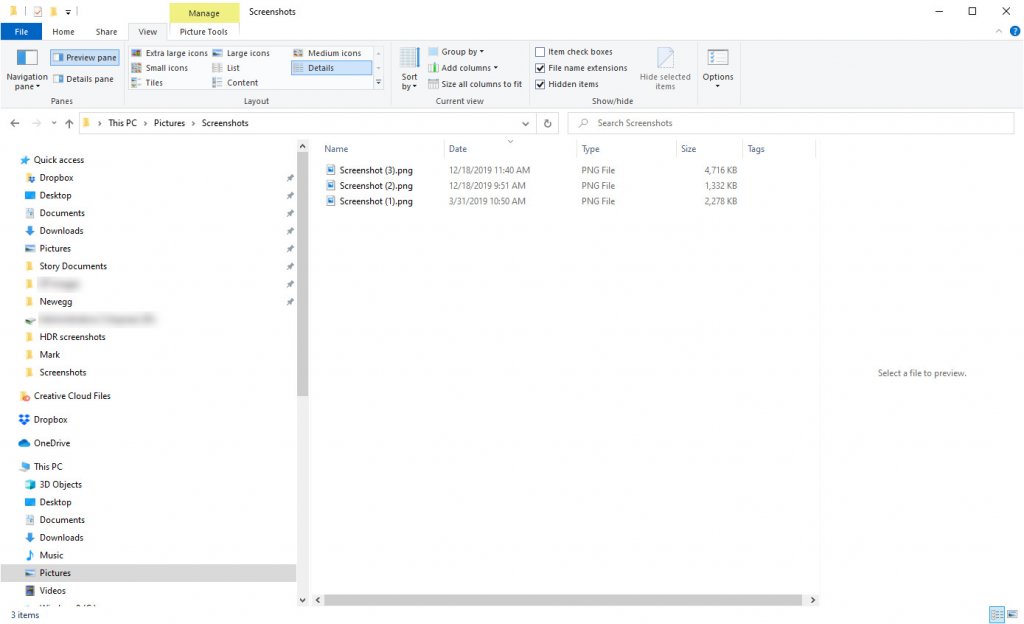
If you use the Windows Logo + PrtScn combination, then your screenshot will be saved in your local Pictures > Screenshots folder. Simply open up Windows Explorer and navigate to this folder to access all of your screenshots, which will be simply named with the date stamp and a numerical counter if there are multiple images captured on the same day.
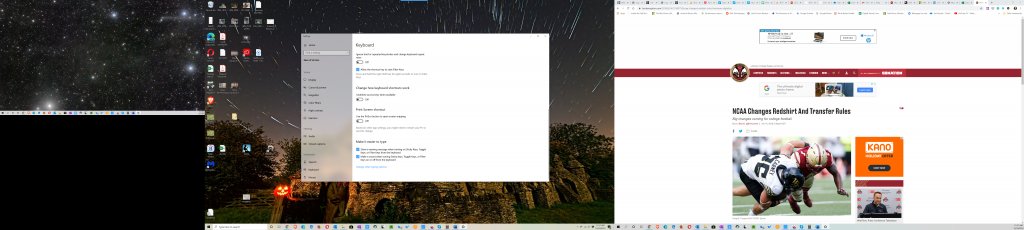
 Note that if you have multiple monitors, then using the Print Screen function will capture the screens on all of them as a single image. To capture just the active window, use the Alt + PrtScn combination.

OneDrive
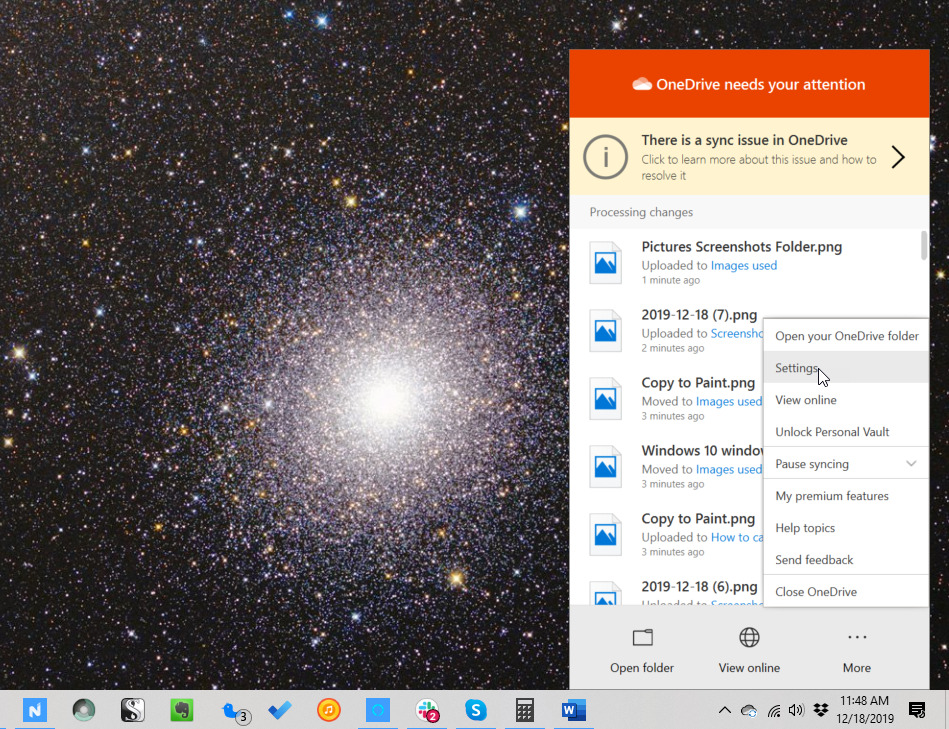
If you have Microsoft’s OneDrive cloud storage service installed on your PC, then you can configure your system to automatically save screenshots captured using the PrtScn key to the Pictures > Screenshots folder in your OneDrive repository. You’ll be asked if you want to turn this feature on the first time you hit the PrtScn button, but if you miss that notification or want to change the option in the future then you can access the setting in the OneDrive app.
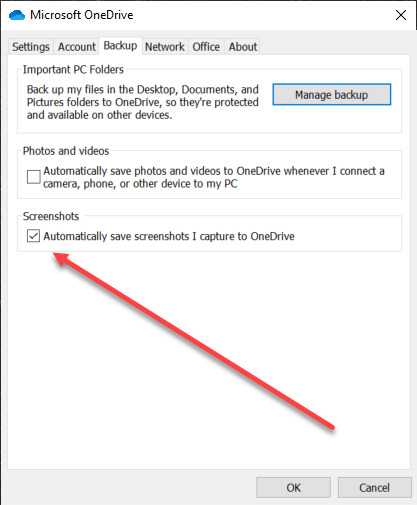
To do so, right-click on the OneDrive icon in your system tray in the right-hand side of the taskbar on your primary display and select Settings. Click on the Backup tab, then check the “Automatically save screenshots I capture to OneDrive” option.
Using the Windows 10 Snip and Sketch Tool
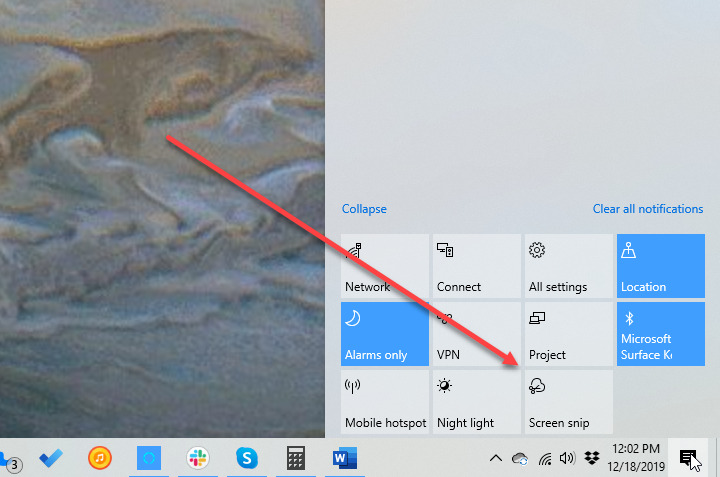
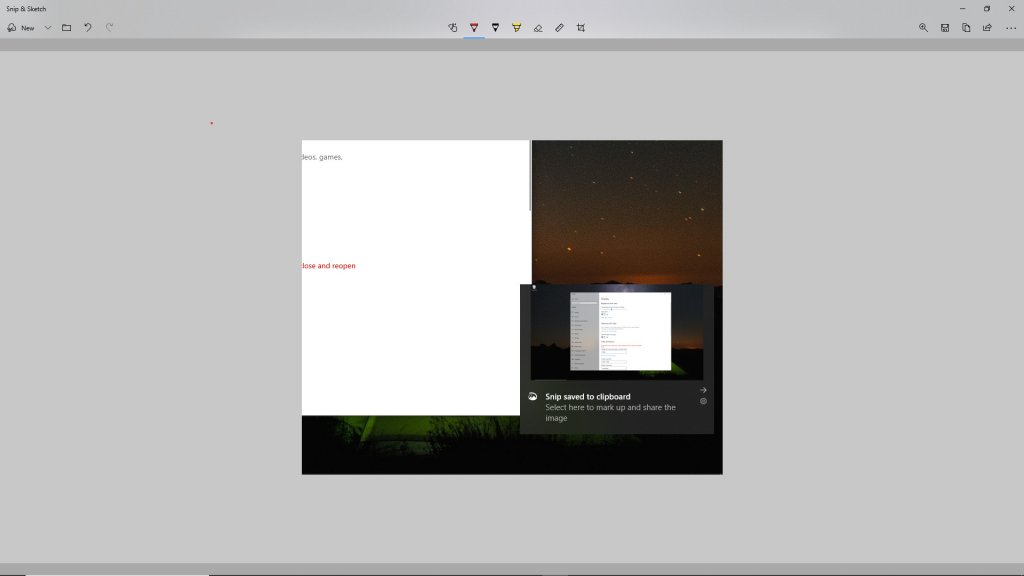
Another useful tool that’s built into more recent versions of Windows 10 is the Snip and Sketch Tool. The easiest way to access it is to open your Action Center and click the Screen snip button.
The Snip and Sketch Tool will open with some options across the top. You can select a portion of the screen to capture, either constrained as a rectangle or free-form, snip a single window, or capture all of your screens. They’ll be copied to the clipboard as with the Print Screen button and you can follow the same instructions to make use of them.
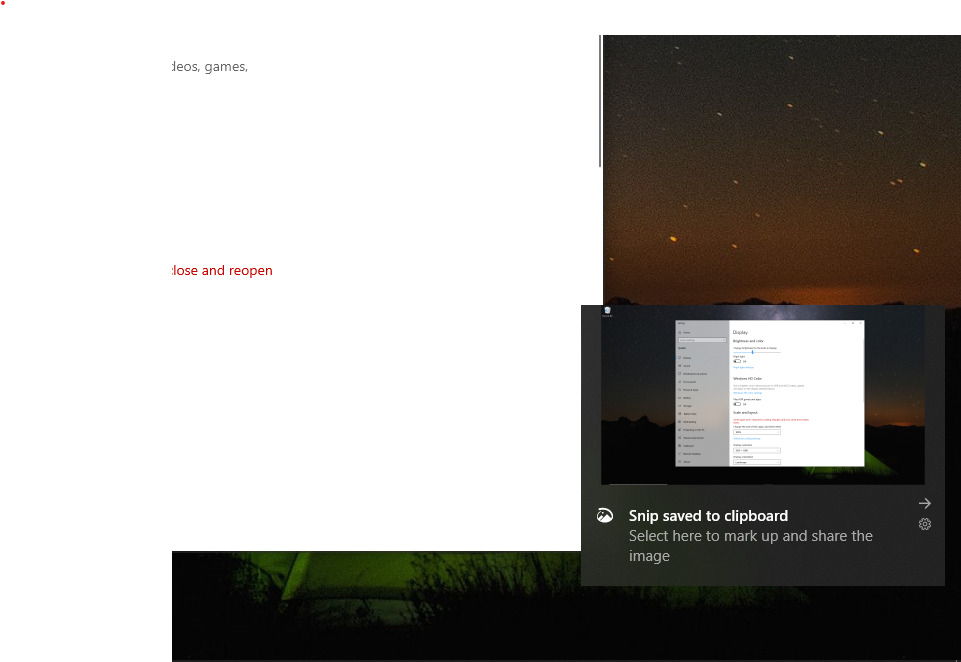
In addition, as you capture an image using the Snip and Sketch Tool, you’ll get a notification offering to open the image for editing. Accept the notification and you’ll be presented with a user interface allowing you to save the image, annotate it, share it, and more.
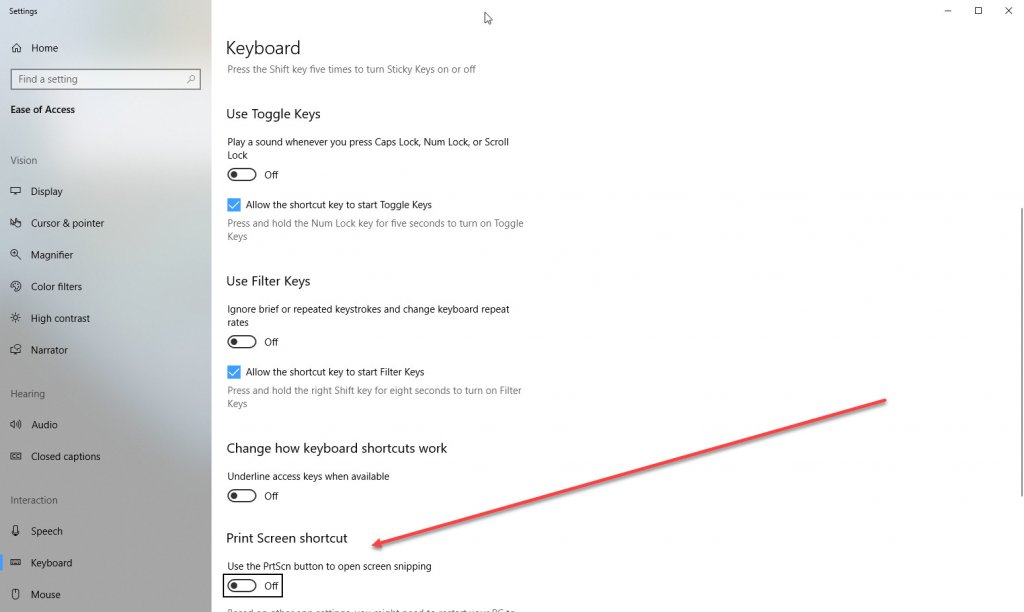
You can also set the PrtScn button to launch the Snip and Sketch Tool. Just head to Windows Settings > Ease of Access > Keyboard and toggle the “Use the PrtScn button to open screen snipping” option. Another way to open the Snip and Sketch Tool is using the key combination of Windows Logo key + Shift + S.
Take a screenshot using the Windows 10 Snipping Tool
Another built-in tool is the Windows 10 Snipping Tool. It provides more control over your screen capture process, including the ability to set a delay so that you can capture menu items and such. To open the Snipping Tool, you can type its name into the Windows 10 search bar and select it from the results.
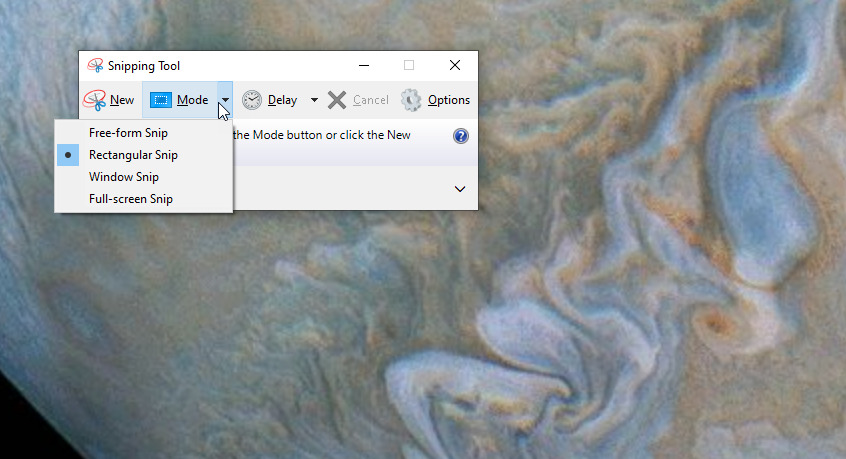
Simply select the mode you want to use from among the four options – Free-form Snip, Rectangular Snip, Window Snip, and Full-Screen Snip – and the click the New button. Click the Delay button to give yourself between one and five seconds to get your screen ready to capture. Some options that you can configure include whether to copy snips to the clipboard and including a URL below the snips if you’re capturing a web page.
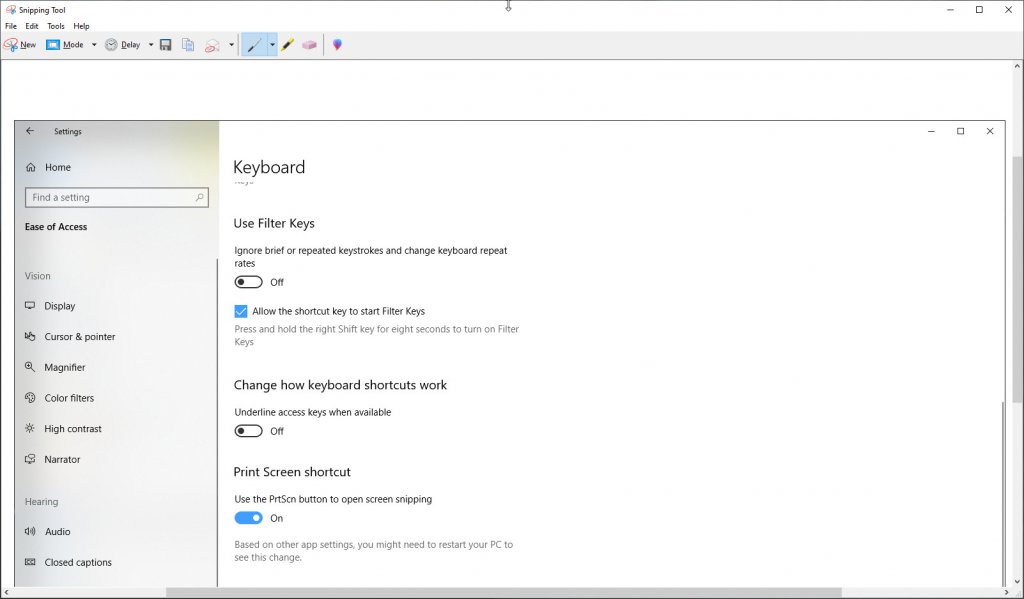
Once you’ve capture something using the Snipping Tool, its interface will open with the screenshot embedded. You can then save the image, annotate it, send it via email, or open it in the Paint 3D app.
Take a screenshot using third-party tools
If the tools built into Windows 10 aren’t sufficient, you can always consider third-party tools. Some are free and some come at a cost, but you can get a much wider range of features by going outside of Windows 10’s built-in features.
Here are a few screen capture tools that you can consider:
- Snagit: One of the best screen capture apps out there for Windows 10 and Mac OS with a host of capture and editing options, including the ability to capture video and long web pages. It costs $50, but it’s worth it.
- LightShot: A free app that’s available for a variety of platforms including Windows 10, Mac OS, and the web. It provides a variety of capture methods, editing, and the ability to share images via the internet.
- ShareX: Another free app that offers a wide variety of capture modes and a host of post-capture processing options.
Do a search in your favorite search engine you’ll find tens of app and online resources for capturing your screen.
Conclusion
You have a host of screen capture options available for you, both built into Windows 10 and available for free and at reasonable prices via third-party software vendors. Whichever you choose, you’ll find the tools easy to use and able to help you quickly grab your entire screen or just portions of it to use for a variety of functions.
Shop for Microsoft software and hardware on Newegg.