Your Browsing History


Any questions? Our AI beta will help you find out quickly.


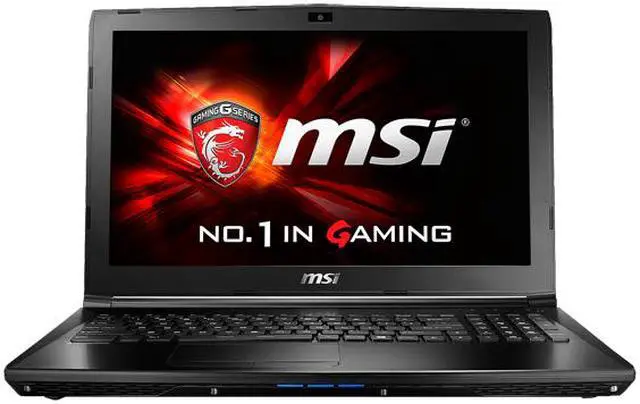
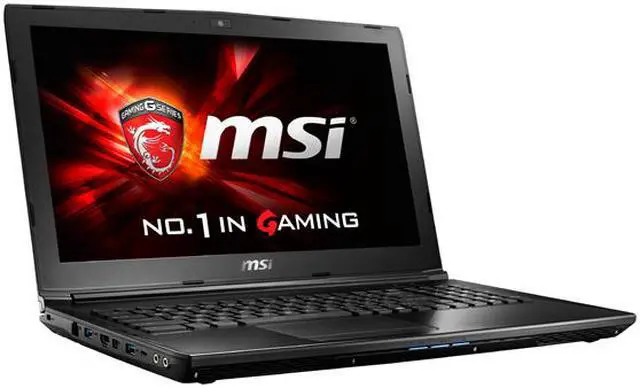
Experience exceptional mobile gaming experience like never before with the MSI GL62 6QF-627 Gaming Laptop. It’s powered by the latest 6th Gen Intel core i7 quad-core processor and a discrete NVIDIA GeForce GTX 960M graphics card for incredible performance – this means you’ll be invincible on the battlefield. It’s outfitted with a stunning 15.6” Full HD 1080p display, and Nahimic virtual surround sound system, giving you an immersive audio/visual experience. Confidently play at your hearts content for hours on end with the comfort of knowing that your system is running cool.
FEATURES AT A GLANCE

LATEST 6TH GENERATION INTEL CORE I7 PROCESSOR
Using the latest CPU architecture and faster DDR4 memory support the new Intel 6th Generation Core i7 processors, codenamed Skylake, brings significant improvements to gaming performance, multiple application data processing, and 4K video transcoding delivering superb performance leaps as the next platform for extreme gaming.

GREEN
Enables lowest power consumption of both CPU and GPU while maintaining coolest constant temperatures for both.
COMFORT
Enables enough power consumption of the GPU while maintaining comfortable temperatures of the GPU.
SPORT
Enables max power consumption of both CPU and GPU for extreme performance.

TAKE ADVANCED DESKTOP GAMING PERFORMANCE EVERYWHERE

Discover desktop-class gaming on a notebook with the next-generation GeForce GTX 960M. Plus, Get improved battery life you need to game longer, unplugged. The GeForce GTX 960M brings smooth, high-definition PC gaming performance to the notebook, driving impressive 1080p gameplay at high settings in sleek new designs.

DDR4 MEMORY SUPPORT
Get the best possible performance out of your notebook with support of the advanced DDR4 memory. With over 32% faster performance than previous generations, DDR4 is the new standard to take your gaming experience to the next level.

GAME FOREVER WITH COOLER BOOST 3

Play hours on end with an intelligently and efficiently designed dual fan cooling system with Cooler Boost 3. Drawing heat away from both the CPU and GPU with designated heat pipes significantly reduces heat generation and increases heat dissipation for stable gameplay after hours of gaming.
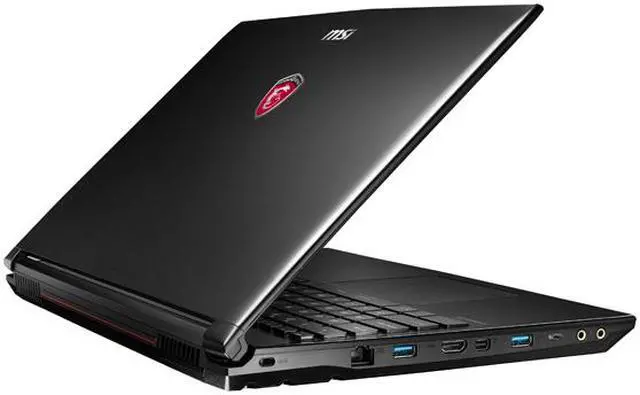
WATCH, STREAM AND PLAY SIMULTANEOUSLY
Do everything, all at once with MSI’s Matrix Display technology, supporting multiple external displays so you can multi-task like a pro via HDMI and mini-Display Ports. Stream on Twitch or watch your favorite shows while playing your games, whatever it is you do, you’ll never miss another moment.


NAHIMIC VIRTUAL SURROUND SOUND
Technology originally developed for the military fighter jets, Nahimic specializes in 3D sound software processing and audio improvements offering virtual 7.1 sound in immersive high definition. Designed to work with standard audio and stereo equipment, Nahimic transports gamers into the action, allowing them to sense every footstep, hear every bullet whizzing past, and feel every explosion. Nahimic highlights even the smallest sounds, intensifies gameplay by boosting bass, and reducing exterior noise pollution for optimum in-game voice clarity and comprehension. It also features a high definition audio recorder to easily capture and stream studio quality sound. This new technology is exclusive with MSI gaming laptops.

AUDIO BOOST
Amplify the experience of your headset with gold plated and boosted audio jacks for higher fidelity sound quality to gain the advantage during the heat of battle.

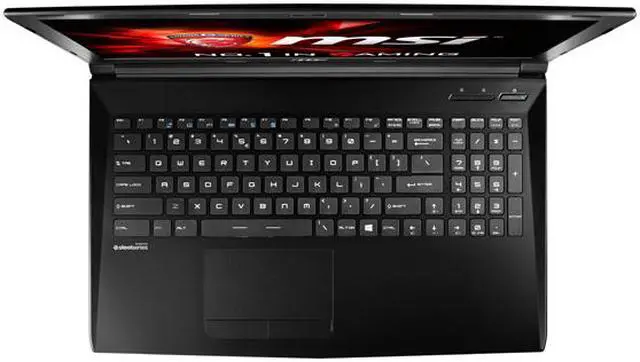
ACCURACY IS KEY
Perfectly crafted, extremely accurate. The SteelSeries gaming keyboard is a powerful tool at the hands of any gamer with strong tactile feedback and anti-ghosting capabilities, delivering the best gaming experience hands-down.


