

 here!
here!
I’m your shopping assistant for PC builds, upgrades, and everything tech.
Got questions? Ask away!
Start a conversation
here!
I’m your shopping assistant for PC builds, upgrades, and everything tech.
Got questions? Ask away!
Start a conversation



Any questions? Ask CelesteSM will help you find out quickly.
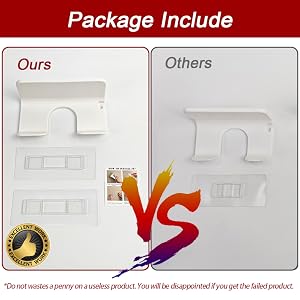
Our product includes a hair dryer holder and two back stickers (for convenient position changes), as well as a small installation diagram and a storage bag with precautions.
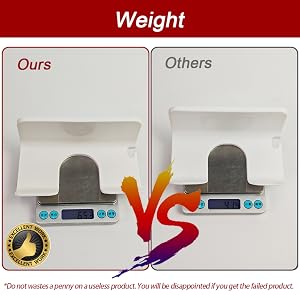
Our products are denser, heavier, made with better materials, have a better feel, and higher quality.
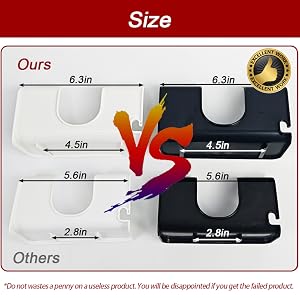
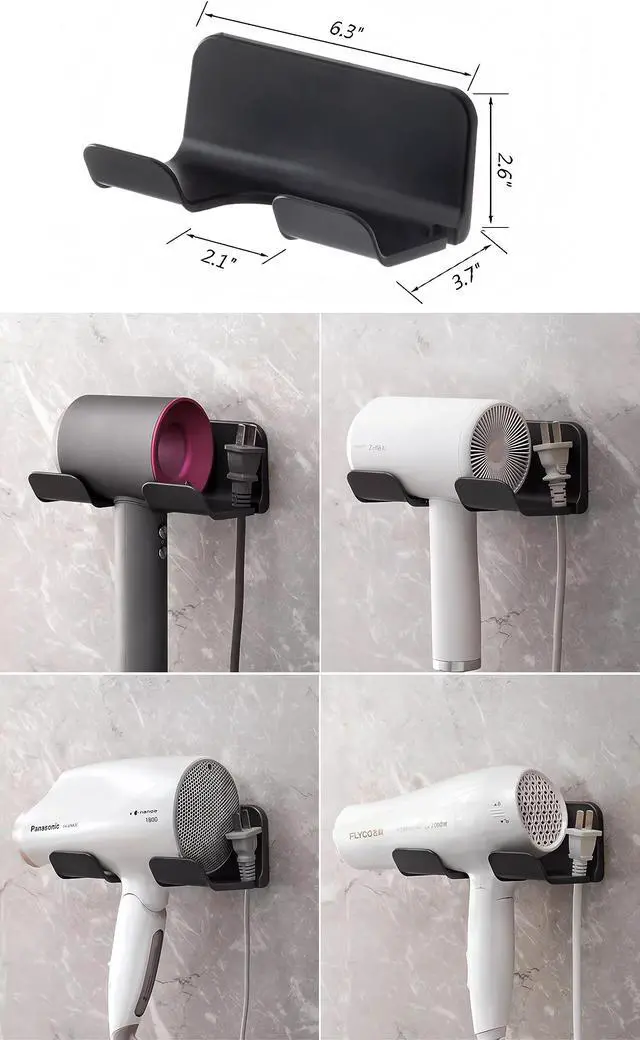
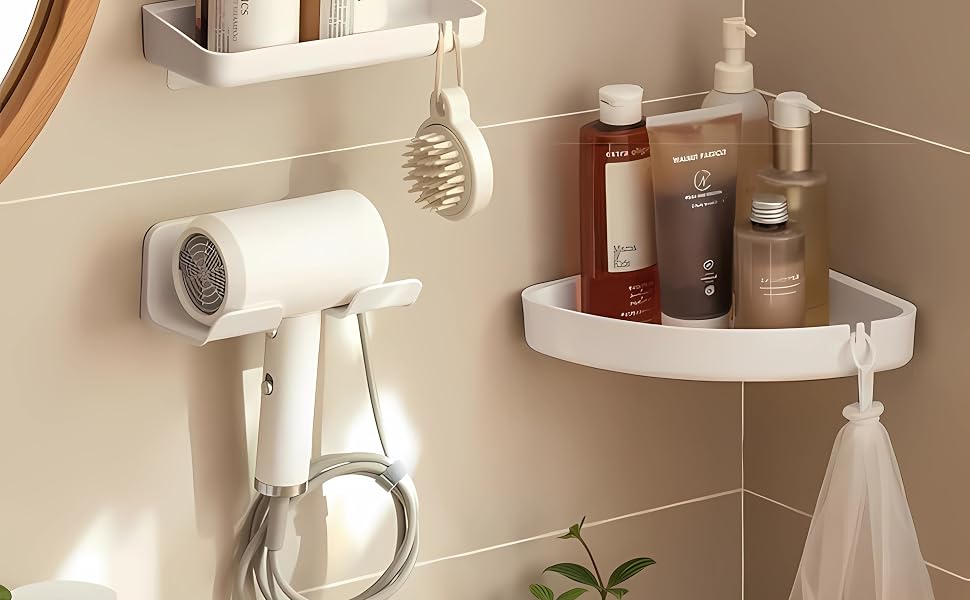
Our hair dryer holder is larger, which will make it more stable when placing the holder, and the larger back patches will also make it less likely to fall off during installation.
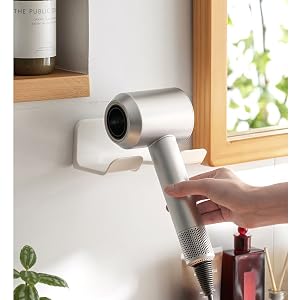
Wide application:
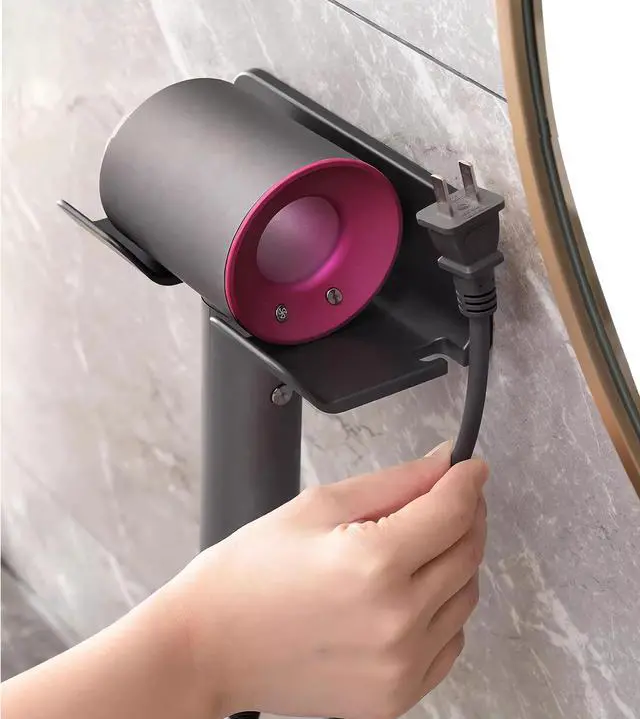
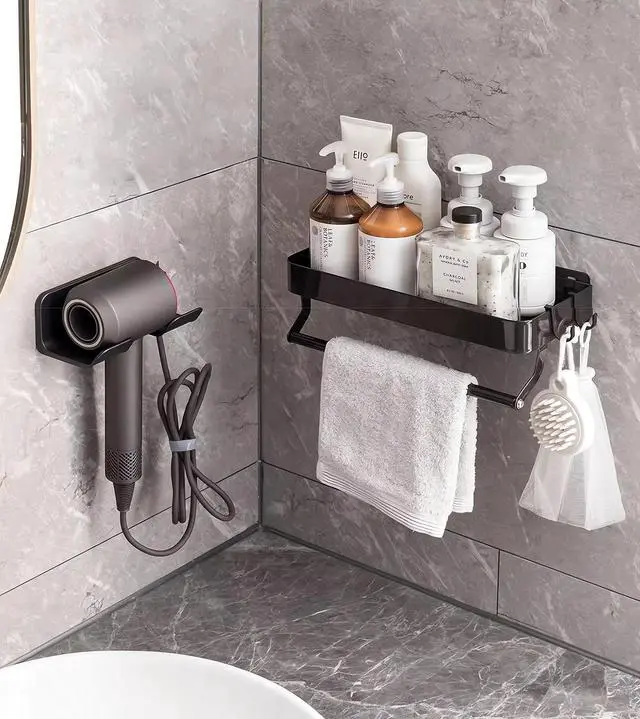
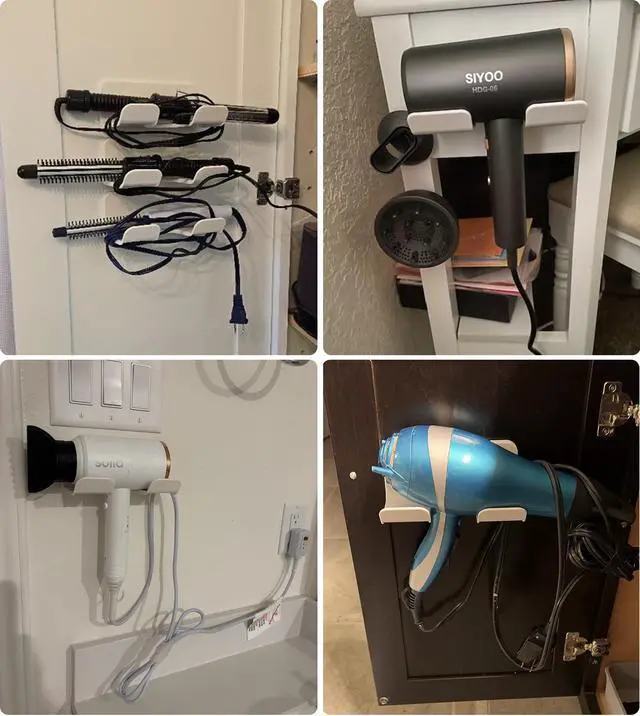
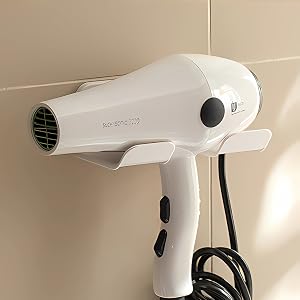
Compatible With 99% kinds of the hair blow dryer. You can use it on wall/glass/mirror in bathroom. Or back of the door, inside of cabinet door.
Easy to install:
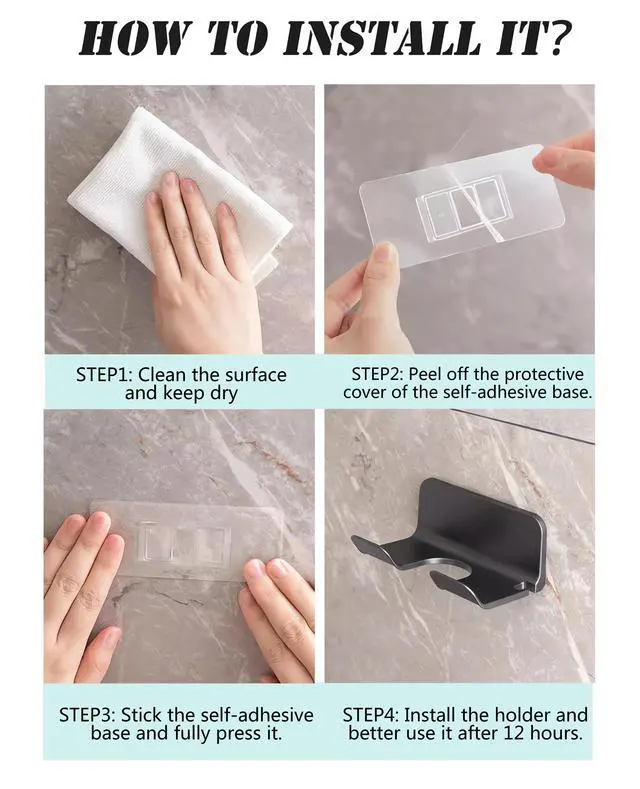
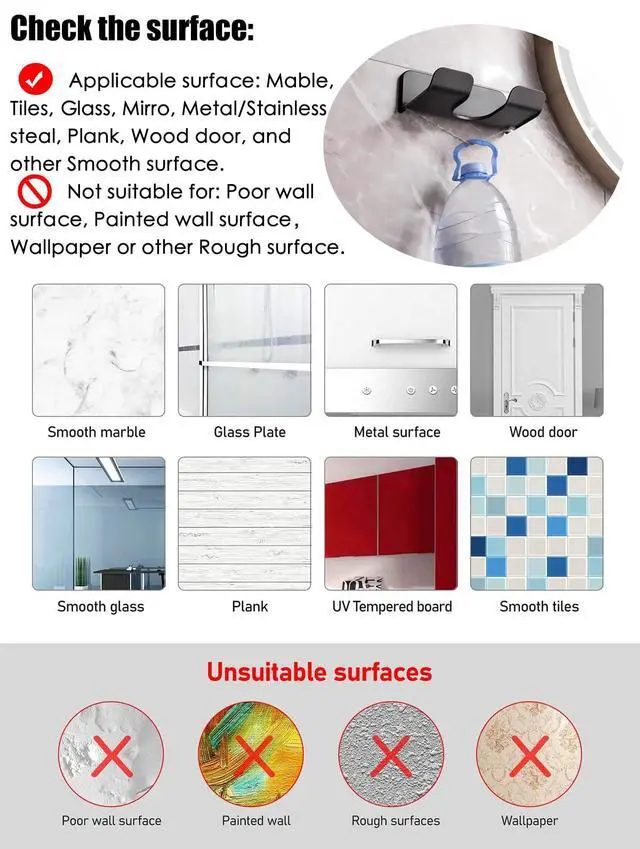
Take 3 minutes and 4 steps to install it. It will never fall if you install it on smooth surface like tile glass mirror.
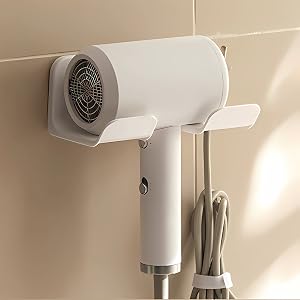
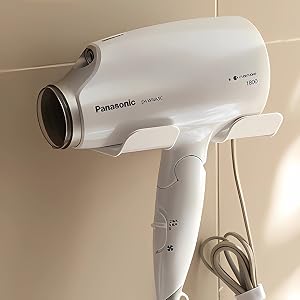

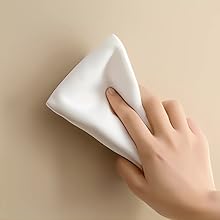
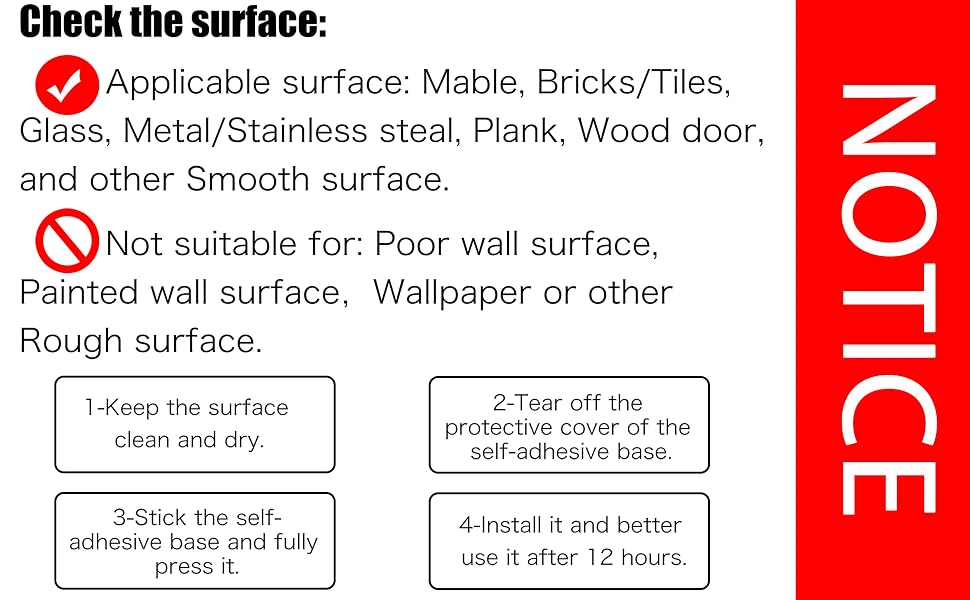
STEP1: Keep the surface clean and dry.
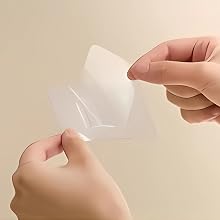
STEP2: -Peel off the protective cover of the self-adhesive base.
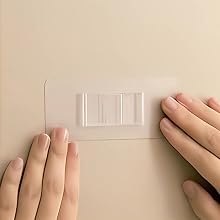
STEP3: Stick the self-adhesive base and fully press it.
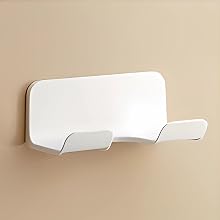
STEP4: Install it and better use it after 12 hours.
Our product includes a hair dryer holder and two back stickers (for convenient position changes), as well as a small installation diagram and a storage bag with precautions.
Our products are denser, heavier, made with better materials, have a better feel, and higher quality.
Our hair dryer holder is larger, which will make it more stable when placing the holder, and the larger back patches will also make it less likely to fall off during installation.
Wide application:
Compatible With 99% kinds of the hair blow dryer. You can use it on wall/glass/mirror in bathroom. Or back of the door, inside of cabinet door.
Easy to install:
Take 3 minutes and 4 steps to install it. It will never fall if you install it on smooth surface like tile glass mirror.
STEP1: Keep the surface clean and dry.
STEP2: -Peel off the protective cover of the self-adhesive base.
STEP3: Stick the self-adhesive base and fully press it.
STEP4: Install it and better use it after 12 hours.