



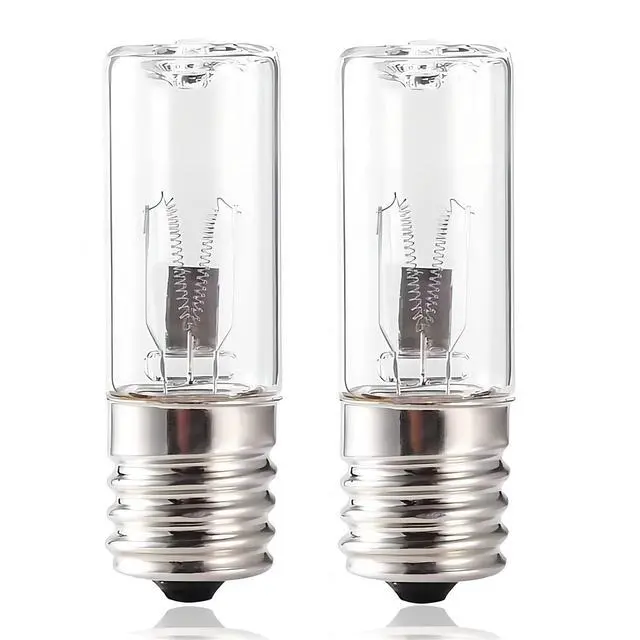
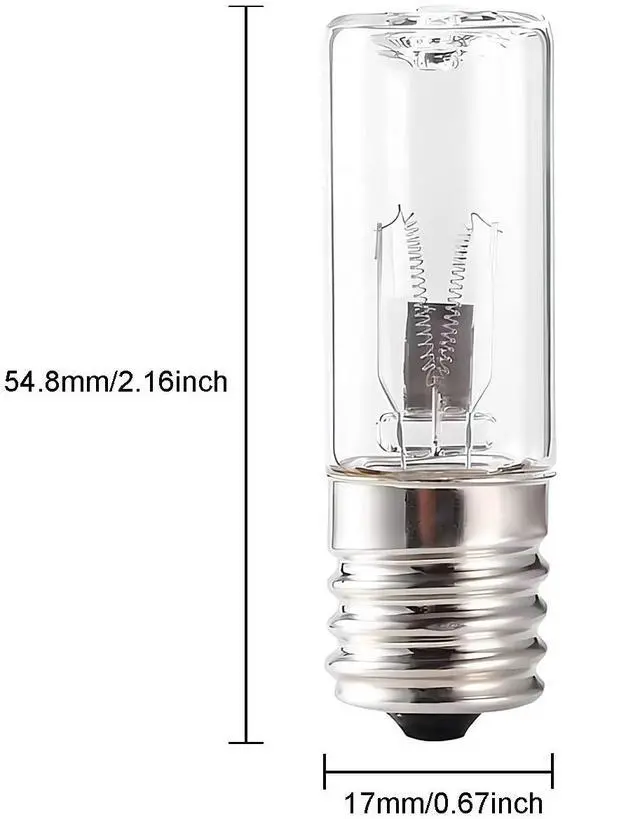
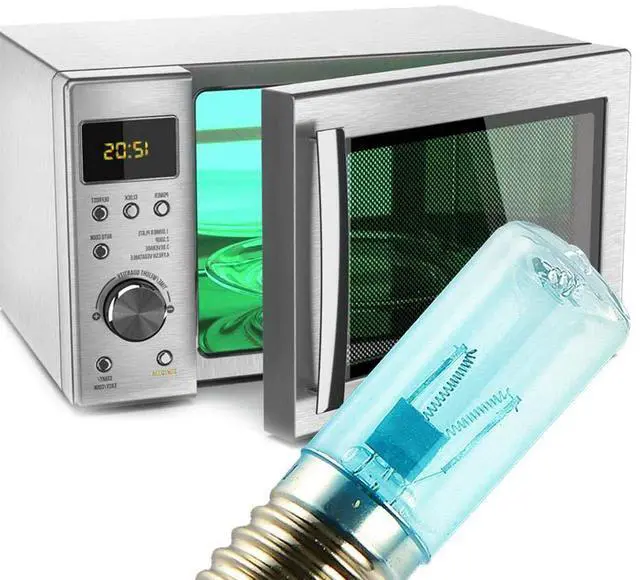
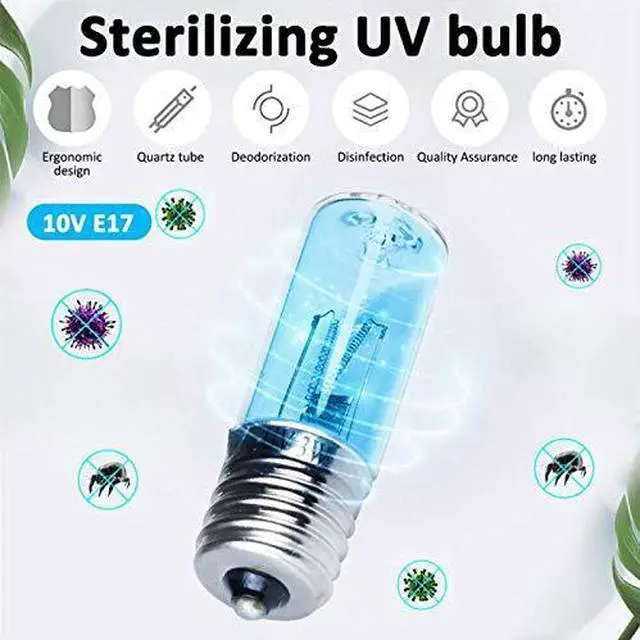
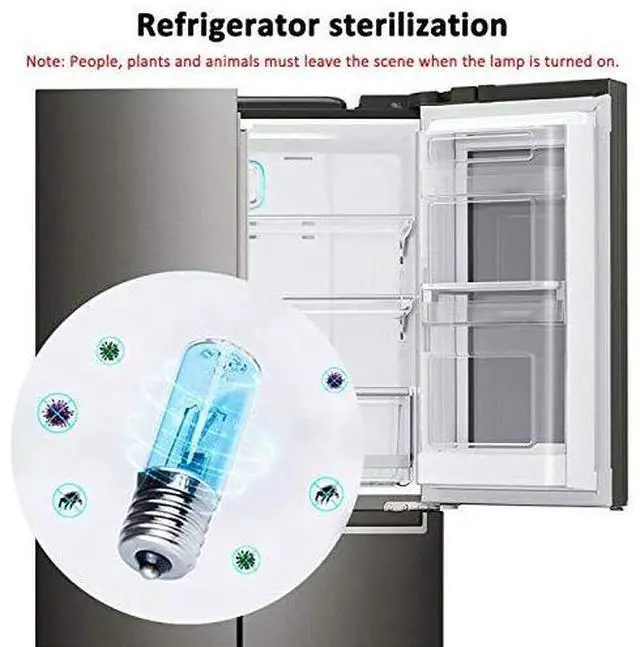


Replacing the GG1000 device's bulb is very simple.
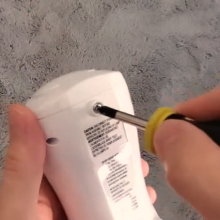
First, use a screwdriver to remove the screws on the back of the device and take off the cover. Be careful not to lose any parts during disassembly.
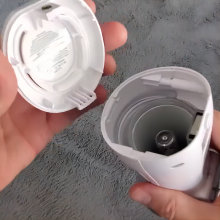
Next, remove the top cover of the device to locate the bulb and carefully remove the old bulb.
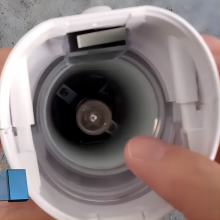
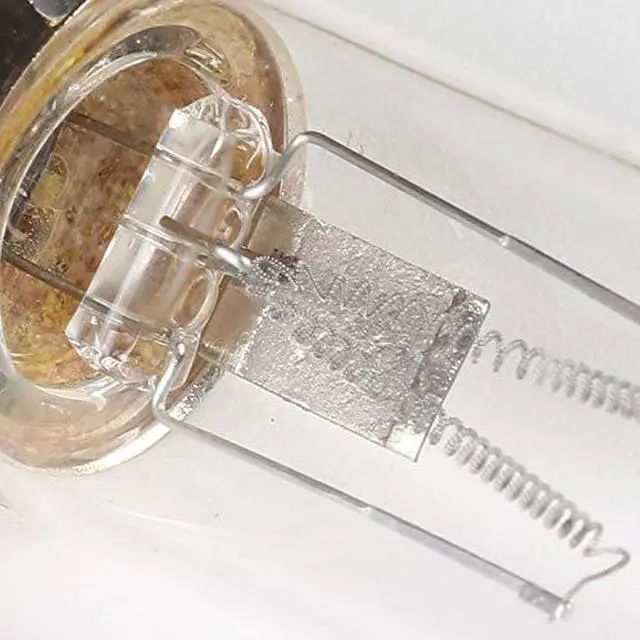
When installing the new bulb, avoid touching it directly with your hands to prevent affecting its performance. Finally, install the new bulb, replace the cover, and tighten the screws.
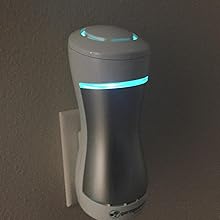
The device will then return to normal operation. Always disconnect the power during the process to ensure safety.
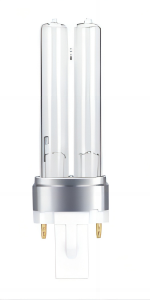 2 Pack 5W LB4000 Replacement Bulb | 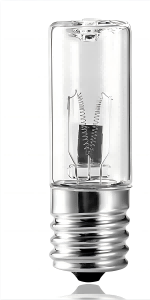 2 Pack 3W LB1000 Replacement Bulb | |
|---|---|---|
| Customer Reviews | — | — |
| Price | — | — |
| Compatible Units | AC3800, AC4300, AC4825, AC4850, AC4900, AC5300, AC5350, AC5900, CDAP4500, CDAP5500 | GG1000, GG1100, AC3700 |
Replacing the GG1000 device's bulb is very simple.
First, use a screwdriver to remove the screws on the back of the device and take off the cover. Be careful not to lose any parts during disassembly.
Next, remove the top cover of the device to locate the bulb and carefully remove the old bulb.
When installing the new bulb, avoid touching it directly with your hands to prevent affecting its performance. Finally, install the new bulb, replace the cover, and tighten the screws.
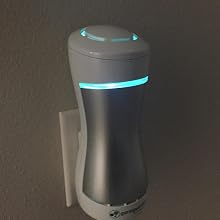
The device will then return to normal operation. Always disconnect the power during the process to ensure safety.
2 Pack 5W LB4000 Replacement Bulb | 2 Pack 3W LB1000 Replacement Bulb | |
|---|---|---|
| Customer Reviews | — | — |
| Price | — | — |
| Compatible Units | AC3800, AC4300, AC4825, AC4850, AC4900, AC5300, AC5350, AC5900, CDAP4500, CDAP5500 | GG1000, GG1100, AC3700 |