




Replacing the AC4825 device's bulb is very simple.
Power Off and Remove the Filter
- Power off the device to ensure safe operation.
- Press the top latch to open the rear cover.
- Carefully remove the internal filter and set it aside for reinstallation.
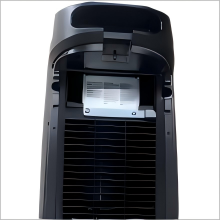
Remove the Metal Plate
- Use an appropriate screwdriver to loosen and remove the screws securing the metal plate.
- Gently lift the metal plate to expose the bulb, taking care not to damage other internal components.
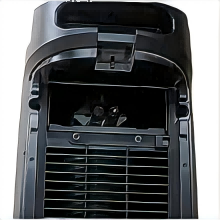
Replace the Bulb
- Gently pull out the old bulb from its socket.
- Avoid touching the bulb surface with bare hands when installing the new bulb to prevent performance issues. Secure the bulb in place and reattach the metal plate, tightening the screws.
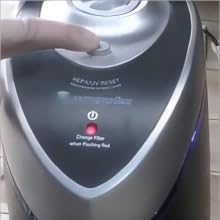
Reset the Device
- Ensure all components are properly reinstalled.
- Power on the device. The indicator light should blink red.
- Press and hold the "U-/V" button for several seconds until the indicator light turns green, indicating a successful reset. The device is now ready for normal operation.
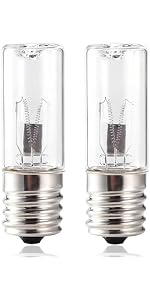 2 Pack 3W LB1000 Replacement Bulb | 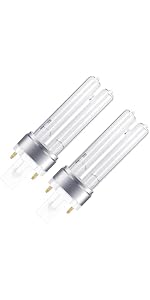 2 Pack 5W LB4000 Replacement Bulb | |
|---|---|---|
| Customer Reviews | — | — |
| Price | — | — |
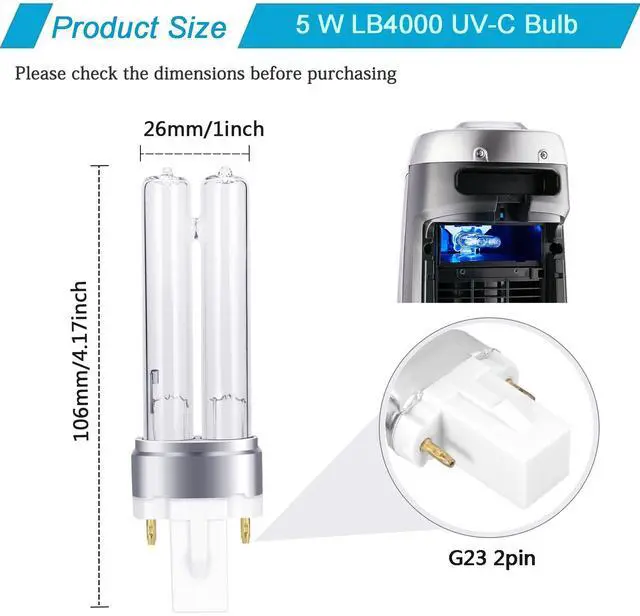
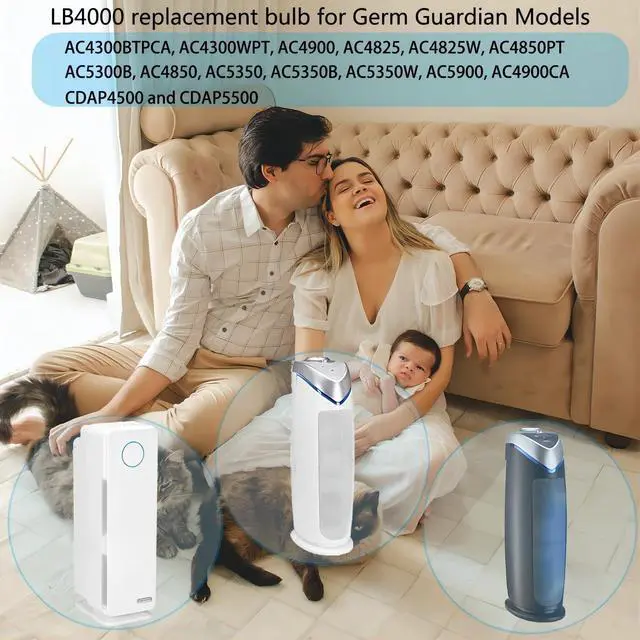
| Compatible Units | GG1000, GG1100, AC3700 | AC3800, AC4300, AC4825, AC4850, AC4900, AC5300, AC5350, AC5900, CDAP4500, CDAP5500 |
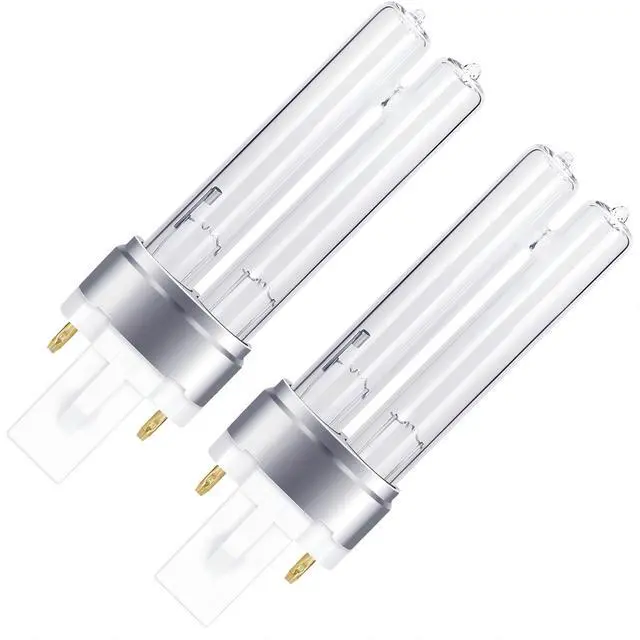
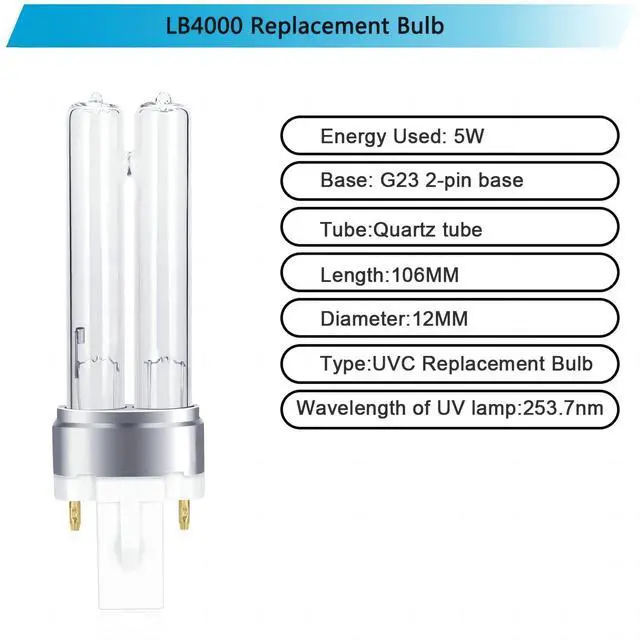
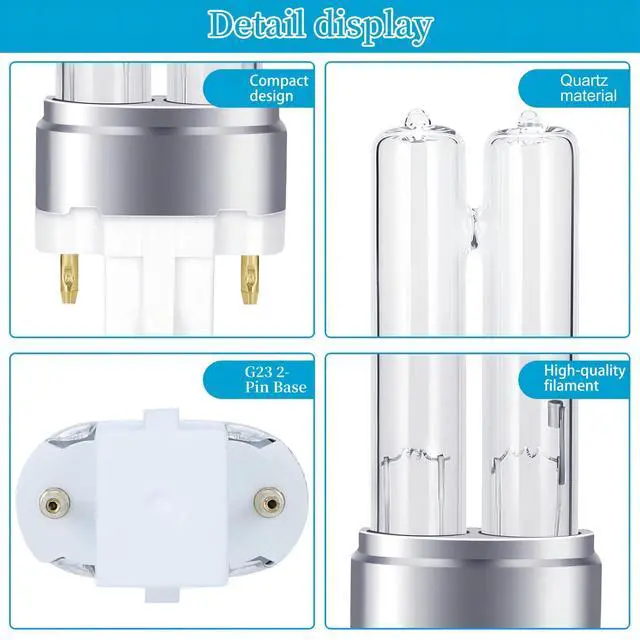
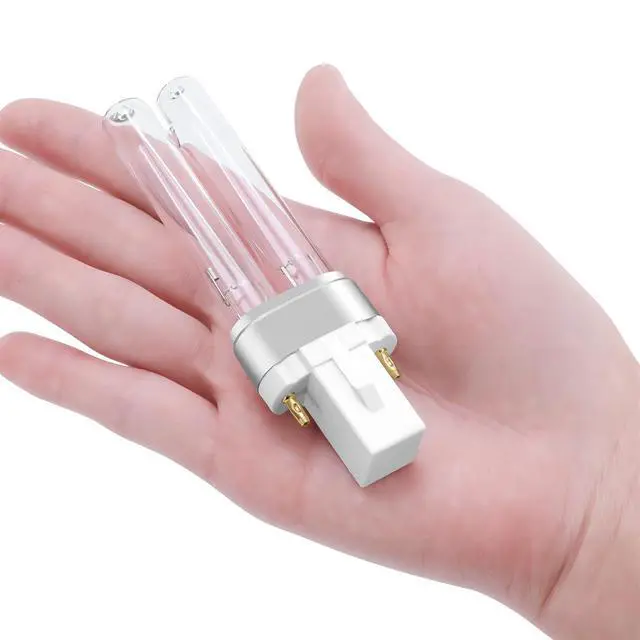
5W LB4000 Replacement Blub of Germ Guardian AC4825 AC4850PT AC4300BPTCA AC4300BPT AC4850 AC4900 AC4900CA AC4800 AC4900 We do not sell Germ Guardian brand lamps; All Germ Guardian brand names, trademarks and logos are property of Germ Guardian.
Replacing the AC4825 device's bulb is very simple.
Power Off and Remove the Filter
- Power off the device to ensure safe operation.
- Press the top latch to open the rear cover.
- Carefully remove the internal filter and set it aside for reinstallation.
Remove the Metal Plate
- Use an appropriate screwdriver to loosen and remove the screws securing the metal plate.
- Gently lift the metal plate to expose the bulb, taking care not to damage other internal components.
Replace the Bulb
- Gently pull out the old bulb from its socket.
- Avoid touching the bulb surface with bare hands when installing the new bulb to prevent performance issues. Secure the bulb in place and reattach the metal plate, tightening the screws.
Reset the Device
- Ensure all components are properly reinstalled.
- Power on the device. The indicator light should blink red.
- Press and hold the "U-/V" button for several seconds until the indicator light turns green, indicating a successful reset. The device is now ready for normal operation.
2 Pack 3W LB1000 Replacement Bulb | 2 Pack 5W LB4000 Replacement Bulb | |
|---|---|---|
| Customer Reviews | — | — |
| Price | — | — |
| Compatible Units | GG1000, GG1100, AC3700 | AC3800, AC4300, AC4825, AC4850, AC4900, AC5300, AC5350, AC5900, CDAP4500, CDAP5500 |
5W LB4000 Replacement Blub of Germ Guardian AC4825 AC4850PT AC4300BPTCA AC4300BPT AC4850 AC4900 AC4900CA AC4800 AC4900 We do not sell Germ Guardian brand lamps; All Germ Guardian brand names, trademarks and logos are property of Germ Guardian.