Your Browsing History


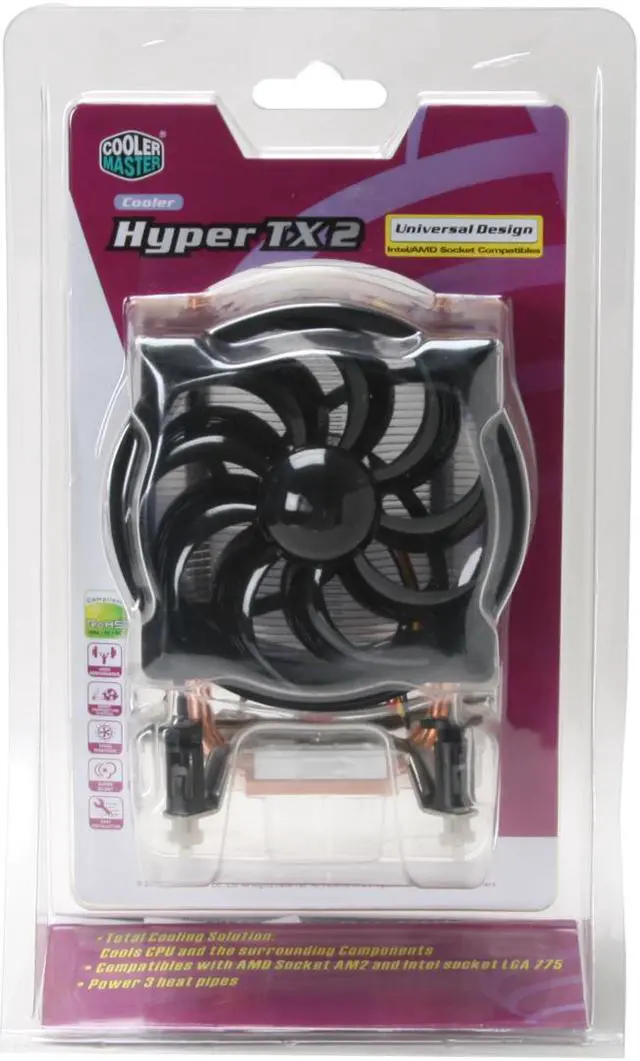


COOLER MASTER RR-CCH-L9U1-GP 92mm Hyper TX2 CPU Cooler
- 1800 RPM
- 41.76 CFM
- Aluminum Fin
Overview
Specs
Reviews (485)
Any questions? Our AI beta will help you find out quickly.
Try me now
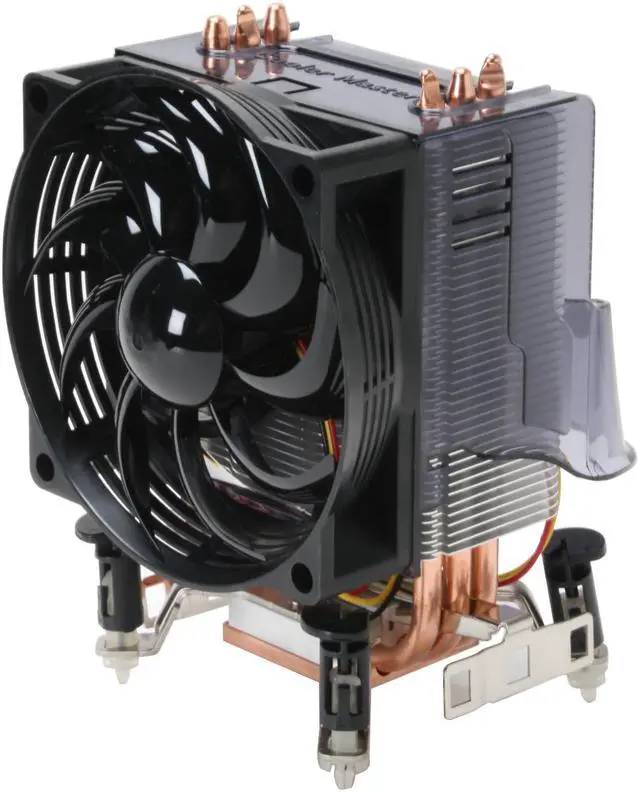
Cooler Master's total cooling solution, the Hyper TX2, cools more than just the CPU. A plastic diverter on the back of the heatsink directs exhaust air downward to blow air across the adjacent chipsets, MOSFETs and other nearby circuitry. Recent motherboard designs have been conducting surplus heat from other chipsets to this area to eliminate noisy chipset fans – making the Hyper TX2 ready for the challenge.
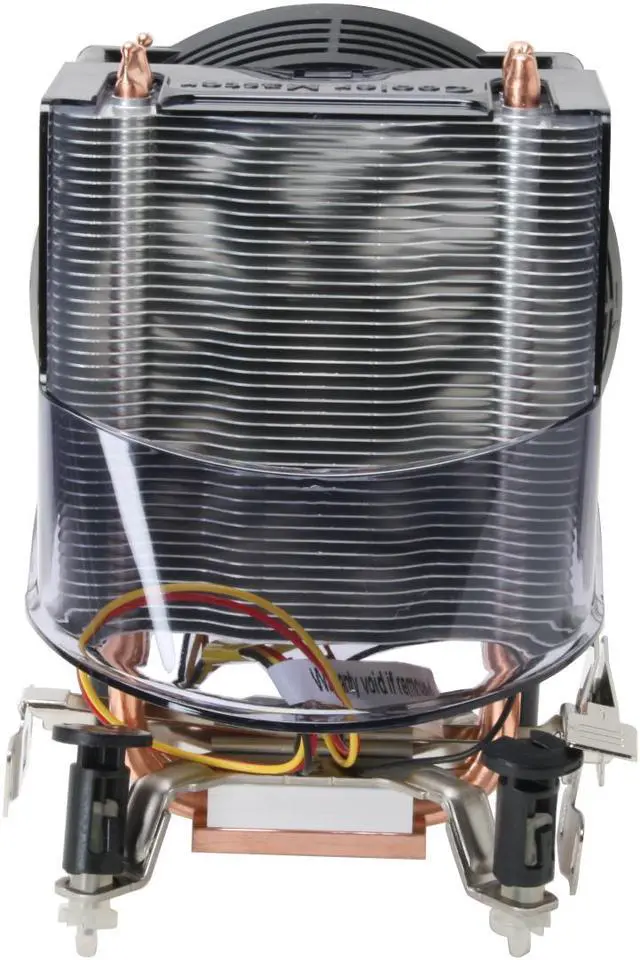
Its compact design stands less than 140mm tall fits into tighter spots and weighing only 482 grams prevents weight stress from affecting the motherboard. A 92mm fan spins at 1800 RPM to deliver over 41 CFM of cooling airflow with a whisper-quiet noise level of only 22 dBA. A trio of U-shaped copper heatpipes rise from the copper base to transfer the potentially damaging heat up to the stack of aluminum convection fins for dispersion.
The TX2 comes configured to attach to the motherboard of systems using the AMD Socket 754, 939, 940, AM2 o Intel LGA 775 processor straight from the box. The user merely needs to remove one of the appropriate, already attached mounting brackets to quickly and painlessly attach the cooler as thermal material is already applied.
 Superior Heat Dissipation and Cooling PerformanceThe extra-large copper base, 3 copper heatpipes and high-density aluminum fins maximize heat transfer and dissipation, plus a 92mm, 1800RPM cooling fan providing a complete cooling solution for the CPU and its surrounding components.
 Easy InstallationThe Cooler Master RR-CCH-L9U1-GP features tool-less clips for convenient installation without additional tools or the need to remove the motherboard from your case.
Warranty & Returns
Warranty, Returns, And Additional Information
Return Policies
- Return for refund within: 30 days
- Return for replacement within: 30 days
- This item is covered by Newegg.com's 30-Day Return Policy.
- Read full return policy for details.
Manufacturer Contact Info
- Manufacturer Product Page
- Manufacturer Website
- Support Phone: 1-888-624-5099
- Support Email: [email protected]
- Support Website
- View other products from Cooler Master
LOADING...
LOADING...