
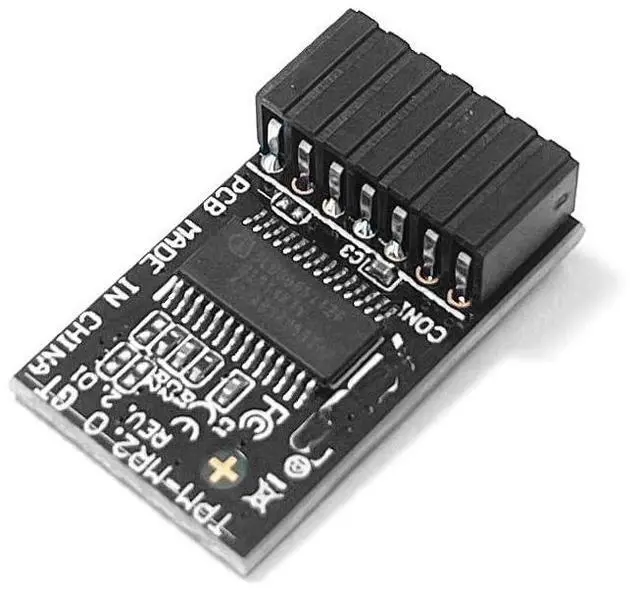
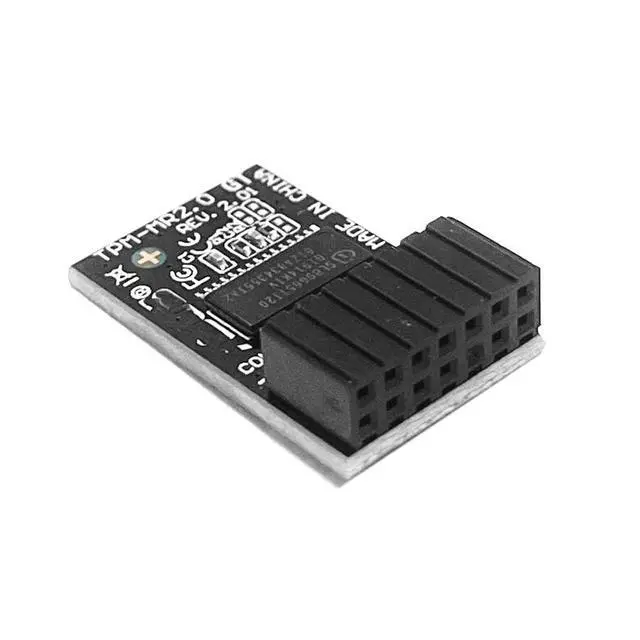
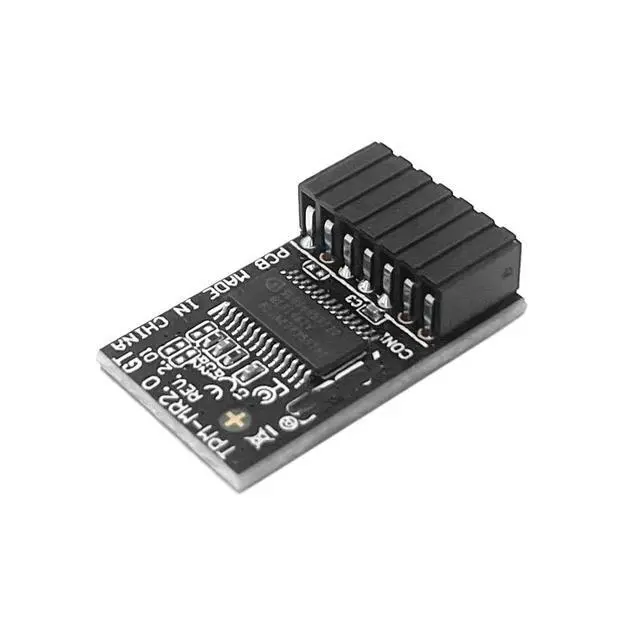

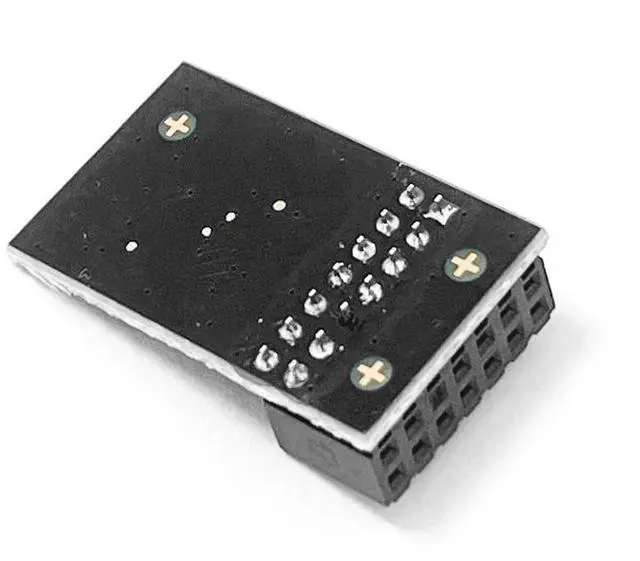


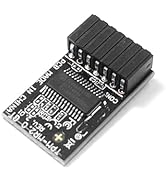
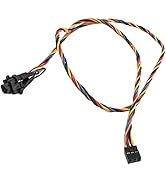
Zahara TPM-M R2.0 Module LPC 14pin-1 w/SLB9665 Replacement for ASUS
Replacement for ASUS ROG Motherboard

1
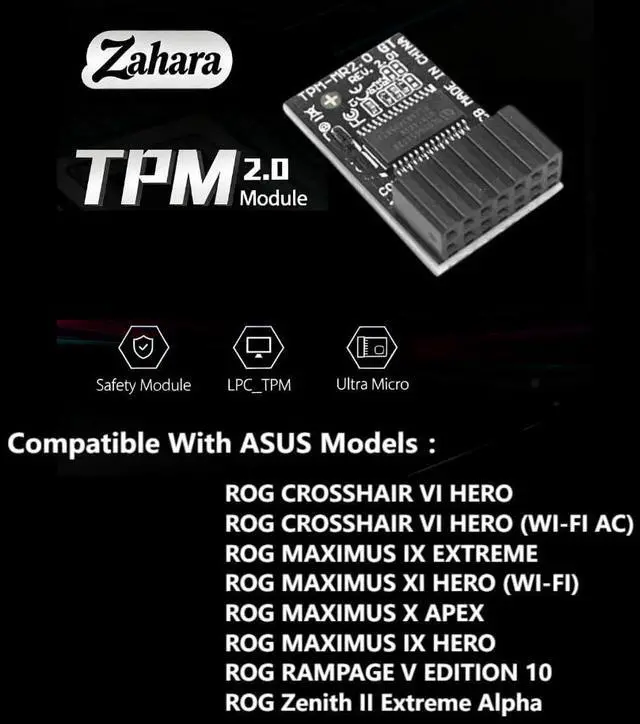
Compatible With ASUS Models :
- ROG CROSSHAIR VI HERO
- ROG CROSSHAIR VI HERO (WI-FI AC)
- ROG MAXIMUS IX EXTREME
- ROG MAXIMUS XI HERO (WI-FI)
- ROG MAXIMUS X APEX
- ROG MAXIMUS IX HERO
- ROG RAMPAGE V EDITION 10
- ROG Zenith II Extreme Alpha
Features
? Core Applications:
- a: Seamless upgrade to Windows 11: Resolve TPM 2.0 verification issues and easily upgrade to the latest operating system.
- b: Enhanced hardware-level security: Provides an independent secure encryption chip specifically designed for securely storing sensitive data (such as encryption keys, digital certificates, and login credentials), thereby enhancing overall system security.

? Important Notes:
- 1. This product is only compatible with older motherboards such as Intel and AMD. It is not compatible with newer motherboard models featuring firmware TPM, all-in-one PCs, or laptops.
- 2. The minimum hardware requirements for upgrading to Windows 11 via TPM 2.0 are as follows: a 1 GHz or faster 64-bit processor (dual-core/multi-core), 4 GB of memory, 64 GB of storage space, firmware supporting UEFI Secure Boot and TPM 2.0, a DirectX 12-compatible graphics card, and a display with a resolution of 720p or higher.
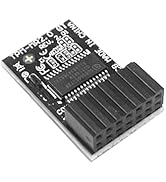
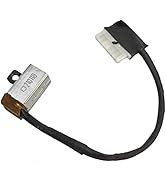
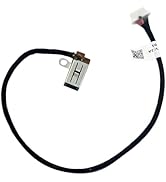
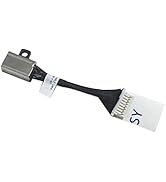
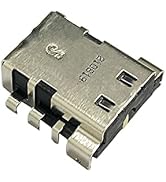
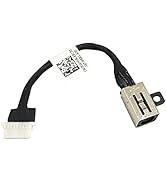
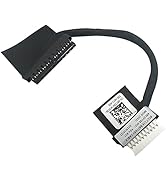
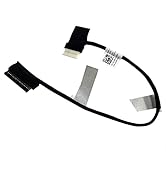
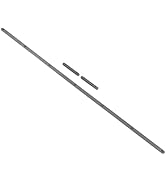
- 3. This product has a 14-pin-1 connector. Please carefully check the pin positions in the image to ensure compatibility with your motherboard before purchasing.

? How to select and install a security module:
- Confirm whether the host has TPM 2.0 or if TPM 2.0 is enabled.
- Click Run, enter: tpm.msc (Win+R keys), and check if the TPM version is ready.
- If version 2.0 is displayed but not ready, you need to configure settings in the BIOS; consult the motherboard manufacturer's custo mer ser vice.

4. Open the host and inspect the TPM pins on the motherboard. 5. When installing the module, ensure the chip-side faces inward, align with the pins, and insert fully to prevent loosening. (See image for direction)

ZAHARA
Precise matching, artisanal quality
Give your laptop a new look

In the beginning, repairing a high-end laptop, our team saw how a burnt power jack or aging cable could retire a functional device. ZAHARA exists to revive every 'sub-healthy' laptop.
We understand that Precision components extend device life. Starting from a small counter in an electronics market, our products now serve users worldwide.we rigorously select durable parts—protecting each device with expertise and passion.
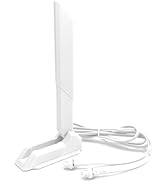
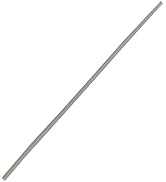
Gaming WiFi Antenna Cable


TPM2.0 Module
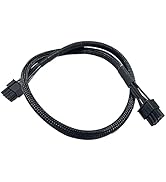
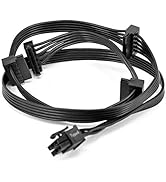
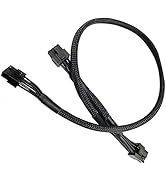
Power Supply Cable
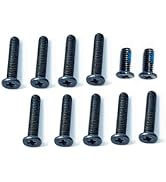
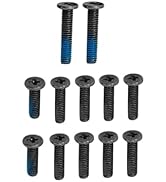
Laptop Screws
DC in Power Jack


DC in Power Jack
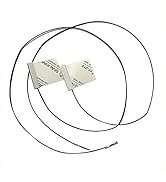
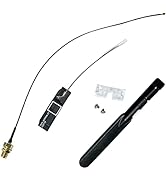
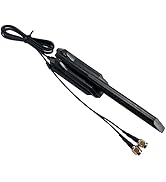
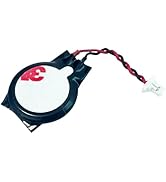
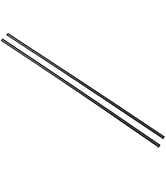
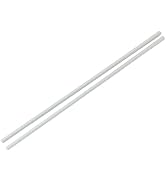
WiFi Antenna Cable

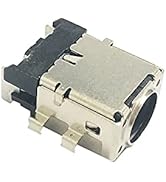
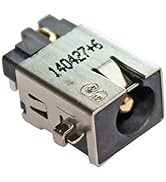
DC in Power Jack
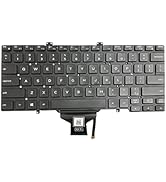
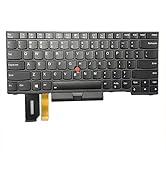
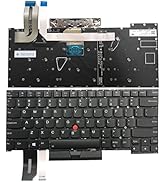
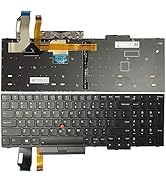
Keyboard
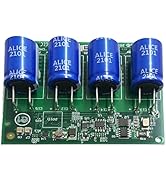
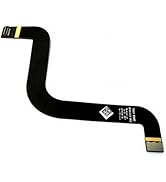
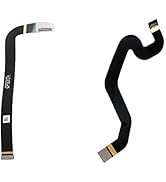
Battery Cable/Board
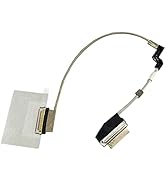
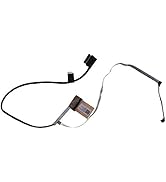
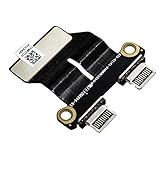
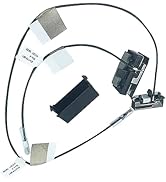
LCD Cable
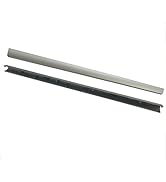
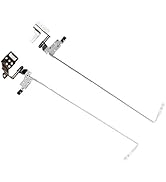
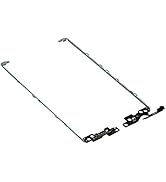
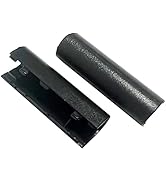
LCD Screen Hinge Bracket/Cover
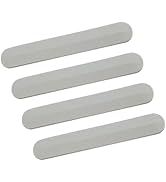
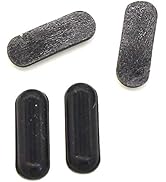
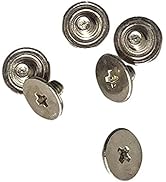
Laptop Rubber Feet
Laptop Rubber Feet

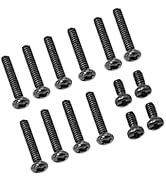

Laptop Screws


Zahara TPM-M R2.0 Module LPC 14pin-1 w/SLB9665 Replacement for ASUS
Replacement for ASUS ROG Motherboard
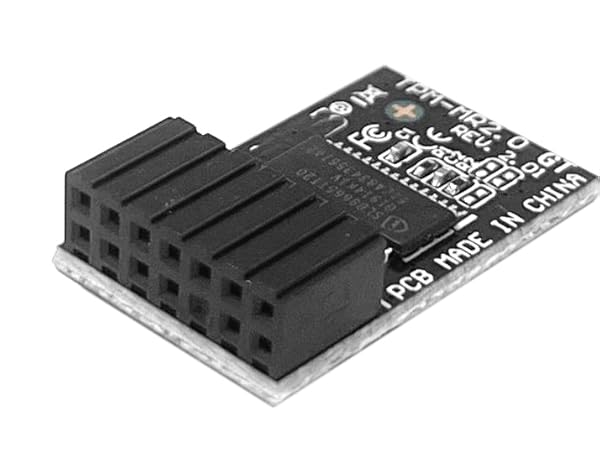
For ASUS TPM-M R2.0 14pin-1

Compatible With ASUS Models :
- ROG CROSSHAIR VI HERO
- ROG CROSSHAIR VI HERO (WI-FI AC)
- ROG MAXIMUS IX EXTREME
- ROG MAXIMUS XI HERO (WI-FI)
- ROG MAXIMUS X APEX
- ROG MAXIMUS IX HERO
- ROG RAMPAGE V EDITION 10
- ROG Zenith II Extreme Alpha
Features
| Interface | LPC |
|---|---|
| TPM IC | SLB9665 |
| TPM Version | TPM 2.0 |
| Pin Connector | 14pin-1 |
| Compatible | For ASUS TPM-M R2.0 |
? Core Applications:
- a: Seamless upgrade to Windows 11: Resolve TPM 2.0 verification issues and easily upgrade to the latest operating system.
- b: Enhanced hardware-level security: Provides an independent secure encryption chip specifically designed for securely storing sensitive data (such as encryption keys, digital certificates, and login credentials), thereby enhancing overall system security.
? Important Notes:
- 1. This product is only compatible with older motherboards such as Intel and AMD. It is not compatible with newer motherboard models featuring firmware TPM, all-in-one PCs, or laptops.
- 2. The minimum hardware requirements for upgrading to Windows 11 via TPM 2.0 are as follows: a 1 GHz or faster 64-bit processor (dual-core/multi-core), 4 GB of memory, 64 GB of storage space, firmware supporting UEFI Secure Boot and TPM 2.0, a DirectX 12-compatible graphics card, and a display with a resolution of 720p or higher.
- 3. This product has a 14-pin-1 connector. Please carefully check the pin positions in the image to ensure compatibility with your motherboard before purchasing.
? How to select and install a security module:
- Confirm whether the host has TPM 2.0 or if TPM 2.0 is enabled.
- Click Run, enter: tpm.msc (Win+R keys), and check if the TPM version is ready.
- If version 2.0 is displayed but not ready, you need to configure settings in the BIOS; consult the motherboard manufacturer's custo mer ser vice.
4. Open the host and inspect the TPM pins on the motherboard. 5. When installing the module, ensure the chip-side faces inward, align with the pins, and insert fully to prevent loosening. (See image for direction)
ZAHARA
Precise matching, artisanal quality
Give your laptop a new look
In the beginning, repairing a high-end laptop, our team saw how a burnt power jack or aging cable could retire a functional device. ZAHARA exists to revive every 'sub-healthy' laptop.
We understand that Precision components extend device life. Starting from a small counter in an electronics market, our products now serve users worldwide.we rigorously select durable parts—protecting each device with expertise and passion.
Gaming WiFi Antenna Cable
TPM2.0 Module
Power Supply Cable
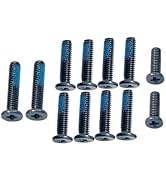
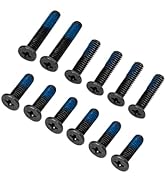
Laptop Screws
DC in Power Jack
DC in Power Jack
WiFi Antenna Cable
DC in Power Jack
Keyboard
Battery Cable/Board
LCD Cable
LCD Screen Hinge Bracket/Cover
Laptop Rubber Feet
Laptop Rubber Feet
Laptop Screws