
When I heard I was going to be testing a 3D pen, I experienced harrowing flashbacks to grade school art class— self-portraits that looked like a surrealistic horror creature, watercolor paintings of flowers that looked more like a Jackson Pollock splatter painting— the list goes on. I thought I was an artistically lost cause, but my recent experiences with the 3Doodler Start Architecture Set made me change my mind. Not only did it make me feel more empowered as an artist, but it also opened my mind to the exciting world of maker culture.
3Doodler Background
3Doodler Start is a creation of Wobbleworks, Inc, a company based out of Boston, MA. Wobbleworks created the first 3D Printing Pen, the 3Doodler, in 2012. Enticing consumers with its revolutionary design—a 3D printer in pen form that extruded a heated plastic that quickly cooled and hardened into a stable building material—the 3Doodler became a Kickstarter sensation, raising over $2 million on an initial target of $30,000.
The 3Doodler is one of many innovations, like the Raspberry Pi and full-size 3D Printers, that have sparked massive interest and growth in “maker culture.” Makers revel in engineering-focused projects like creating new devices or tinkering with old ones, and then sharing their ideas and creations with the DIY community. One of the beauties of the maker culture is the absence of any limitation to what can be created— if you can design it, you can build it. Thanks to the 3Doodler being much more affordable and compact (not to mention user-friendly) than a regular 3D printer, maker culture is now accessible to an even wider audience. Despite the progress made in democratizing the maker scene, Wobbleworks still went a step farther to broaden the landscape even more.
To reach a younger demographic, Wobbleworks later released the 3Doodler Start, a kid-safe version of their signature product, designed for ages eight and up. Unlike most other 3D printing pens, the Start has no hot parts, and uses is a proprietary non-toxic material called Eco-Plastic for drawing. Eco-Plastic is to the 3Doodler Start as ink is to a regular pen: it is the substance the pen disperses for drawing and writing, and is available in many colors. For ease of use, the 3Doodler Start is only one speed, as opposed to the multiple speeds found on the other 3Doodler models.
The 3Doodler Start is part of a larger ecosystem known as STEM (Science, Technology, Engineering, and Mathematics) toys , a class of toy focused on nurturing creativity and teaching skills like logic and problem-solving, which often leads into a greater interest in the maker community.
3Doodler has produced a line of kits for the 3Doodler Start, each aimed at honing different disciplines and skills within the STEM field. I tested three sets for this review: the Essential Set, focused on the fundamentals of 3D drawing and inspiring creativity, planning, building, and special understanding; the Architecture Set, specialized on the basics of city planning and architectural principles; and the Robotics Set, designed for children looking to take the next step into engineering and robotics. Each kit includes the 3Doodler Start pen, a themed activity guide, packs of colored Eco-Plastic, and a micro USB charging cable. The contents of the activity guide differs depending on the set, though each guide includes the same two simple beginner activities to acclimate you to drawing in three dimensions: a cube and a 3D signature. Since my experience with 3D printing pens was negligible, I thought it best to start with the Essentials Set.
Essentials Set: Learning to Draw in 3D

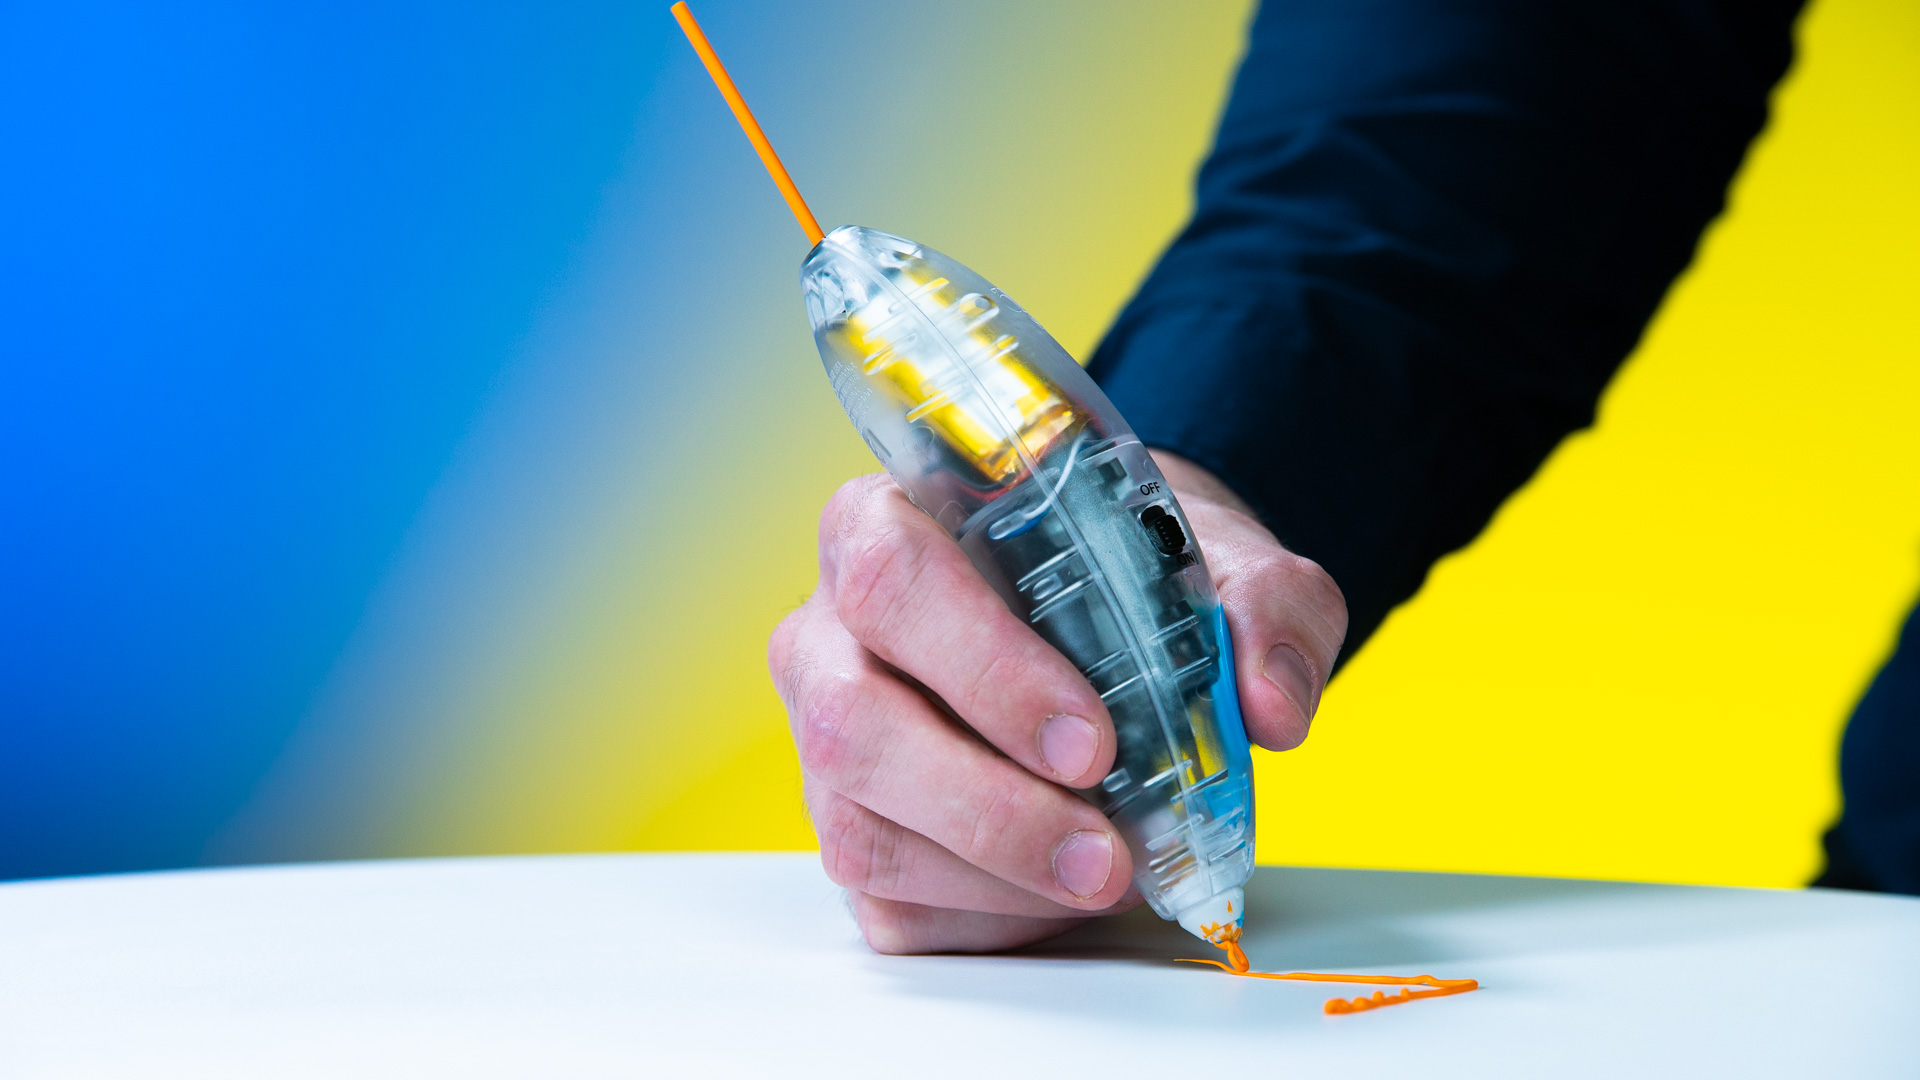
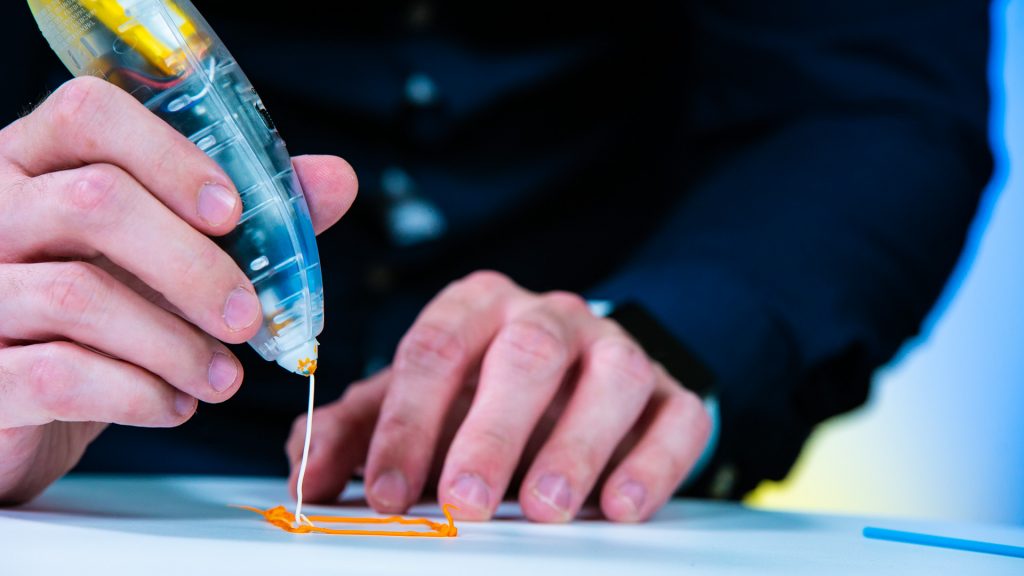
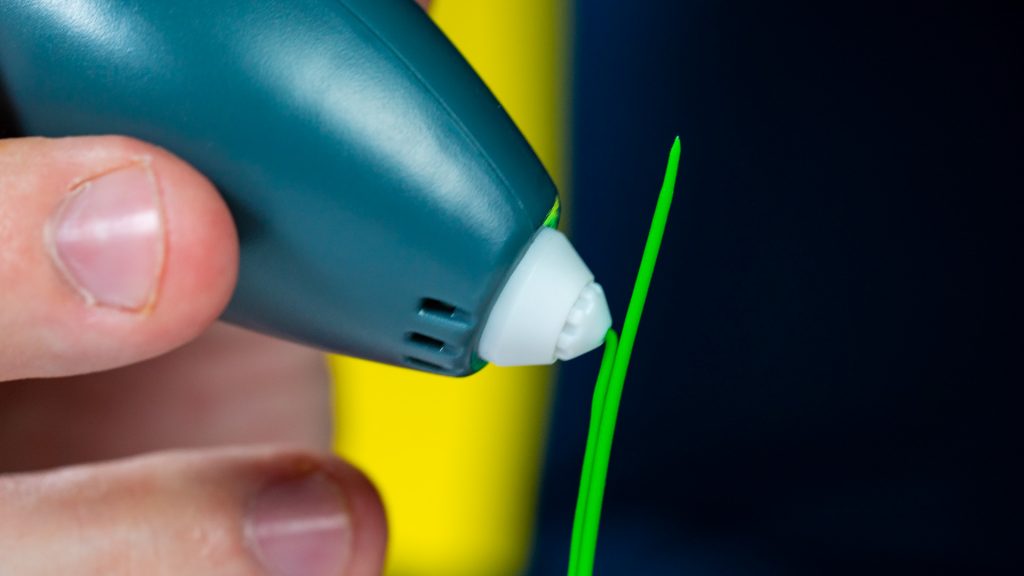
With its primary audience being children, Wobbleworks has designed the 3Doodler Start to be as easy to operate as possible. The pen can be used wire-free thanks to its rechargeable battery. The company quotes a battery life of 45-60 minutes, which proved accurate throughout my time with the pen. To start, you simply insert a strand of Eco-Plastic into the top of the pen and flick the power switch on. Each strand of Eco-Plastic provides about 60 inches of doodling. Upon powering up the pen, it takes about one minute to warm up, indicated by a red LED. When the pen is ready to be used, the LED turns green. When plugged in using the included micro USB cable, the LED glows yellow, meaning the pen is charging. To begin drawing, you simply click the large button on the front of the pen and the plastic begins extruding automatically from the tip; clicking the pen again stops the flow of plastic, and double-clicking reverses the strand through the back of the pen if you want to swap in a different color strand of Eco-Plastic.
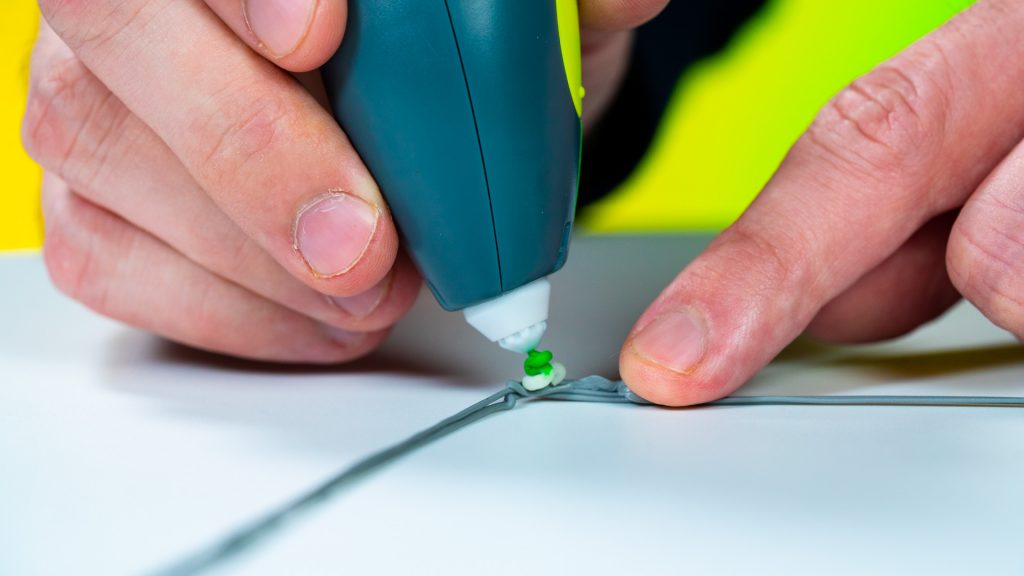
I kicked off my artistic awakening with the basic projects outlined in the Essentials Set activity guide – the cube and signature – before attempting my own creation. The cube taught me the importance of working on one segment of my creations at a time and drawing in the air by first “anchoring,” or sticking, my drawing to a surface and then slowly moving the pen off the surface, giving it about 10-15 seconds to harden before moving onto the next line or segment. The 10-15 seconds also gives you time to mold and shape the plastic if you want to make some tweaks to your designs. When I finished the beginner projects, I felt prepared to create my own doodle based on the fundamentals I learned. In the spur of the moment, I decided I would try to make a heart in the same style as my 3D signature. I was surprised and pleased that I came out with a decent-looking one on the first try.
I went on to the Activity Guide’s stencils next. I started with a pair of glasses, since it didn’t require much fine line work and only had 3 pieces: the frame and the two temples. Something that took longer for me to pick up was just how much pressure I should apply to the paper and how long I should let the plastic dispense before continuing my drawing. My next project was a butterfly, which consisted of the body and the two wings. This is where I became more comfortable using the pen and stencils.I was able to judge how much plastic to use before moving between sections. I only ended up only using four strands on the butterfly, and that was only because I used three different colors.
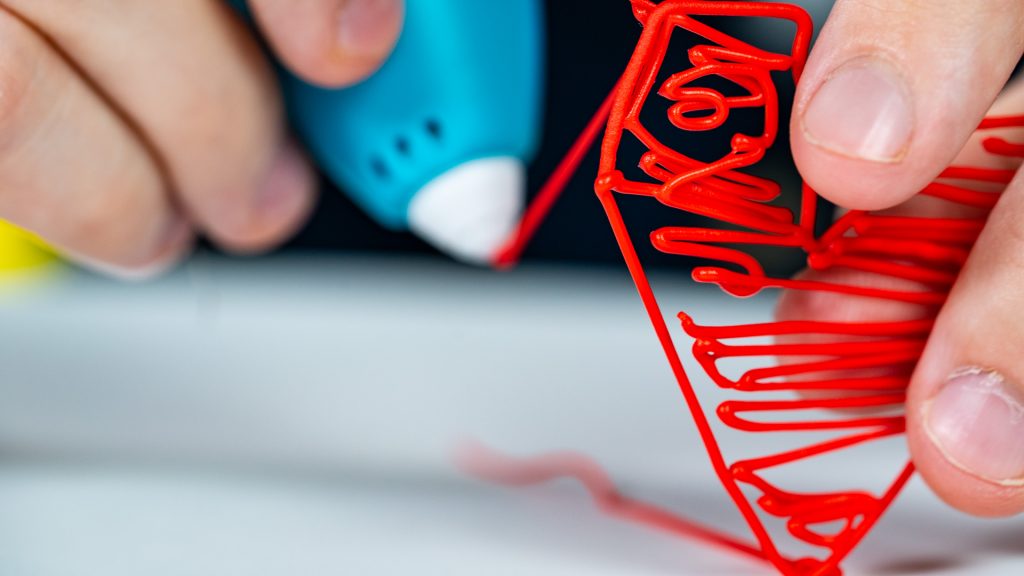
My pièce de résistance for the Essentials Set was the 3D Eiffel Tower. It was my most ambitious project so far, combining the 3D construction skills I learned from the glasses with the delicate line work I developed while building the butterfly. The Eiffel Tower was by far the toughest project I worked on in the Essentials Set, with all the small lines on the building crisscrossing each other. I had to learn to how to make small enough lines to preserve detail without the plastic congealing together and coming out like a blob. After a few botched attempts, I finally found a good balance of making small lines that were still sturdy and kept the fine detail. Now that I had completed my own little piece of Paris, I figured I would add more famous landmarks to my collection, which brings me to the Architecture Set.
Architecture Set: Become the Mayor of Your Own City
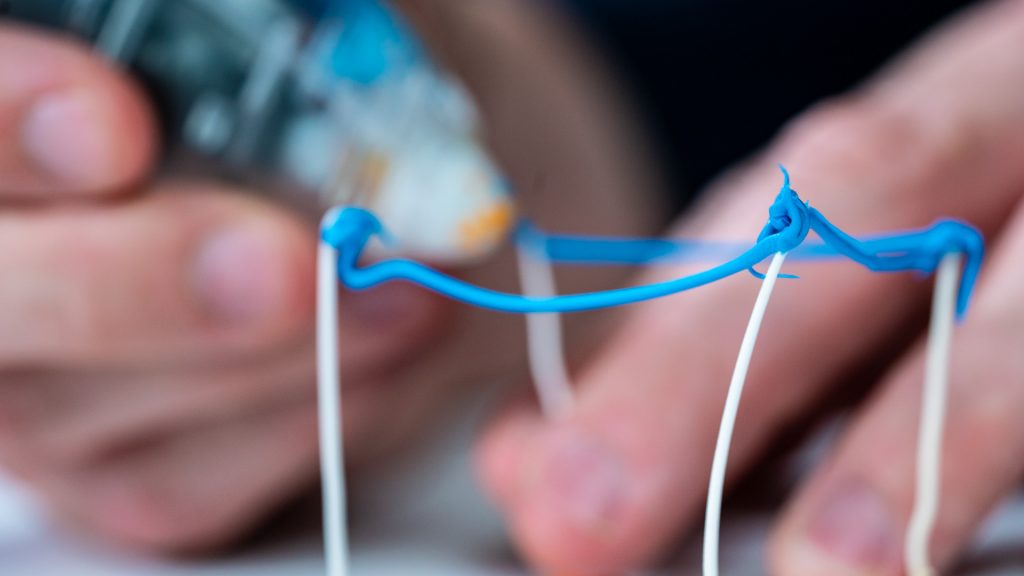
The Architecture Set is themed around building your own little city, starting with stencils of landmarks like the Leaning Tower of Pisa and Golden Gate Bridge included in the activity guide. The kit also includes an LED light-string to brighten up your mini metropolis, and cylindrical “DoodleMolds” for drawing around to create perfect cylinders.
I figured the Leaning Tower would be a good place to start, as it was composed of only a few large pieces and because I wanted to go with a European theme for my town since I already constructed the Eiffel Tower. I made a good-looking tower on my first try; now I was getting the hang of things.
I finished things up by building a little Roman Colosseum, which once again put my detailing skills to the test. Now that I had a nice little gladiatorial combat venue, I was ready to set up my city. I set my buildings on my dining room table—colosseum as the centerpiece, flanked by the Eiffel Tower and Leaning Tower on each side—and strung up the LED lights. I switched off my apartment’s lights and looked down upon my empire. Yes, I was home alone when I did all this. I’d be lying if I said it wasn’t a good time, though.
Robotics Set: For the Budding Tony Stark
Finally was the Robotics Set, which took things beyond simply drawing in 3D; now I would have apply my newfound 3doodling skills for engineering and robotics projects. I have zero experience in either of those fields, so this was venturing into uncharted territory for me.
The centerpiece of this kit is the included motor and battery pack, which serve as the core of whatever robot you create, imbuing it with the power to walk around. This kit also comes with “DoodleBlocks,” which effectively serve as stencils for tracing out robot parts. The Activity Guide provides step-by-step instructions for creating five different walking robots, featuring two, four, or even six legs. 3Doodler has also created instructional videos that display how to construct each robot in greater detail. I found the videos to be a big help, as they helped clarify what some of the Activity Guide’s illustrations were asking me to do.
I constructed “Beast, the 4-Legged Robot.” This was by far the most difficult project I worked on yet. Not only do you trace out pieces from the Activity Guide, but you also must craft parts with the DoodleBlock and draw on the motor itself It took me almost an hour until I reached a point where I was satisfied with Beast’s appearance and performance. I could see this as a project where children may need to get help from a parent, at least to get started. It’s a challenge that pays off though; when I saw my creation walking around for the first time, I felt a great sense of pride. I gained a sense of confidence in my ability to learn engineering and robotics skills; no longer were they the domain of super-geniuses or comic book heroes like Tony Stark. I think that was the most powerful takeaway from my time with the 3Doodler Start.
Taking Your Creativity to the Next Level with a 3D Pen
So, what can kids do when they’ve gone through all the activities in the various sets? For some additional creative inspiration, the 3Doodler website hosts a vibrant curated community page, where you can find more stencils, tips, tutorials, and videos.
Wobbleworks also outlines some other doodling ideas: if you want to further customize your creations you can paint over the Eco-Plastic with acrylic or other paiting media. 3Doodler’s child-safe low heat design even permits drawing directly on skin to create perfectly-sized wearables, like bracelets, masks, and earrings. You can also draw on plastic toys like Legos, dolls, and action figures to give them your own personal touch.
Empowering a New Generation of Makers
I wasn’t the only one impressed with the 3Doodler Start; it gave off an instant wow factor when I showed it off. I had a friend come over the other day who noticed the eyeglasses I created. He inquired about where I got them, and when I told him I made them I thought his eyes were going to pop out. I showed him the 3Doodler Start and he was amazed; he didn’t even know 3D printing pens existed, let alone that they worked as well as this one. The 3Doodler Start may be aimed at children, but I think the act of drawing in the air and creating 3D objects can imbue anyone with a sense of childlike wonder.
My time with the 3Doodler Start lit a creative fire under me. I’m more interested in maker culture now; disciplines that seemed out of reach and completely outside my wheelhouse—like designing, building, and programming my own creations—are now challenging but fun and attainable skills. I wish this kind of 3D pen existed when I was a kid, I think my creativity would be far more robust today if I had one.
Featured in this article:
3Doodler Essentials Set 3D Pen- $49.99
3Doodler Robotics Set 3D Pen- $49.99
3Doodler Architecture Set 3D Pen- $49.99