To build a stable and scalable server in 2025, start by identifying your workload and selecting server components that balance performance, efficiency, and upgrade flexibility. This guide walks you through each step to help you make informed decisions for building a reliable server, whether it’s for a business, a home lab, or a data center. Each component has a critical role to play—from processing and memory to storage, power, and management. Selecting them correctly can mean the difference between a smooth operation and a system bottleneck.

Step 1: Define Your Workload and Choose the Right CPU
Before choosing any component, clearly define your server’s primary use case. Are you building a file server, database server, virtualization host, or an AI inference node? These applications vary in compute intensity and parallel processing needs.
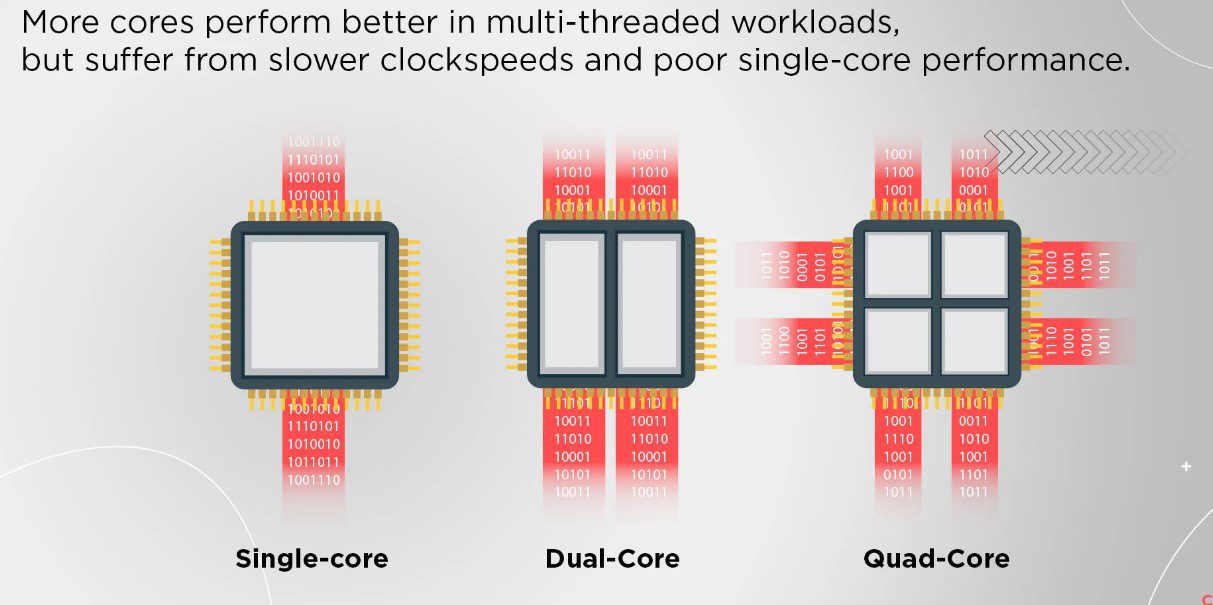
For compute-heavy applications such as virtualization or data analytics, opt for high-core-count processors like AMD EPYC or Intel Xeon. In 2025, these server CPUs commonly offer 16 to 64 cores per socket, with advanced power management and built-in security features. Also consider thermal design power (TDP) ratings and socket compatibility.
Clock speed still matters for latency-sensitive applications like gaming servers or real-time analytics. Consider CPUs with higher base and turbo boost speeds, alongside large L3 caches for reduced memory fetch times.
Step 2: Consider AI Accelerator Cards for ML and Inference Tasks
If your server will run machine learning, AI inference, or large-scale data analytics, AI accelerator cards can provide significant performance improvements. Options include NVIDIA H100 Tensor Core GPUs, AMD Instinct MI300 series, or dedicated AI inference cards like Intel’s Gaudi or PCIe-based FPGA accelerators.
These accelerators are optimized for matrix operations and deep learning models, offloading tasks from the CPU to massively parallel compute engines. Ensure your power supply and cooling solution are ready to support these high-power cards.
Your motherboard must also provide sufficient PCIe Gen 4 or Gen 5 bandwidth and support for bifurcation if installing multiple cards.

Step 3: Determine the Memory Requirements for Your Server
RAM plays a vital role in multitasking and efficient data access. Estimate the maximum memory requirement based on your applications and user concurrency. For instance, running multiple virtual machines may require 128GB or more.
Always opt for ECC (Error-Correcting Code) memory in server environments to catch and correct data corruption. DDR5 RAM is now widely supported in enterprise server boards, and early DDR6 adoption is appearing in high-performance setups.
Ensure the motherboard supports multi-channel memory configurations (quad-channel or higher), and leaves enough DIMM slots for future memory expansion.
Step 4: Select Storage Based on Speed, Capacity, and Redundancy
Different storage solutions are suited to different workloads. Use fast NVMe SSDs connected via PCIe Gen 4 or Gen 5 lanes for databases or high-I/O workloads. For mass file storage or archival, SATA SSDs or HDDs are more cost-effective.
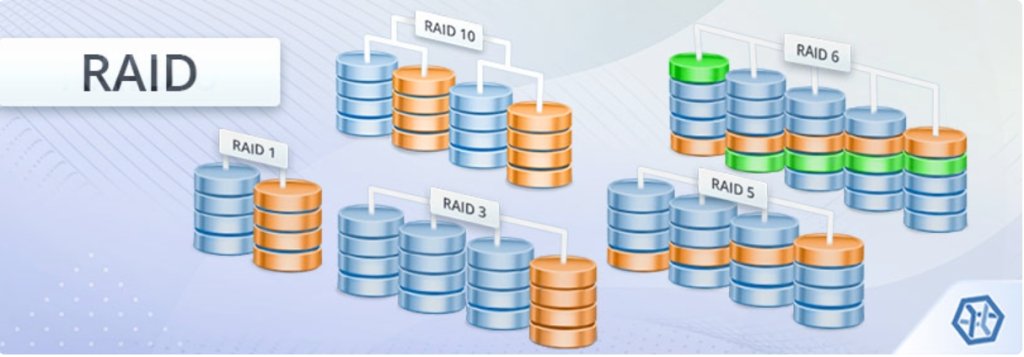
RAID configurations (RAID 1, 5, 10) provide data protection through redundancy. Use hardware RAID cards with onboard cache for large RAID arrays, or leverage software RAID for budget builds.
Consider hot-swap drive bays and redundant backplanes if your system must stay online during maintenance.
Step 5: Pick the Right Network Configuration for Your Server’s Traffic Load
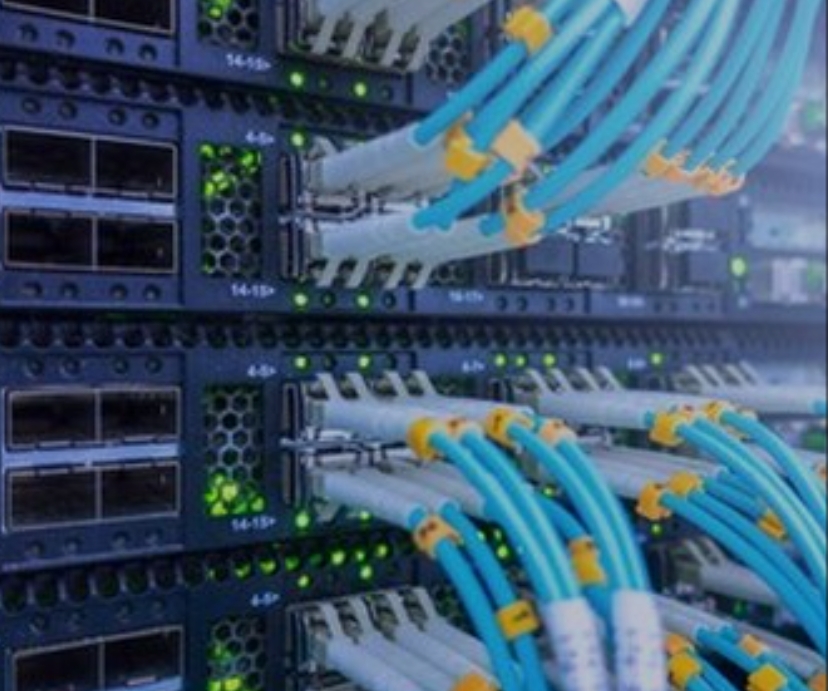
Your server’s network interface must support your bandwidth needs. While 1GbE ports remain common, modern workloads often require 10GbE or 25GbE connections. Ensure NICs support link aggregation and failover.
Use dedicated NICs for virtual machines or isolated services to enhance performance and security. If building a cluster, consider using Infiniband or RDMA-compatible adapters for ultra-low-latency communication.
Step 6: Calculate Your Power Needs and Choose a Reliable PSU
Servers consume more power than desktops, especially under full load. Calculate total wattage of your system, add a 20–30% overhead for safety, and select a PSU accordingly. Use online calculators or tools provided by PSU manufacturers.
Choose PSUs with 80 PLUS Platinum or Titanium certification to maximize energy efficiency and minimize heat. For mission-critical environments, select a redundant PSU system so one unit can take over if the other fails.

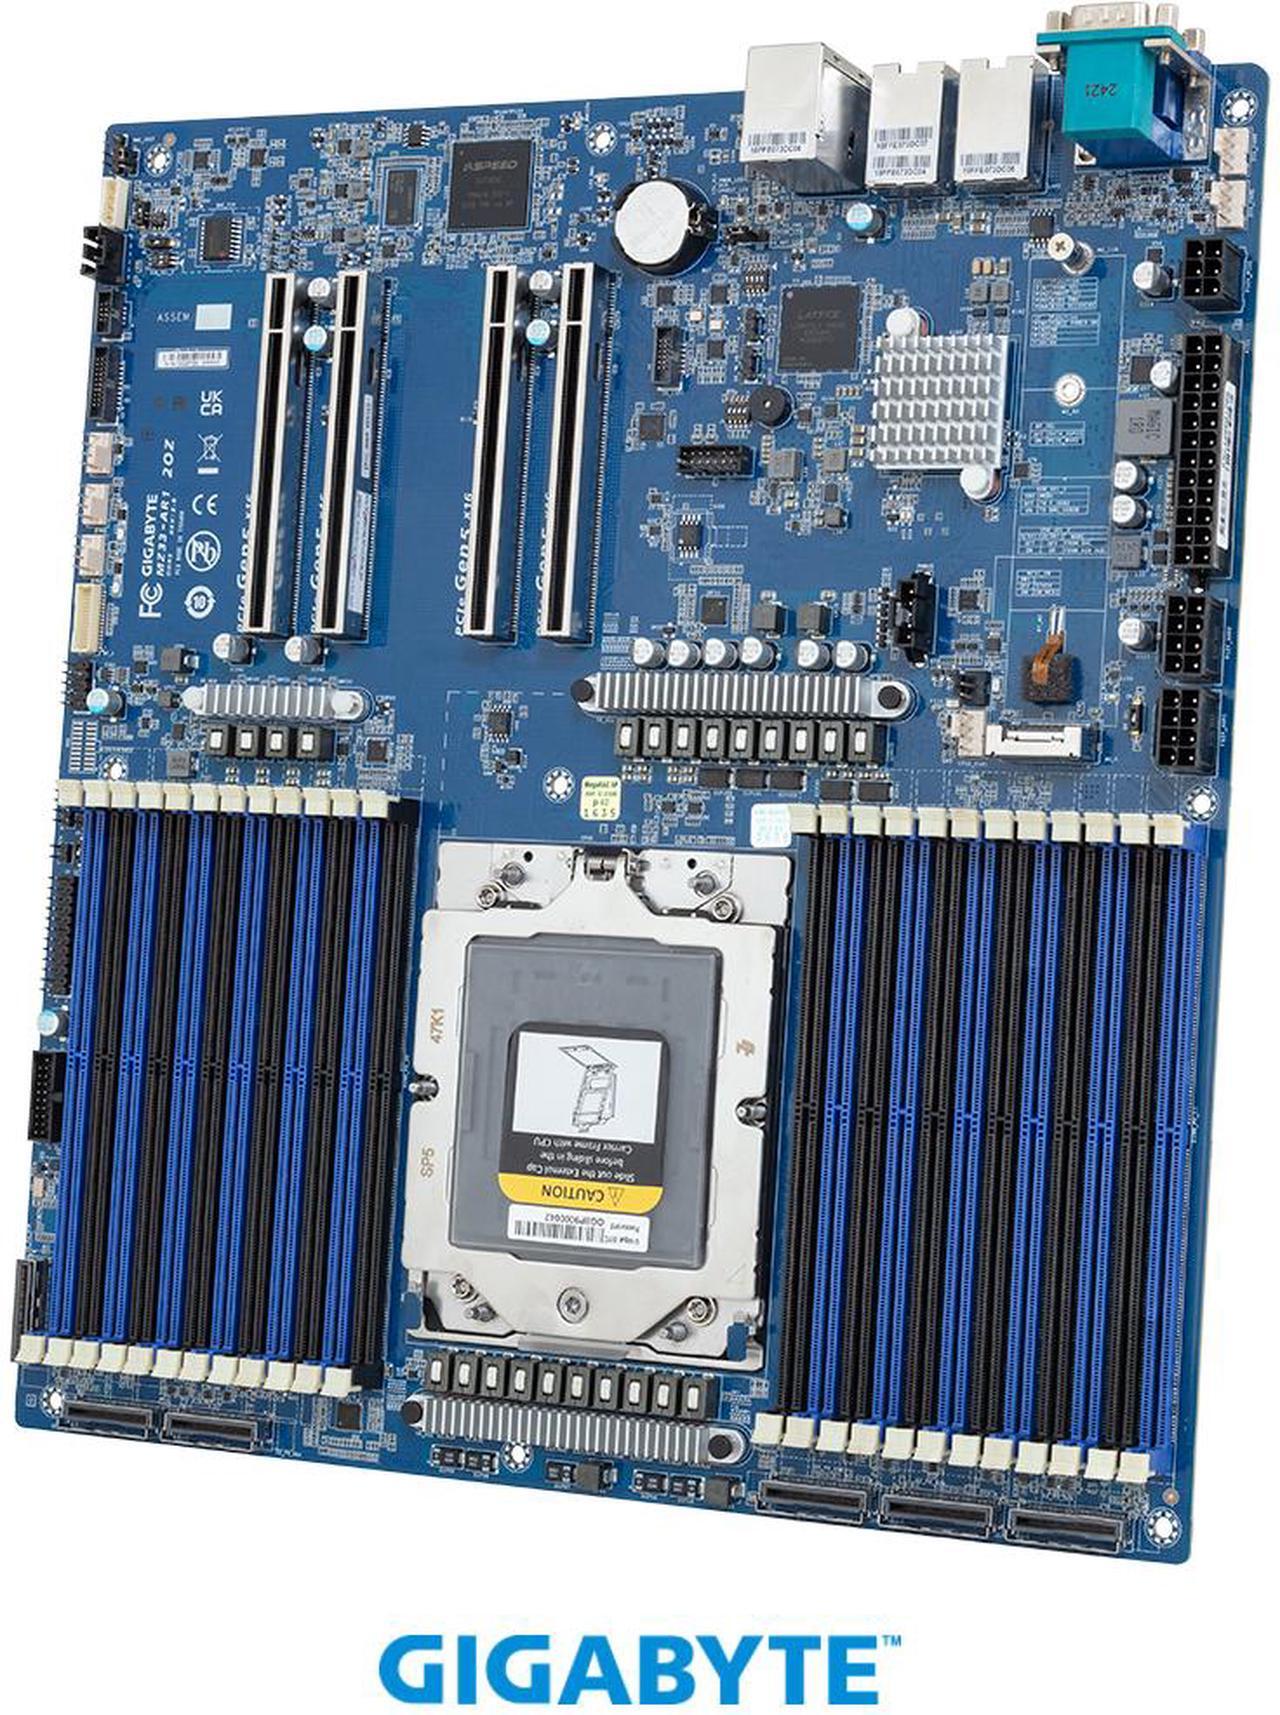
Step 7: Ensure Motherboard Compatibility with All Major Components
Your motherboard must support the chosen CPU socket, memory type and speed, and offer enough I/O options for your storage and expansion needs. Look for boards with IPMI (Intelligent Platform Management Interface) or BMC (Baseboard Management Controller) support for remote diagnostics and reboots.
Check for integrated RAID, dual Ethernet, USB headers, and multiple PCIe lanes. For larger deployments, EEB or SSI-EEB form factor motherboards provide extra space and features.
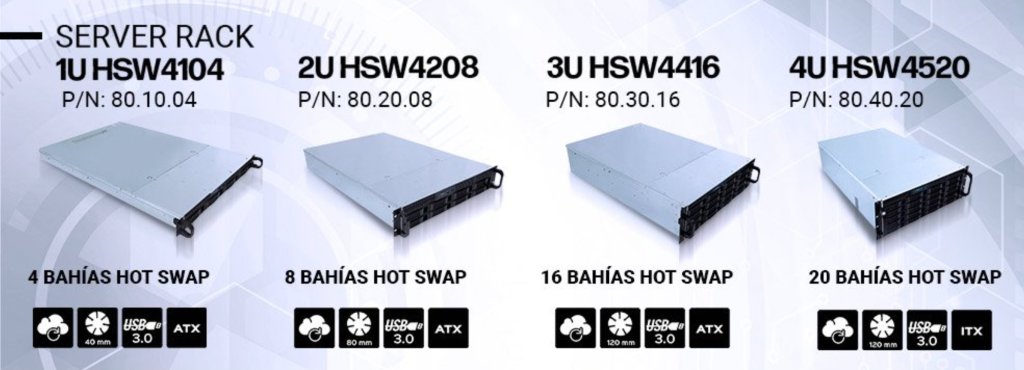
Step 8: Choose a Chassis with Proper Cooling and Expansion Room
Chassis size and airflow are often overlooked but critical. Rack-mounted chassis (1U, 2U, 3U & 4U) are ideal for data centers, while tower cases are more common in smaller offices or labs.
Ensure there’s space for all components, including GPUs, RAID cards, or additional NICs. Use high-static-pressure fans, cable management brackets, and airflow channels to maintain cooling efficiency.
Step 9: Include Remote Management Tools for Better Control
Remote management saves time and enables 24/7 monitoring. Choose a motherboard with built-in IPMI or iKVM. These tools allow BIOS-level access, remote OS installation, power cycling, and hardware monitoring—even if the OS is down.
In multi-server deployments, centralized monitoring tools like Redfish or vendor-specific dashboards streamline maintenance.
Step 10: Plan for Future Upgrades to Avoid Bottlenecks
Servers are long-term investments. Select motherboards and chassis that leave headroom for RAM, SSDs, and NIC expansion. Modular PSUs, extra PCIe slots, and M.2 slots also contribute to future-readiness.
Avoid locking into dead-end platforms. Choose CPU sockets and chipsets expected to receive at least two more generations of updates.
Step 11: Purchase from Brands with Strong Support and Warranty
Enterprise hardware needs solid after-sale service. Choose brands like Supermicro, ASUS, Gigabyte Server for reliability and firmware longevity.
Verify warranty terms, replacement part availability, and whether the vendor offers next-business-day support in your region.
Tools to Help You Build the Ideal Server
If you’re unsure where to begin or want to streamline your server-building process, Newegg offers several helpful tools tailored for different stages of planning and configuration. The Server Configurator allows you to build a custom server setup based on your exact performance needs. For broader infrastructure planning, tools like NAS Builder, Network Builder,can assist in choosing the best-fit components quickly and intelligently. These utilities are designed to simplify hardware decisions, especially for users building complex or high-availability systems.
Related Posts
- Upgrading from AM4 to AM5: A Step-by-Step Guide Around the $329 Ryzen 7 7700X3D
- Gaming Laptops Under $1,500: Which Type of Player Are You?
- Best Gaming Benchmark PCs for Everyday Play: What to Look For
- Best 2TB NVMe SSDs Right Now: Smart Buys in a Rising Market
- The Best GPU for Your New Ryzen 7 7700X3D: Three Builder Scenarios