Despite its abundance of moving parts, the fact that your PC is usually sitting in one location for long stretches of time means its internal components are susceptible to dust buildup. External peripherals like keyboards and monitors can become dirty over time as well, which makes routine maintenance and cleaning an essential part of PC ownership.
 In this guide, we’ll explain the best practices and recommended tools for the properly maintaining and cleaning of both internal and external PC components. It’s not always necessary to give your PC a full scrub down, but taking the time to properly clean more sensitive components can go a long way in ensuring their longevity.
Essential Tools And Best Practices
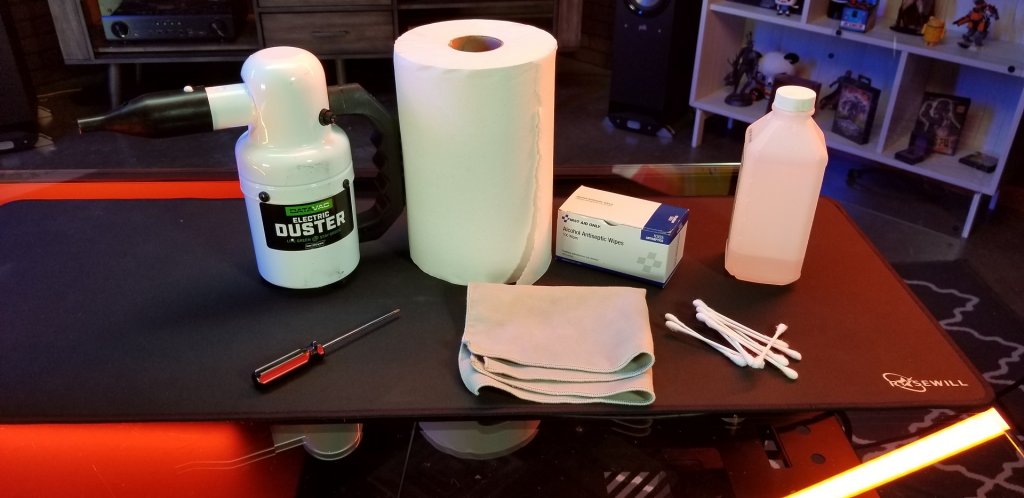
Depending on your PC’s layout and your specific cleaning needs, you don’t need to have all of the following tools. However, the more of them you have (or are willing to get), the better.
- A screwdriver (this is really only needed for case screws or screws holding in components like the graphics card or hard drive)
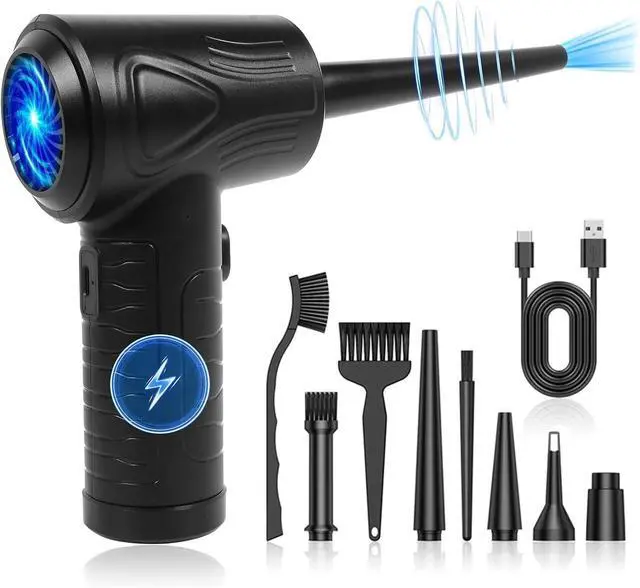
- A can of compressed air
- Cotton swabs (Q-tips preferably)
- Isopropyl alcohol (basic rubbing alcohol can work too)
- A cleaning cloth
- Thermal paste (only needed if you want to clean and/or reseat your CPU)
Once you’re ready to start cleaning your PC, unplug it from its power source and, just to be safe, flip the power switch off.
Cleaning External Components
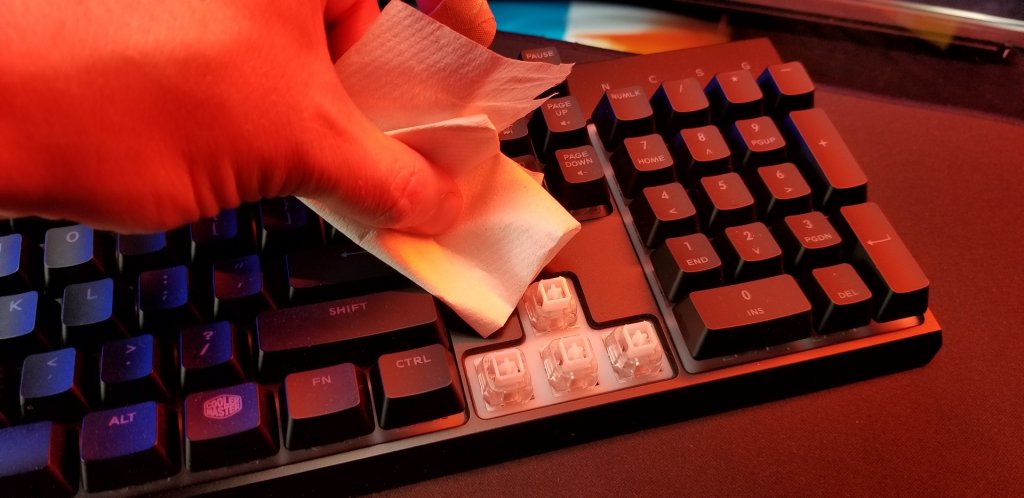
Depending on the specific component you’re cleaning, you probably won’t need more than a damp cleaning cloth and maybe some Q-tips. A damp cloth is ideal for cleaning your monitor screen and removing dust/skin flakes from your keyboard and/or mouse. If you want to really deep-clean your keyboard, you can use a Q-tip to clean in-between the keys.
If you’re using a keyboard with removable keys, even better. Remove the keycaps and really get in there, just make sure you don’t lose any!
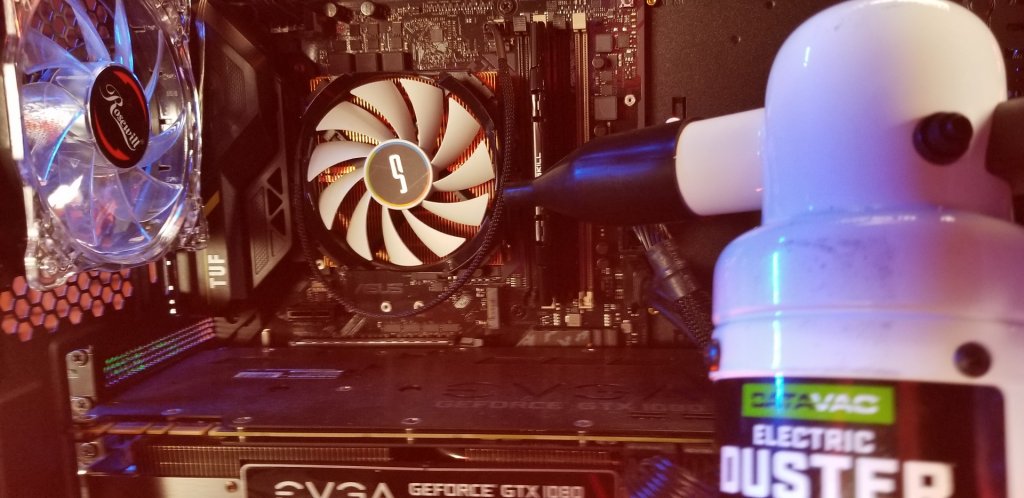
Cleaning Fans
For virtually any PC fan (case fans, graphics card fans, heat sink fans, etc.), a few blasts of compressed air can remove most loose dust. Just make sure that if you’re cleaning a case fan, you open up the case so that you can blow the dust out into the environment and not back into the computer.
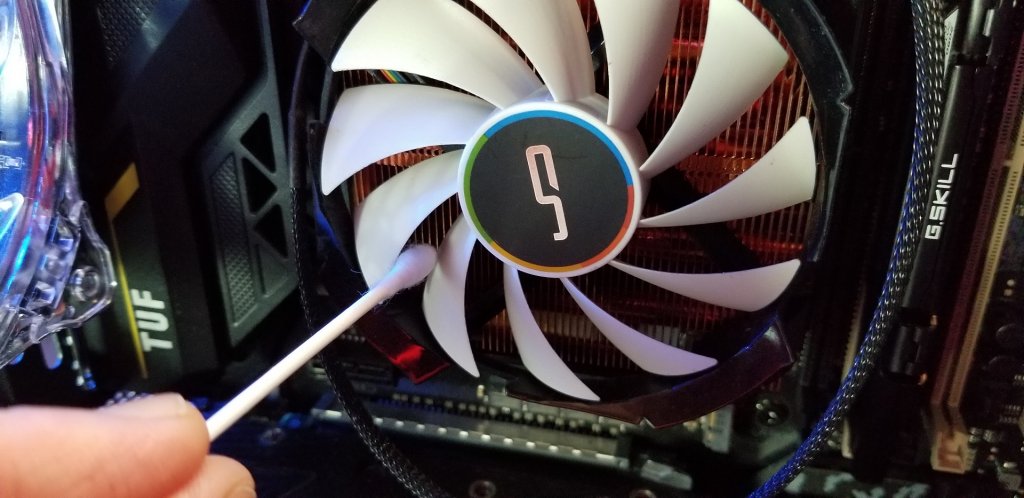
If there’s caked-on dust leftover after you’ve finished blowing compressed air, you can use a Q-tip dipped in isopropyl alcohol to carefully wipe down each individual fan blade. If it’s a case fan or heat sink fan, physically unscrewing and removing it can help with the cleaning process, just make sure you know how to properly put the fan back once you’re done.
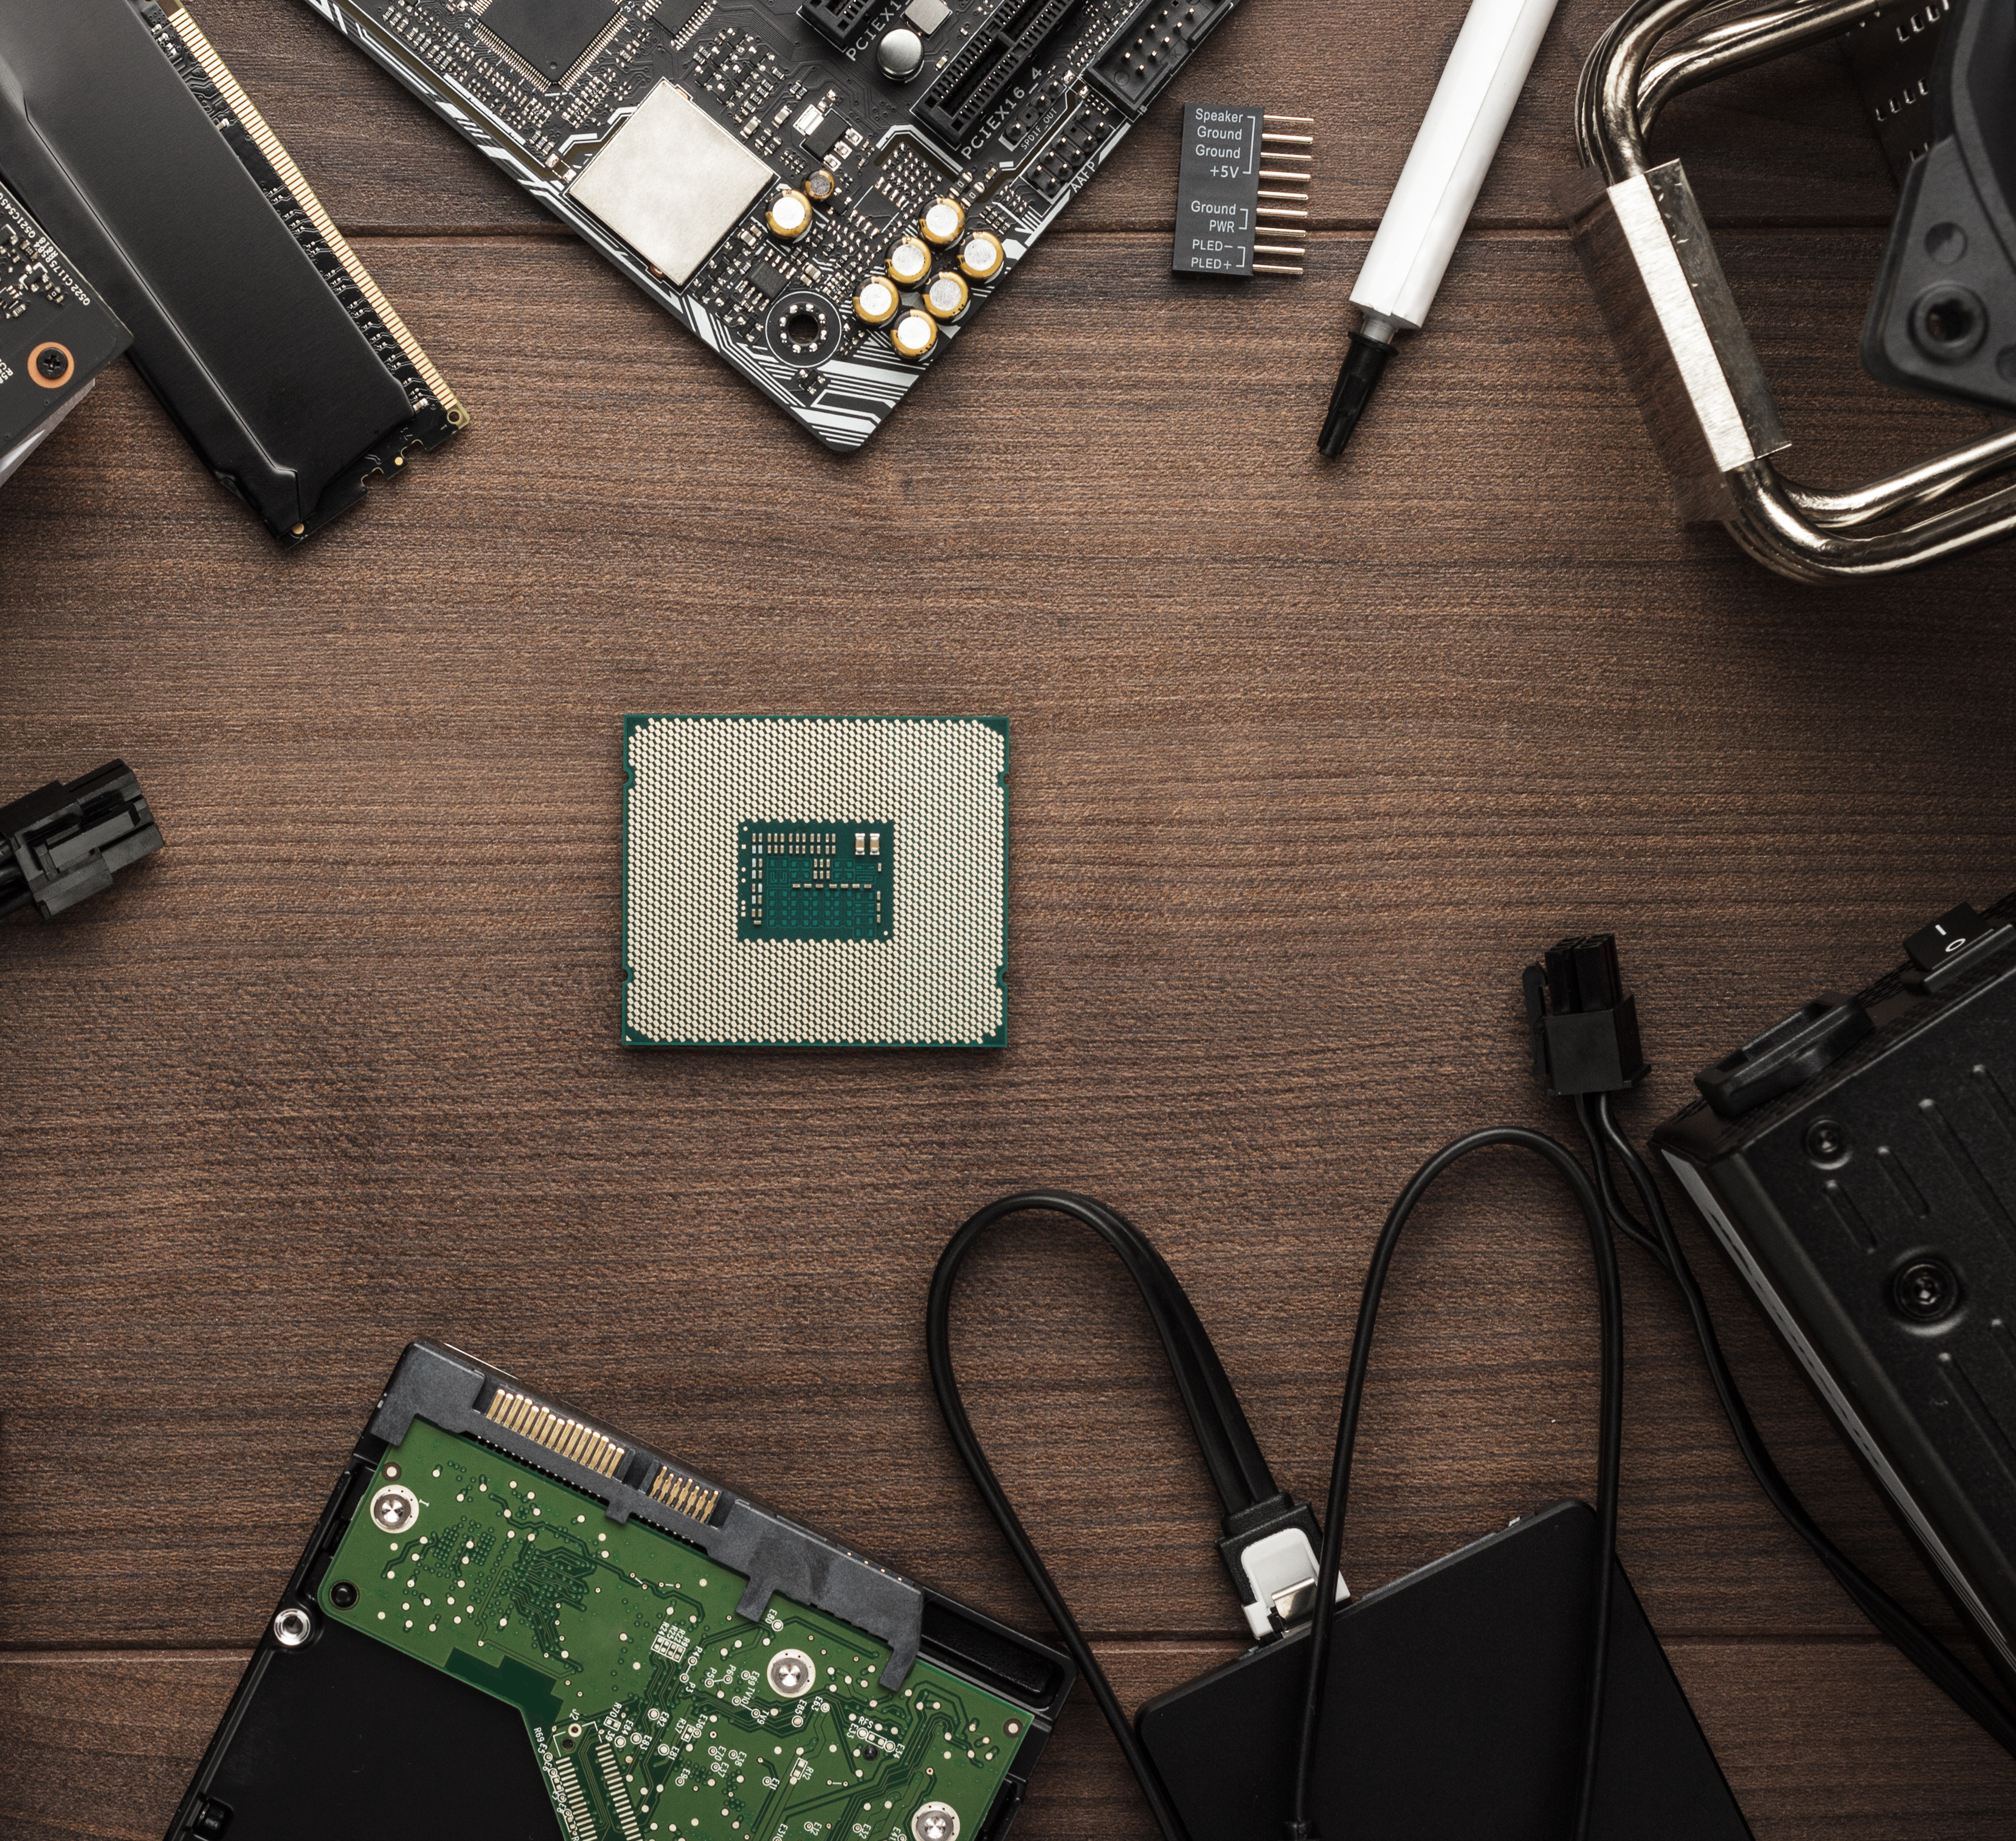
Cleaning Internal Components
The best way to clean an internal component is to disconnect it from the larger system (the motherboard, power supply, etc.) and utilize the above compressed air/Q-tip tactics as needed. Compressed air (or an air compressor if you don’t want disposable) should be enough for components like the graphics card and hard drive, and you can use a dry cloth to wipe down the hard drive and power supply if you want to really be thorough. Caked-on dust or dirt can be rubbed away with isopropyl alcohol using either a cloth or a Q-tip for hard-to-reach places.
You should never take apart the hard drive or the power supply, not even to clean them. Doing so can void their respective warranties, and potentially cause serious harm to the component or (in the power supply’s case) to yourself. If you remove components like your graphics card, RAM, or CMOS battery, you can clean their corresponding motherboard slots with a blast or two of compressed air.
Cleaning/Reseating your CPU
The process of cleaning a CPU is a little more involved than most other components, but it can greatly benefit your PC if done correctly. If you notice that thermal paste is leaking over from the top of the chip onto your motherboard, or if it has been a few years, you should definitely consider cleaning it.
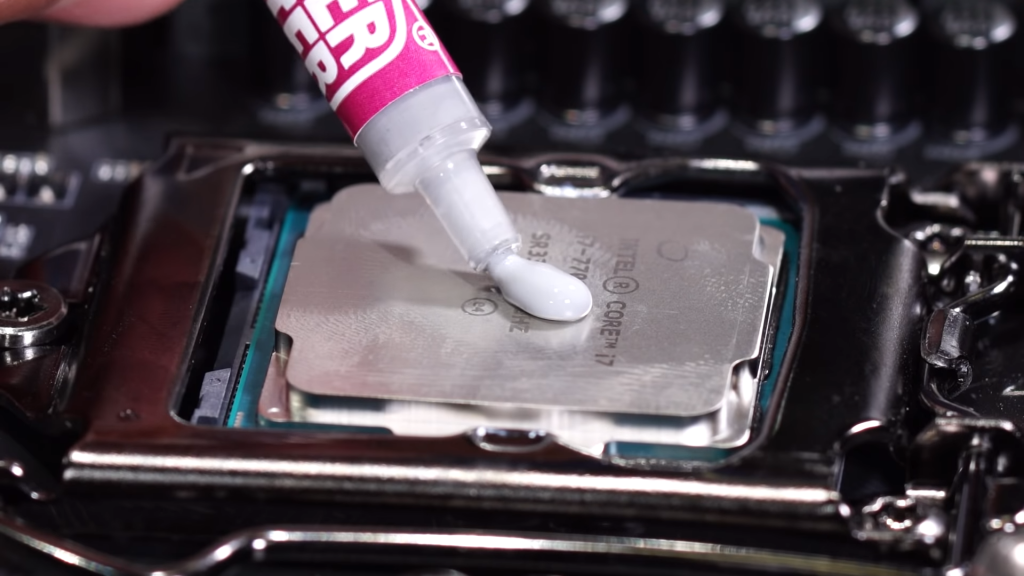
After detaching the heat sink, start by removing any excess thermal paste from the bottom of the heat sink, from the top of the CPU chip, and from around the CPU. This can be done with isopropyl alcohol and either cotton swabs or a cloth.
Once the CPU socket and surrounding area have been properly cleaned, reinsert the CPU chip and apply some fresh thermal paste directly onto the top center of the chip. You don’t want to use too much paste (otherwise it will leak and spill over), but you also don’t want to use too little (otherwise you risk overheating). A common recommendation is to apply enough paste to match the size of a grain of rice or a small pea. Carefully replace the heat sink so that the thermal paste evenly spreads across the bottom plate, and reinstall the heat sink.
As with any cleaning routine, keeping your PC spic and span can get monotonous, especially if you’re the sort of person who likes to be thorough in their cleaning. However, depending on where you keep your computer and how often you use it, you really don’t have to clean it more than once every 2-3 months.
Related Posts
- What should you put in your gaming PC? Fall 2022 Edition
- Building a Gaming PC for the First Time? Don’t Panic, This Guide Can Help You Out
- 9 Next-Steps After You Finish Building a PC
- How to manage syncing across your Windows 10 devices
- Build or Buy Your Kid’s First PC? Here Are the Factors to Consider