


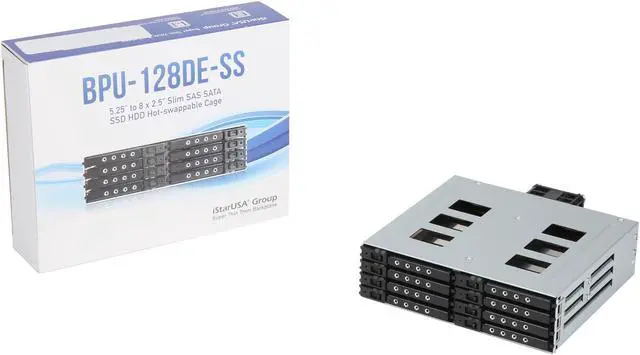


iStarUSA BPU-128DE-SS
5.25" to 8x Slim 2.5" HDD/SSD Hot-Swap Rack
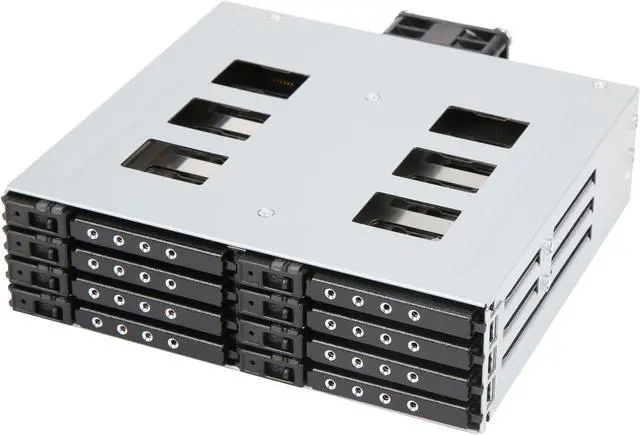
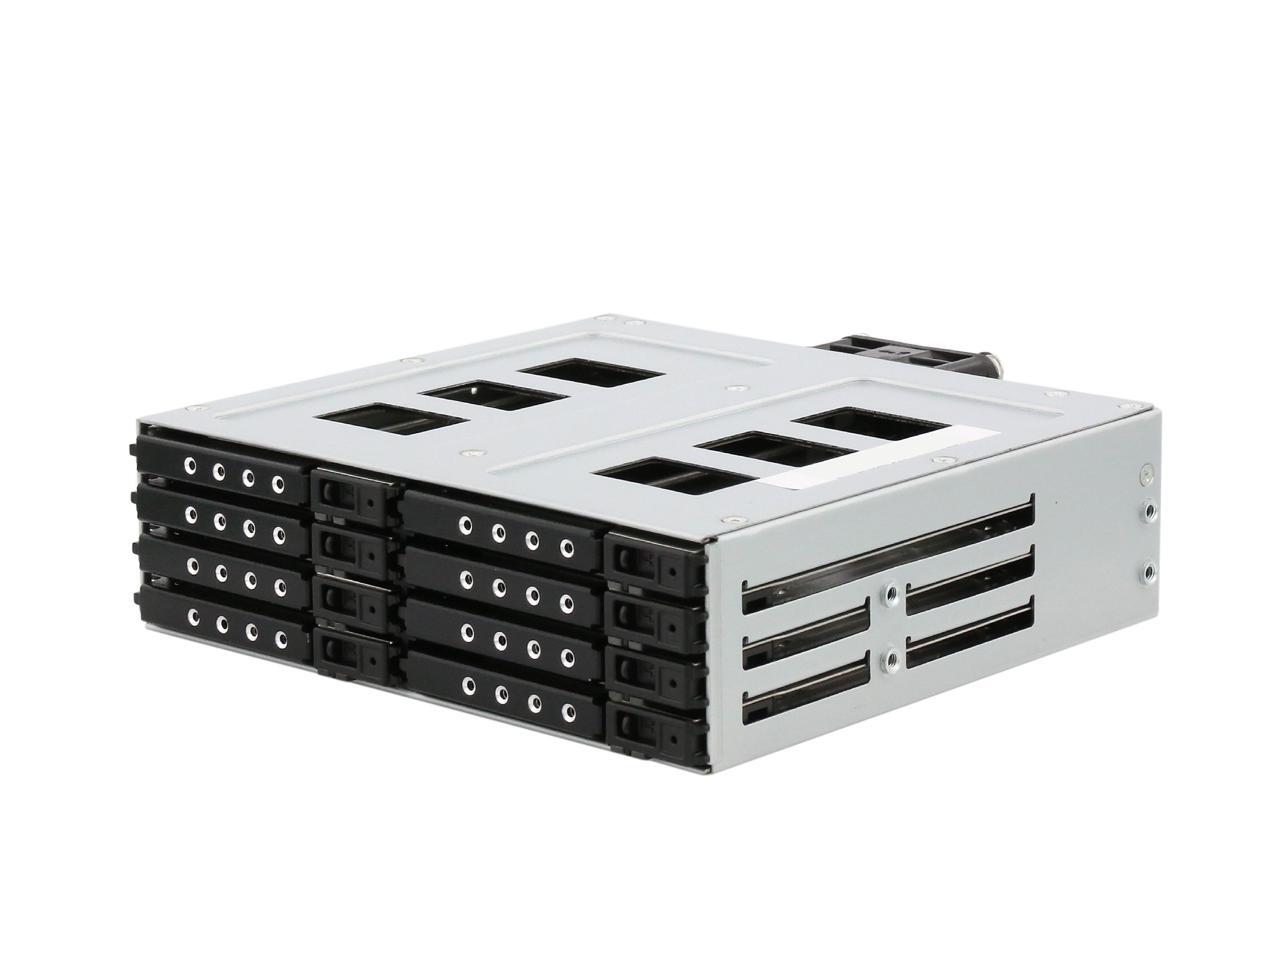
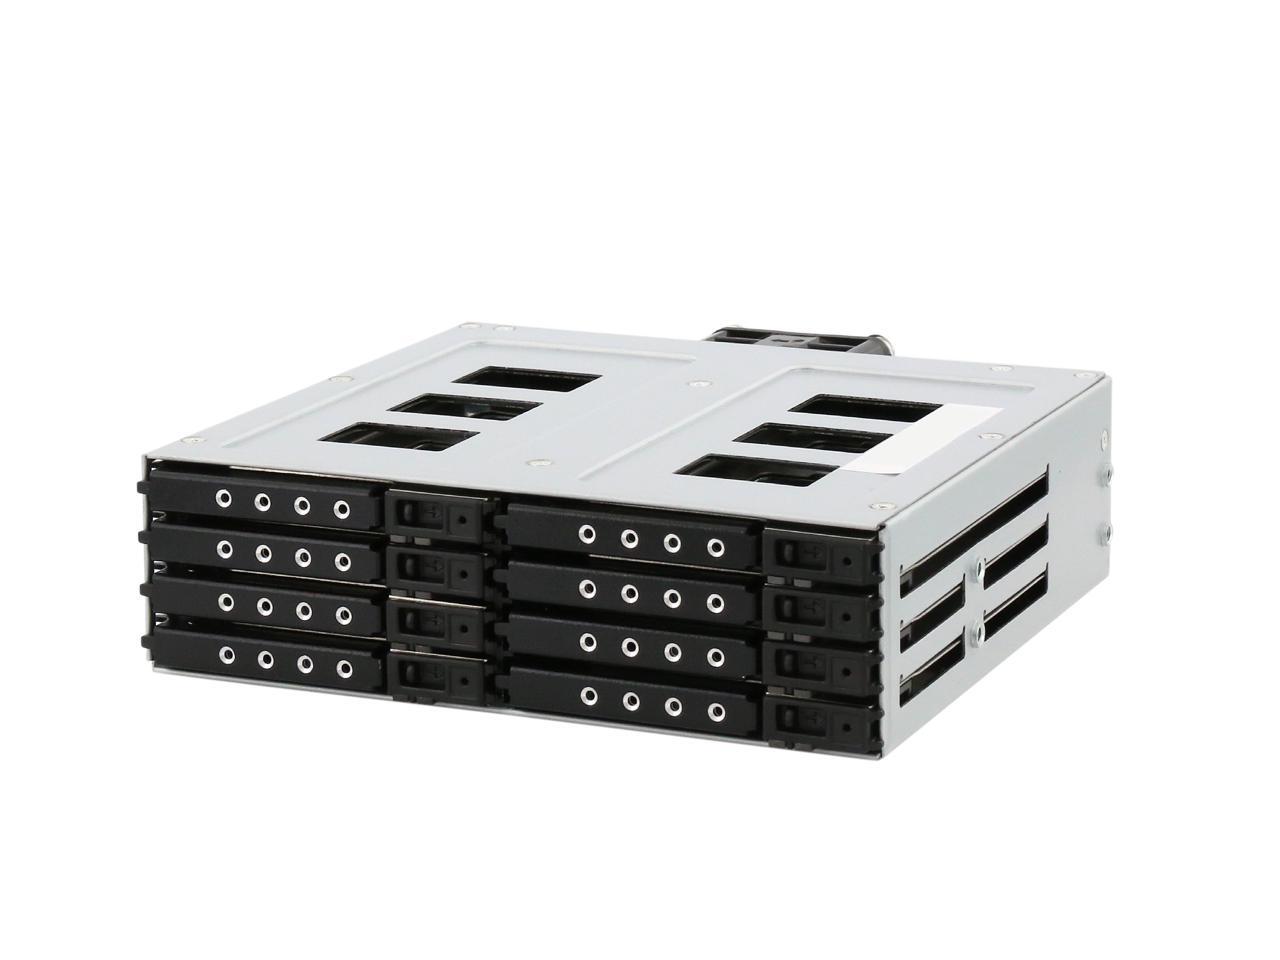
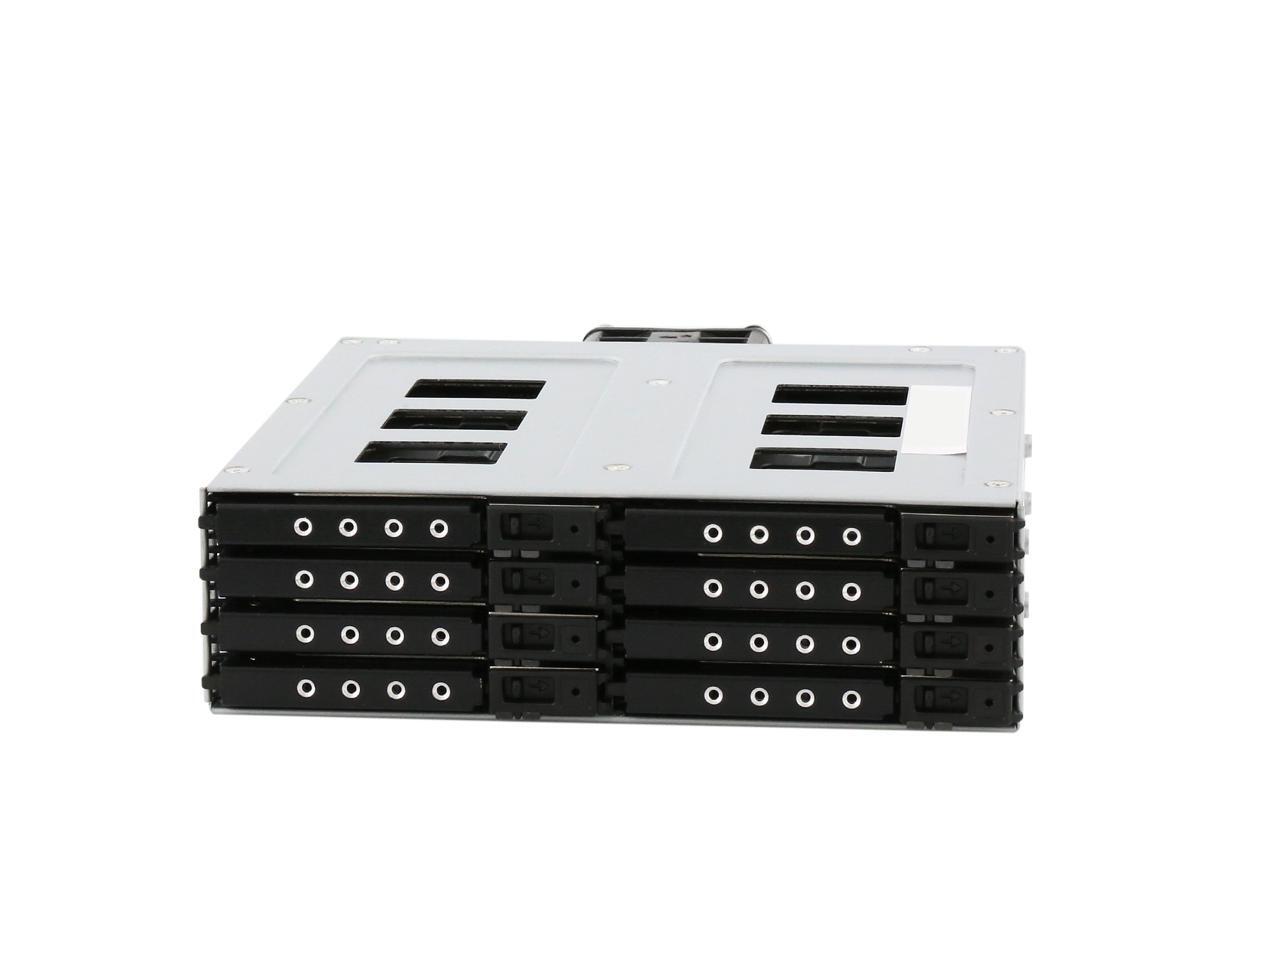
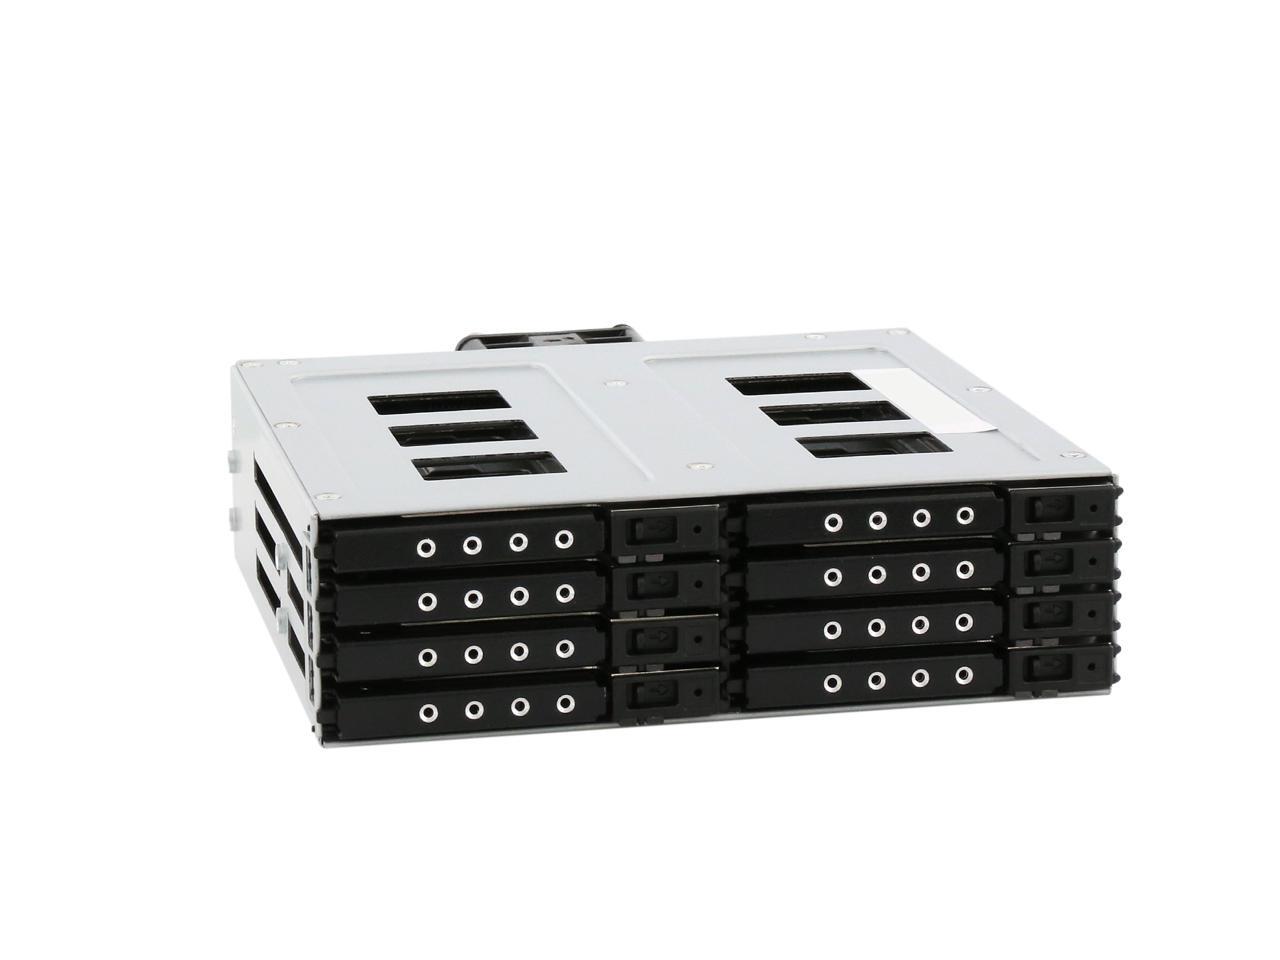
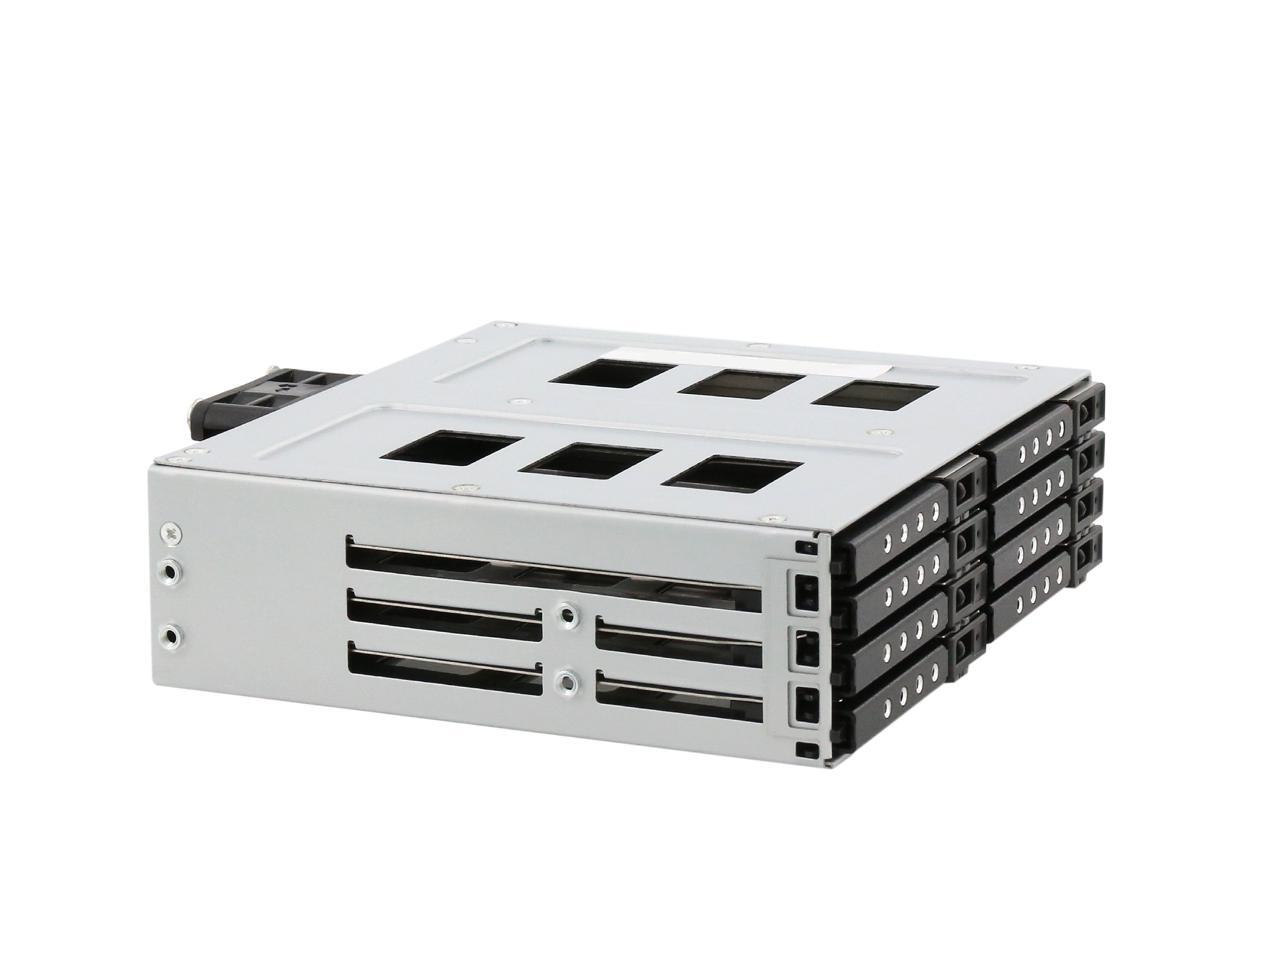
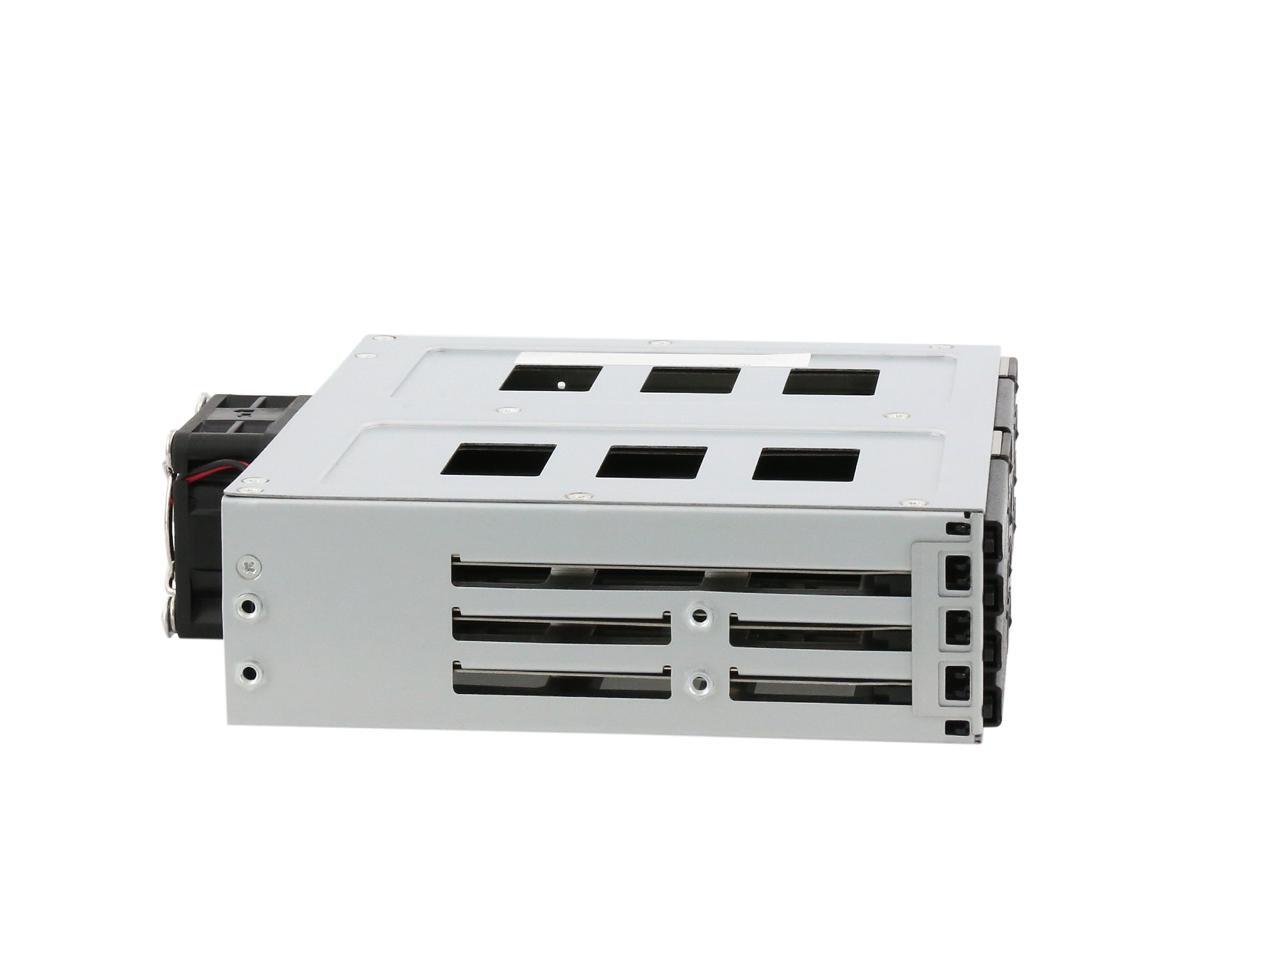
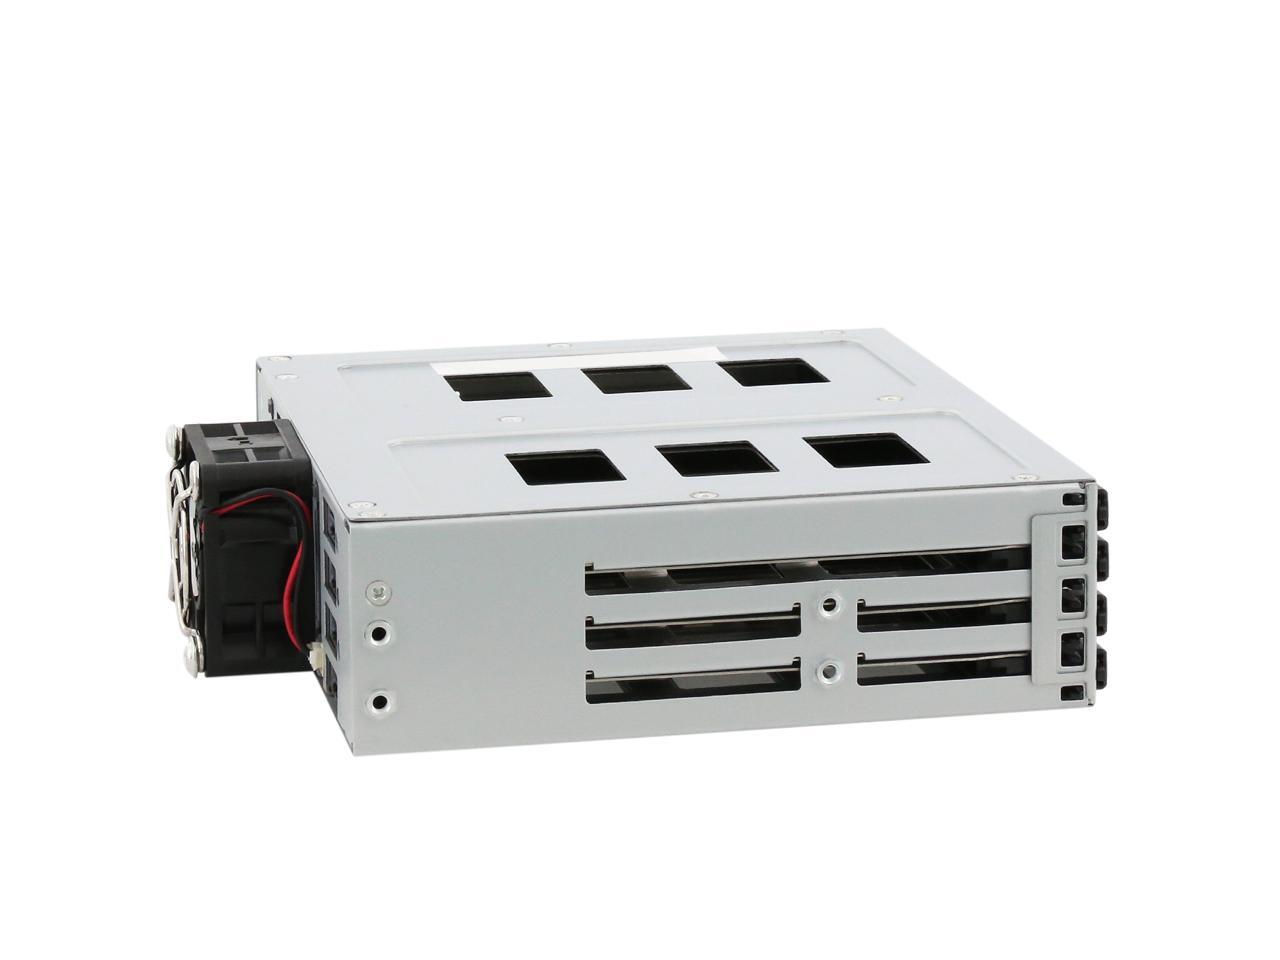
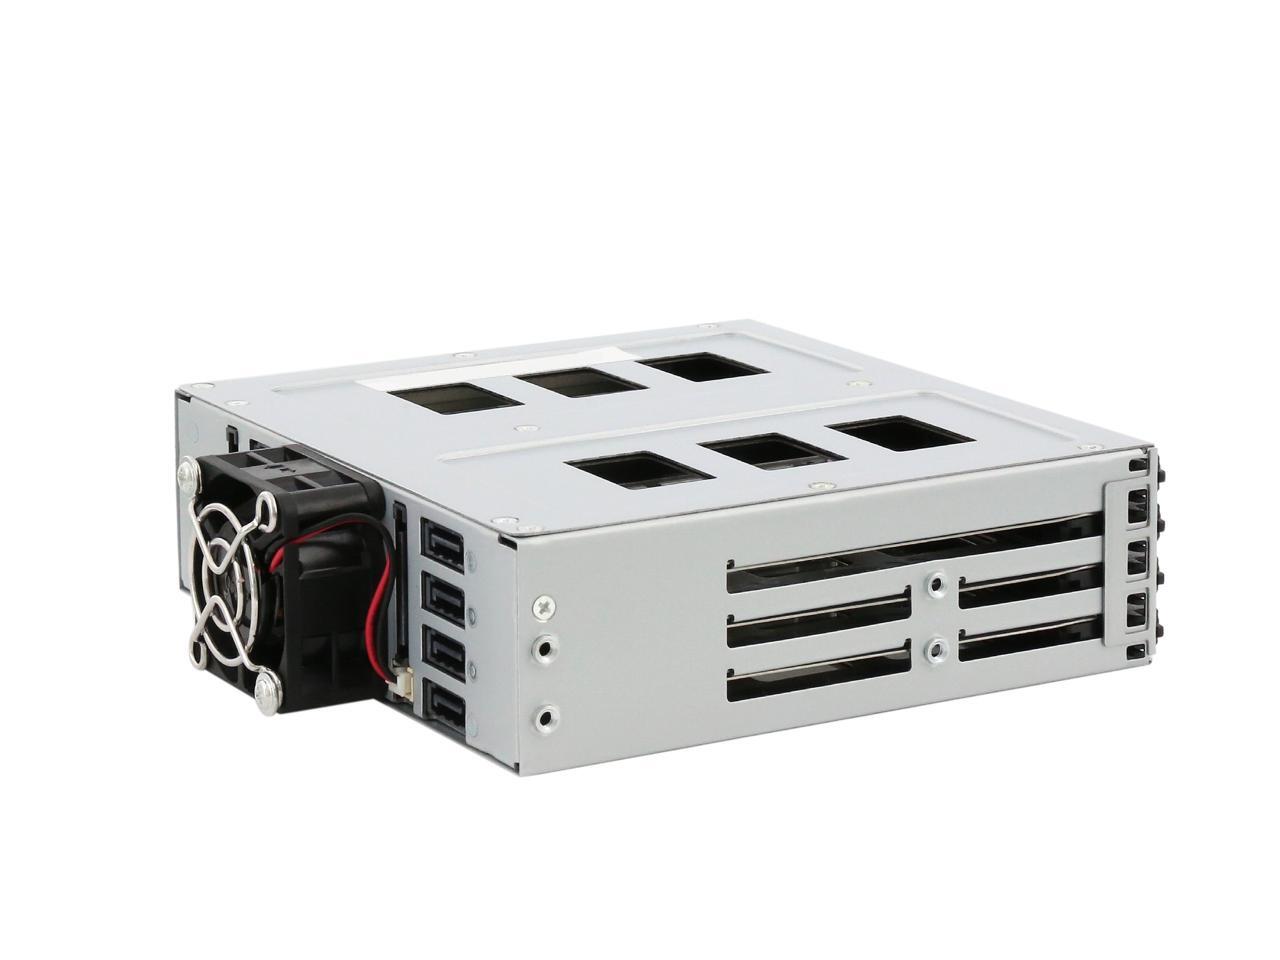
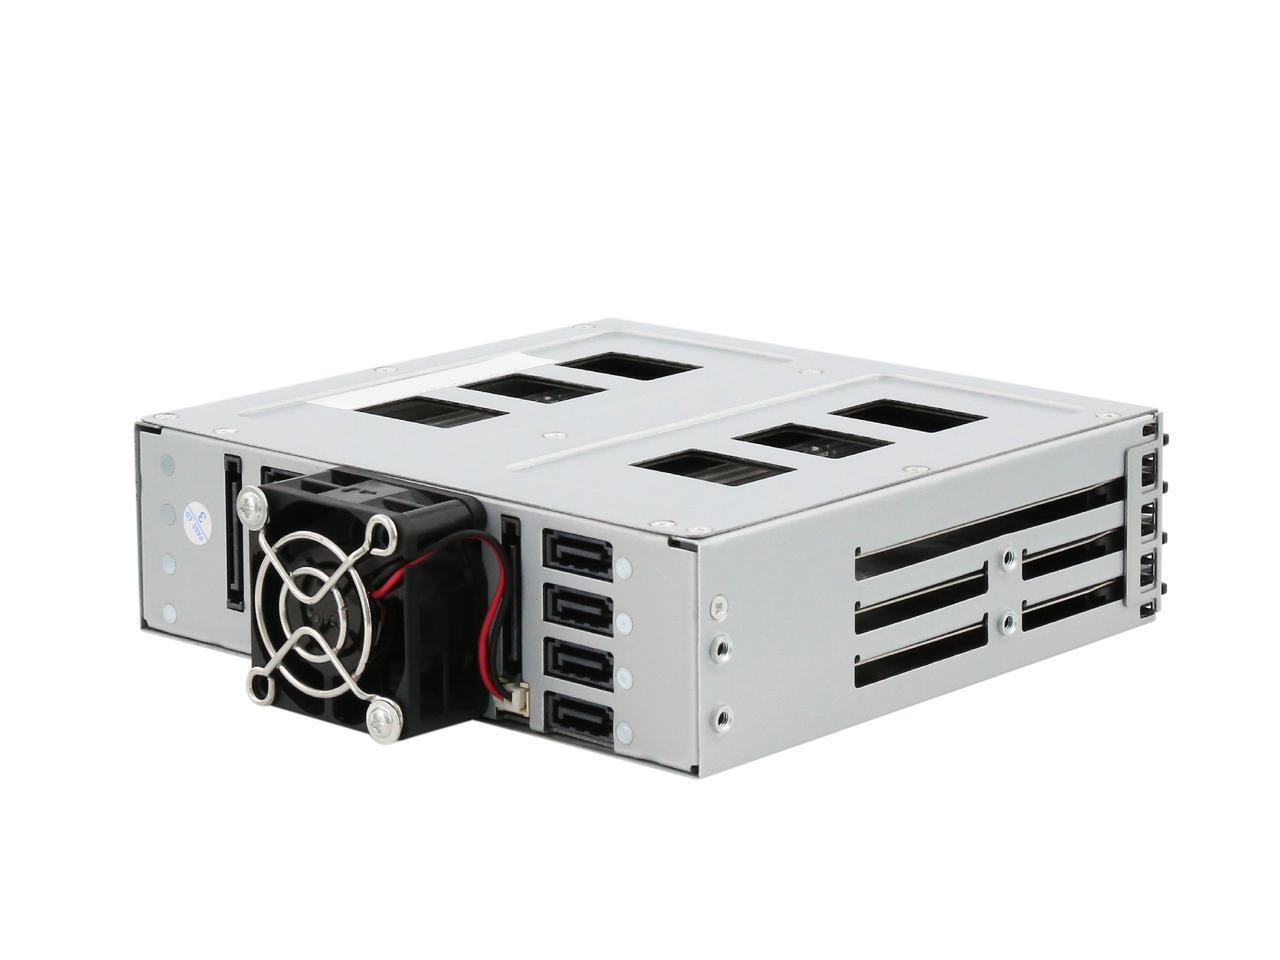
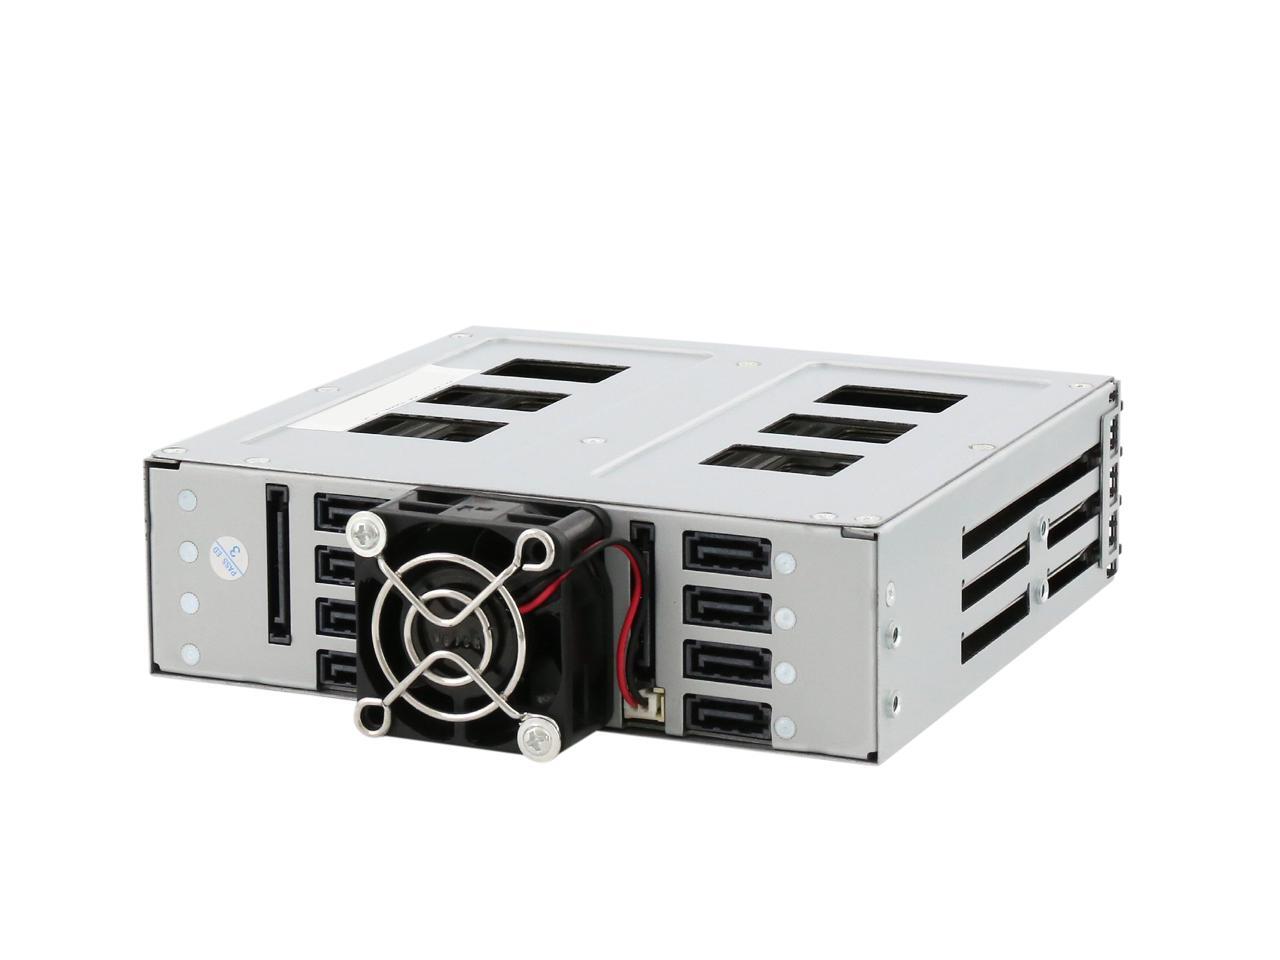
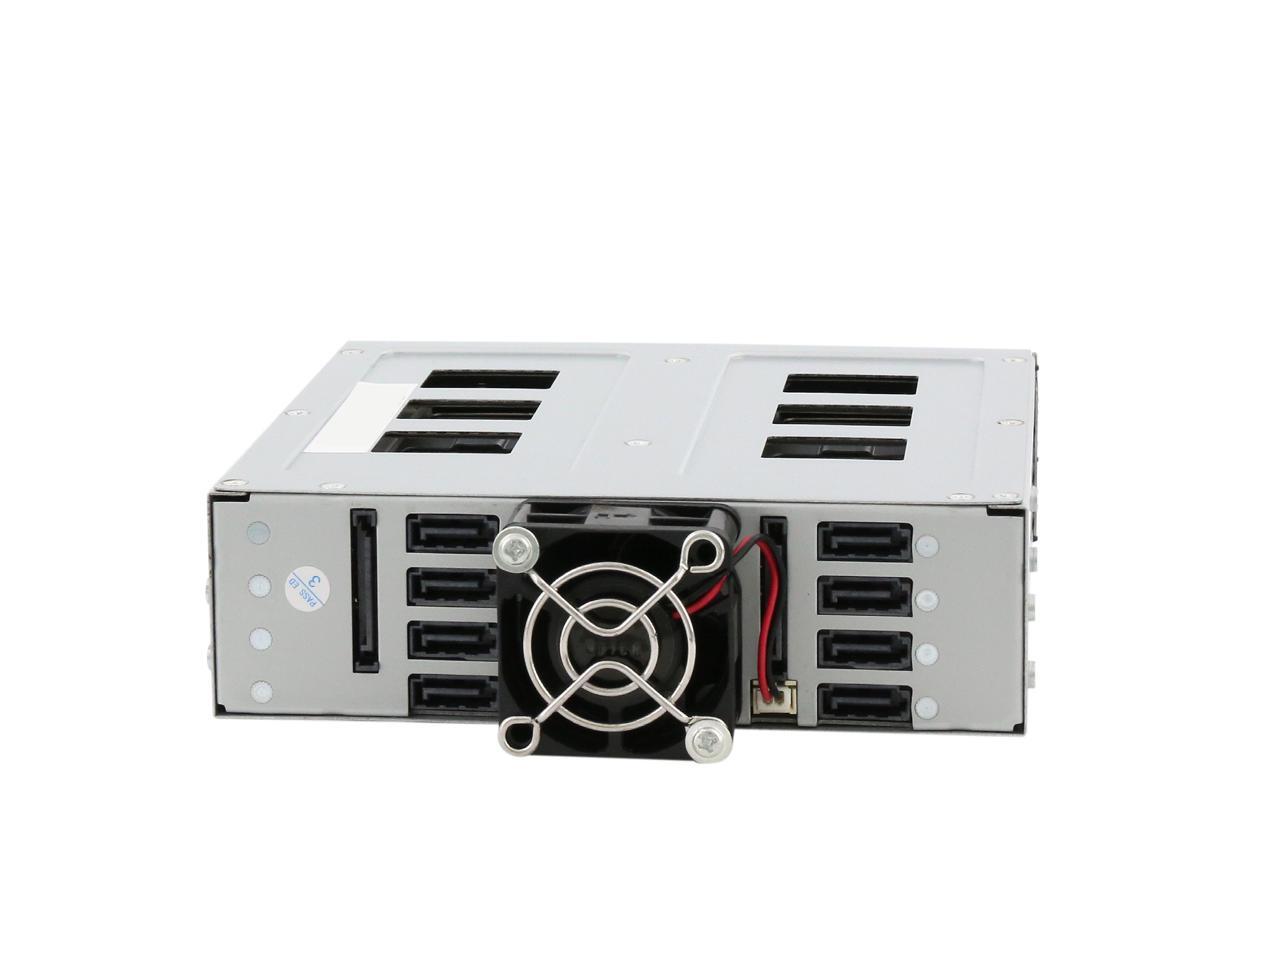
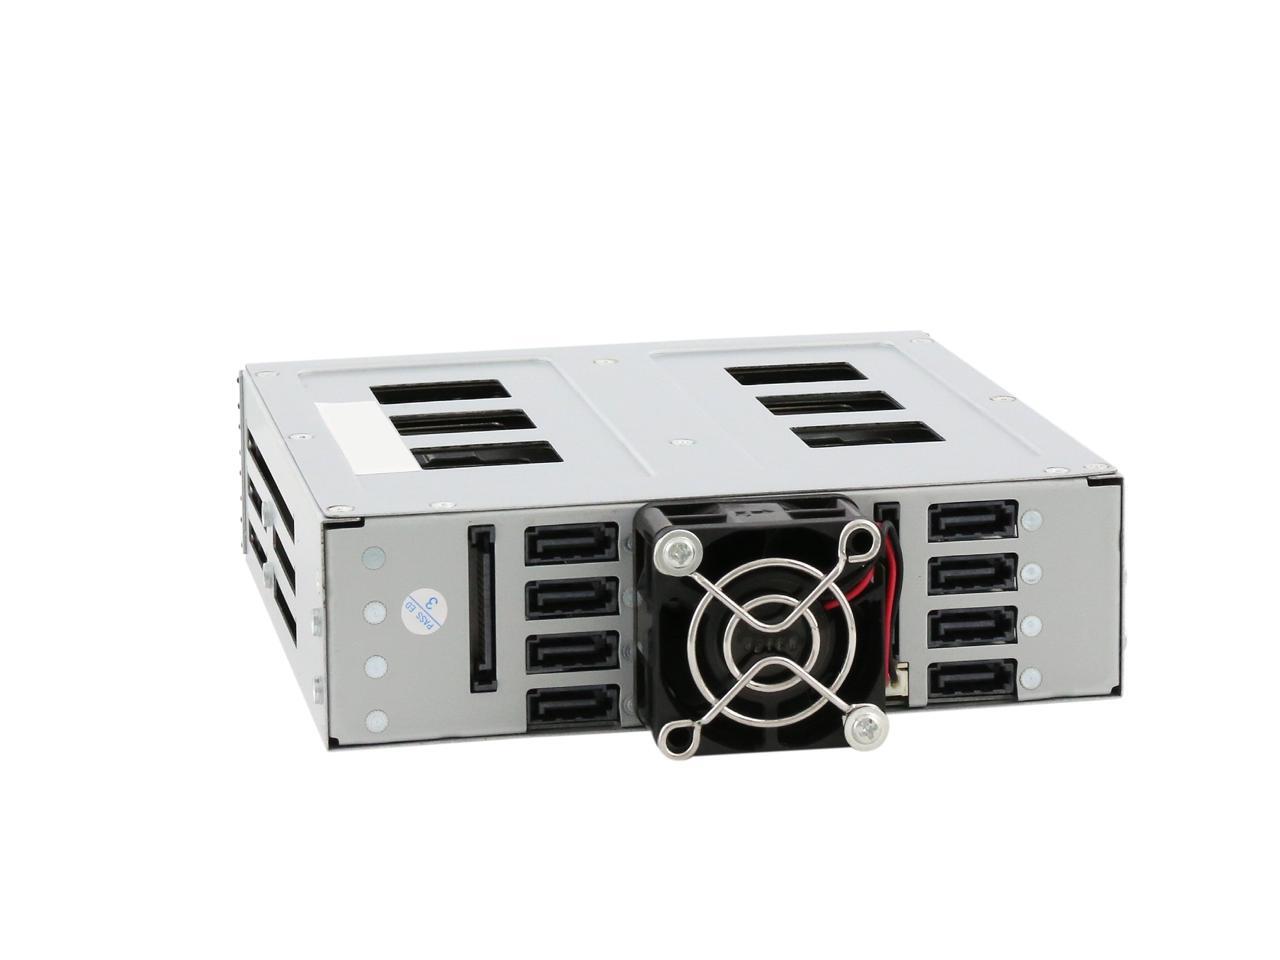
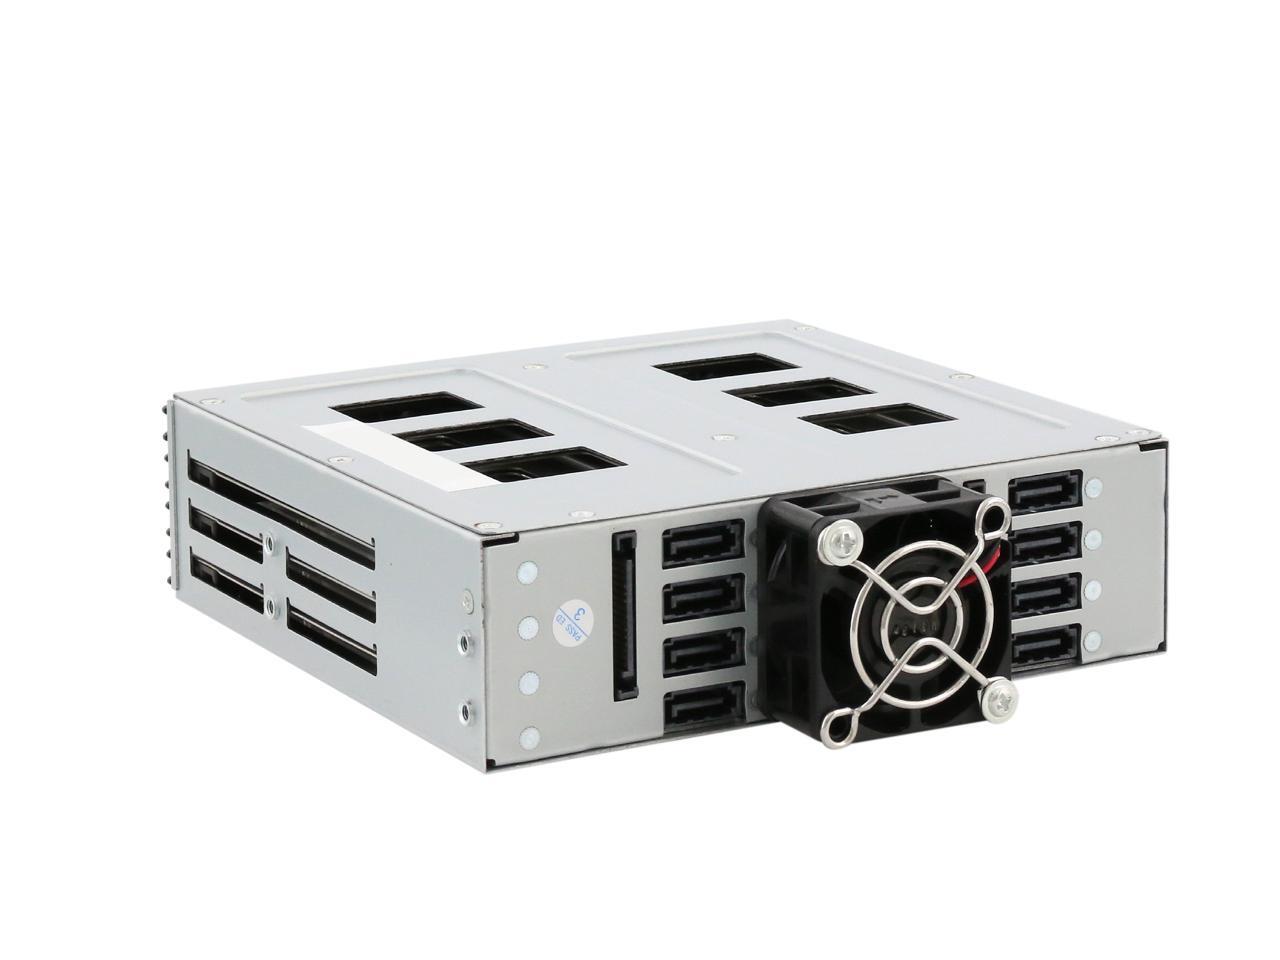
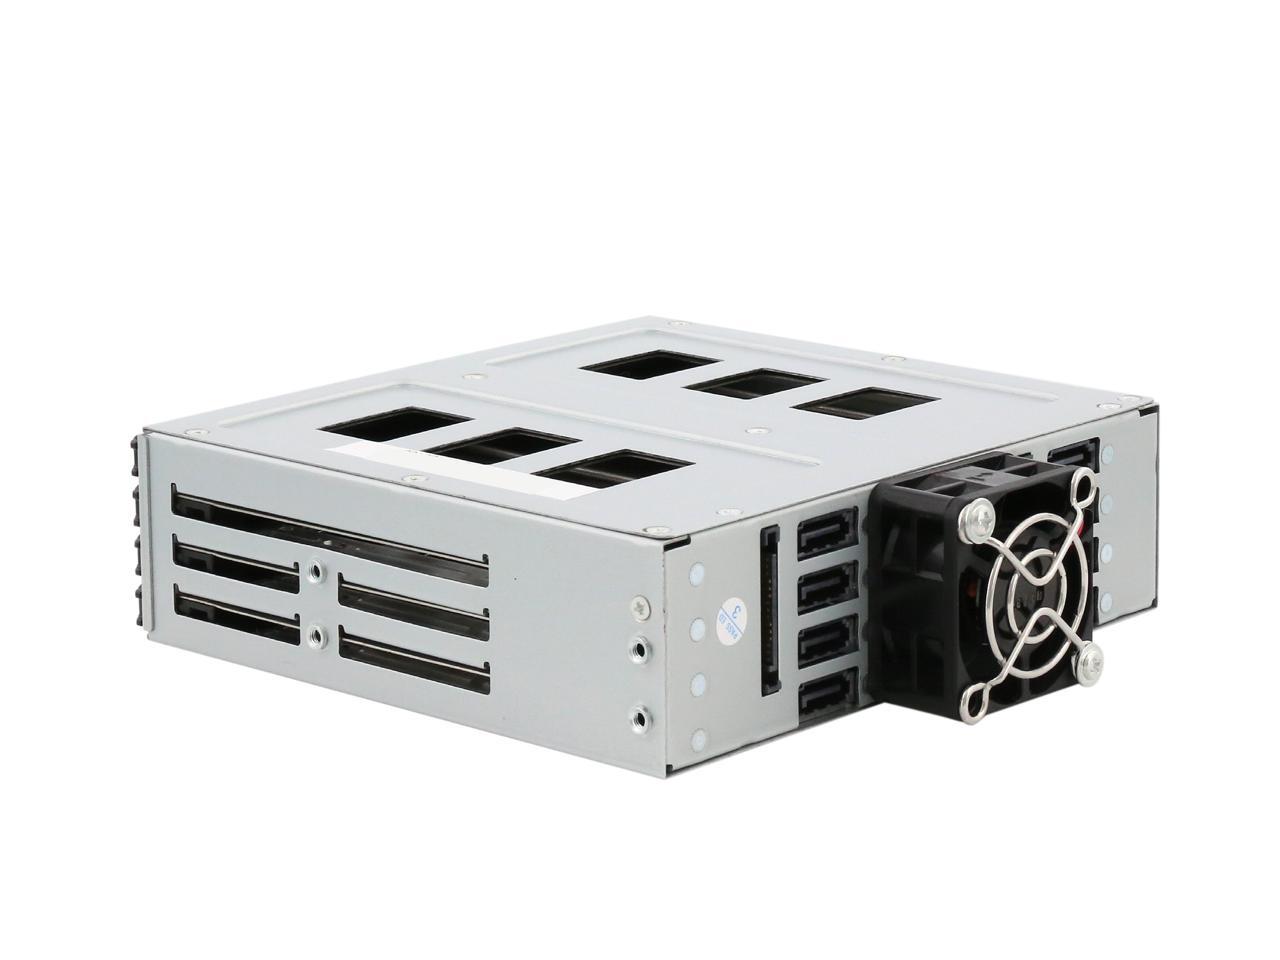
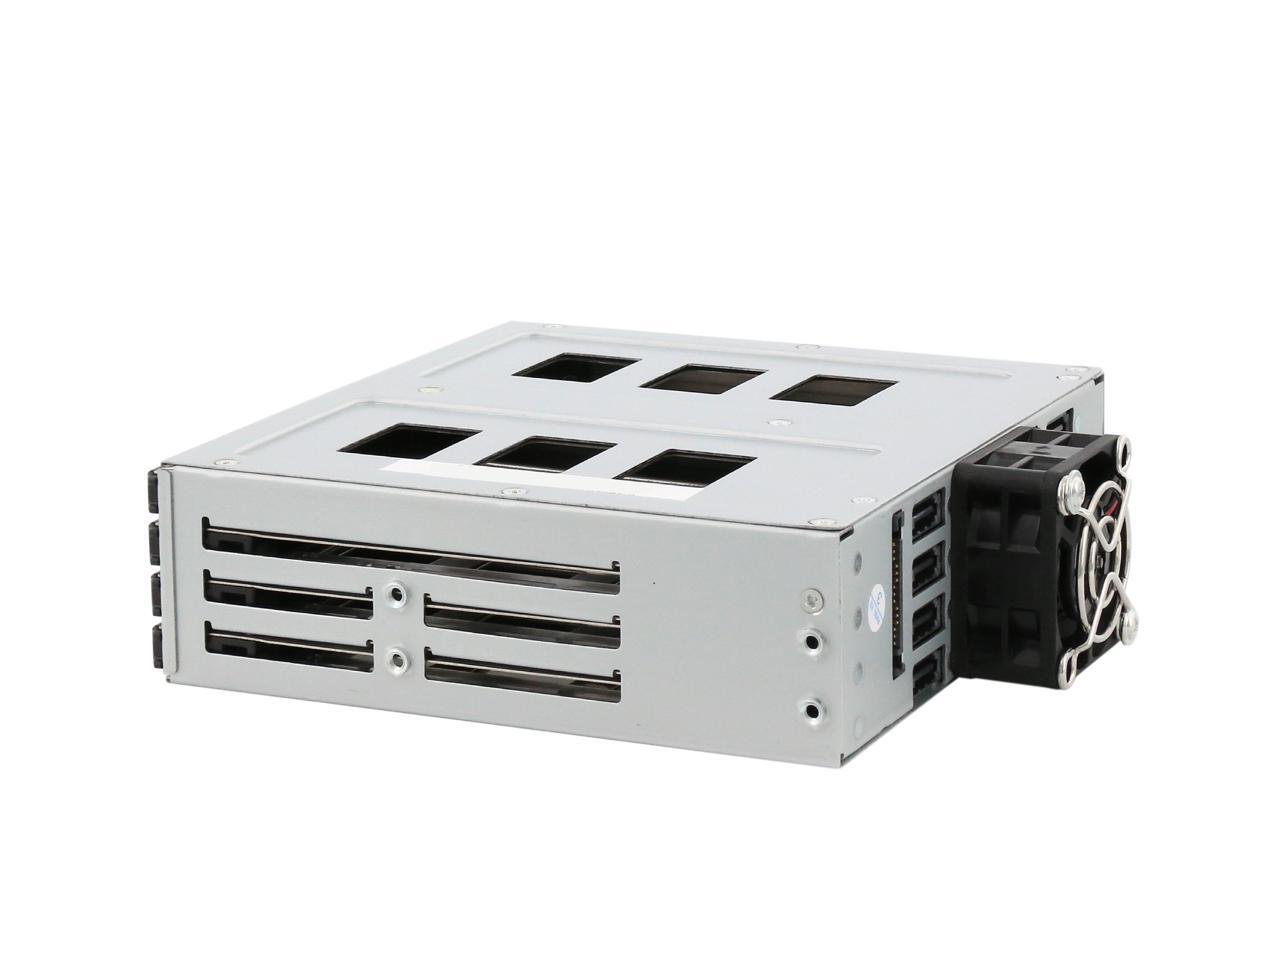
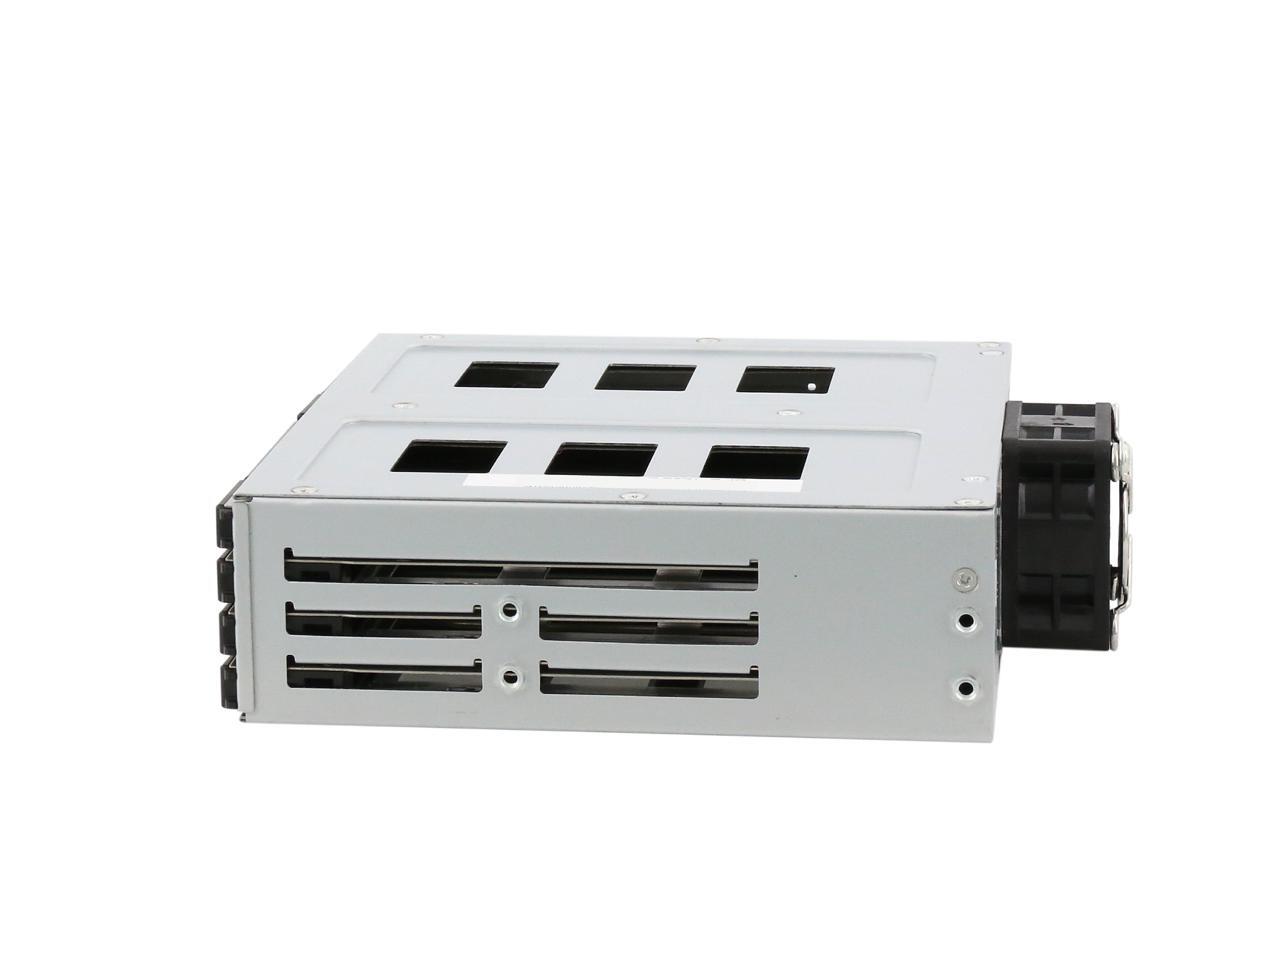
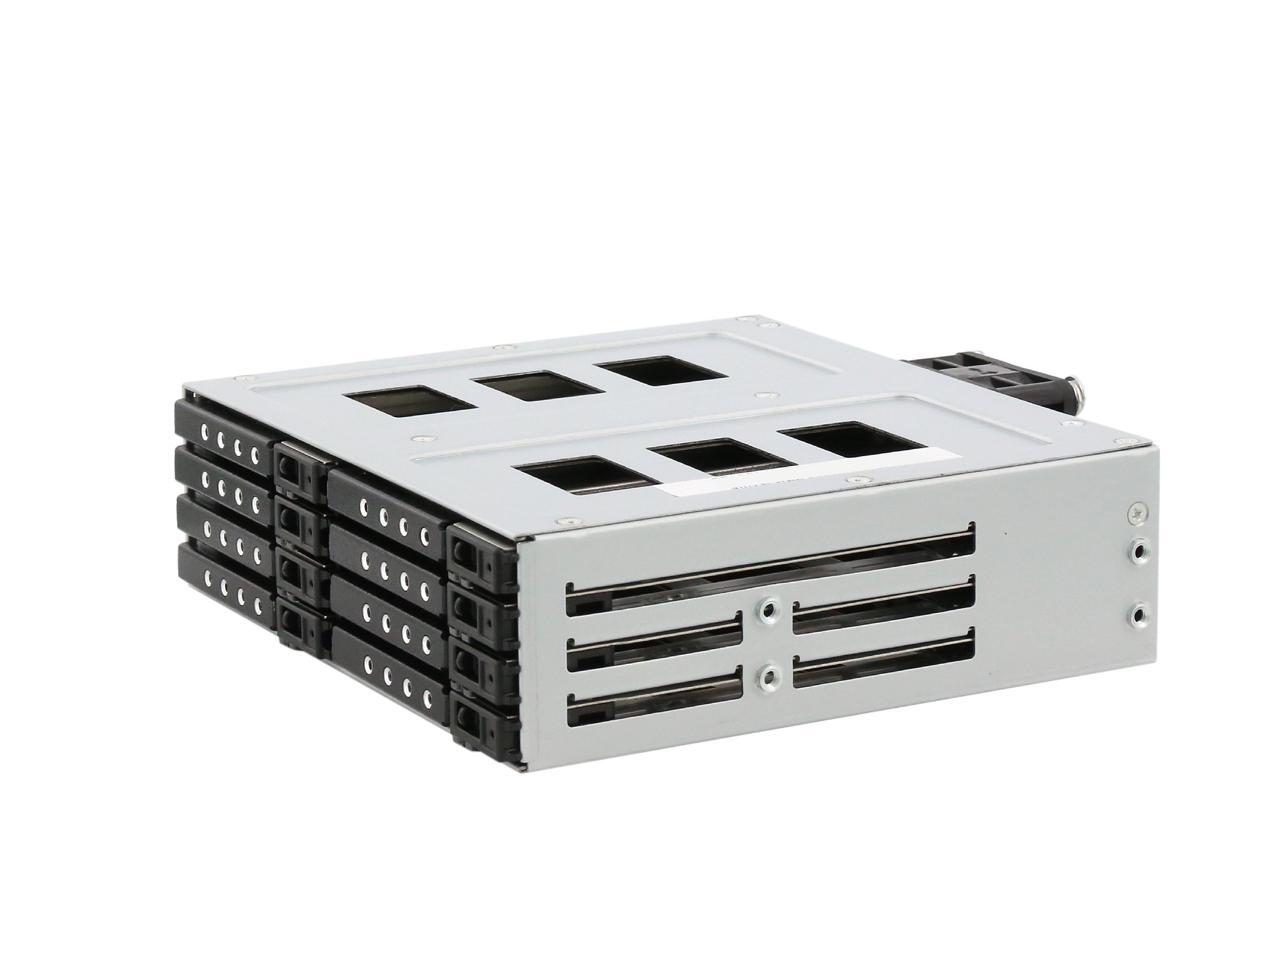
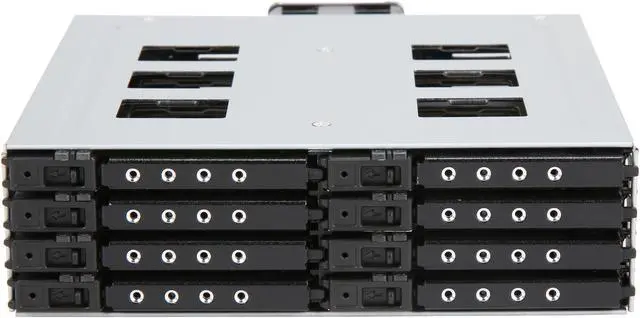
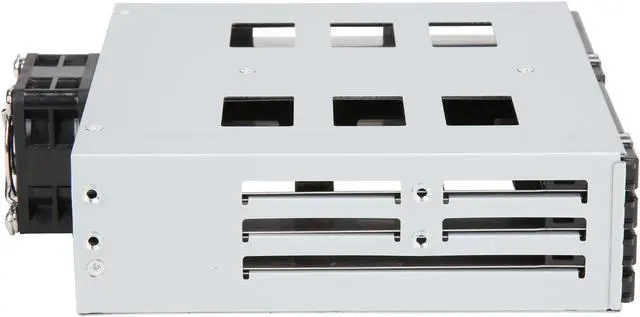
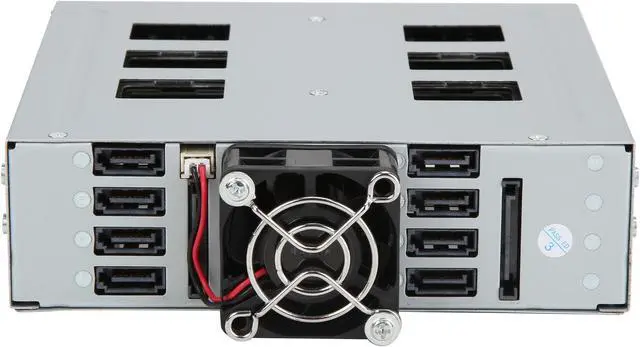
Here's an easy way to expand the storage of your desktop PC, workstation or server by converting an idle ODD bay into eight 2.5" HDD/SSD bays. Each HDD tray is made of stainless steel, featuring a metal handle for easy slide-in/slide-out. This rack also features a power indicator and an activity indicator. At the rear you'll find eight SATA ports, two SATA power connectors and a 40mm cooling fan to consistently keep your drives operating at peak performance.
- Supports an HDD thickness of 7mm or less
- Plug & play, hot-swappable
- Built-in 40mm cooling fan
- LEDs for power and HDD accessing
- Support 8x 2.5" slim SATA SAS 6Gb/s drives

Front View
D-1: Power LED, green when powered on.
D-2: Amber HDD activity LED blinking when reading or writing.
D-3: Mechanical lock keeps it all secure.

D-4: 15-pin power connector.
D-5: 7-pin data connector.

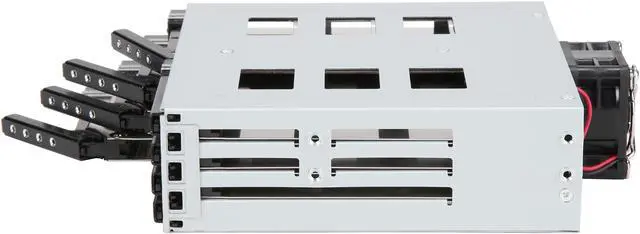
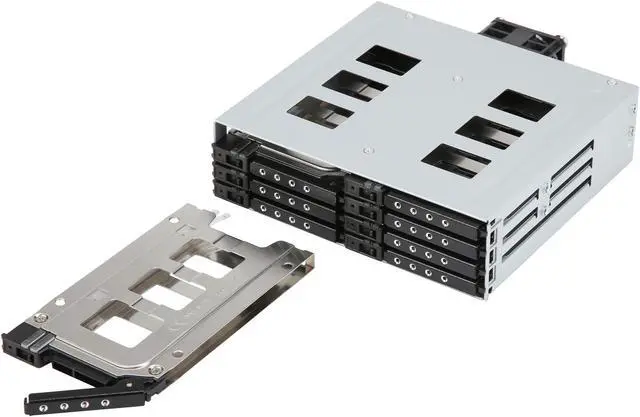
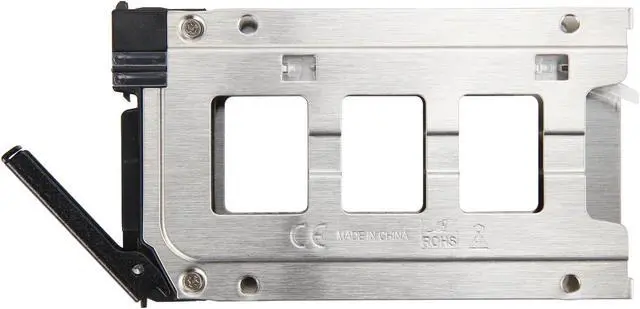
HDD Tray

2.5” SSD/HDD to Tray Installation
1. Insert slim 2.5” SSD/HDD into the tray.

2. Use the provided screws to fasten SSD/HDD to the tray from the bottom.
3. Slide the HDD tray back to the HDD cage.
4. Repeat steps 1-3 to finish the rest of HDD/SSD installation.

HDD Cage to 5.25” Bay Installation
1. Install the BPU-128DE-SS HDD cage to an available 5.25” bay from a system.
2. Secure the HDD cage on both sides with the provided screws.
3. Connect two SATA power connectors to the HDD cage from the power supply.
4. Connect data cables to the HDD cage.
