








Nuwave is an American manufacturer based in Vernon Hills, IL that is focused on developing affordable, green conscious appliances using the latest culinary technology.
Our customers are always our top priority, and we are absolutely dedicated to building a foundation of trust and dependability to help people Live Well For Less.
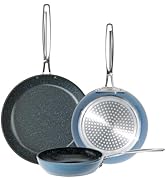
Cookware Set
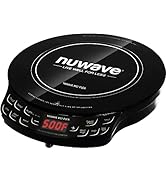
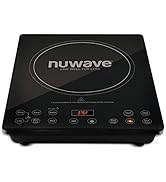
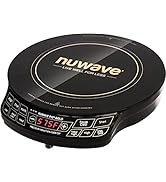
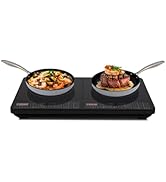
Induction Cooktops
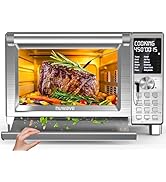
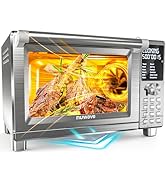
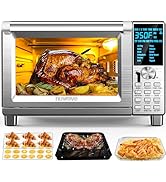
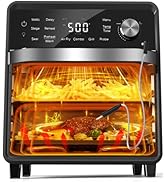
Convection Ovens
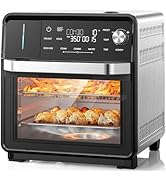
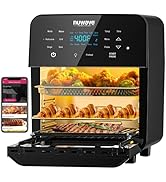
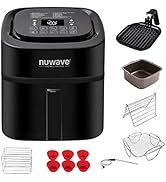
Air Fryers
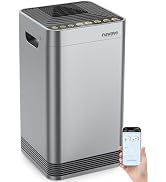
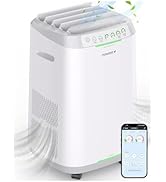
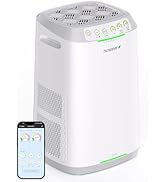
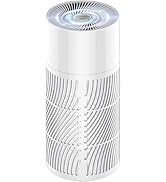
Air Purifiers
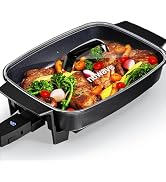
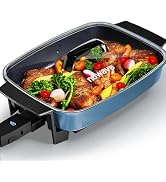
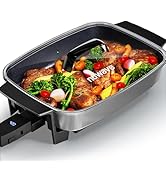
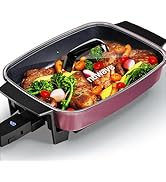
Electric Skillet
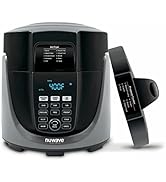
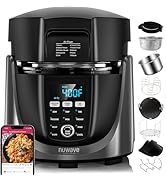
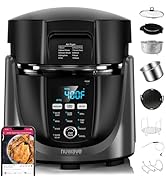
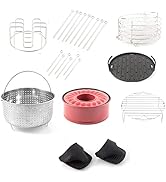
Airfryer Pressure Cooker Combo

Live Well for Less
We are driven by the pursuit of safe, green products that can improve the quality of life for less.
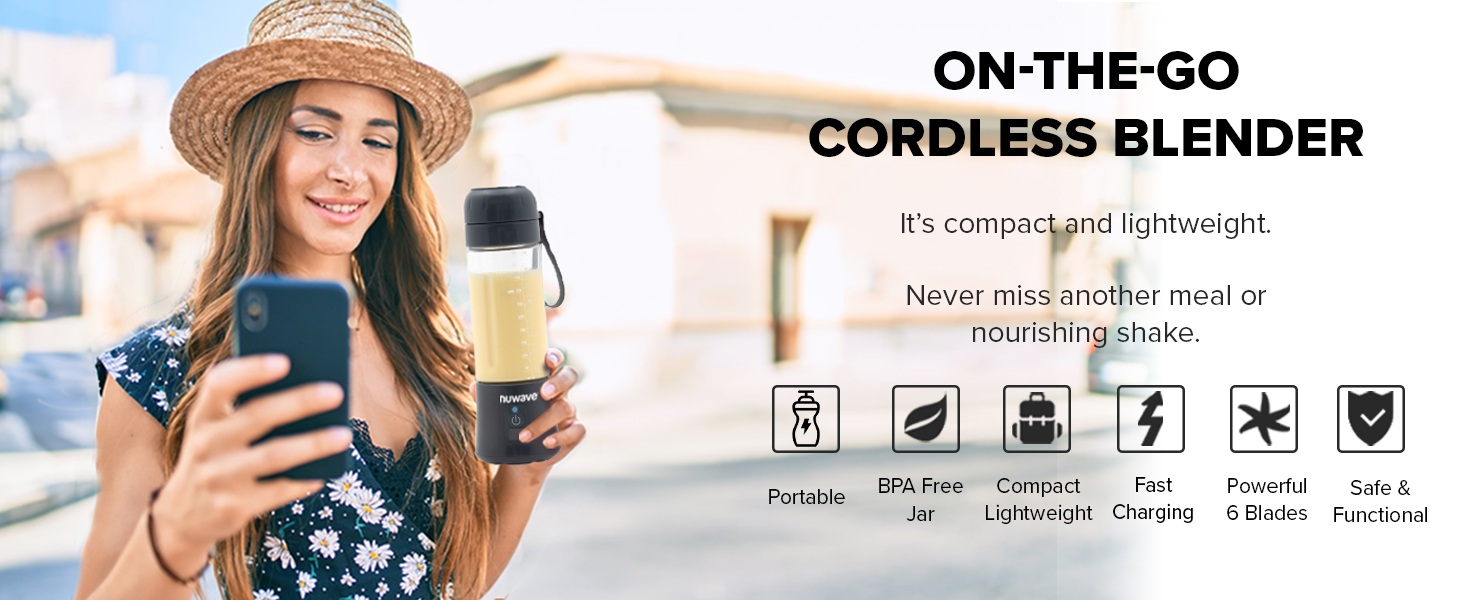
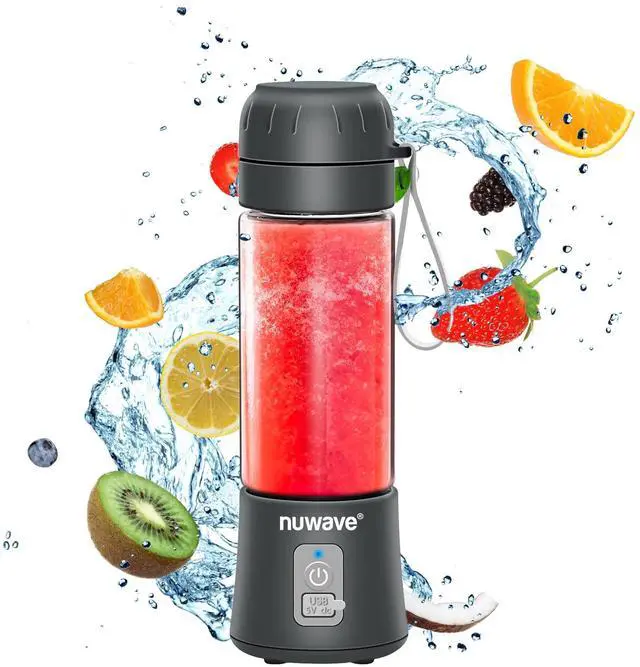
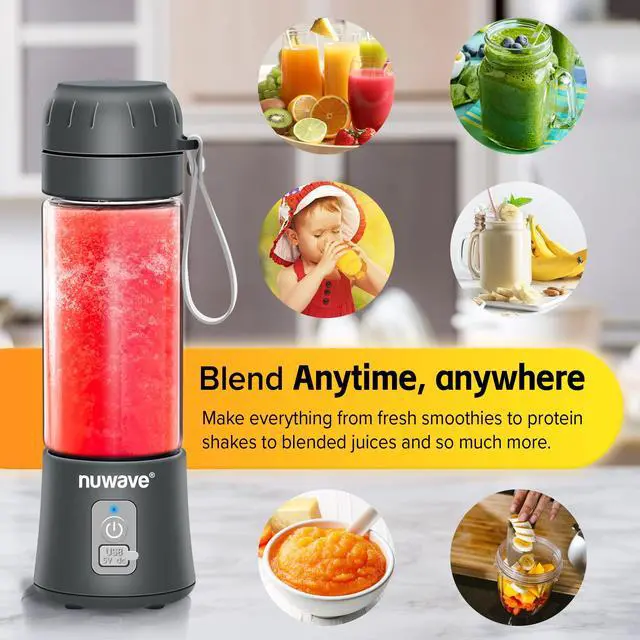
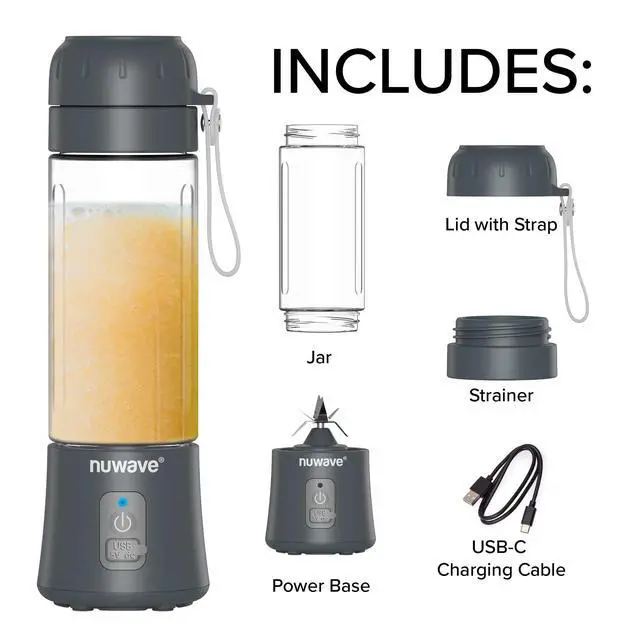
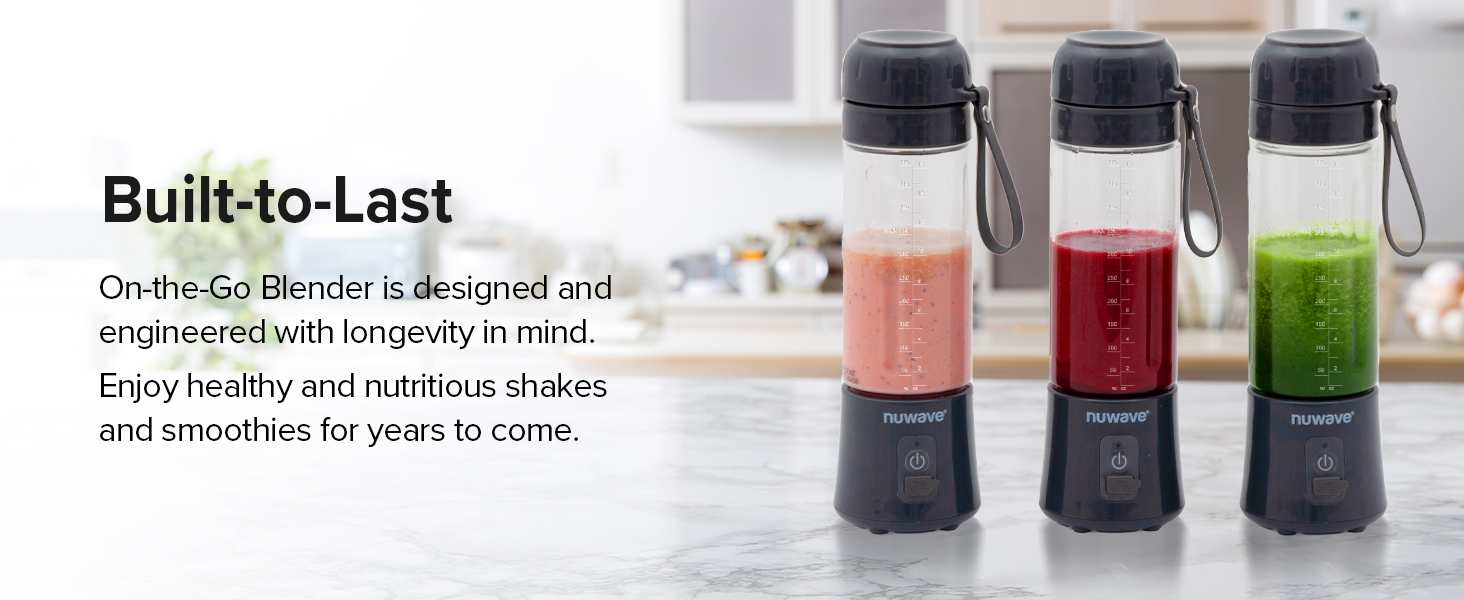
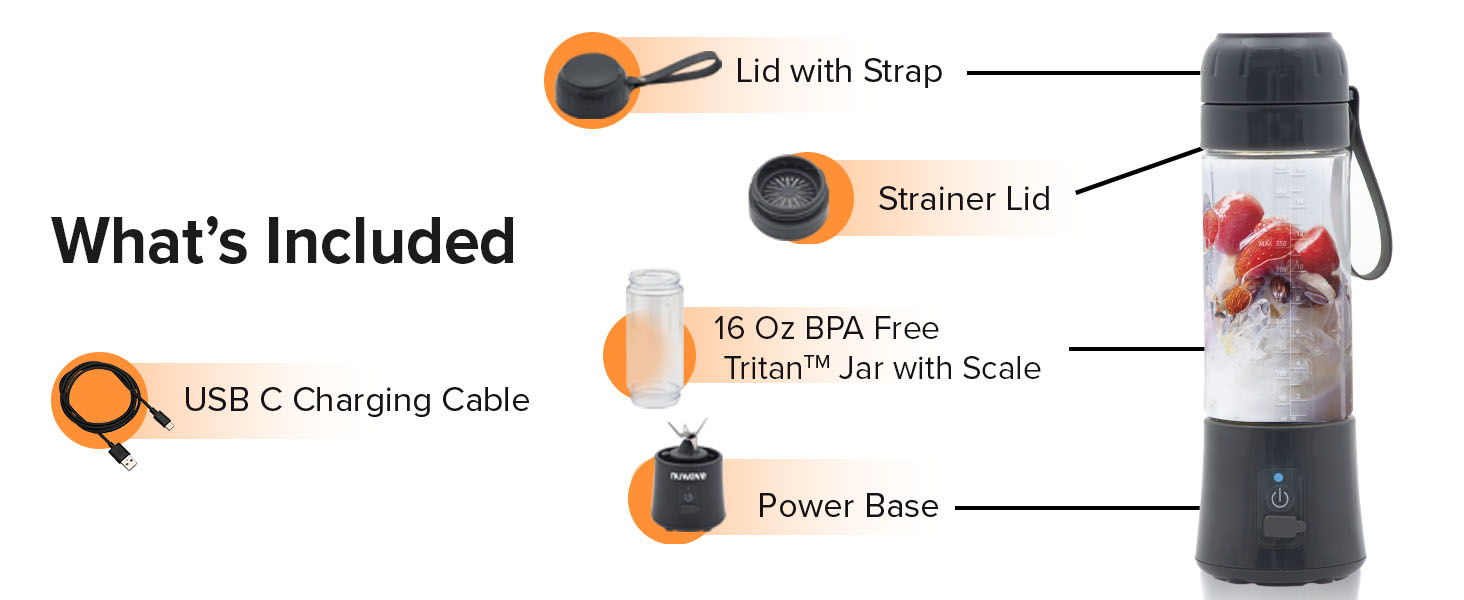
On-the-Go Blender
Quick Start Guide
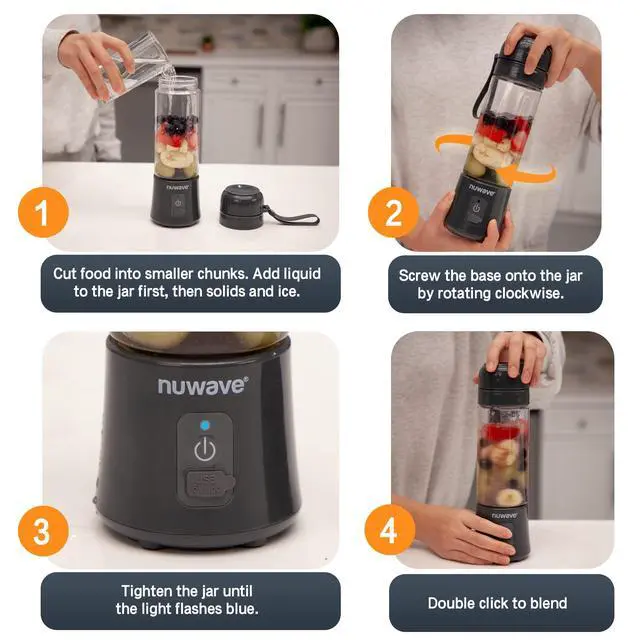
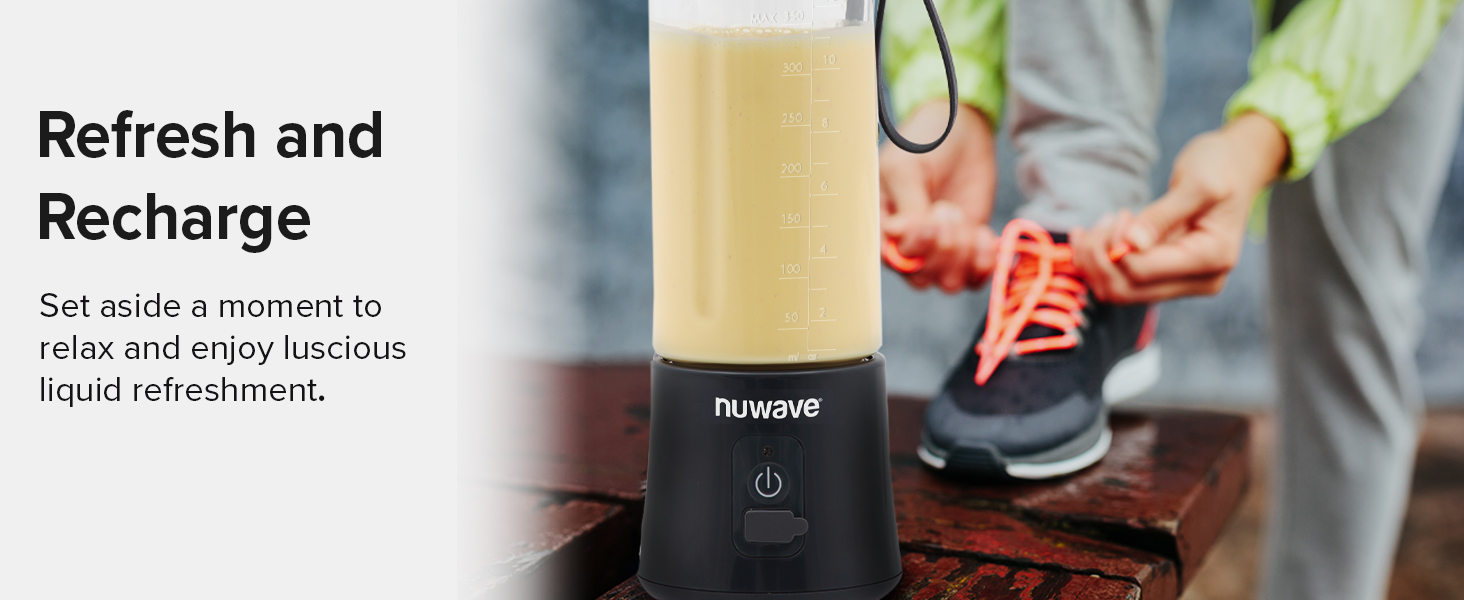
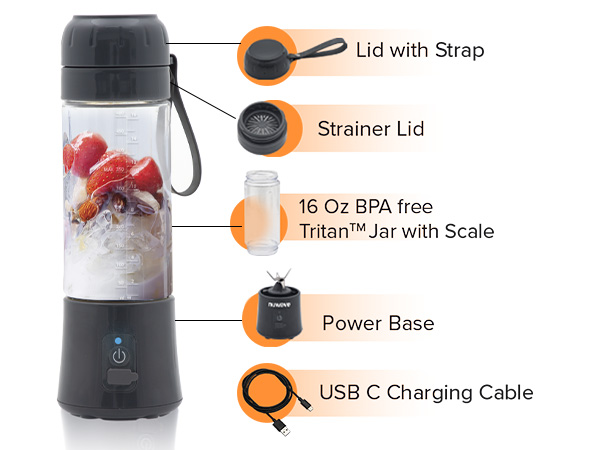
1. Secure the Jar onto the Power Base. Turn clockwise until the indicator light flashes blue.
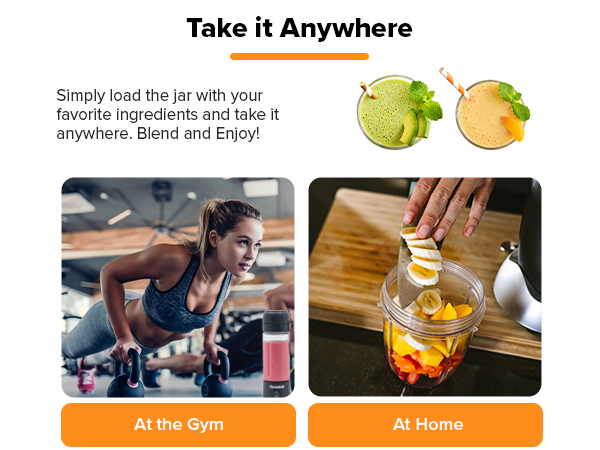
2. Cut food into smaller chunks. Add the food and the liquid into the jar.
3. Double-click the power button to blend.
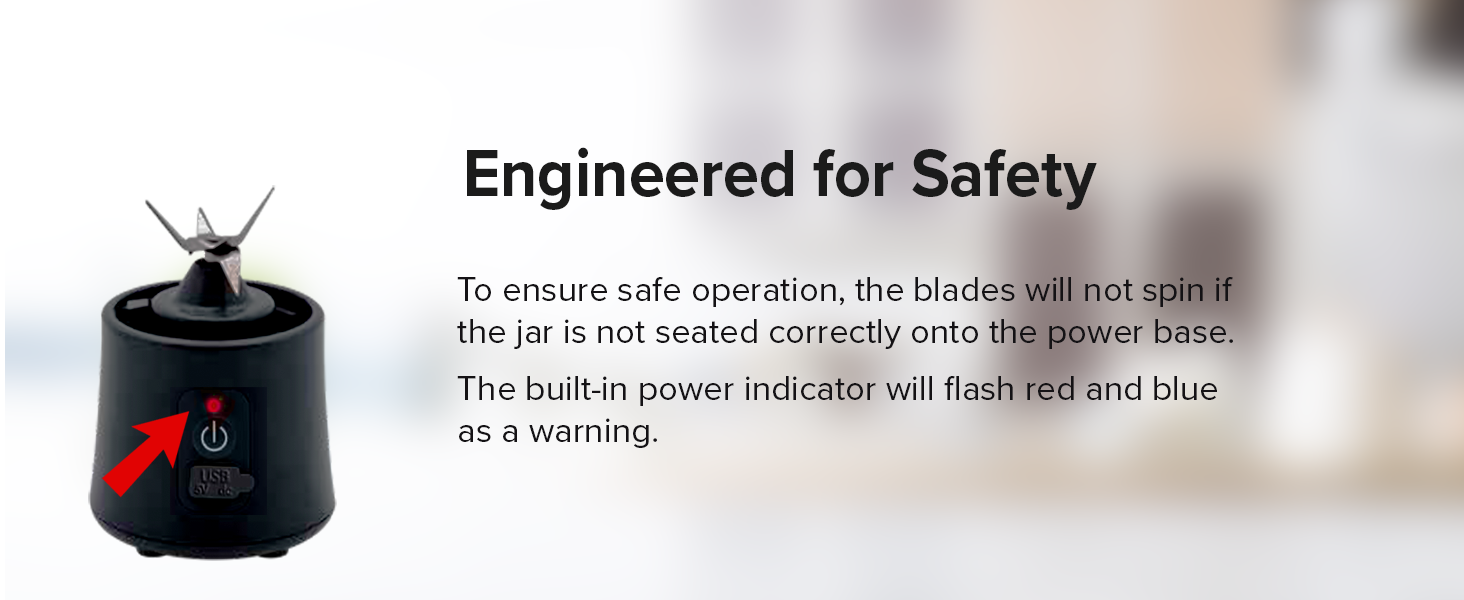
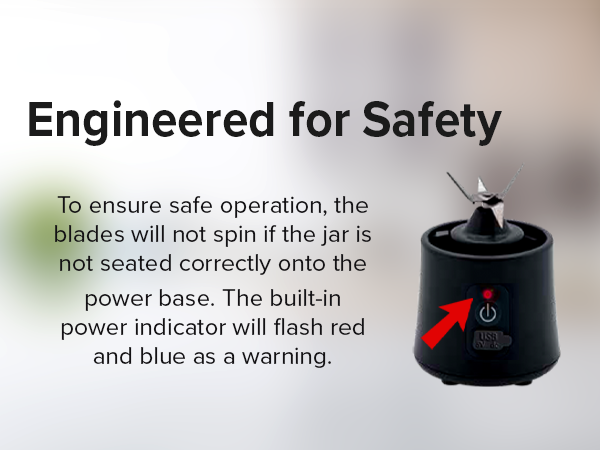
4. If the indicator light flashes blue and red, retighten the jar until secure.
aplus content video




Trouble Shooting Guide
Nuwave is an American manufacturer based in Vernon Hills, IL that is focused on developing affordable, green conscious appliances using the latest culinary technology.
Our customers are always our top priority, and we are absolutely dedicated to building a foundation of trust and dependability to help people Live Well For Less.
Cookware Set
Induction Cooktops
Convection Ovens
Air Fryers
Air Purifiers
Electric Skillet
Airfryer Pressure Cooker Combo
Live Well for Less
We are driven by the pursuit of safe, green products that can improve the quality of life for less.
aplus content video
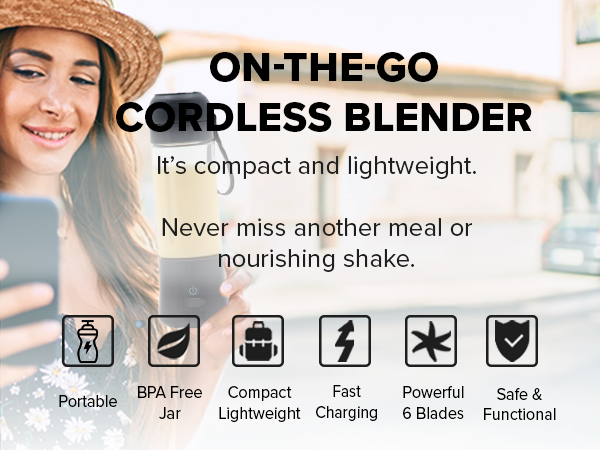
On-the-Go Blender
Quick Start Guide
1. Secure the Jar onto the Power Base. Turn clockwise until the indicator light flashes blue.
2. Cut food into smaller chunks. Add the food and the liquid into the jar.
3. Double-click the power button to blend.
4. If the indicator light flashes blue and red, retighten the jar until secure.




Trouble Shooting Guide
| Light will not turn on | Battery depleted, please charge the blender using the provided charging cable. |
|---|---|
| Light flashes five times | The jar and power base are not properly positioned. Unscrew and re-tighten the jar and power base until the indicator lights are steadily blue. |
| Blender stops while blending | Blades are stuck, double-click the button to restart and shake it from side to side while blending. |
| Light flashing red | Blades may be frozen. Carefully shake the blender from side to side, then restart. |
| Light flashing red | The battery may be too hot. Power off and allow it to cool for 30 minutes. |
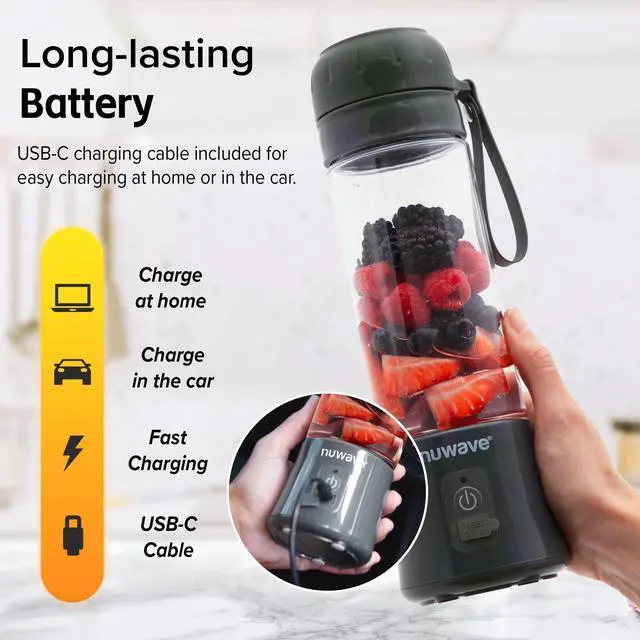
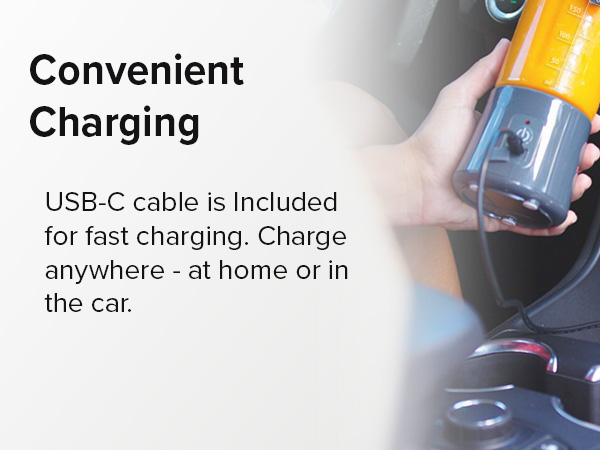
| Red light while blending | Low power – please charge the blender using the provided charging cable. |
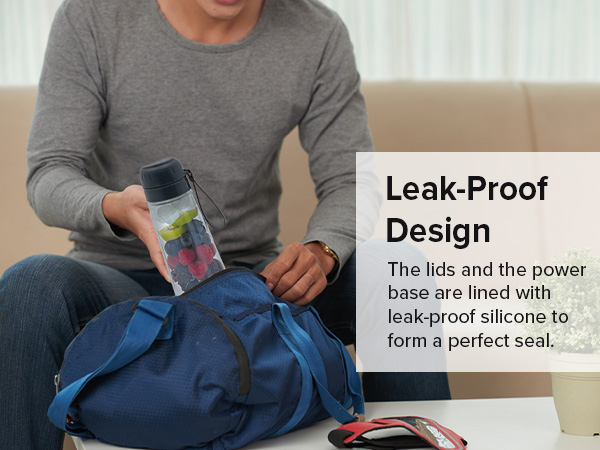
| Leakage | Ingredients added are above the Max line – Remove some ingredients to below the Max line, and then use it normally. |