



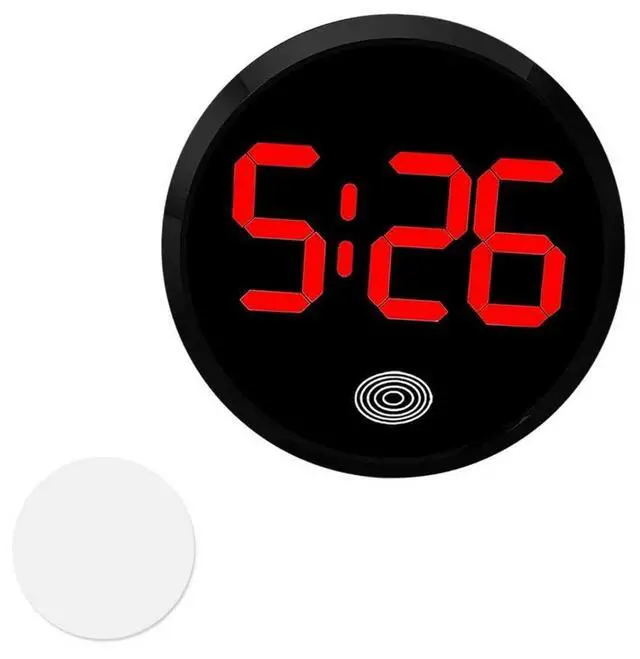



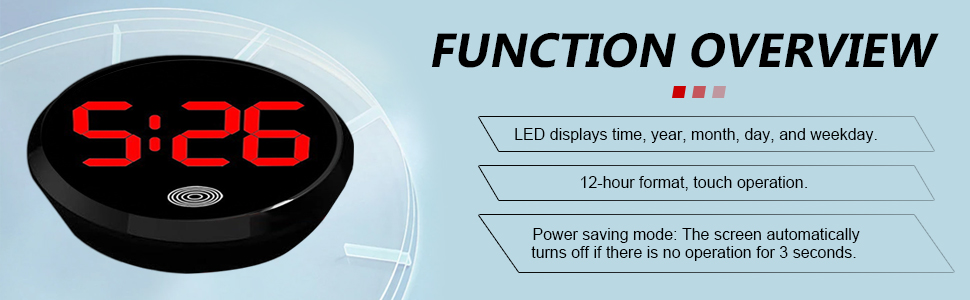
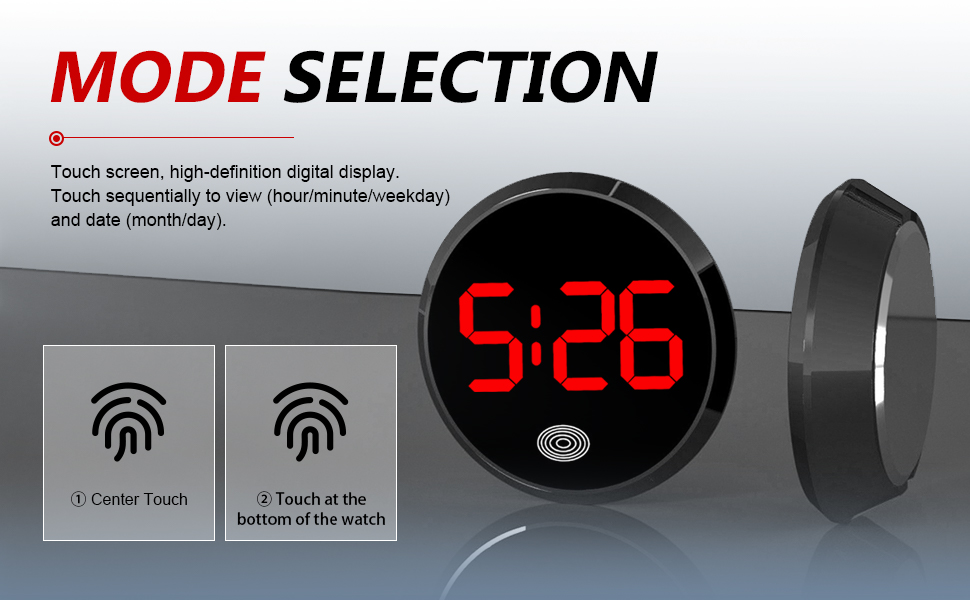
Time Setting
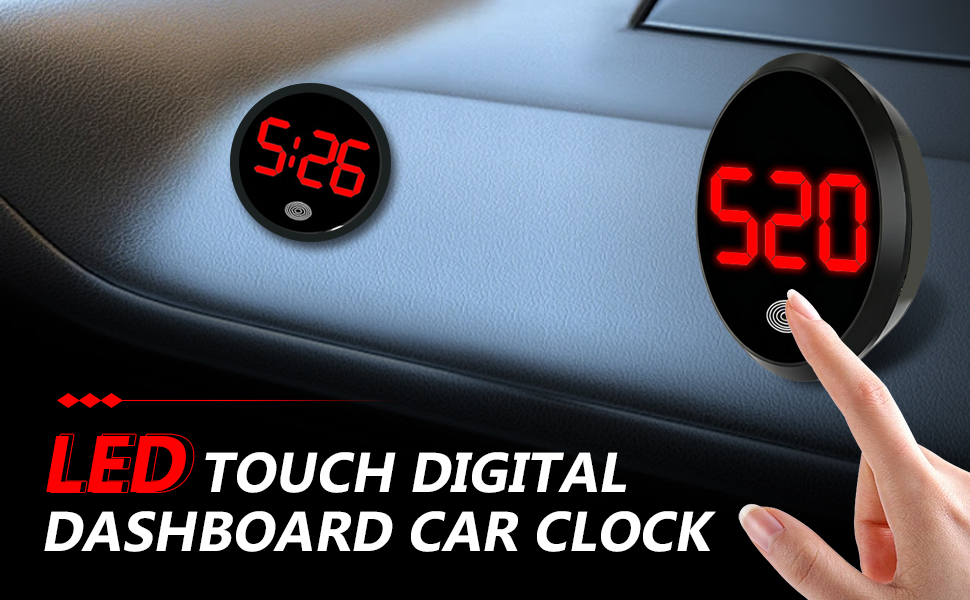
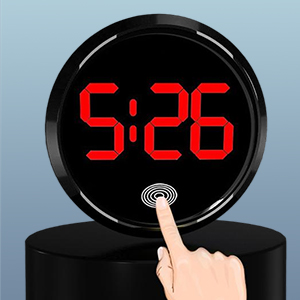
1. Display Time ? Press and hold screen for 3s (hour digits flash) ? Release ? Tap to adjust hours.
2. Press and hold again for 3s (minute digits flash) ? Release ? Tap to adjust minutes.
3. Time-only setup: Press and hold for 3s (year digits flash) ? Release ? Tap to set year ? Press and hold for 3s to exit (settings saved).
4. Full setup (time + date): After step 2, press and hold for 3s (month digits flash) ? Release ? Tap lower screen to adjust month.
5. Press and hold lower screen for 3s (date digits flash) ? Release ? Tap lower screen to adjust date ? Setup complete.
Note: When adjusting the time, minutes, and date, after adjusting the first function, press and hold for 3 seconds to continue adjusting the next function. Do not release your hand for too long, otherwise it will revert to the original boot screen, and you will have to start the adjustment process again.


Better parts, better driving.
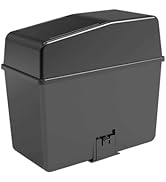
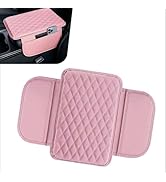
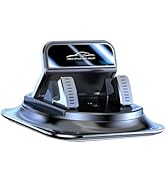
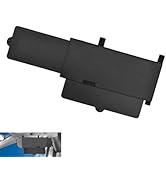
Opuweiy – Your Trusted Partner for Practical Auto Accessories. We specialize in high-quality, easy-to-install car parts, including sun visor extenders, tire valves, window buckles, dashboard phone holders, armrest pads and more. Reliable quality, perfect compatibility, making your driving safer and more comfortable.


Our Products
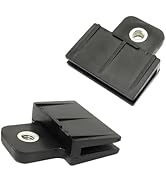
Our Products
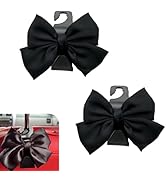
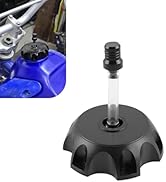
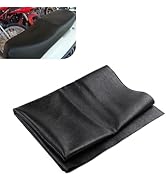
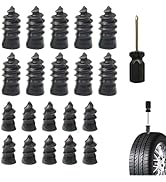
Our Products
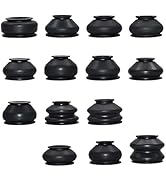
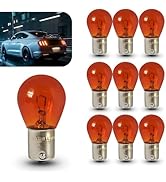
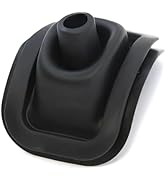
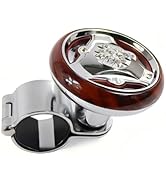
Our Products
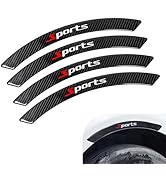
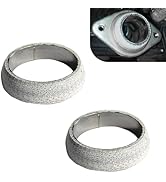
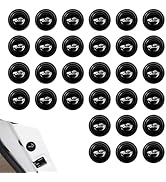
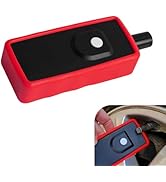
Our Products
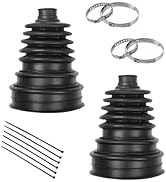
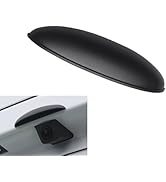
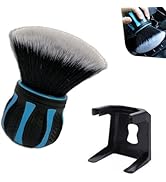
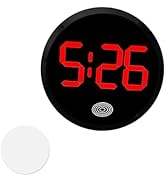
Our Products

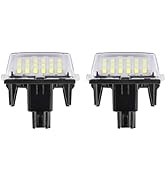
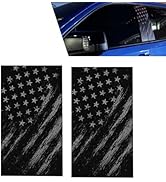
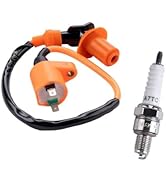
Our Products
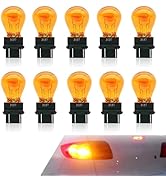
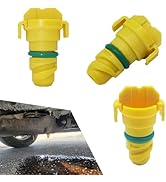
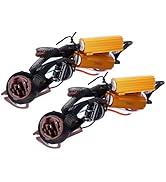
Our Products
Time Setting
1. Display Time ? Press and hold screen for 3s (hour digits flash) ? Release ? Tap to adjust hours.
2. Press and hold again for 3s (minute digits flash) ? Release ? Tap to adjust minutes.
3. Time-only setup: Press and hold for 3s (year digits flash) ? Release ? Tap to set year ? Press and hold for 3s to exit (settings saved).
4. Full setup (time + date): After step 2, press and hold for 3s (month digits flash) ? Release ? Tap lower screen to adjust month.
5. Press and hold lower screen for 3s (date digits flash) ? Release ? Tap lower screen to adjust date ? Setup complete.
Note: When adjusting the time, minutes, and date, after adjusting the first function, press and hold for 3 seconds to continue adjusting the next function. Do not release your hand for too long, otherwise it will revert to the original boot screen, and you will have to start the adjustment process again.
Better parts, better driving.
Opuweiy – Your Trusted Partner for Practical Auto Accessories. We specialize in high-quality, easy-to-install car parts, including sun visor extenders, tire valves, window buckles, dashboard phone holders, armrest pads and more. Reliable quality, perfect compatibility, making your driving safer and more comfortable.
Our Products
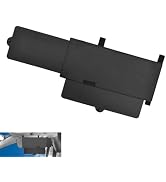
Our Products
Our Products
Our Products
Our Products
Our Products
Our Products
Our Products
