


FAQ
1. What battery cables do I need to connect my charge controller and battery?
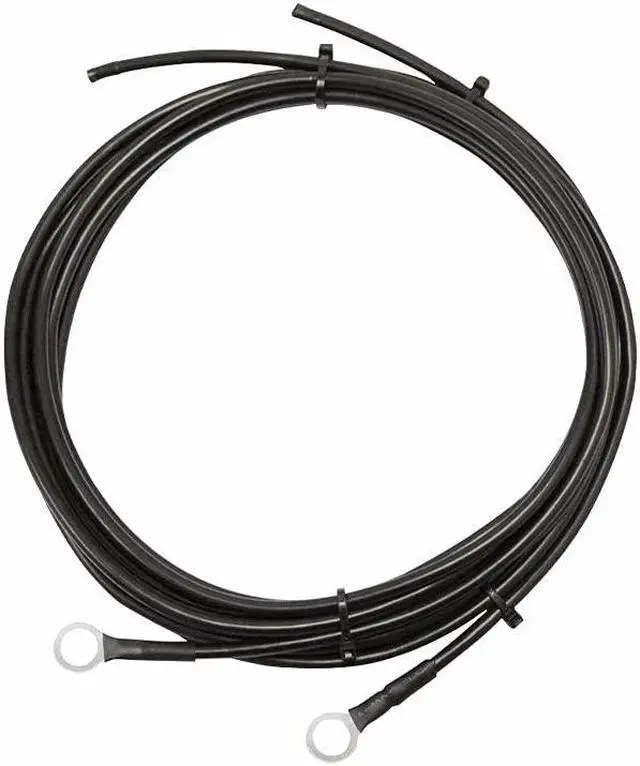
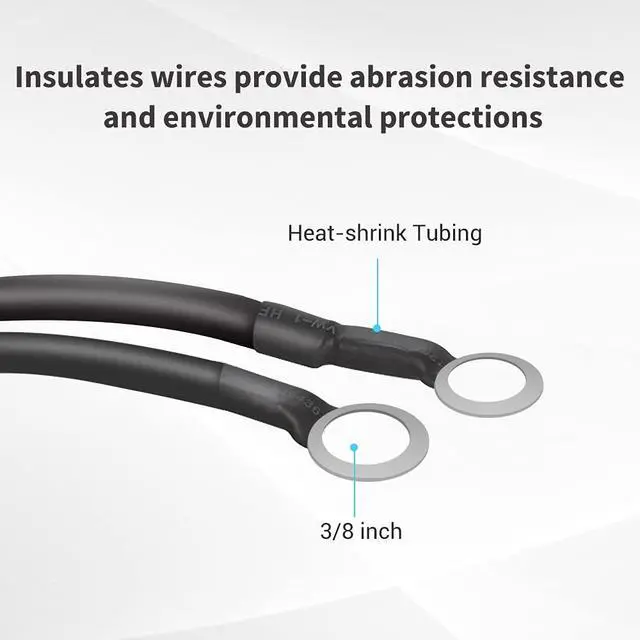
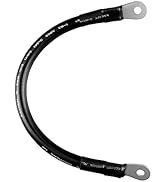
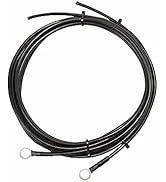
A: Connect your charge controller to the battery with Renogy high-quality coppers tray cable. Specialized with battery rings on one end for effortless connection to your battery and exposed wire on the other end to lead directly into your charge controller, this wire makes the system set up as easy as can be!
2. What wire size should my battery cables be?
A: Consider the following factors when sizing your wire:
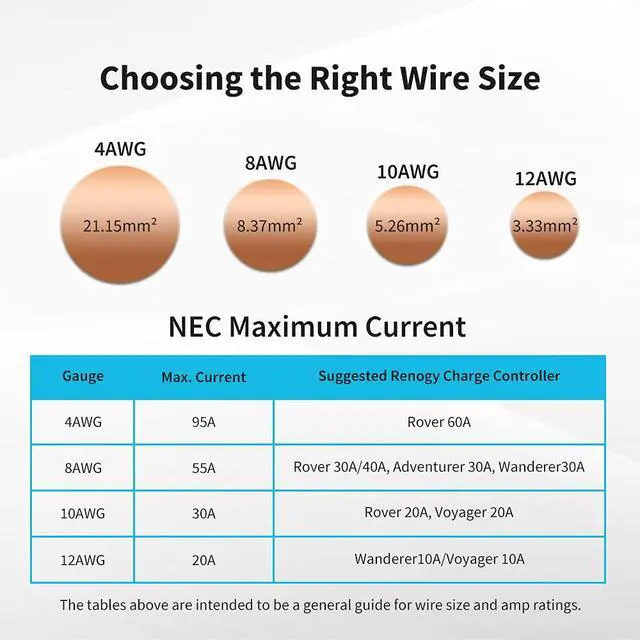
Current flow in amps. Pick a wire gauge that is big enough to carry the amount of current (in amps) that will be flowing through your system. For instance, if you have Renogy 40Amp charge controllers, we would recommend using 8AWG wires.
Charge controller terminals. Some charge controllers have small terminals that won’t accept wire thicker than a certain gauge. Check to see if compatible wire gauges are listed in your charge controller’s manual.
3 Do I need to have the fuse between the charge controller and battery?
A: When hooking up your Renogy system, the best way to add protection is by using fuses or circuit breakers. Fuses and circuit breakers are used to protect the wiring from getting too hot and also protect all devices connected in the system from catching fire or getting damaged if a short circuit occurs. They are not necessary for the system to run properly, but we always recommend using fuses or circuit breakers for safety purposes.
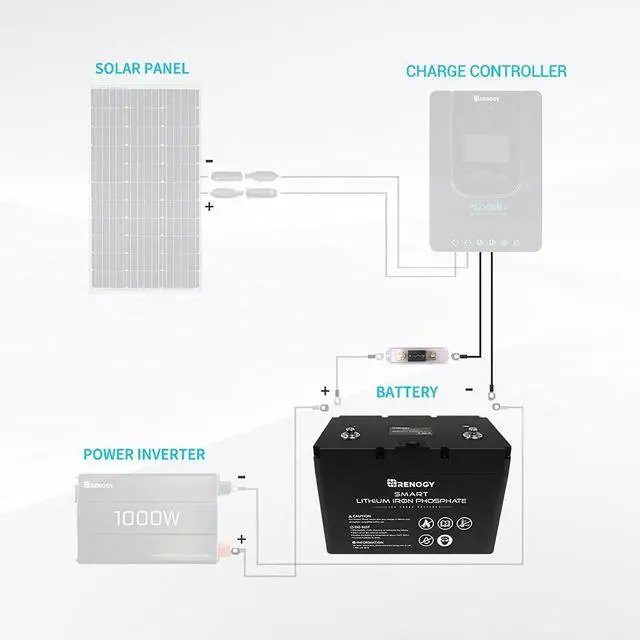
There are three different locations that we recommend installing fuses or breakers: first, between the charge controller and battery bank, second, between the charge controller and solar panels, and third would be between the battery bank and inverter.
To determine the fuse size needed between the charge controller and battery bank you simply match the amperage rating on the charge controller. For instance, if you have Renogy 40Amp charge controllers, we would recommend using a 40Amp fuse.

STEP 1
Materials & Tools Ready.
- Solar Charge Controller
- Battery
- Battery Cables (with terminal rings on one end and stripped at the other)
- Fuse Set with Cable
- Wire Crimper and screwsdriver

STEP 2
Connect the Cable with Charge Controller.
Insert the stripped end and fasten the terminal shut. All Renogy Charge Controllers have the battery terminals labeled with a battery icon “BATT".

STEP 3
Connect the Fuse to the Positive Battery Cable.
The Renogy ANL fuse will protect the charge controller, wire, and battery from over-current. The fuse set and fuse cable are available from Renogy.

STEP 4
Connect the Battery Cables to the Battery.
Connect the negative battery cable to the negative battery terminal and the positive cable to the positive terminal.

STEP 5
Charge Controller Turn On Now.
Check the installation instructions in your charge controller’s manual and set up the battery type correctly.

STEP 6
Double Check All Your Connections.
Make sure that none are loose.
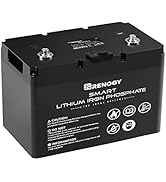
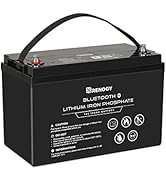
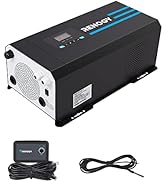
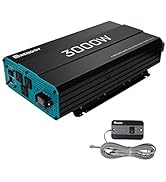
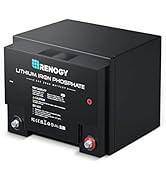
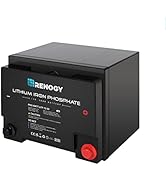
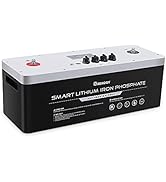
 Renogy ANL Fuse |  Renogy Set w Holder ANL Fuse |  Renogy Solar Power Battery Interconnect Cable |  Renogy Lithium Iron Phosphate Battery |  Renogy Rover MPPT Charge Controller |  Renogy Pure Sine Wave Inverter | |
|---|---|---|---|---|---|---|
| Customer Reviews | — | — | — | — | — | — |
| Price | — | — | — | — no data | — | — |
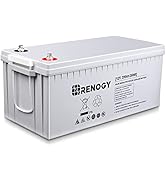
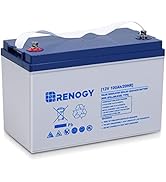
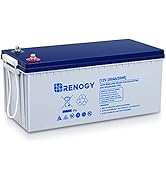
| Specification | 2FT 4/8/10AWG | 20/30/40/60/ 100A | 12/16in 4AWG | 100Ah 12V | 20/30/40A 12/24V | 700/1000/2000/3000W 12V |

Empowered
Offers various off-grid solar power solutions that provide the comforts of home for Tiny Homes, Vans, RV, Trailers, Trucks, Marine.

Since 2010 we have been on a mission to change the way the world uses energy. We are committed to making a lasting impact on the earth by removing barriers to sustainable living and energy independence.
Our mission is to empower the energy independence of 50M people with DIY-friendly and reliable renewable energy products by 2030.
We are optimistic humankind can achieve a sustainable future where renewables are at the core of our energy supply.
12V Batteries and Inverters
24V Solar System
50Ah Battery&Accessories
All-in-One Smart Panel
AGM&GEL Batteries(100Ah&200Ah)

Accessories
How did we get our start?
Renogy started as a small project by students at Louisiana State University. With the help and support of the Louisiana Business and Technology Center, Renogy has grown into a flourishing company.
What problem are we solving?
Renogy intends to be a driving force behind the push for sustainable living and energy independence.
What makes our products unique?
We aim to provide all the components necessary for users to build off-grid solar power systems at affordable prices.


Empowered
Offers various off-grid solar power solutions that provide the comforts of home for Tiny Homes, Vans, RV, Trailers, Trucks, Marine.
Since 2010 we have been on a mission to change the way the world uses energy. We are committed to making a lasting impact on the earth by removing barriers to sustainable living and energy independence.
Our mission is to empower the energy independence of 50M people with DIY-friendly and reliable renewable energy products by 2030.
We are optimistic humankind can achieve a sustainable future where renewables are at the core of our energy supply.
12V Batteries and Inverters
24V Solar System
50Ah Battery&Accessories
All-in-One Smart Panel
AGM&GEL Batteries(100Ah&200Ah)
Accessories
How did we get our start?
Renogy started as a small project by students at Louisiana State University. With the help and support of the Louisiana Business and Technology Center, Renogy has grown into a flourishing company.
What problem are we solving?
Renogy intends to be a driving force behind the push for sustainable living and energy independence.
What makes our products unique?
We aim to provide all the components necessary for users to build off-grid solar power systems at affordable prices.
FAQ
1. What battery cables do I need to connect my charge controller and battery?
A: Connect your charge controller to the battery with Renogy high-quality coppers tray cable. Specialized with battery rings on one end for effortless connection to your battery and exposed wire on the other end to lead directly into your charge controller, this wire makes the system set up as easy as can be!
2. What wire size should my battery cables be?
A: Consider the following factors when sizing your wire:
Current flow in amps. Pick a wire gauge that is big enough to carry the amount of current (in amps) that will be flowing through your system. For instance, if you have Renogy 40Amp charge controllers, we would recommend using 8AWG wires.
Charge controller terminals. Some charge controllers have small terminals that won’t accept wire thicker than a certain gauge. Check to see if compatible wire gauges are listed in your charge controller’s manual.
3 Do I need to have the fuse between the charge controller and battery?
A: When hooking up your Renogy system, the best way to add protection is by using fuses or circuit breakers. Fuses and circuit breakers are used to protect the wiring from getting too hot and also protect all devices connected in the system from catching fire or getting damaged if a short circuit occurs. They are not necessary for the system to run properly, but we always recommend using fuses or circuit breakers for safety purposes.
There are three different locations that we recommend installing fuses or breakers: first, between the charge controller and battery bank, second, between the charge controller and solar panels, and third would be between the battery bank and inverter.
To determine the fuse size needed between the charge controller and battery bank you simply match the amperage rating on the charge controller. For instance, if you have Renogy 40Amp charge controllers, we would recommend using a 40Amp fuse.
STEP 1
Materials & Tools Ready.
- Solar Charge Controller
- Battery
- Battery Cables (with terminal rings on one end and stripped at the other)
- Fuse Set with Cable
- Wire Crimper and screwsdriver
STEP 2
Connect the Cable with Charge Controller.
Insert the stripped end and fasten the terminal shut. All Renogy Charge Controllers have the battery terminals labeled with a battery icon “BATT".
STEP 3
Connect the Fuse to the Positive Battery Cable.
The Renogy ANL fuse will protect the charge controller, wire, and battery from over-current. The fuse set and fuse cable are available from Renogy.
STEP 4
Connect the Battery Cables to the Battery.
Connect the negative battery cable to the negative battery terminal and the positive cable to the positive terminal.
STEP 5
Charge Controller Turn On Now.
Check the installation instructions in your charge controller’s manual and set up the battery type correctly.
STEP 6
Double Check All Your Connections.
Make sure that none are loose.
Renogy ANL Fuse | Renogy Set w Holder ANL Fuse | Renogy Solar Power Battery Interconnect Cable | Renogy Lithium Iron Phosphate Battery | Renogy Rover MPPT Charge Controller | Renogy Pure Sine Wave Inverter | |
|---|---|---|---|---|---|---|
| Customer Reviews | — | — | — | — | — | — |
| Price | — | — | — | — no data | — | — |
| Specification | 2FT 4/8/10AWG | 20/30/40/60/ 100A | 12/16in 4AWG | 100Ah 12V | 20/30/40A 12/24V | 700/1000/2000/3000W 12V |