
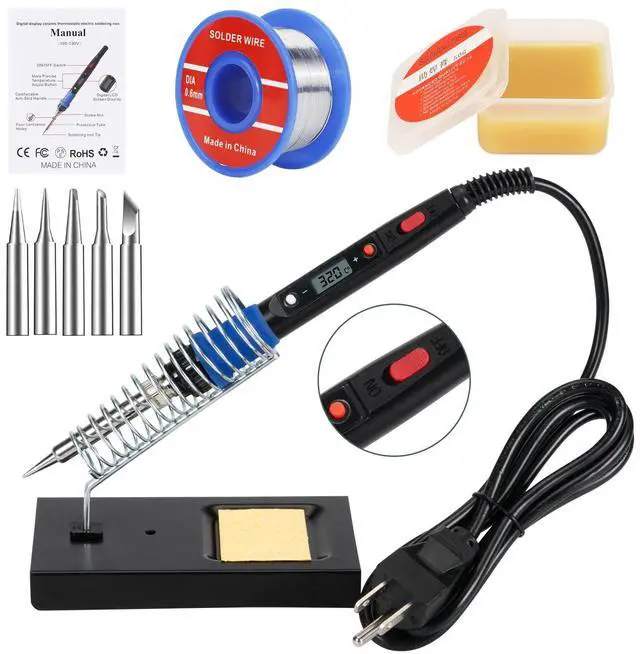
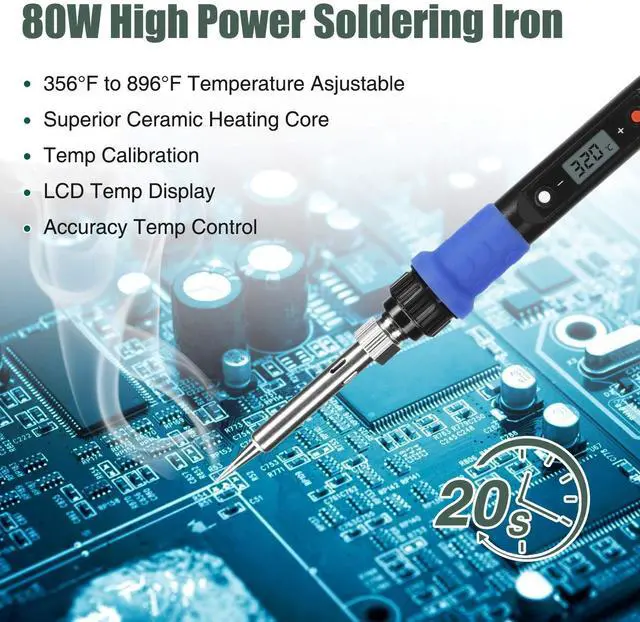


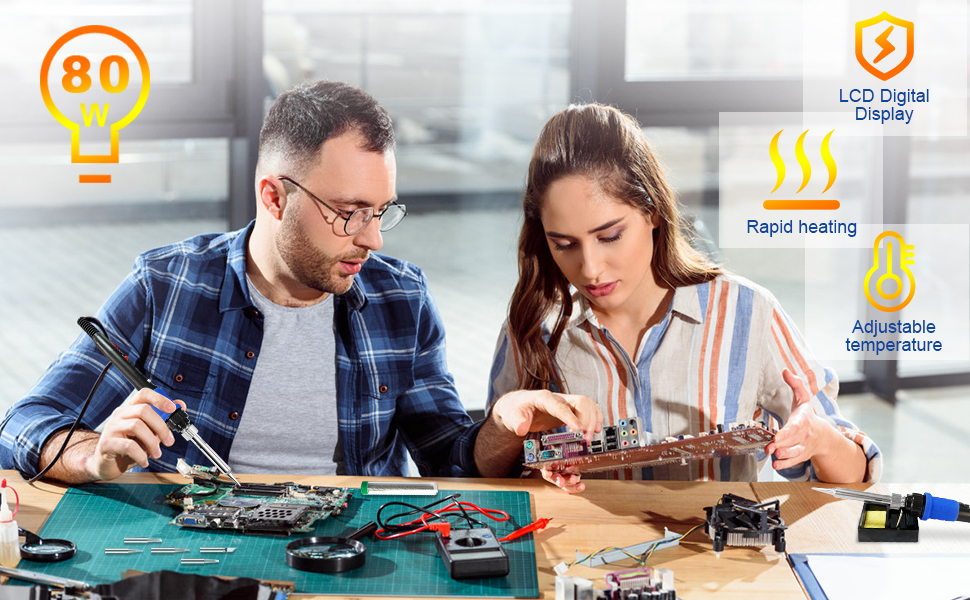
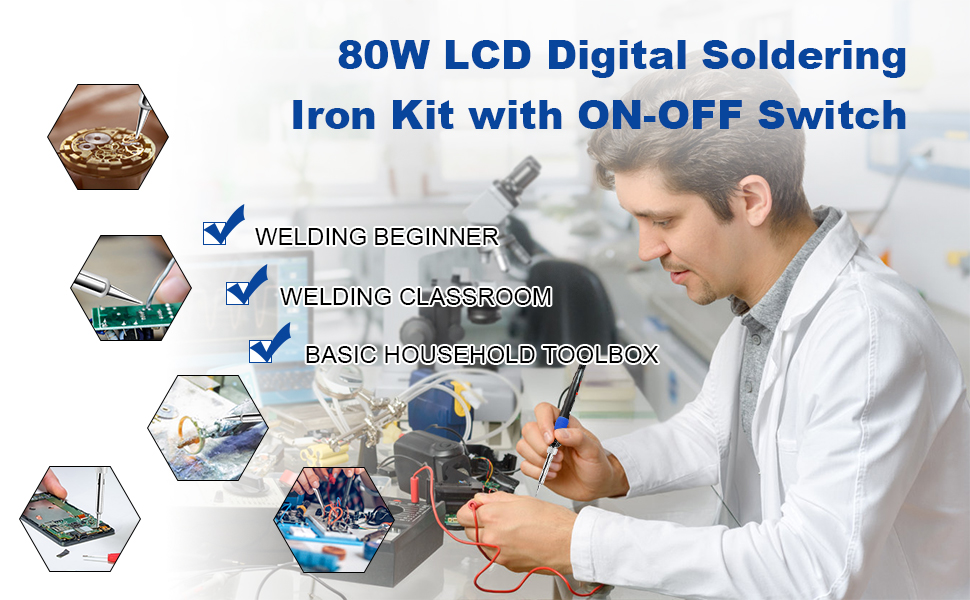
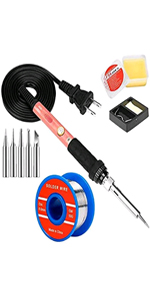
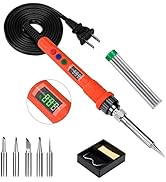
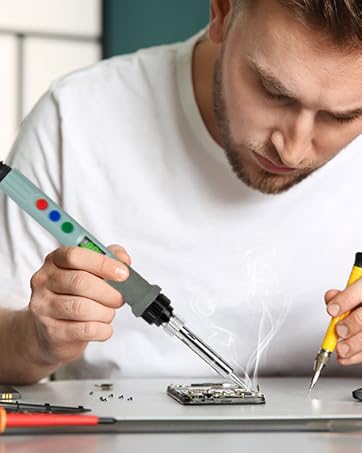
80W Soldering Iron Kit
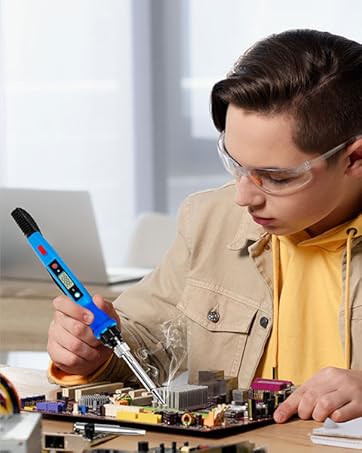
Soldering Iron Kit is a big help in your soldering needs. Pencil style irons that is easy to use and suitable for hobbyist use. With this multifunctional tool kit, you can be repairing various electronics and circuit boards, like welding, jewelry, guitar, watches, wiring, mobile device, computer hardware, small electronic work, TV capacitors or accessories, trinkets of children, crafts, and more.WARNING:Cancer and Reproductive Harm-www.P65Warnings.ca.gov.
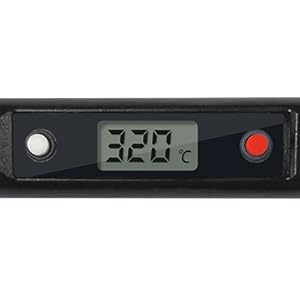
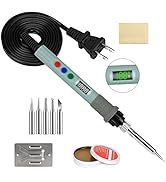
Temperature mode switching
In the state of not starting up, press and hold the (-) or (+) key, and then start up again. At this time, the LCD screen displays °C or °F, and then press and hold the (-) or (+) key to switch to °C or °F. After the (-) (+) key is released at the same time, the temperature would automatically rise to save the data.
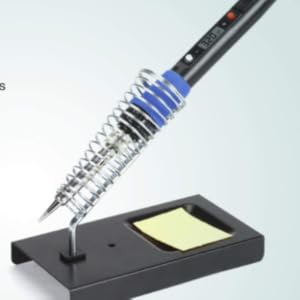
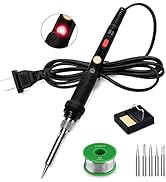
Soldering iron stand
The soldering iron stand can effectively protect the iron from being ironed at high temperature or the iron tips dropping on the ground.

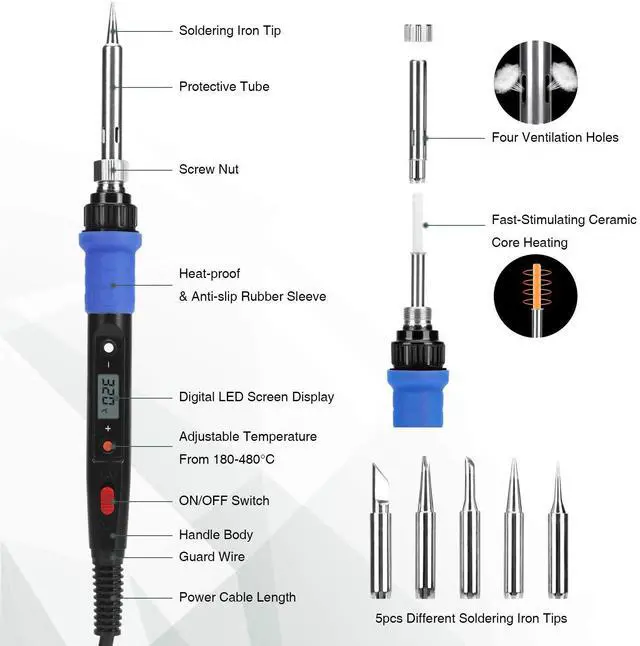
5 replaceable soldering tip
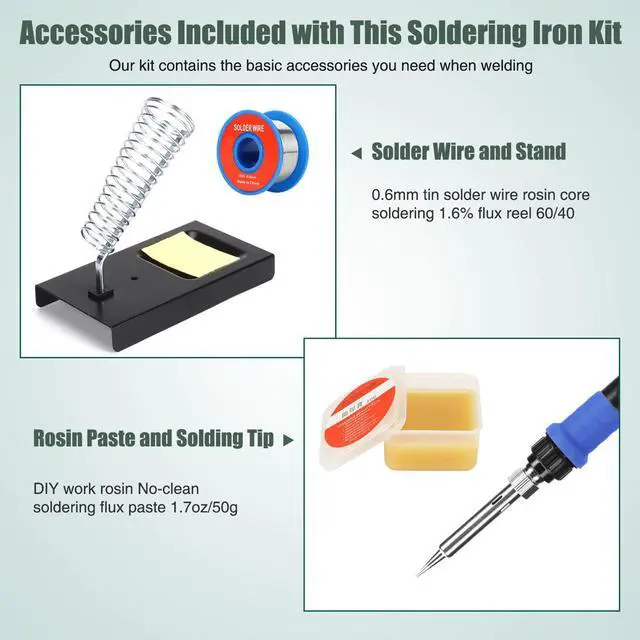
5 interchangeable soldering iron tip and practical accessories
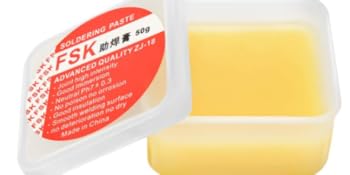
Rosin Paste
DIY work rosin No-clean soldering flux paste 1.7oz/50g
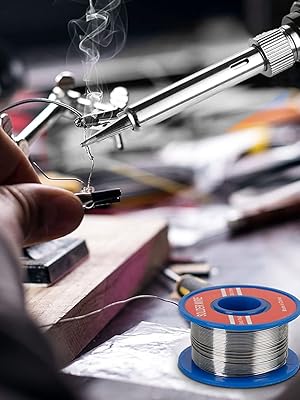
Solder wire
Good solder ability both in electrical conductivity and thermal conductivity
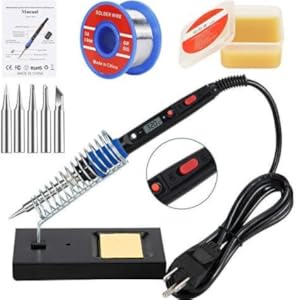
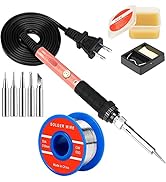
What's in the box?
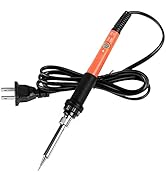
1 x 80W Soldering Iron
1x Soldering Iron Tip Set (5 pcs)
1 x Soldering Iron Stand
1 x50g Soldering Paste
1 x 50g solder wire
1 x Manual
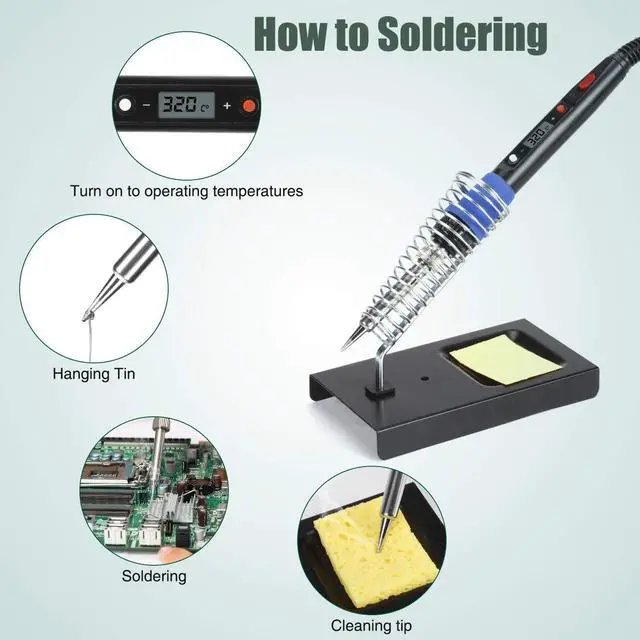
How to solder?
- Determine the right temperature for your project. Which temperature to use depends on the materials you're joining and the kind of solder you're using.
- Once your iron is heated to the appropriate temperature, pick up the iron by the handle in one hand and hold a piece of solder on the other hand. Hold the hot iron to the place where the two metal components will meet for about a second to heat them. You want to heat the metal parts, not the solder itself.
- Touch the solder to the heated components. As the solder melts, it will flow into the gaps it needs to fill. Continue to feed in solder until a sufficient amount is melted. While you need enough to form a solid connection, you don't want to have too much solder either.
- Allow the solder to cool on its own without any action.
- Check the soldering joint for quality. A good connection will appear smooth, uniform, and shiny. Make sure that aren't any problematic gaps between the components or globs of excess solder.
 60W Soldering Iron 1 | 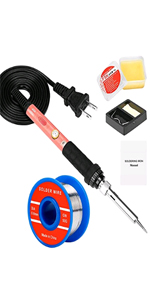 60W Soldering Iron 2 |  60W Soldering Iron 3 |  80W Soldering Iron Kit |  90W Soldering Iron Kit | |
|---|---|---|---|---|---|
| Customer Reviews | — | — | — | — | — |
| Price | — | — | — | — | — |
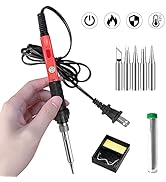
| ON/OFF Switch | ? | ? | ? | ? | ? |
| LCD Display | - no data | - no data | - no data | ? | ? |
| Temperature Mode | ? | ? | ? | ?/? | ?/? |
| watt | 60W | 60W | 60W | 80W | 90W |
| Anti-scalding Handle | ? | ? | ? | ? | ? |

Q-MING Soldering Kit
Safe, Efficient, Quality

Q-MING is a well-established and professional brand focused on producing Soldering products. Providing safe, efficient, quality products, Finding suitable welding solutions to customers is our ultimate mission.
Our headquarters brings together outstanding engineers and scientists from all over the world, dedicated to developing higher quality and more advanced soldering iron products. Choose us, choose quality.

Soldering Iron Kit

Soldering Iron Kit


Q-MING Soldering Kit
Safe, Efficient, Quality
Q-MING is a well-established and professional brand focused on producing Soldering products. Providing safe, efficient, quality products, Finding suitable welding solutions to customers is our ultimate mission.
Our headquarters brings together outstanding engineers and scientists from all over the world, dedicated to developing higher quality and more advanced soldering iron products. Choose us, choose quality.
Soldering Iron Kit
Soldering Iron Kit
80W Soldering Iron Kit
Soldering Iron Kit is a big help in your soldering needs. Pencil style irons that is easy to use and suitable for hobbyist use. With this multifunctional tool kit, you can be repairing various electronics and circuit boards, like welding, jewelry, guitar, watches, wiring, mobile device, computer hardware, small electronic work, TV capacitors or accessories, trinkets of children, crafts, and more.WARNING:Cancer and Reproductive Harm-www.P65Warnings.ca.gov.
Temperature mode switching
In the state of not starting up, press and hold the (-) or (+) key, and then start up again. At this time, the LCD screen displays °C or °F, and then press and hold the (-) or (+) key to switch to °C or °F. After the (-) (+) key is released at the same time, the temperature would automatically rise to save the data.
Soldering iron stand
The soldering iron stand can effectively protect the iron from being ironed at high temperature or the iron tips dropping on the ground.
5 replaceable soldering tip
5 interchangeable soldering iron tip and practical accessories
Solder wire
Rosin Paste
DIY work rosin No-clean soldering flux paste 1.7oz/50g
Good solder ability both in electrical conductivity and thermal conductivity
What's in the box?
1 x 80W Soldering Iron
1x Soldering Iron Tip Set (5 pcs)
1 x Soldering Iron Stand
1 x50g Soldering Paste
1 x 50g solder wire
1 x Manual
How to solder?
- Determine the right temperature for your project. Which temperature to use depends on the materials you're joining and the kind of solder you're using.
- Once your iron is heated to the appropriate temperature, pick up the iron by the handle in one hand and hold a piece of solder on the other hand. Hold the hot iron to the place where the two metal components will meet for about a second to heat them. You want to heat the metal parts, not the solder itself.
- Touch the solder to the heated components. As the solder melts, it will flow into the gaps it needs to fill. Continue to feed in solder until a sufficient amount is melted. While you need enough to form a solid connection, you don't want to have too much solder either.
- Allow the solder to cool on its own without any action.
- Check the soldering joint for quality. A good connection will appear smooth, uniform, and shiny. Make sure that aren't any problematic gaps between the components or globs of excess solder.
60W Soldering Iron 1 | 60W Soldering Iron 2 | 60W Soldering Iron 3 | 80W Soldering Iron Kit | 90W Soldering Iron Kit | |
|---|---|---|---|---|---|
| Customer Reviews | — | — | — | — | — |
| Price | — | — | — | — | — |
| ON/OFF Switch | ? | ? | ? | ? | ? |
| LCD Display | - no data | - no data | - no data | ? | ? |
| Temperature Mode | ? | ? | ? | ?/? | ?/? |
| watt | 60W | 60W | 60W | 80W | 90W |
| Anti-scalding Handle | ? | ? | ? | ? | ? |