
 here!
here!
I’m your shopping assistant for PC builds, upgrades, and everything tech.
Got questions? Ask away!
Start a conversation
here!
I’m your shopping assistant for PC builds, upgrades, and everything tech.
Got questions? Ask away!
Start a conversation
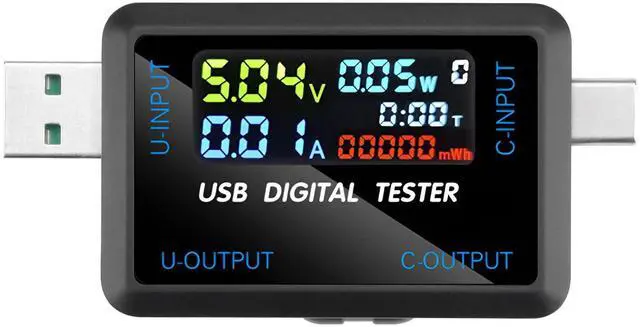
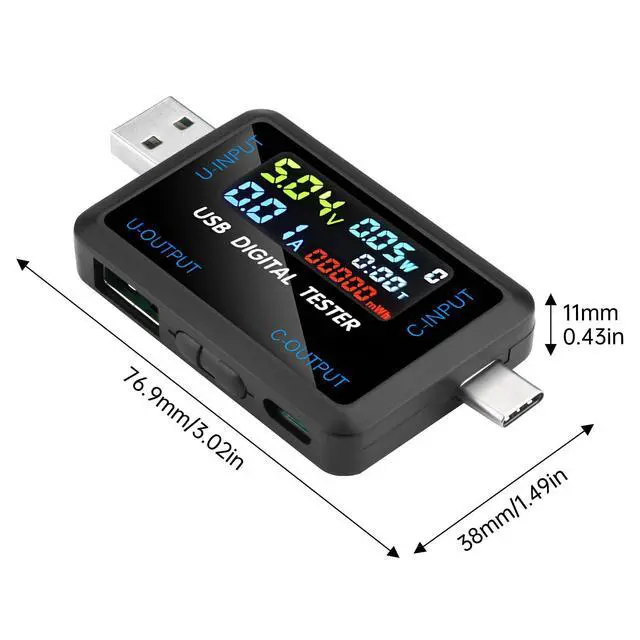
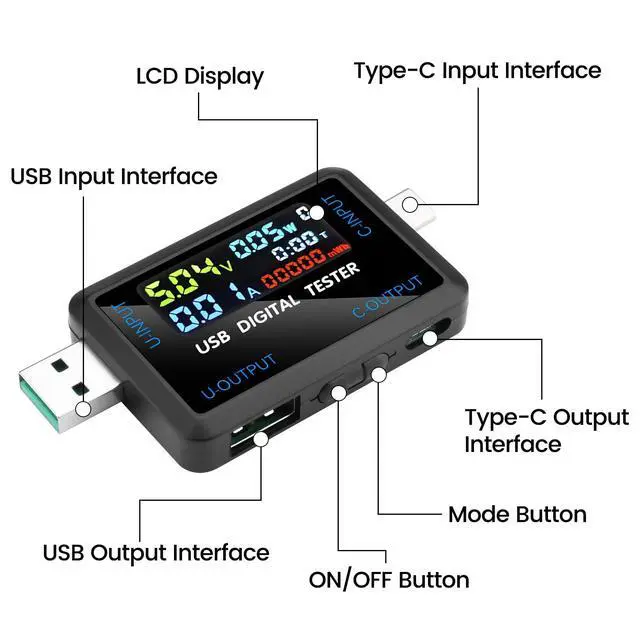
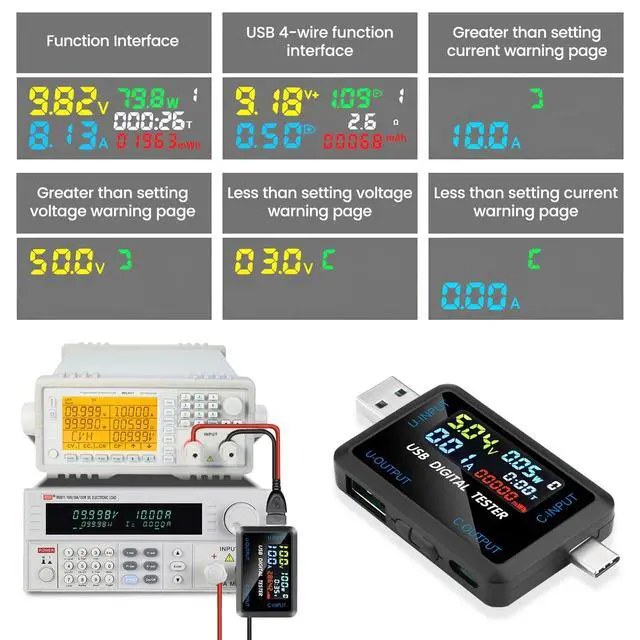
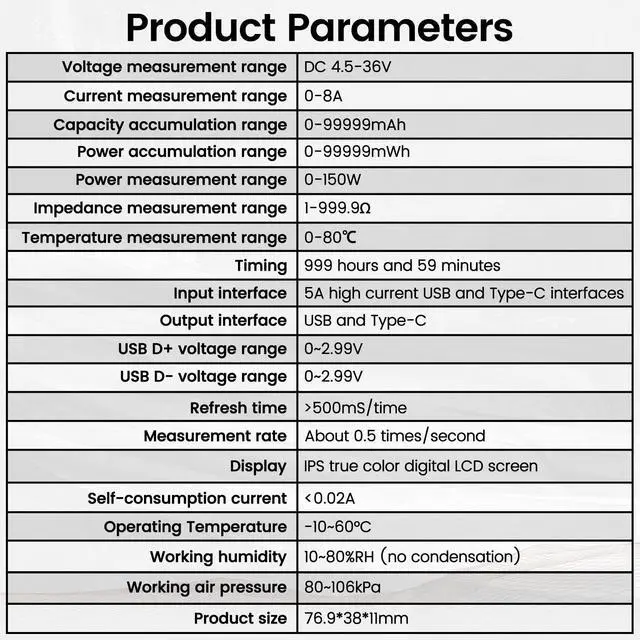
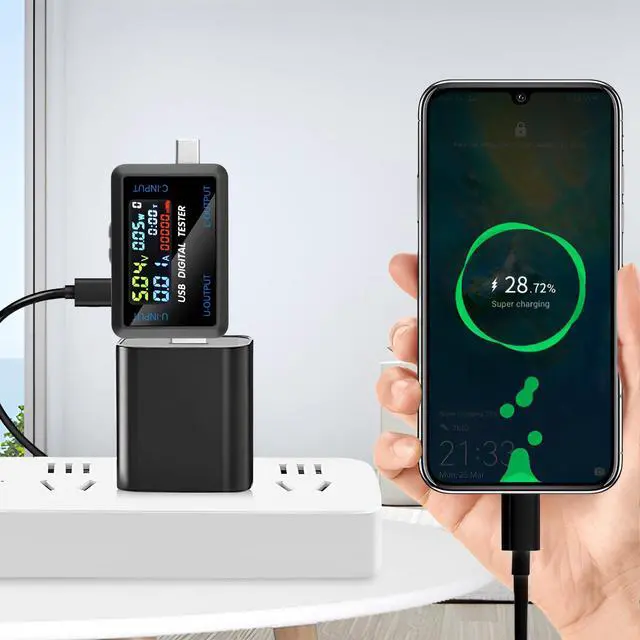



Any questions? Ask CelesteSM will help you find out quickly.
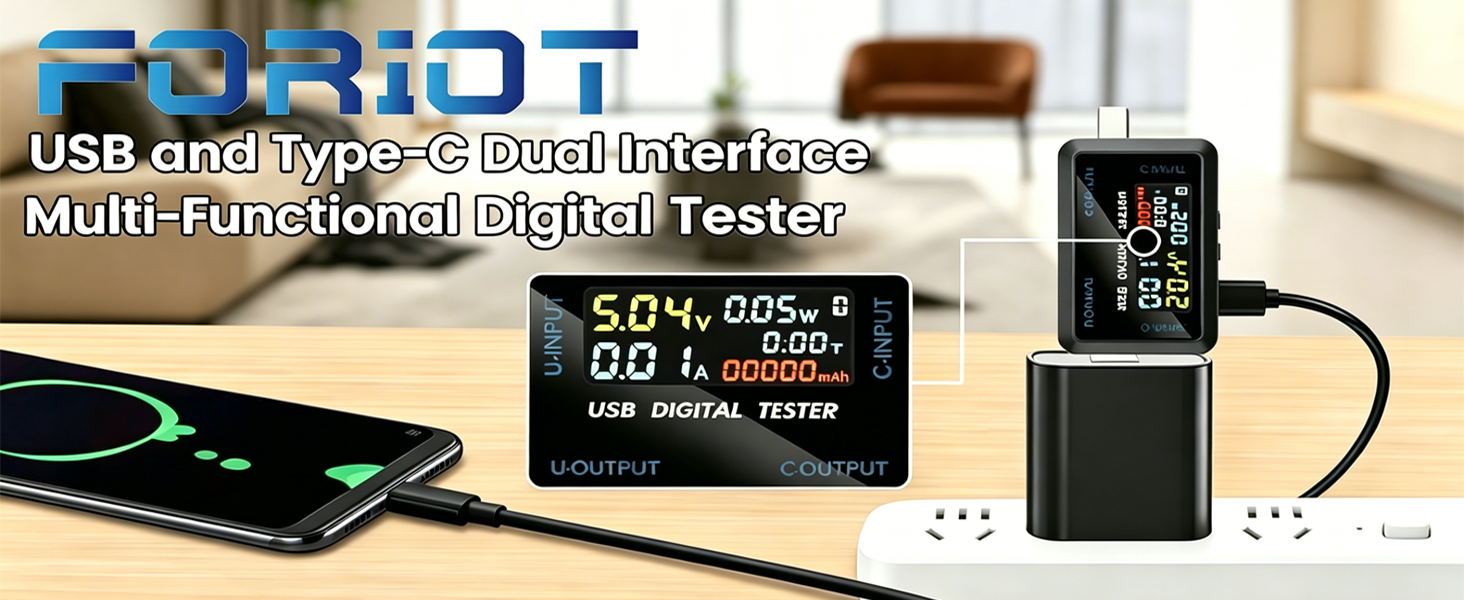
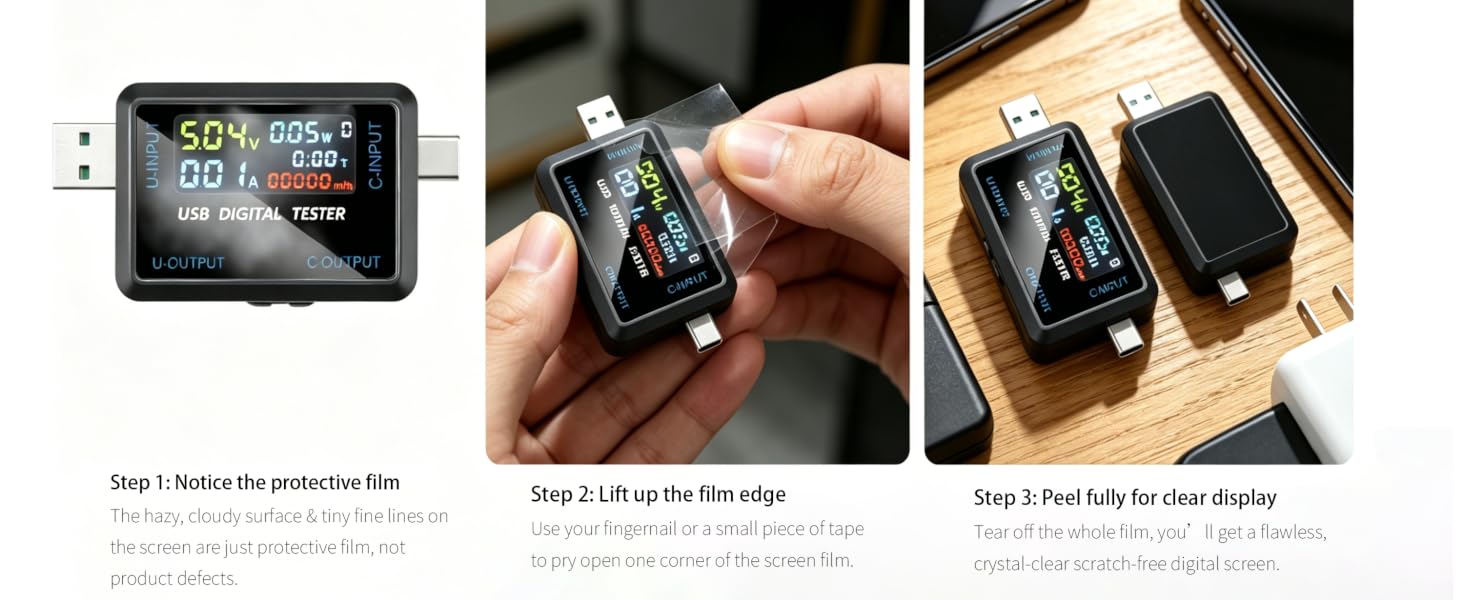
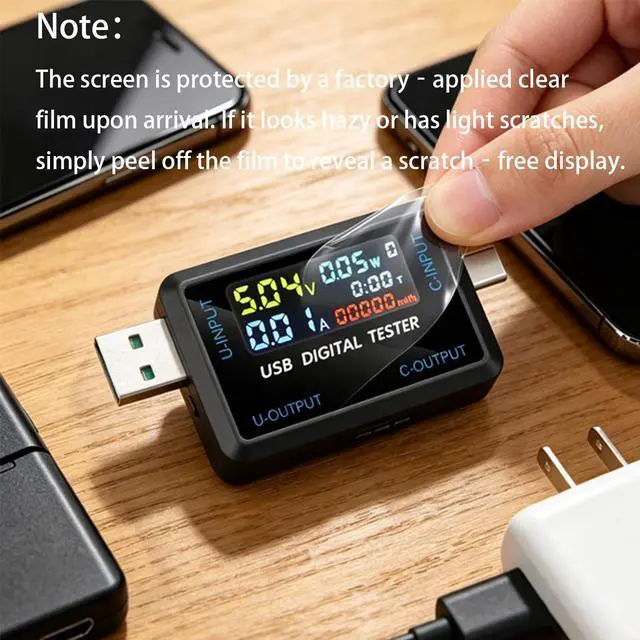
Please peel off the factory protective film first. The film can appear cloudy or scratched. Once removed, the actual screen is perfect.
Your device comes with a factory-applied screen protector. This is not a defect. For the best viewing experience, simply peel it off before using.
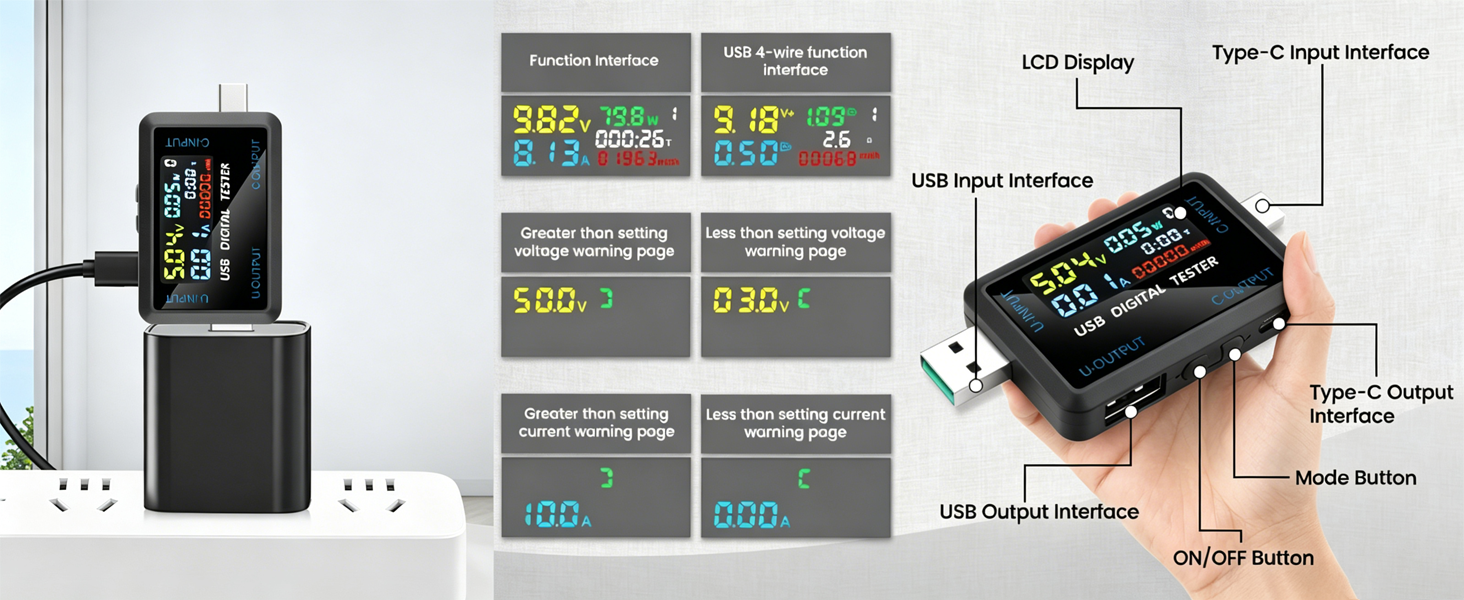
Short press mode button
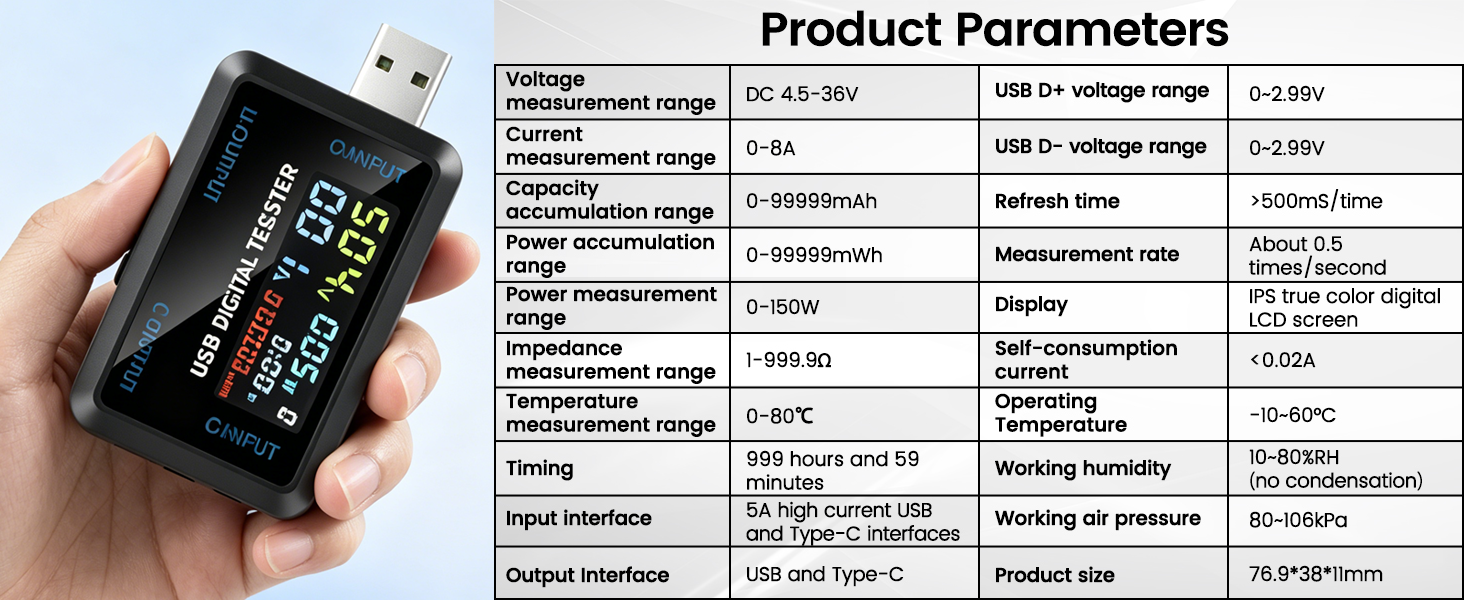
My USB tester screen looks blurry or has scratches right out of the box. Is it defective?
!! Please remove the factory protective film first !! The film can appear cloudy or scratched. Once removed, you will find a crystal-clear, scratch-free screen. If scratches remain after peeling, find us for a replacement.
The display became very dim after a couple of months. What can I do?
This seems to be a quality issue (backlight aging). Test the unit thoroughly within the first two weeks. If it dims, contact for a return/replace.
How do I reset the capacity (mAh) and energy (mWh) for a group?
Quickly press the mode button three times (triple-click). This resets the current group’s data.
My USB-C port doesn’t work at all, but USB-A works. What’s wrong?
First, rule out the PD “no-load” issue. Try different cables and devices. If it still fails, the unit is likely defective – request a replacement.
Why doesn’t the screen turn on when I plug in a Type-C PD charger?
You must connect a phone (or PD load) to the tester’s output port. Many PD chargers won’t output voltage without a device attached.
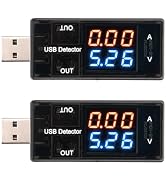
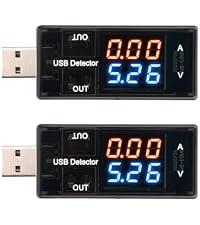 2Pcs USB Meter | 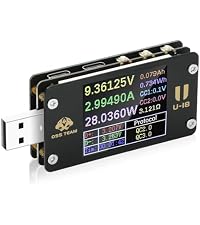 USB C Power Meter Tester | 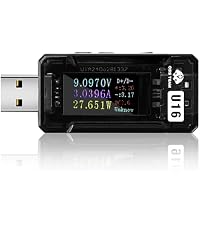 USB Tester Power Meter |  USB C Tester Power Meter | 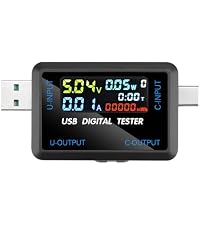 USB and Type-C Tester | 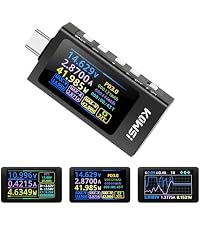 Type-C Tester | 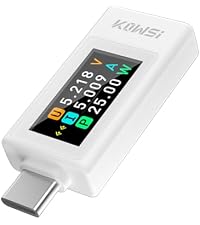 FORIOT USB C Tester | |
|---|---|---|---|---|---|---|---|
Customer Reviews | — | — | — | — | — | — | — |
Price | — | — | — | — | — | — | — |
Interface | USB | USB | USB | Type-C | USB&Type-C | Type-C | Type-C |
Voltage | v | v | v | v | v | v | v |
Current | v | v | v | v | v | v | v |
Power | × | v | v | v | v | v | v |
Time | × | v | v | v | v | v | v |
Capacity | × | v | v | v | v | v | v |
Fast charging | × | × | × | × | × | — | × |


FORIOT, a fusion of "For" and "IoT," encapsulates our commitment to creating products that are expressly designed for the interconnected future.
With FORIOT, embrace a new era of connectivity, where devices seamlessly communicate and collaborate to enrich your experiences. Choose us, let's redefine the possibilities of a connected world.


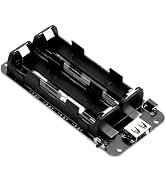
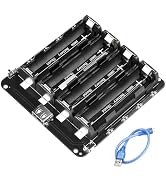






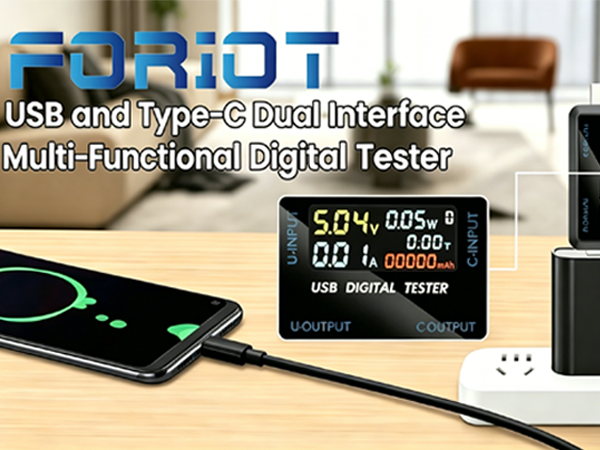
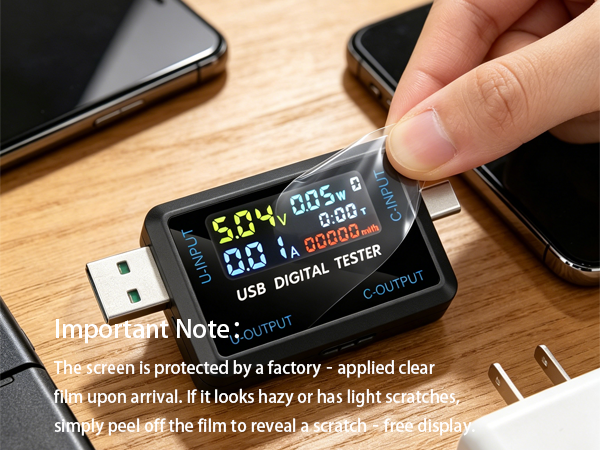
Please peel off the factory protective film first. The film can appear cloudy or scratched. Once removed, the actual screen is perfect.
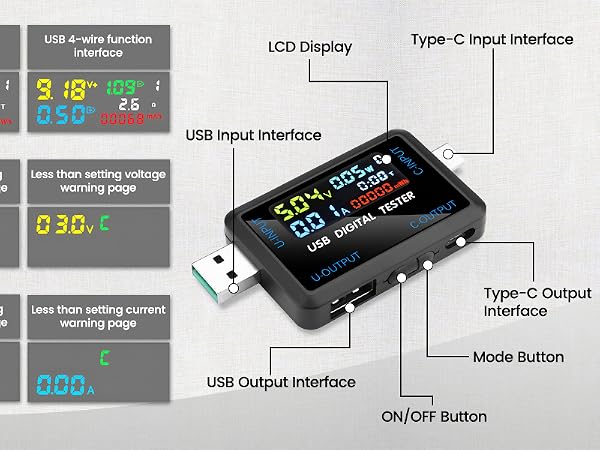
Short press mode button
My USB tester screen looks blurry or has scratches right out of the box. Is it defective?
!! Please remove the factory protective film first !! The film can appear cloudy or scratched. Once removed, you will find a crystal-clear, scratch-free screen. If scratches remain after peeling, find us for a replacement.
The display became very dim after a couple of months. What can I do?
This seems to be a quality issue (backlight aging). Test the unit thoroughly within the first two weeks. If it dims, contact for a return/replace.
How do I reset the capacity (mAh) and energy (mWh) for a group?
Quickly press the mode button three times (triple-click). This resets the current group’s data.
My USB-C port doesn’t work at all, but USB-A works. What’s wrong?
First, rule out the PD “no-load” issue. Try different cables and devices. If it still fails, the unit is likely defective – request a replacement.
Why doesn’t the screen turn on when I plug in a Type-C PD charger?
You must connect a phone (or PD load) to the tester’s output port. Many PD chargers won’t output voltage without a device attached.
2Pcs USB Meter | USB C Power Meter Tester | USB Tester Power Meter | USB C Tester Power Meter | USB and Type-C Tester | Type-C Tester | FORIOT USB C Tester |
|---|---|---|---|---|---|---|
| Customer Reviews | ||||||
| — | — | — | — | — | — | — |
| Price | ||||||
| — | — | — | — | — | — | — |
| Interface | ||||||
| USB | USB | USB | Type-C | USB&Type-C | Type-C | Type-C |
| Voltage | ||||||
| v | v | v | v | v | v | v |
| Current | ||||||
| v | v | v | v | v | v | v |
| Power | ||||||
| × | v | v | v | v | v | v |
| Time | ||||||
| × | v | v | v | v | v | v |
| Capacity | ||||||
| × | v | v | v | v | v | v |
| Fast charging | ||||||
| × | × | × | × | × | — | × |
FORIOT, a fusion of "For" and "IoT," encapsulates our commitment to creating products that are expressly designed for the interconnected future.
With FORIOT, embrace a new era of connectivity, where devices seamlessly communicate and collaborate to enrich your experiences. Choose us, let's redefine the possibilities of a connected world.