


YANBORONSN
YANBORONSN—Every connection adapts to your device, built to last with peace of mind. Focusing on what users truly need

The Brand You Can Trust
Focus on 3C Products
Providing you with convenient 3C cables
Quality Guaranteed
With professional expertise
Comprehensive Product Line
A series of products including USB charging cables, audio cables, HDMI cables, and adapters
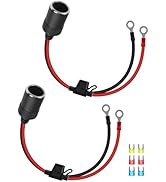

Car Cigarette Lighter
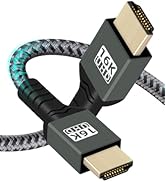
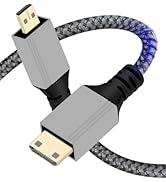
HDTV Cable
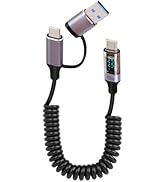
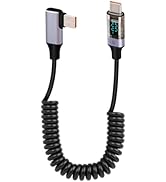
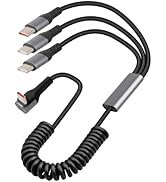
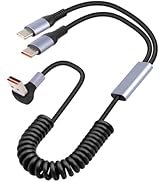
USB Coiled Charging Cable
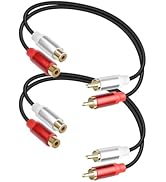
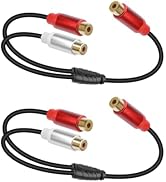
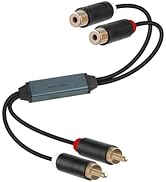
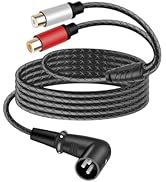
RCA Audio
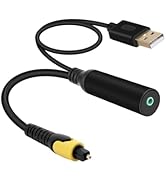
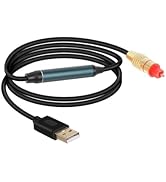
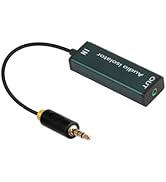
Optical and Noise Lsolator
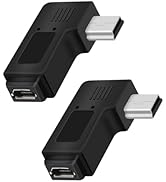
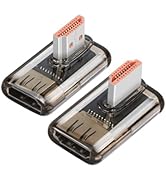
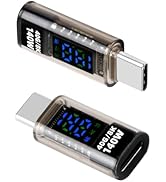
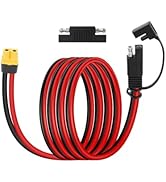
Adapter
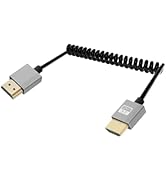
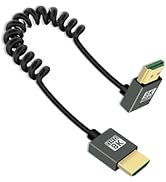
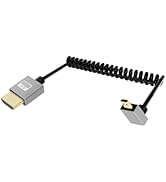
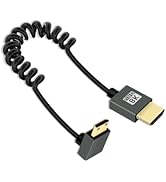
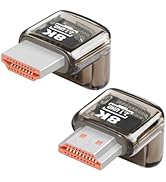
HDMI Cable

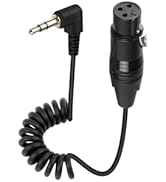
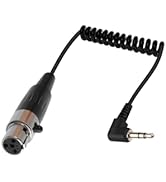
xlr audio cable
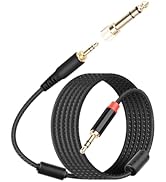
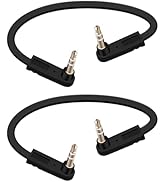
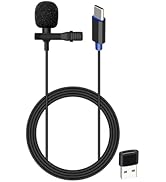
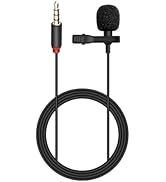
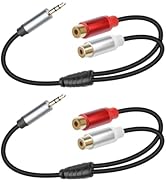
3.5mm cable and microphone
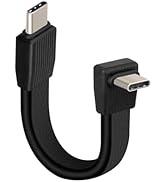
Data Cable
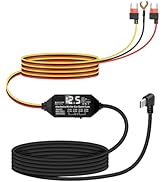
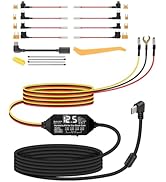
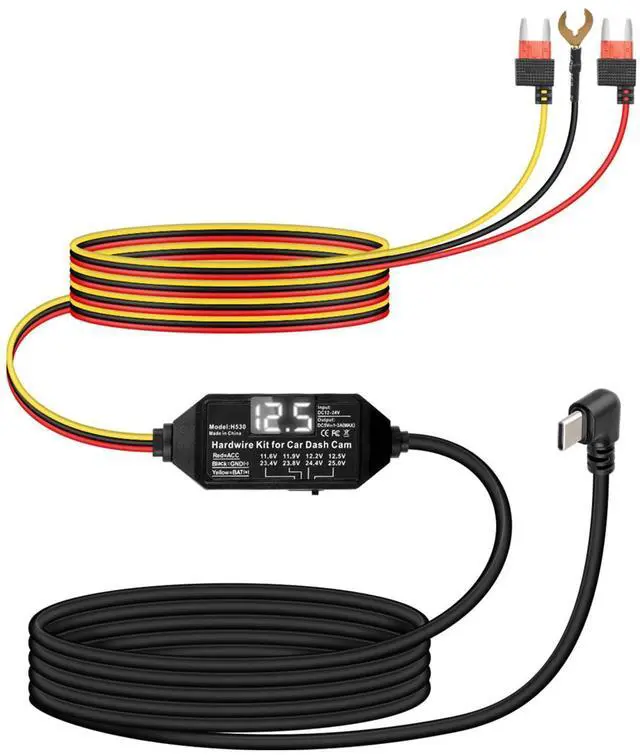
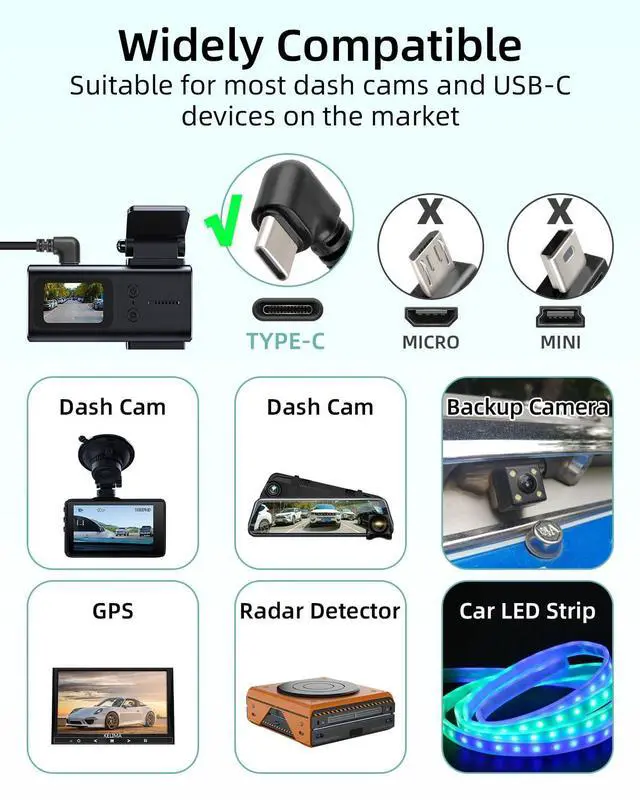
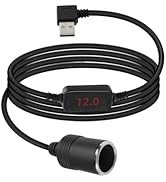
Dash Cam Hardwire Kit
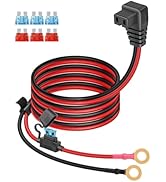
Car Refrigerator Power Cable
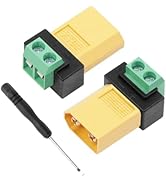
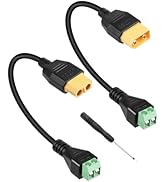
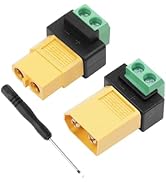
XT 60
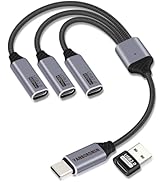
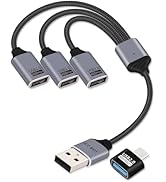
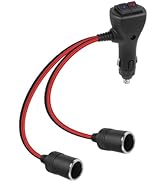
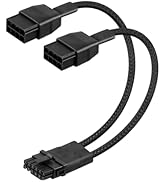
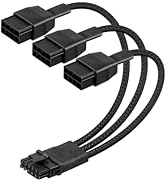
USB Splitter
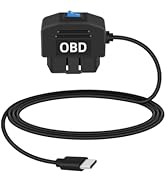
Power Cable and OBD Port Lid
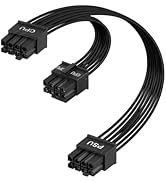
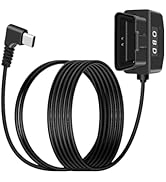
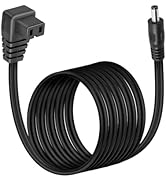
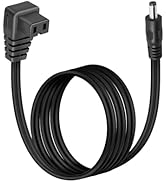
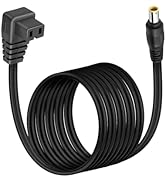
Power Cable


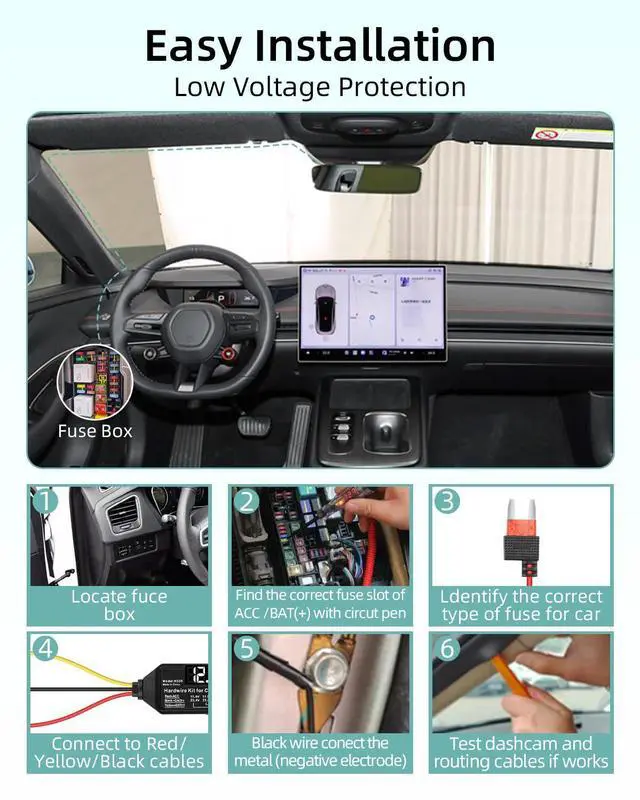
Steps 1
Open the fuse box, typically located beneath the driver's seat

Steps 2
Use a circuit tester to confirm the ACC and BAT (+) sockets

Steps 3
Selecting the correct fuse for your vehicle

Steps 4
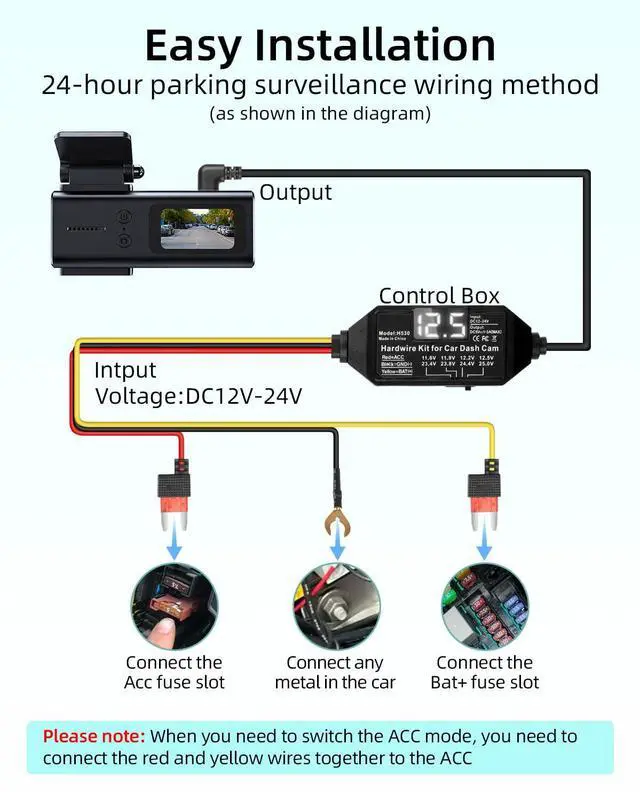
1.24 hours parking monitor mode connection
The red ACC wire is connected to ACC,the yellow BAT (+) wire is connected to the positive terminal.The black GND wire is connected to the grounding point and secured with a screw.
2.ACC mode connection (dashboard hardwire will work with vehicle start/stop)
Connect the red ACC cable and yellow BAT (+) cable to the ACC socket,The black GND wire is connected to the grounding point and secured with a screw

Steps 5
Connect the dashcam to the USB C port, start the vehicle, and test whether it works properly

Steps 6
After confirming normal operation, use a pry bar to organize and conceal the cables, then close the fuse box
Steps 1
Open the fuse box, typically located beneath the driver's seat
Steps 2
Use a circuit tester to confirm the ACC and BAT (+) sockets
Steps 3
Selecting the correct fuse for your vehicle
Steps 4
1.24 hours parking monitor mode connection
The red ACC wire is connected to ACC,the yellow BAT (+) wire is connected to the positive terminal.The black GND wire is connected to the grounding point and secured with a screw.
2.ACC mode connection (dashboard hardwire will work with vehicle start/stop)
Connect the red ACC cable and yellow BAT (+) cable to the ACC socket,The black GND wire is connected to the grounding point and secured with a screw
Steps 5
Connect the dashcam to the USB C port, start the vehicle, and test whether it works properly
Steps 6
After confirming normal operation, use a pry bar to organize and conceal the cables, then close the fuse box
YANBORONSN
YANBORONSN—Every connection adapts to your device, built to last with peace of mind. Focusing on what users truly need
The Brand You Can Trust
Focus on 3C Products
Providing you with convenient 3C cables
Quality Guaranteed
With professional expertise
Comprehensive Product Line
A series of products including USB charging cables, audio cables, HDMI cables, and adapters
Car Cigarette Lighter
HDTV Cable
USB Coiled Charging Cable
RCA Audio
Optical and Noise Lsolator
Adapter
HDMI Cable
xlr audio cable
3.5mm cable and microphone
Data Cable
Dash Cam Hardwire Kit
Car Refrigerator Power Cable
XT 60
USB Splitter
Power Cable and OBD Port Lid
Power Cable