

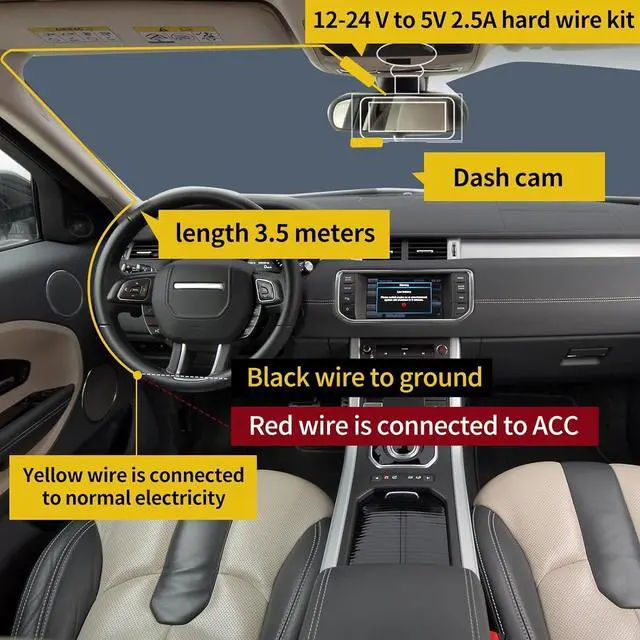


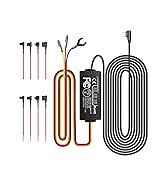
The Ground (black)
This black cable is connected to the metal parts of the vehicle. There are screw nails and metal parts near the fuse boxes in many cars. Connect the black cable to the screw or metal part.

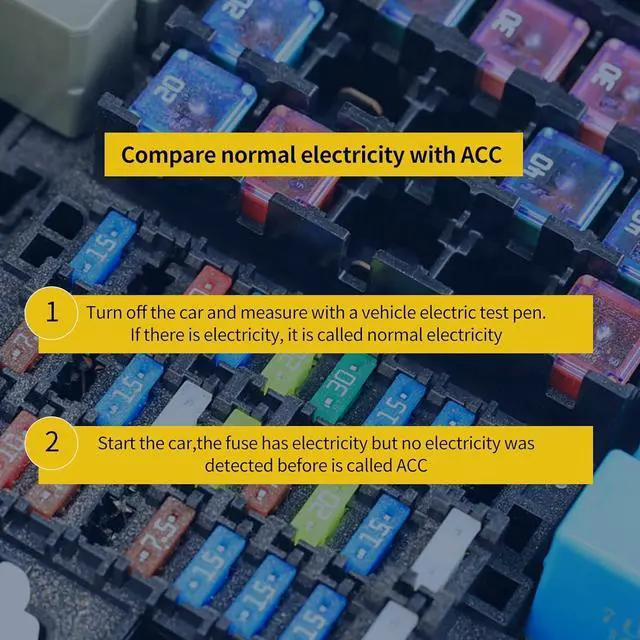
The ACC (red)
Connect the red cable supply power only when the car engine starts. Testing method : The tester bulb will light when the engine if on and won't light when the engine is off.

The B+ (yellow)
The yellow cable should be connected to the fuse of the constant power supply in the car fuse box. If you are looking for a constant power supply in the fuse box: Use a voltage tester to check the fuse to ensure it still have electricity even if the car engine is off.
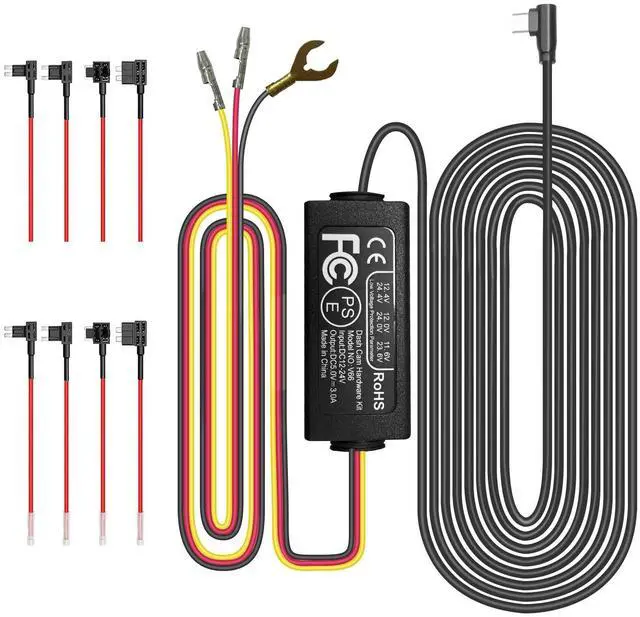
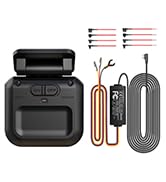
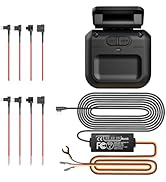
The HUPEJOS Dash Cam Hardwire Kit compatible with USB-C Series Dash Cams.
-Warm tips:
1. Please make sure the ACC and BAT is connected correctly.
2. Please feel free to reach us if any professional help in need.
3. Please use the dedicated hardwire kit for the HUPEJOS dash cam, Because the other brands of hardwire kits are not available for HUPEJOS dash cams.
4. The length of this hardwire kit is 11.5ft, suitable for most trucks, SUVs and other vehicles.
5. Please note that installation steps may vary by vehicle model and specific conditions. It is strongly recommended to refer to the vehicle manual or seek professional help before installation.
-Instructions for installation
1. Make sure everything is ready and safe before installation.
2. Locate the car's fuse box. It is usually located under the dashboard on the driver's side or in the engine compartment.
3. Identify the ACC (Accessory) fuse slot in the fuse box. This slot provides power when the ignition is on. Locate the constant power fuse slot in the fuse box. This slot provides power even when the ignition is off.
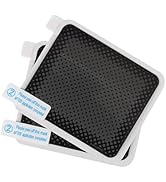
4. Connect the red wire from the hardwire kit to the ACC fuse slot. Connect the yellow wire from the hardwire kit to the constant power fuse slot. You can use a fuse tap or a fuse adapter to make the connection.
5. Find a suitable grounding point near the fuse box. It should be a metal surface that is securely connected to the vehicle's chassis.
6. Connect the black wire from the hardwire kit to the grounding point using a ring terminal or a suitable grounding connector.
7. Once all the connections are secure, tuck away any excess wires and ensure they are safely routed to avoid interference with the vehicle's controls.
8. Test the hardwire kit by turning on the ignition. The dash cam should receive power and start functioning.

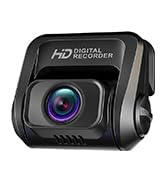
Dash Camera for Car
Entrust your safety to the drive—choose HUPEJOS for high-definition protection.

High Quality Dashcam — HUPEJOS

HUPEJOS V8PLUS Upgrade Version
4-Channel 3K Front+1080Px3 Left Right Rear
3-Channel 4K Front+1080Px2 Left Right

HUPEJOS V100-2CH 4K Dash Cam
4K Front+1080P Rear
4" Touch Screen

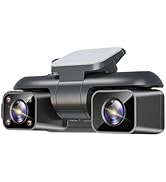
HUPEJOS V8 Ultra-5CH
AI Dash Cam with Driver Monitoring System
5-Channel 2K Front+1080Px4 Left Right Rear cabin
4-Channel 2K Front+1080Px3 Left Right Rear

HUPEJOS V7-4CH
4-Channel 1080Px4 Front Left Right Rear
3-Channel 2K Front+1080Px2 Left Right

HUPEJOS V8 MAX-4CH
AI Dash Cam with Driver Monitoring System
4K Front+1080Px3 Left Right Rear
3" Touch Screen

HUPEJOS V7PLUS
2-Channel 4K Front+1080P Rear
4-Channel 2K Front+1080Px3 Left Right Rear

Dash Cam Accessories
Dash Cam Accessories
Dash Cam Accessories
How did we get our start?
Since 2008, HUPEJOS team work noticed a rising trend in road accidents due to reckless driving and fraudulent insurance claims. We pooled expertise in software development and hardware engineering to create HUPEJOS, a cutting-edge dash cam brand.
What makes our products unique?
360° Full View 4K dash cams and 4-channel cameras, HUPEJOS has supported global customers to connect car dash cam to smartphone via Wi-Fi enabled.
Why do we love what we do?
HUPEJOS will continue to explore the boundaries of tech empowering drivers to navigate with confidence and peace of mind.


The Ground (black)
This black cable is connected to the metal parts of the vehicle. There are screw nails and metal parts near the fuse boxes in many cars. Connect the black cable to the screw or metal part.
The ACC (red)
Connect the red cable supply power only when the car engine starts. Testing method : The tester bulb will light when the engine if on and won't light when the engine is off.
The B+ (yellow)
The yellow cable should be connected to the fuse of the constant power supply in the car fuse box. If you are looking for a constant power supply in the fuse box: Use a voltage tester to check the fuse to ensure it still have electricity even if the car engine is off.
The HUPEJOS Dash Cam Hardwire Kit compatible with USB-C Series Dash Cams.
-Warm tips:
1. Please make sure the ACC and BAT is connected correctly.
2. Please feel free to reach us if any professional help in need.
3. Please use the dedicated hardwire kit for the HUPEJOS dash cam, Because the other brands of hardwire kits are not available for HUPEJOS dash cams.
4. The length of this hardwire kit is 11.5ft, suitable for most trucks, SUVs and other vehicles.
5. Please note that installation steps may vary by vehicle model and specific conditions. It is strongly recommended to refer to the vehicle manual or seek professional help before installation.
-Instructions for installation
1. Make sure everything is ready and safe before installation.
2. Locate the car's fuse box. It is usually located under the dashboard on the driver's side or in the engine compartment.
3. Identify the ACC (Accessory) fuse slot in the fuse box. This slot provides power when the ignition is on. Locate the constant power fuse slot in the fuse box. This slot provides power even when the ignition is off.
4. Connect the red wire from the hardwire kit to the ACC fuse slot. Connect the yellow wire from the hardwire kit to the constant power fuse slot. You can use a fuse tap or a fuse adapter to make the connection.
5. Find a suitable grounding point near the fuse box. It should be a metal surface that is securely connected to the vehicle's chassis.
6. Connect the black wire from the hardwire kit to the grounding point using a ring terminal or a suitable grounding connector.
7. Once all the connections are secure, tuck away any excess wires and ensure they are safely routed to avoid interference with the vehicle's controls.
8. Test the hardwire kit by turning on the ignition. The dash cam should receive power and start functioning.
Dash Camera for Car
Entrust your safety to the drive—choose HUPEJOS for high-definition protection.
High Quality Dashcam — HUPEJOS
HUPEJOS V8PLUS Upgrade Version
4-Channel 3K Front+1080Px3 Left Right Rear
3-Channel 4K Front+1080Px2 Left Right
HUPEJOS V100-2CH 4K Dash Cam
4K Front+1080P Rear
4" Touch Screen
HUPEJOS V8 Ultra-5CH
AI Dash Cam with Driver Monitoring System
5-Channel 2K Front+1080Px4 Left Right Rear cabin
4-Channel 2K Front+1080Px3 Left Right Rear
HUPEJOS V7-4CH
4-Channel 1080Px4 Front Left Right Rear
3-Channel 2K Front+1080Px2 Left Right
HUPEJOS V8 MAX-4CH
AI Dash Cam with Driver Monitoring System
4K Front+1080Px3 Left Right Rear
3" Touch Screen
HUPEJOS V7PLUS
2-Channel 4K Front+1080P Rear
4-Channel 2K Front+1080Px3 Left Right Rear
Dash Cam Accessories
Dash Cam Accessories
Dash Cam Accessories
How did we get our start?
Since 2008, HUPEJOS team work noticed a rising trend in road accidents due to reckless driving and fraudulent insurance claims. We pooled expertise in software development and hardware engineering to create HUPEJOS, a cutting-edge dash cam brand.
What makes our products unique?
360° Full View 4K dash cams and 4-channel cameras, HUPEJOS has supported global customers to connect car dash cam to smartphone via Wi-Fi enabled.
Why do we love what we do?
HUPEJOS will continue to explore the boundaries of tech empowering drivers to navigate with confidence and peace of mind.