


Lichamp Valve Core Replace Tool Set
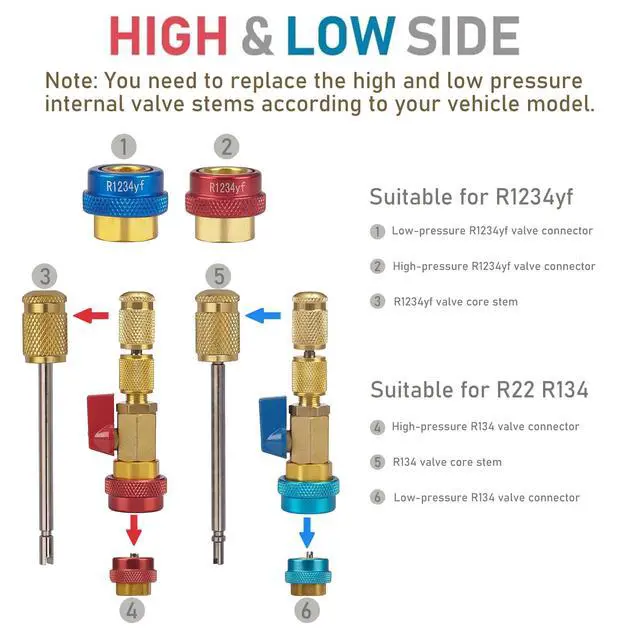
Fits:
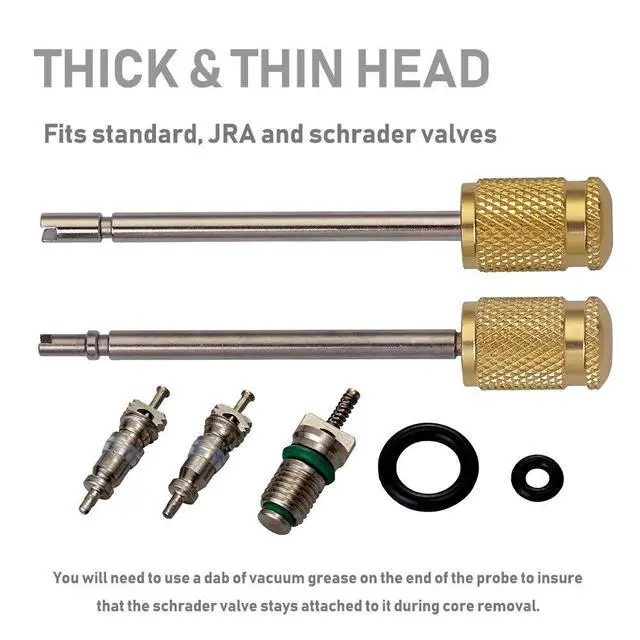
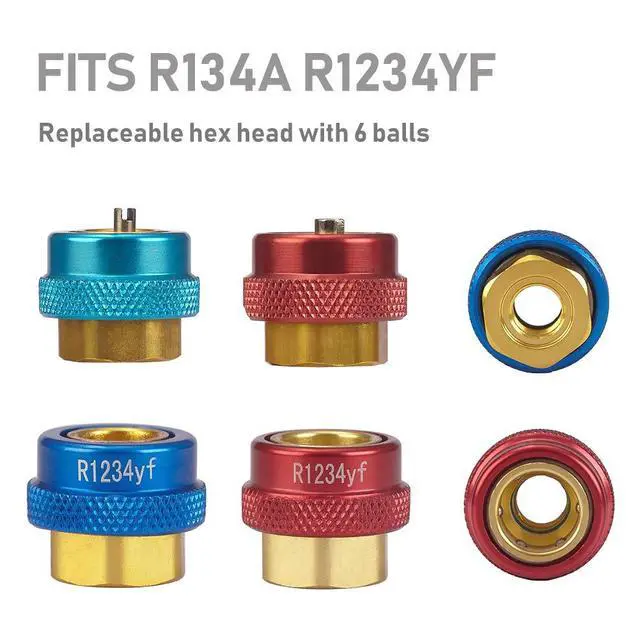
- R134A, R1234YF, R22
- Compatible with standard, JRA and schrader valves. but you will need to use a dab of vacuum grease on the end of the probe to insure that the schrader valve stays attached to it during core removal.
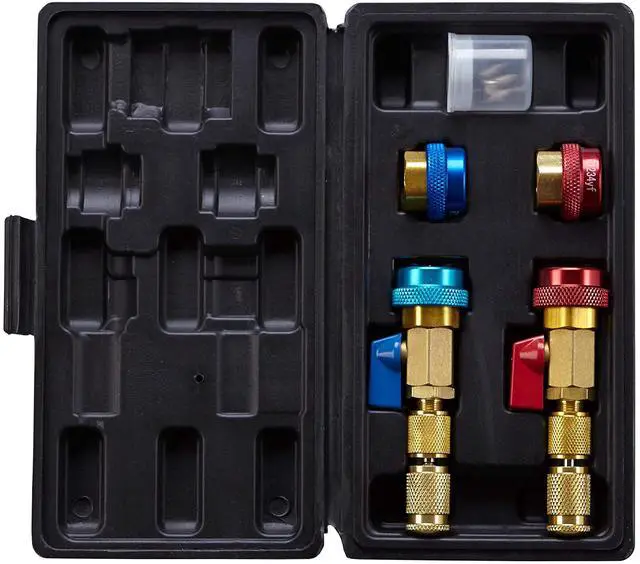
Package Include:
- 2 x Valve Core Tool
- 2 x R134A/R22 Adapter
- 2 x R1234YF Adapter
- 3 x Valve Core
- 2 x O Ring

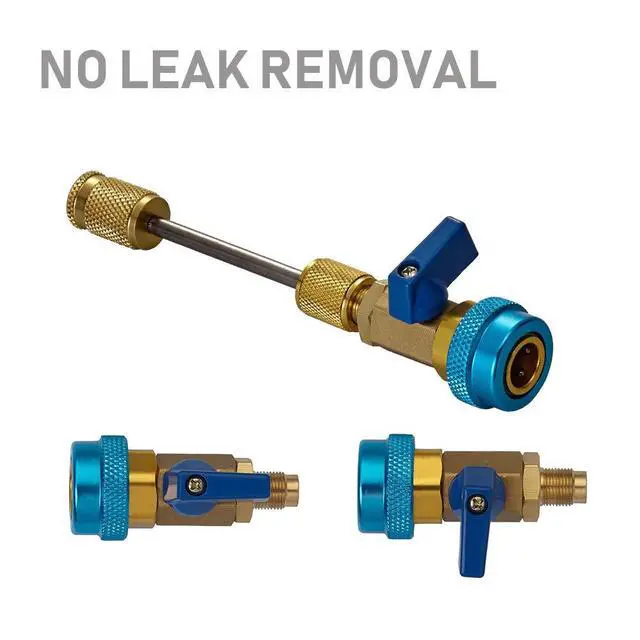
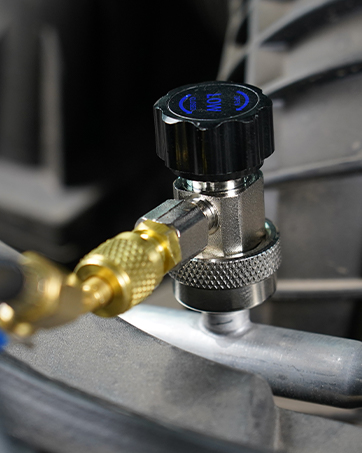
VALVE CORE REMOVAL
1. Turn Valve Lever in the direction of flow so the shaft can go through the body.
2. Connect the valve core to the service port of the system.
3. Push the shaft towards the service port. Slowly and carefully rotate the shaft until the tip of the shaft engages the body of the valve core.
4. Rotate the shaft counter-clockwise by turning the shaft knob.
WARNING: MAKE SURE THE SHAFT CONNECTION NUT DOES NOT START TO TURN AS YOU ARE TURNING THE SHAFT. THIS COULD CAUSE THE SHAFT CONNECTION NUT TO LOOSEN AND REFRIGERANT WOULD LEAK OUT!
5. Continue rotating the shaft knob until you cannot turn the shaft anymore. DO NOT FORCE!
6. With the shaft pulled out all the way, CLOSE THE VALVE. (Valve Lever perpendicular to the direction of FLOW)
WARNING: FAILURE TO CLOSE VALVE COULD CAUSE INJURY AND WOULD RESULT IN A LOSS OF REFRIGERANT!
7. Loosen and remove the shaft connection nut from the valve body.
8. Remove the damaged valve core.

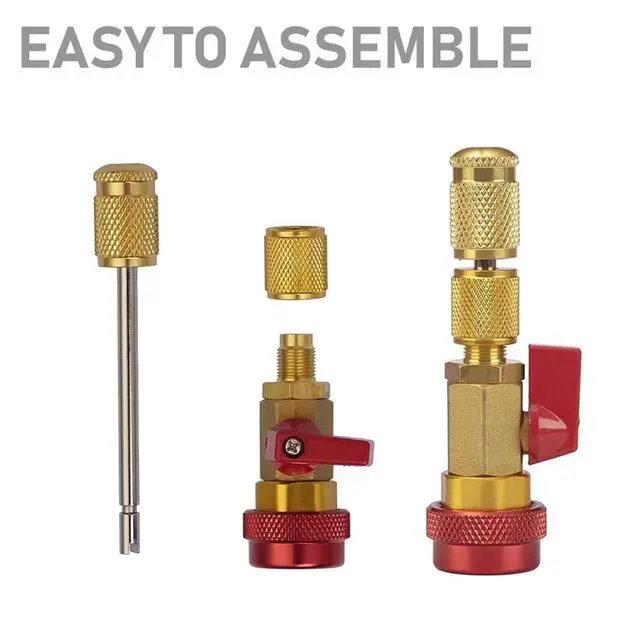
VALVE CORE INSTALLATION
1. Insert the new valve core onto the tip of the shaft.
2. Tighten the shaft connection nut to the valve body.
3. Turn Valve Lever in the direction of ?ow so the shaft can go through the body.
4. Turn the shaft clockwise until the valve core is installed completely.
5. Once the valve core is in place, pull the shaft back and close the valve.
6. Remove the shaft from the valve body.
7. SLOWLY open the valve knob to assure the valve core is in place. If the valve is in place, the pressure in the tool will dissipate quickly. If the valve core is not in place, quickly close the valve and try again.
Lichamp Valve Core Replace Tool Set
Fits:
- R134A, R1234YF, R22
- Compatible with standard, JRA and schrader valves. but you will need to use a dab of vacuum grease on the end of the probe to insure that the schrader valve stays attached to it during core removal.
Package Include:
- 2 x Valve Core Tool
- 2 x R134A/R22 Adapter
- 2 x R1234YF Adapter
- 3 x Valve Core
- 2 x O Ring
VALVE CORE REMOVAL
1. Turn Valve Lever in the direction of flow so the shaft can go through the body.
2. Connect the valve core to the service port of the system.
3. Push the shaft towards the service port. Slowly and carefully rotate the shaft until the tip of the shaft engages the body of the valve core.
4. Rotate the shaft counter-clockwise by turning the shaft knob.
WARNING: MAKE SURE THE SHAFT CONNECTION NUT DOES NOT START TO TURN AS YOU ARE TURNING THE SHAFT. THIS COULD CAUSE THE SHAFT CONNECTION NUT TO LOOSEN AND REFRIGERANT WOULD LEAK OUT!
5. Continue rotating the shaft knob until you cannot turn the shaft anymore. DO NOT FORCE!
6. With the shaft pulled out all the way, CLOSE THE VALVE. (Valve Lever perpendicular to the direction of FLOW)
WARNING: FAILURE TO CLOSE VALVE COULD CAUSE INJURY AND WOULD RESULT IN A LOSS OF REFRIGERANT!
7. Loosen and remove the shaft connection nut from the valve body.
8. Remove the damaged valve core.
VALVE CORE INSTALLATION
1. Insert the new valve core onto the tip of the shaft.
2. Tighten the shaft connection nut to the valve body.
3. Turn Valve Lever in the direction of ?ow so the shaft can go through the body.
4. Turn the shaft clockwise until the valve core is installed completely.
5. Once the valve core is in place, pull the shaft back and close the valve.
6. Remove the shaft from the valve body.
7. SLOWLY open the valve knob to assure the valve core is in place. If the valve is in place, the pressure in the tool will dissipate quickly. If the valve core is not in place, quickly close the valve and try again.


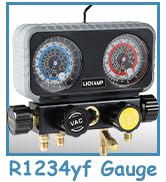
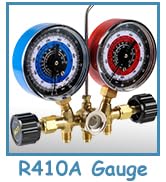
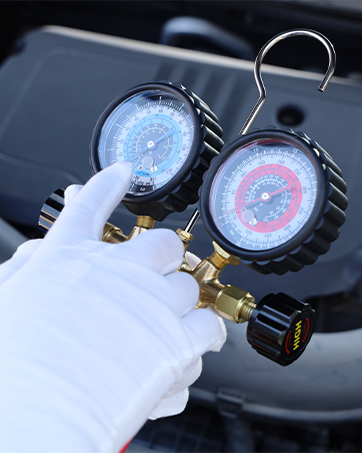
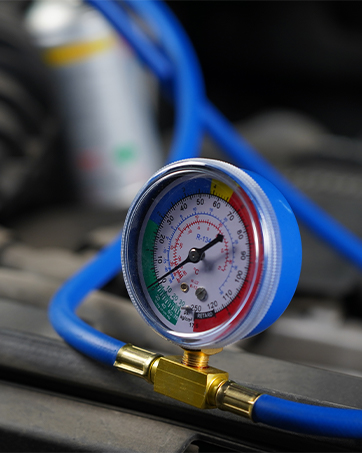
AC Gauge


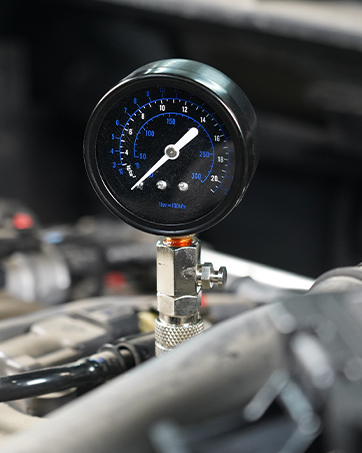
Auto Tool


