Your Browsing History
Meet Your Seller
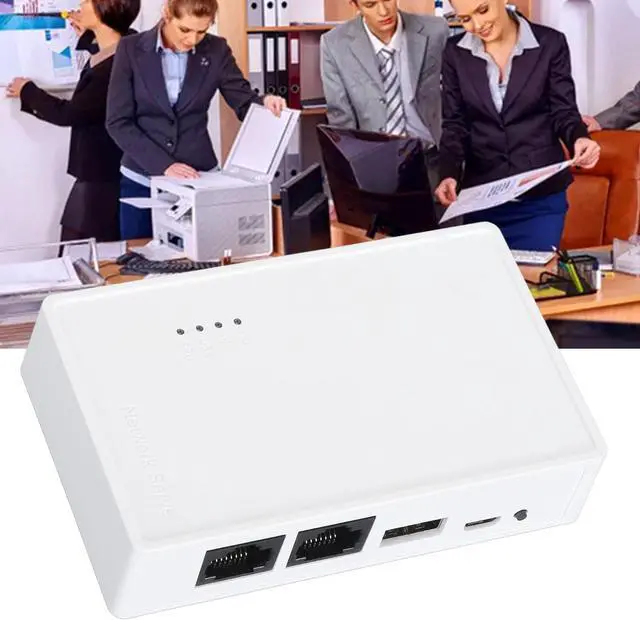
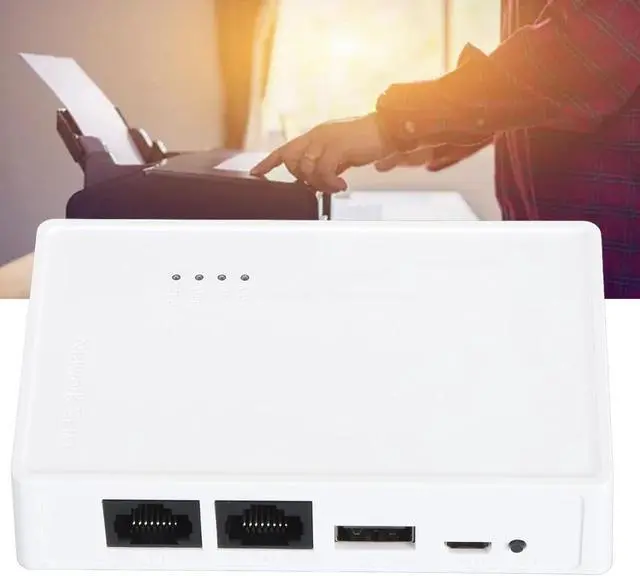
USB Cordless Print Server, Bridge Output & LAN Input, Convert USB Printer to Cordless Wi Fi Ethernet Networking for/for OS X Printers
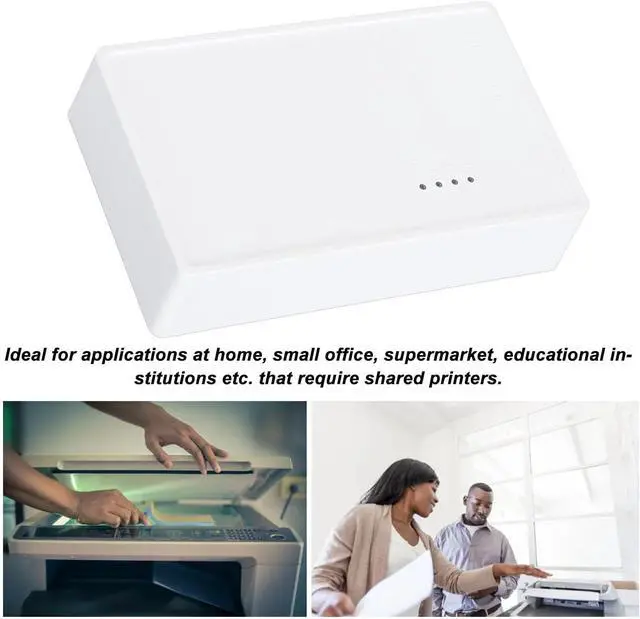
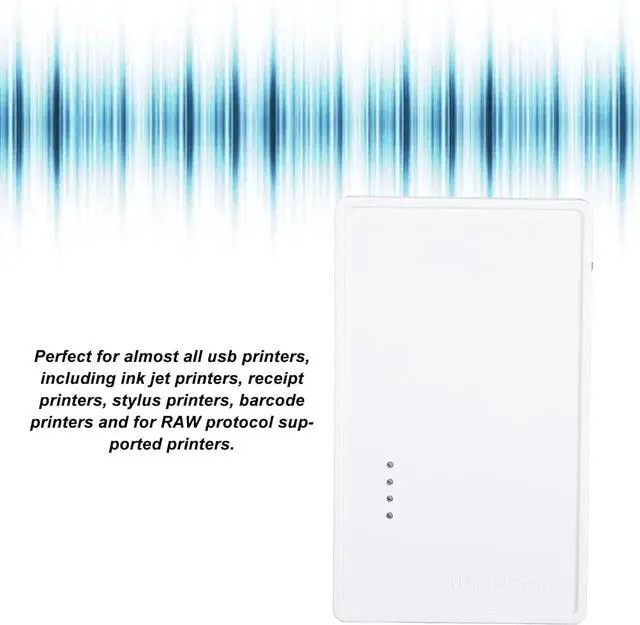
- For Multi Users: Print server transforms your USB printer into a Cordless printer, so as long as it is on the same network, no matter where the computer is, you can easily access and use the printer. In addition, with the help of a USB A hub, this USB print server supports connecting 4 printers, which greatly improves the efficiency of printing files and is suitable for multiple people.
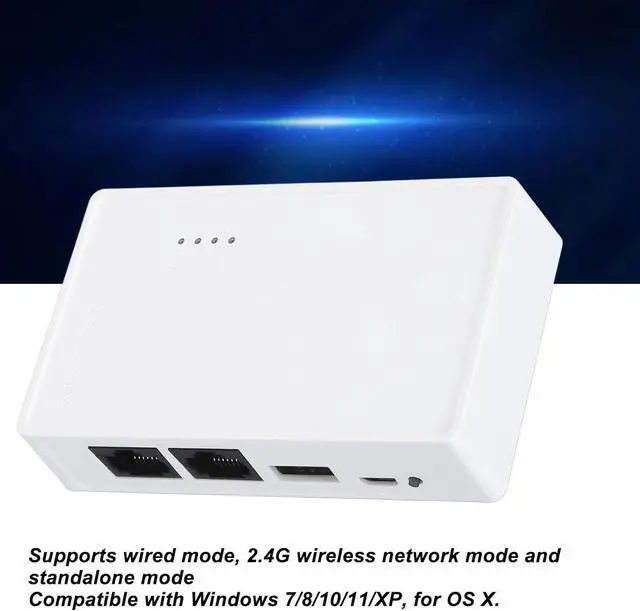
- Various Modes: Cordless printer adapter supports wired mode, 2.4G Cordless network mode and standalone mode, converts your USB printers to Wi Fi printers in different ways to meet your needs for using Cordless printers on varied places. Note: In standalone mode, you do not need to connect the superior router, but theres no access to the Network at the same time.
- Web Management: Get rid of hassled driver installation and complicated setting steps, enjoy one stop printer and print server configuration on the web interface with USB Cordless print server. Note: This print server does not require an exte
+
+
Overview
Specs
Reviews
Any questions? Ask CelesteSM will help you find out quickly.
Try me now
Specification:
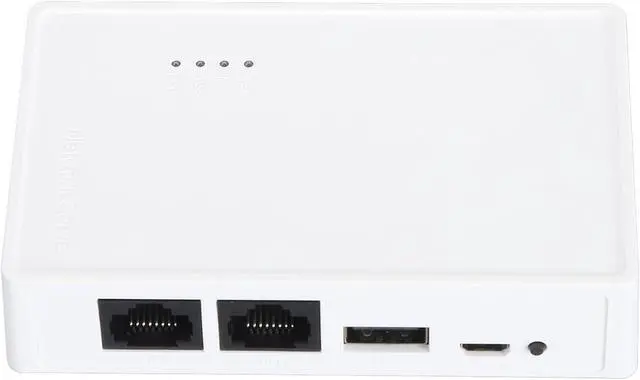
Item Type: USB Cordless Print Server
Material: ABS
Color: White
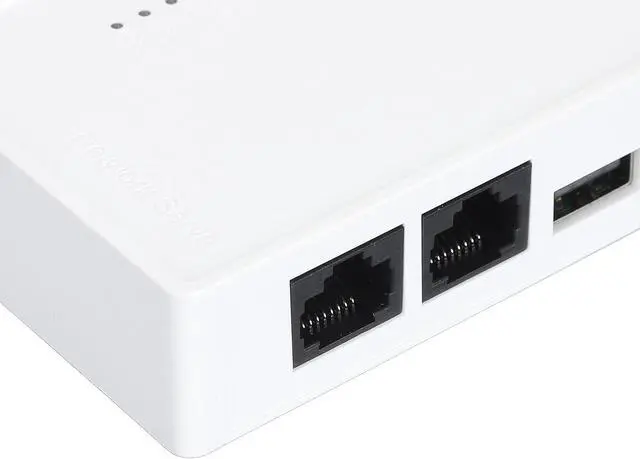
Output Interface: Bridge (10/100Mbps)
Input Interface: LAN (10/100Mbps)
Power Port: Micro USB
USB Port: USB 2.0
Preparation:
1. Make sure that the printer driver is installed on your computer and that it can print properly. (The simplest way to verify the installation of the driver is to directly connect the computer to the printer and check if it can print correctly, which is the prerequisite for the printer server to work properly).
2. Connect the power of the print server, connect the USB print cable of the printer, and connect the network cable of the local area network to the print server. (Connection diagram is on the packaging box).
3. After the print server is powered on for 3 minutes, use your mobile phone to search for a Cordless signal with @MG_XXXX. The Cordless password is: 77777777 (8 sevens). A webpage window will automatically up on your phone, or you can access webpage with a mobile phone.
Setting up on the computer:
After completing the above steps, go to the Control Panel on your computer, Devices, Printers and Scanners, select the printer you want to set up, and click on Manage. (To ensure smoothing setup, make sure that the current computer can print properly by connecting it to the printer via a USB print cable, which confirms that the driver is correct).
1. Select Printer Properties.
2. Click on Port, Add Port, Select Standard /IP Prot, Click on New Port.
3. Enter the IP address of the printer server (in the previous teaching how to view the IP address of the printer server through the mobile phone), click following, and wait for 1 minute.
4. Be sure to select Custom
5. Finished and use
packing list:
1 x USB Print Server
1 x Power Cord

Item Type: USB Cordless Print Server
Material: ABS
Color: White
Output Interface: Bridge (10/100Mbps)
Input Interface: LAN (10/100Mbps)
Power Port: Micro USB
USB Port: USB 2.0
Preparation:
1. Make sure that the printer driver is installed on your computer and that it can print properly. (The simplest way to verify the installation of the driver is to directly connect the computer to the printer and check if it can print correctly, which is the prerequisite for the printer server to work properly).
2. Connect the power of the print server, connect the USB print cable of the printer, and connect the network cable of the local area network to the print server. (Connection diagram is on the packaging box).
3. After the print server is powered on for 3 minutes, use your mobile phone to search for a Cordless signal with @MG_XXXX. The Cordless password is: 77777777 (8 sevens). A webpage window will automatically up on your phone, or you can access webpage with a mobile phone.
Setting up on the computer:
After completing the above steps, go to the Control Panel on your computer, Devices, Printers and Scanners, select the printer you want to set up, and click on Manage. (To ensure smoothing setup, make sure that the current computer can print properly by connecting it to the printer via a USB print cable, which confirms that the driver is correct).
1. Select Printer Properties.
2. Click on Port, Add Port, Select Standard /IP Prot, Click on New Port.
3. Enter the IP address of the printer server (in the previous teaching how to view the IP address of the printer server through the mobile phone), click following, and wait for 1 minute.
4. Be sure to select Custom
5. Finished and use
packing list:
1 x USB Print Server
1 x Power Cord
Warranty & Returns
Warranty, Returns, And Additional Information
Warranty
- Please contact the Seller directly for warranty information. Warranty information may also be found on the Manufacturer's website.
- CONTACT
Return Policies
- Return for refund within: 30 days
- Return for replacement within: 30 days
- This item is covered by PartsPro Store Return Policy
Manufacturer Contact Info
- For a directory of all our manufacturers, please click below.
- Manufacturers Directory
LOADING...