 WDS400T4X0E")

 T253TZ002T0C101")
 TM8FFE004T0C129")


 WDS200T4X0E")


WARM TIPS:
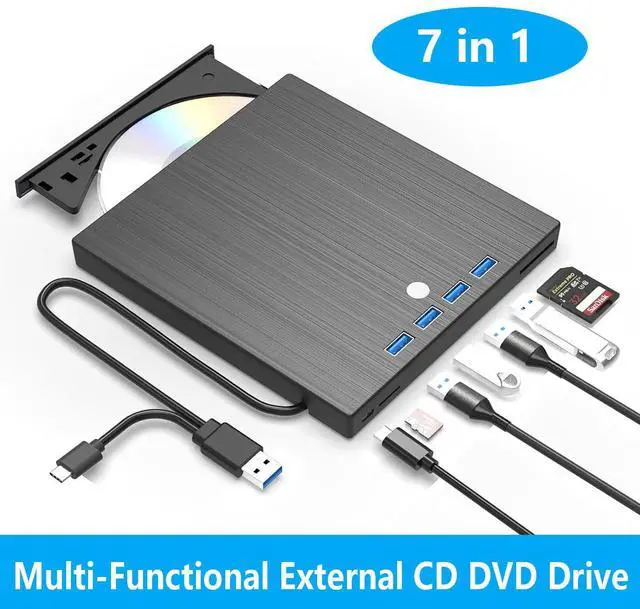
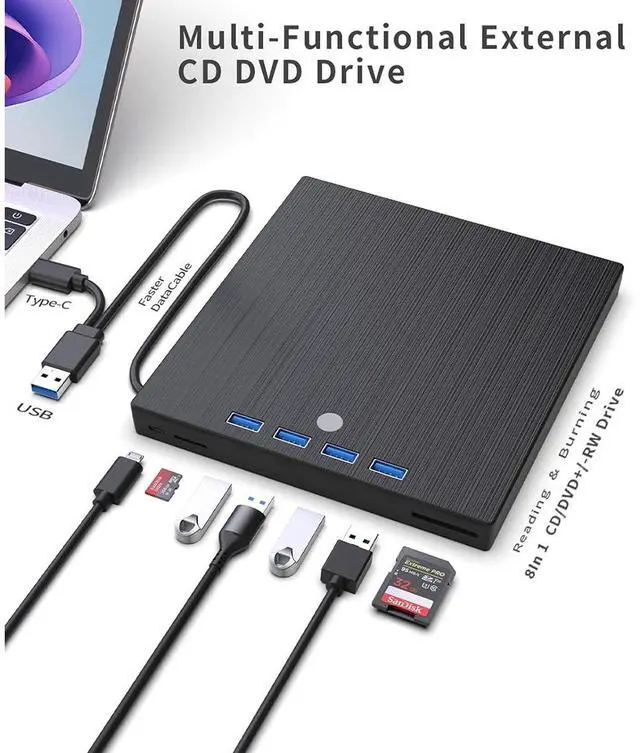
1. The external optical drive can not only burn and read CDs and DVDs, but also serve as an external USB hub for laptops. It is compatible with USB hard drives, limited/wireless mice and keyboards, computer heat sinks, and other USB computer accessories. The card slot is perfect for transferring camera photos and video files from the card to the computer (note: the SD port and TF port cannot be used simultaneously)
2. The maximum read capacity is 8.5GB, so portable CD/DVD recorders cannot play discs exceeding 8.5GB. Due to the possible instability of the front USB port, if you find instability when using a desktop or laptop computer, please connect the optical drive to the USB port on the back of the computer. Simultaneously connect other power sources using the included power cord.
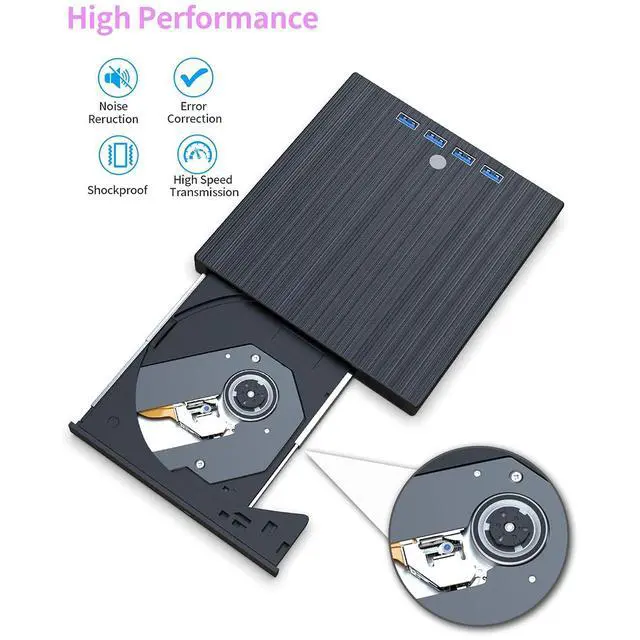
3. There is a reset hole next to the pop-up button. If the tray of the external optical drive cannot be ejected correctly, a pin can be used to eject the tray through the reset hole.
4.The dvd drive should be connected with USB port on laptop rather than connect with USB HUB.
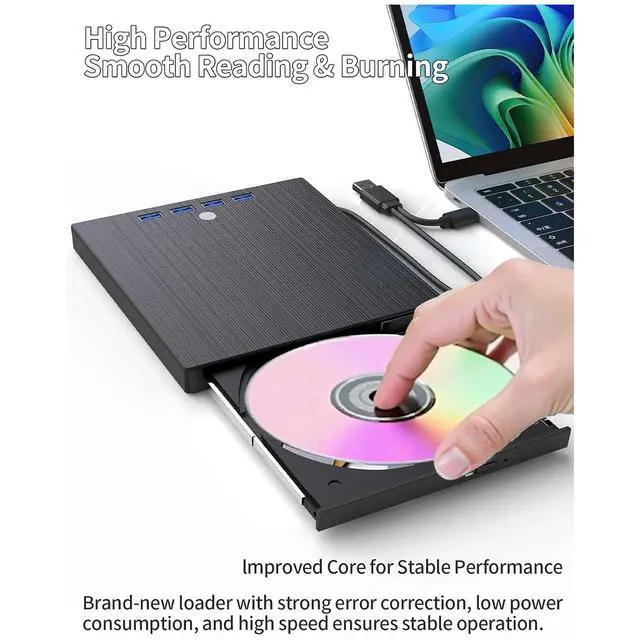
5.Ensure cd is placed well and not scratched.

These things you need to know:
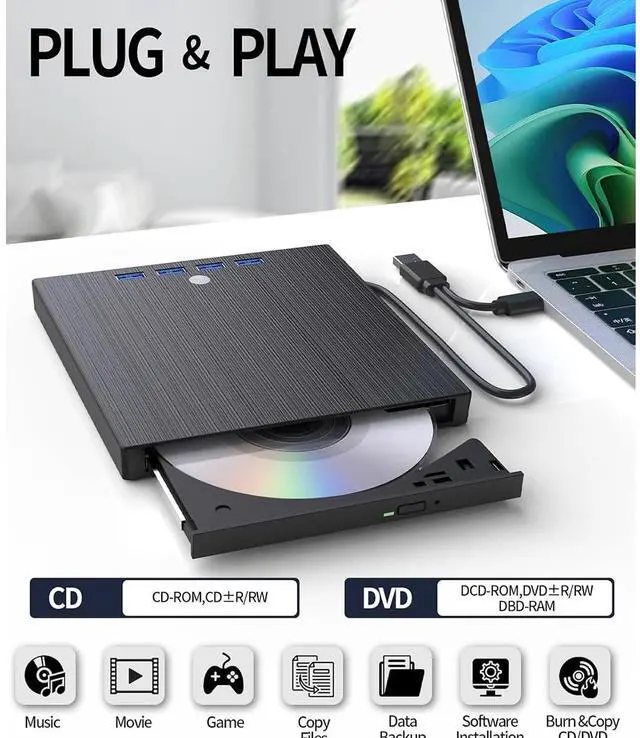
Use it on Windows: 1. Take out the USB A/C data cable built into the back of the drive. 2. Plug the USB A or USB C connector into your computer's USB port (not through a USB hub). 3. Your computer will recognize the drive. 4. Set the region code to number 1 to play US or Canadian DVDs (CDs do not have region code). 5. Insert your CD or DVD. 6. Use a media player (such as Windows Media Player, VLC Player, etc.) or burning/ripping software to read/write the disc.
Use it on Mac OS:
1. Click "Finder", select "Preferences", make sure "CDs, DVDs, and iPods" is selected.
2. Take out the USB A/C data cable built into the back of the drive.
3. Plug the USB A or USB C connector into your mac/macbook/imac USB port (not through a USB hub).
4. Insert your CD or DVD.
5. Your Mac will recognize the drive, read the disc and an icon will appear on the desktop.
6. Use a media player (such as A-p-ple Music, iTunes, DVD Player, etc.) or burning/ripping software to read/write the disc.
Make sure computer recognizes: Insert the external optical drive into the computer. After the Windows system recognizes the optical drive, the "DVD RW Drive" icon will be displayed. The Mac OS computer will not display the device icon until the disc is placed in the optical drive and the disc is read successfully. If the computer fails to recognize the optical drive, it may be that the computer's driver is missing or the output current is insufficient.

For troubleshooting steps
First, check if your computer detects the optical drive. On Windows, look for a "DVD RW Drive" icon in "This PC." On Mac, the drive icon will only appear after you insert a disc and it is successfully read.
If the drive is not recognized, try these solutions:
Method 1: Check Connections
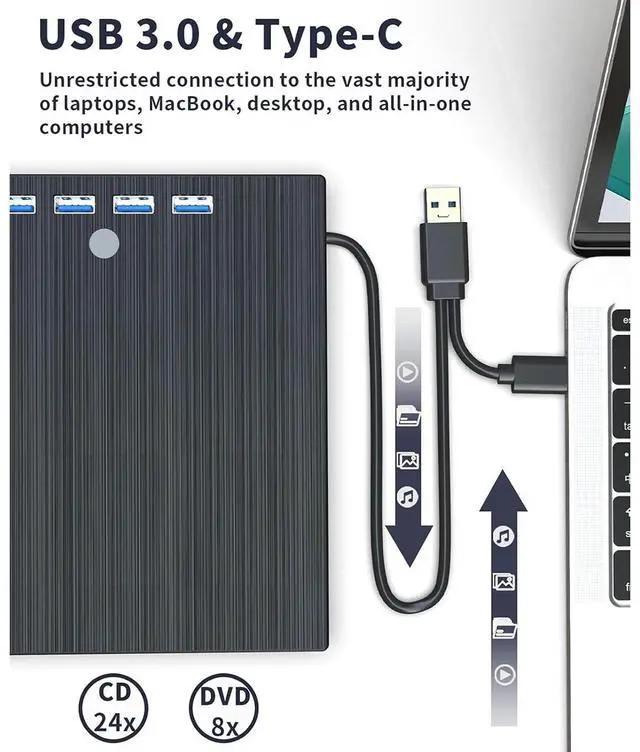
Ensure you are using a data-capable USB-C or USB-A cable to connect the drive to your computer. (Note: The included cable may be for power only and not data transfer).
Try connecting the drive to a different USB port on your computer.
Method 2: Reinstall the Device Driver (Windows)
The driver for the optical drive is built into Windows. To refresh it, you can uninstall the driver in Device Manager and then restart your computer. Windows will automatically reinstall the driver upon reboot, which can resolve many detection issues.
Method 3: Use the Windows Hardware Troubleshooter (Windows 7, 8, 8.1, 10)
Run the built-in "Hardware and Devices" troubleshooter to automatically find and fix common problems.
If the drive is recognized but isn't working correctly, the issue may be:
1.Insufficient Power: The drive may require more power. Please connect it to a 5V power adapter or a powered USB hub.
(Important for Mac users: Connect the drive to your Mac first, and then connect the supplemental power to the drive. Otherwise, the Mac may not recognize it.)
2. If your device system is Windows 10 or later, please install a VLC media player to play DVDs or CDs when they cannot play properly.