 WDS400T4X0E")

 T253TZ001T0C101")
 T253TZ002T0C101")


 T253TZ512G0C101")

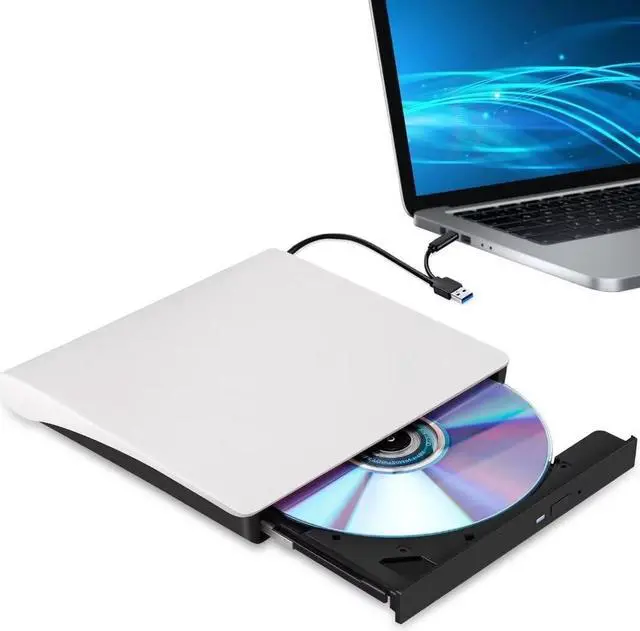
AUBEAMTO ED001 USB-C External CD/DVD RW Drive Burner for Apple Mac & Windows Laptop PC
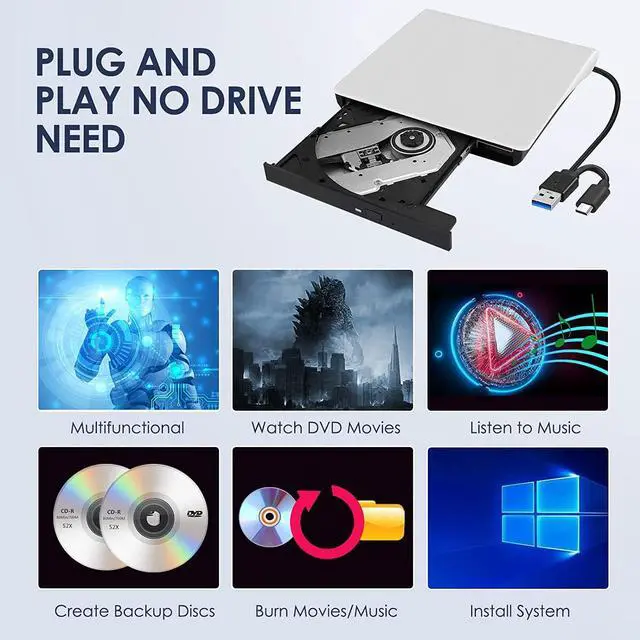
In the age of streaming and cloud services, CDs and DVDs have become outdated formats. As a result, most laptop and desktop manufacturers have opted to remove built-in optical drives to make their devices slimmer and more compact. However, if you want to relive your favorite '90s music CDs and movie DVDs, burn custom music CDs, archive valuable videos or photos to discs for long-term storage, import media from discs to your computer or phone, or install software and system updates, the best and most convenient solution is a reliable USB external optical drive.
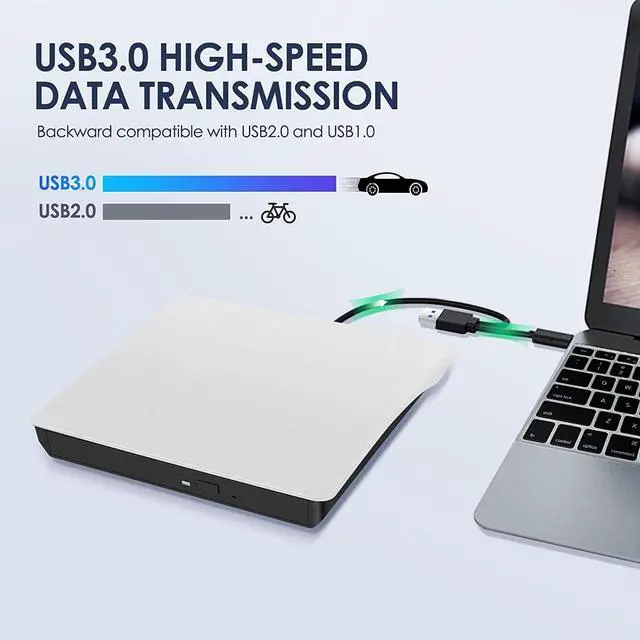
Luckily, we've got you covered. This ED001 not only has an ultra-thin and compact shape,but it also uses a true high-speed USB 3.0 solution. Simply connect to your computer via USB Type-A or Type-C, and it will automatically install the driver, and then you can experience smooth reading, burning, and ripping CD/DVD functions through the media player or burning software. The portable design and reliable performance are the reasons why this model has sold more than 1.8 million units and received the most positive reviews since it was launched in 2016.
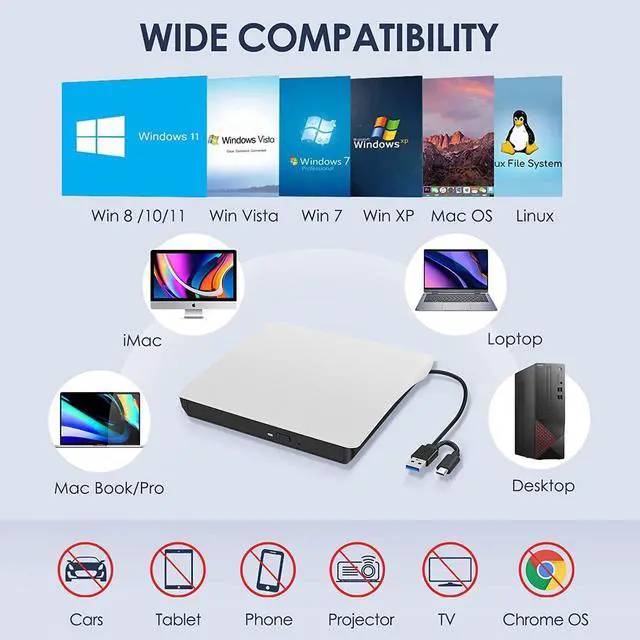
Of course, it should be noted that this external CD/DVD player is only compatible with Windows, Apple Mac, and Linux computers. It CAN NOT work with Chromebooks, smartphones, tablets, TVs, cars, projectors, PlayStation, Ubuntu, or Blu-ray discs.

2-IN-1 USB 3.0 Connector
Equipped with USB-C and USB-A connectors make it easier to connect to more laptops and desktop computers, no USB hub/adapter required. Plug into your computer, insert your disc, it will be recognized by your computer automatically, then you can use the compatible software to read or burn your CDs/DVDs.
* The length of the cable is about 25 cm/ 9.8 inches.

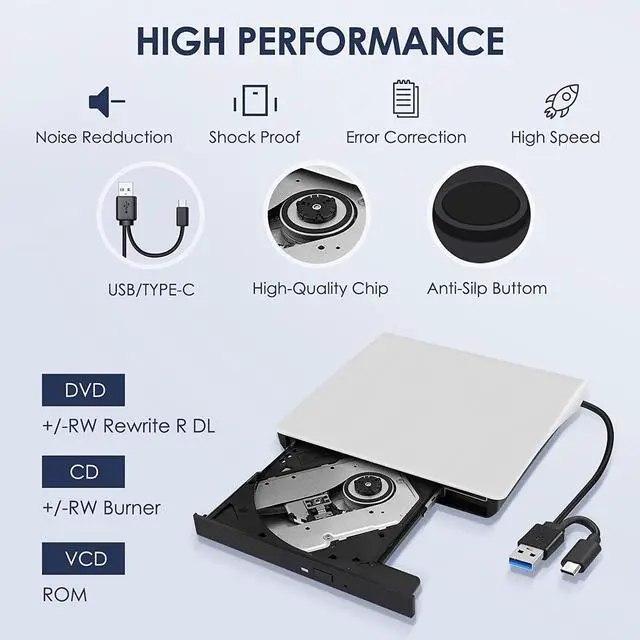
Powerful Performance
100% brand-new upgraded DVD loader with faster speed, low impedance & anti-interference ability, bring you a fast and more smooth experience.
* Max Speed: CD-ROM: 24X / CD-R: 24X / CD-RW: 8X / DVD-ROM: 8X / DVD-R: 8X / DVD+R: 8X / DVD-RW: 8X / DVD+RW: 8X / DVD+R DL: 4X / DVD-R DL: 4X / DVD RAM 3X

Separate Power Supply Cord
If your computer cannot supply sufficient power for this drive through a single data cable, please connect this separate power supply cord to a USB power bank/adapter or another USB port on your computer. If needn't, you can remove this power cord.
* This power supply cord can not use alone.

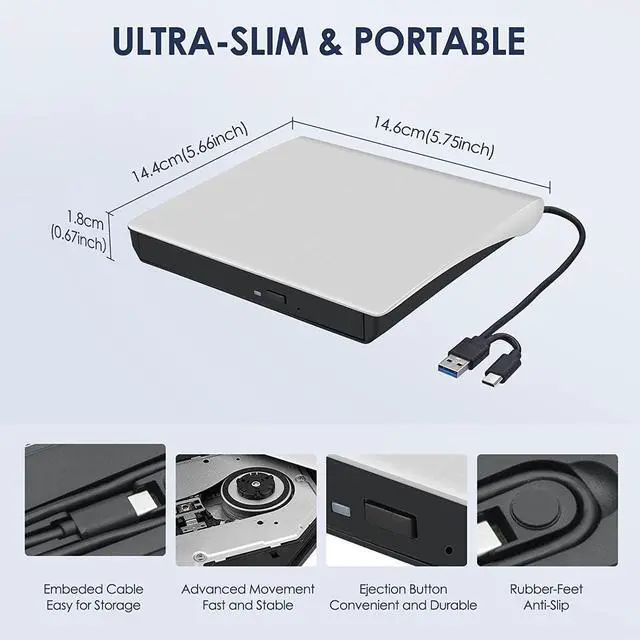
Slim and Portable
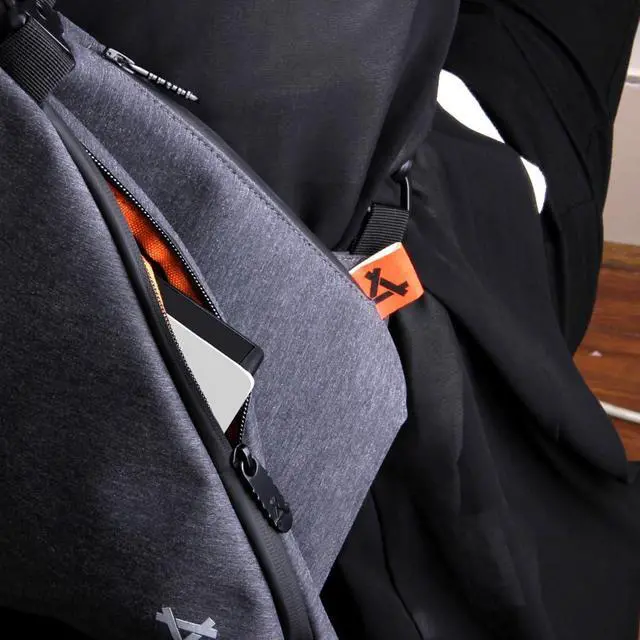
Slim design and lightweight allow us to carry and use this portable external CD/DVD drive anytime, anywhere no matter you are at home, in the office, or during a trip.
* Approximate size: 14.6*14.9*1.7 cm ( 5.74* 5.86* 0.67 inch)

How to Use this USB External CD/DVD Drive?
- How to Use it on Windows OS: 1. Take out the USB A/C data cable built into the back of the drive. 2. Plug the USB A or USB C connector into your computer's USB port instead of a USB hub. 3. Your computer will recognize the drive. 4. Insert your CDs or DVDs. 4. Set the region code to Number 1 to play US or CA DVDs (CDs do not have region code). 5. Use a media player (such as Windows Media Player, VLC player, etc.), burning, or ripping software to play, burn, or digitize your discs.
- Play CDs & DVDs on Windows OS: You can use Windows media player software to play audio CDs and data DVDs (Windows 11 needs a network). If you want to play video/movie DVDs, download the free VideoLAN VLC player from VLC's official site, launch the VLC media player, click on "Media" in the top menu, select "Open Disc...", ensure "DVD" is selected, then click "Play." If you want to use another media player to play video DVDs, please set the region code before playing, scroll down to check the region code instructions.
- Best CD & DVD Burning/Ripping Software on Windows OS: Free audio CDs burning software (Windows Media Player, CDBurnerXP and ImgBurn); Free audio CD ripping software (Windows Media Player, iTunes, CDex, Exact Audio Copy [EAC]); Free video DVDs burning software (ImgBurn, BurnAware Free, CDBurnerXP, Freemake Video Converter, or HandBrake software); Free video DVD ripping software (HandBrake, MakeMKV, VLC Media Player, Freemake Video Converter)
- How to Use it on Mac OS: 1. Open up the Finder > Preferences and ensure "CDs, DVDs, and iPods" have been selected. Also, "External Disks", and "Hard Disks" are selected. 2. Take out the USB A/C data cable located in the back of the drive. 3. Plug the USB A or USB C connector into your Mac USB port instead of a USB hub. 4. Insert your CDs or DVDs. 5. Your Mac will recognize the drive, read the disc and an icon will appear on the desktop. 6. Use a media player (such as Apple Music, iTunes, DVD Player, etc.) ,burning, or ripping software to read, write, or rip the disc.
- Play CDs & DVDs on Mac OS: After placing the audio CD into your CD drive, the Apple Music app should automatically open and start playing the CD. If not, you can open the Music app manually and select the CD from the sidebar under "Devices.". If you prefer, you can use VLC Media Player. For video DVDs, Open VLC Media Player, go to "File" >"Open Disc..." or simply drag the DVD icon into the VLC window. VLC will handle most DVD formats and regions.
- Best CD & DVD Burning/Ripping App on Mac OS: Free audio CDs burning software (Apple Music, old iTunes, Burn, Express Burn); Free audio CD ripping software (Apple Music, old iTunes, X Lossless Decoder, HandBrake, Audacity); Free video DVDs burning software (Burn, HandBrake, iDVD (Legacy), DVDStyler, iDVD [for old mac]); Free video DVD ripping software (MakeMKV, HandBrake with VLC - Use VLC to read the DVD, and HandBrake to convert and rip it to your desired format).
- Mac OS Includes a Built-in Burning Function: Connect the external optical drive, insert a blank disc, then click 'File' in the top menu and select 'New Burn Folder.' Drag the files you want to burn into this folder, click 'Burn to Disc,' and eject the disc when finished. Note that Mac OS only supports burning blank discs, and each disc can be burned only once.

Troubleshooting Steps
If your Windows laptop PC cannot recognize this CD/DVD drive, please try the following suggestions:
- Use the Type A and Type C cables on the back (bottom) of the optical drive to connect your computer's USB port instead of a USB hub. This drive also comes with a power supply cable (charging cable). Please connect it to a 5V power adapter or power bank, which can help eliminate any issues related to insufficient power. For Windows 11/10, please make sure a network connection and a media player software (Such as Windows media player for audio CDs, VLC player for video DVDs)
- Try different USB: Move the data cable to different USB ports on your computer.
- Reinstall the driver: 1. Right-click the Windows Start Button in the lower left corner of the screen, or press the Windows Logo + X key combination on the keyboard, from the list, and click to select Device Manager. 2. Click View. 3. Click Show Hidden Devices. 4. Fine this DVD/CD-ROM drive or similar name. 5. Right-click and select Uninstall. 6. Reboot your computer and replug the external drive, Windows will detect the drive and then reinstall it. If it is not solved, reach out to us for a Driver troubleshooting tool, the download link is not allowed here.
- Reach out to us to get the driver repair tool.
If your MacBook, iMac, or Mac Pro/Studio cannot recognize this CD/DVD drive, please try the following suggestions:
- The Mac OS computer will not display the device icon until the disc is placed in the optical drive and the disc is read successfully.
- Move the data cable to different USB ports on your Mac computer, and try different discs.
- Please connect it to a 5V power adapter or power bank, which can help eliminate any issues related to insufficient power. NOTE: For Mac, you need to connect the external CD/DVD drive to the computer first, and then connect the power supply to the external CD/DVD drive, otherwise the Apple computer will not recognize the external CD/DVD drive.
Tips: If you need assistance, please feel free to reach out to us on Newegg (STEP: On this product detail page, click the name of the seller [AUBEAMTO] and send messages.)
Best to Know Before Buying
| Setting Region Code in Windows | To play video DVDs with a media player other than VLC player, the region code on your drive must match the DVD. Here's how to set it on Windows: 1. Right-click the "DVD-RW Drive" icon and select "Properties". 2. Go to the "Hardware" tab and select your CD/DVD drive. 3. Click "Properties" at the bottom. 4. Open the "DVD Region" tab. 5. Choose the correct region (e.g., USA is 1) and click "OK". (Note: You can only change the region code 4-5 times.) |
|---|---|
| Ensure the Drive is Recognized | Insert the external optical drive into the computer. After the Windows system recognizes the optical drive, the "DVD RW Drive" icon will be displayed in the Windows Explorer (This PC). The Mac OS computer will not display the device icon until the disc is placed in the optical drive and the disc is read successfully. If the computer fails to recognize the optical drive, it may be that the computer's driver is missing or the output current is insufficient. |
| How to Eject Your Disc? | For Windows, simply press the button on the front of the drive to eject the tray. For Mac OS, the drive button is limited by Mac OS and cannot open the tray, right-click the drive icon on the desktop and select "Eject", or select "File" - "Eject". If the device fails and cannot be opened, don't worry and let us know, we will solve the problem or resend you a new drive for free. |
| Data Cable & Power Cord | The USB A/C data cable is located at the bottom of the drive, and the charging cord (power cord) is a separate USB cord that comes with the package. The charging cord cannot be used as a data cable alone, it must be used together with the USB A/C data cable built into the back of the drive. Due to the limitation of the design, the length of the data cable is only about 10 inches / 26 cm. |
| Windows 11 Requirements | Windows 11 needs a network connection and a media player (such as VideoLAN VLC player) to play video DVDs, you can use Windows media player to read, burn, rip your audio CDs and data DVDs. |
| Reading/Writing Speed | Max reading and writing speed (CD: 24X/ DVD: 8X). Recommended speeds (CD: Reading Speed: 24x or lower/Writing Speed: 8x to 16x; DVD: Reading Speed: 8x or lower/Writing Speed: 4x to 8x). For DVDs, slower writing speeds like 4x or 8x are often ideal to ensure data integrity, particularly for high-capacity or dual-layer discs. These speeds allow for more precise data encoding, reducing the risk of read errors in the future. |
| How to Insert Discs? | Ensure discs are placed well and not scratched. The raised fixing post in the middle of the CD drive tray has three spring buckles. You need to gently press the disc into the spring buckles to secure the disc. |
| About Media Format & Burning | Before burning an audio or video disc, make sure the multimedia format is compatible with the disc, otherwise the burned disc will not play properly. You can use software (such as HandBrake or Freemake Video Converter) to convert video files to DVD-compatible formats (e.g., MPEG-2) or audio files to CD-compatible formats (e.g., WAV or MP3). |
| About Burning Discs | Before burning a CD or DVD, please ensure the data format is correct, your blank disc capacity is sufficient, and use the right burning software. |
| How to Import Music from CDs? | For Windows, use Windows media player to rip audio CDs to your Windows computer. For Mac, use Apple Music/iTunes to import music to your Mac computer. |