

Your Browsing History

Meet Your Seller



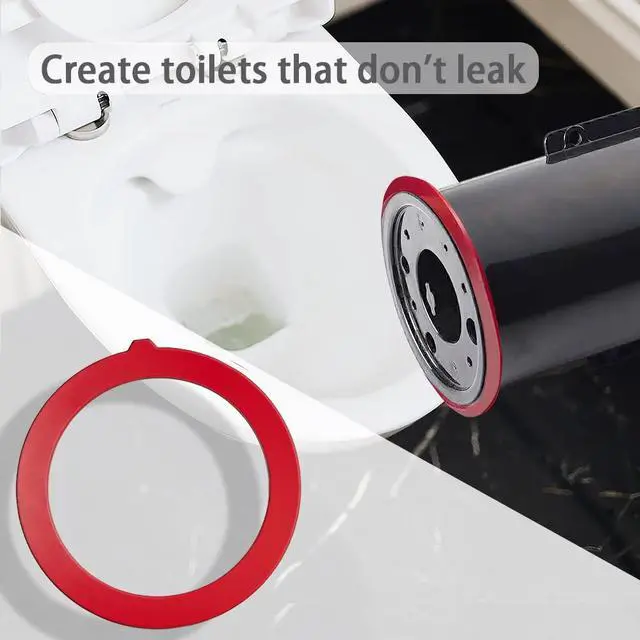
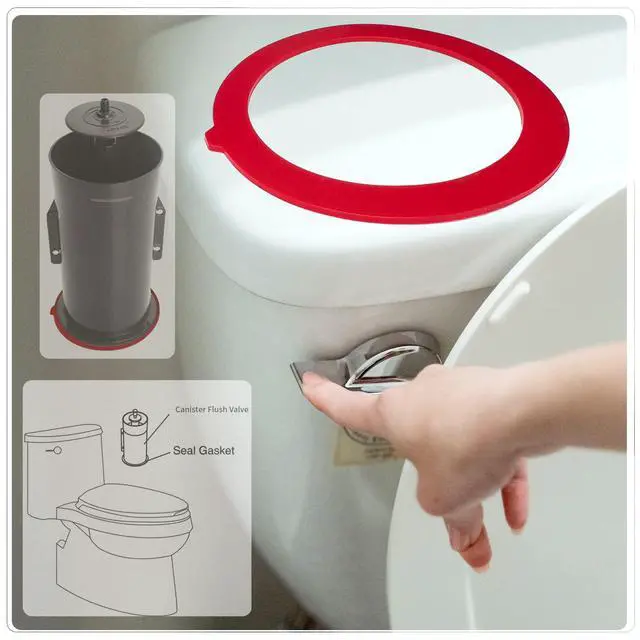
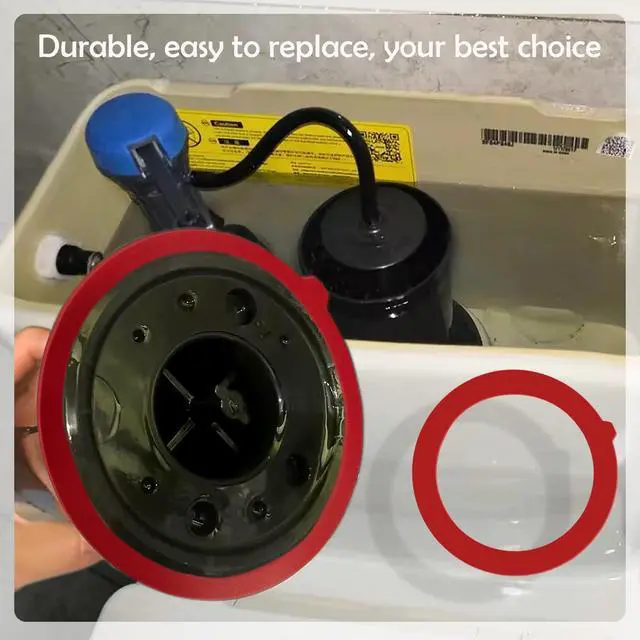
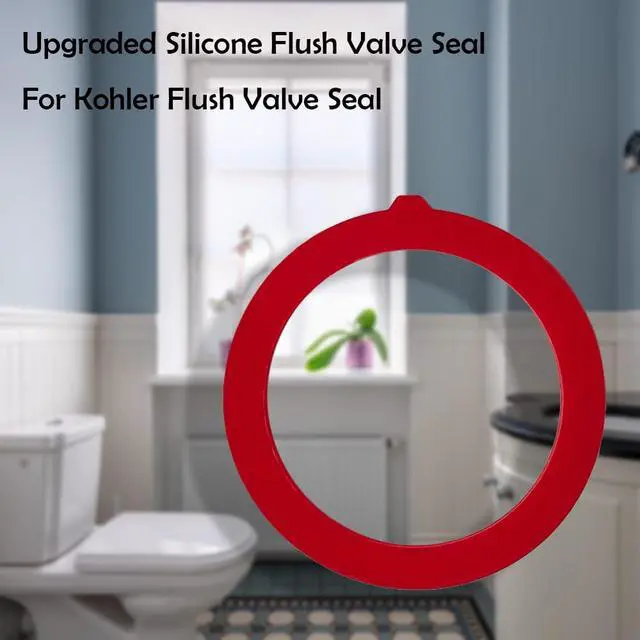


Flush Valve Seal for Kohler, 3 Pack Upgraded Silicone GP1059291 Canister Flush Valve Gasket Replacement Kit, Leak-Proof Toilet Tank Seal Compatible with K-4436, Easy Installation Toilet Repair Parts
- Perfect Compatibility with Kohler Toilets: Flush Valve Seal for Kohler GP1059291, engineered as a precise replacement for Kohler canister flush valve seal (red), fully compatible with K-4436 and most Kohler toilet tank parts for a tight, secure fit.
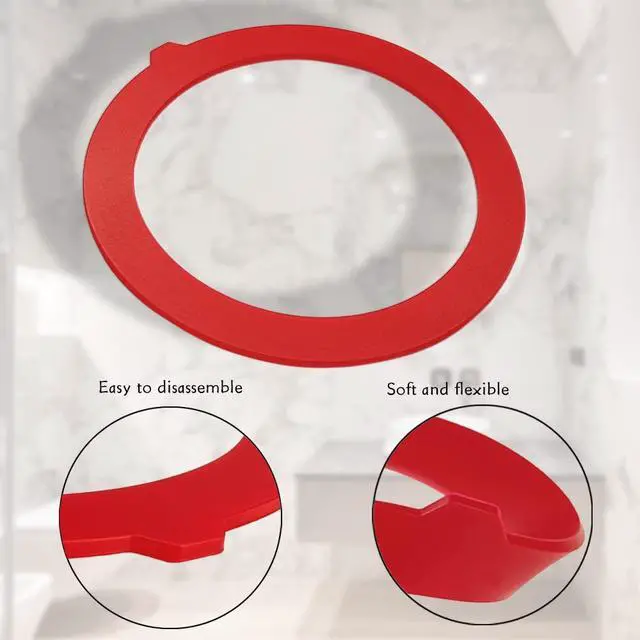
- Premium Upgraded Silicone Material: Made from high-quality silicone, this Kohler flush valve seal gasket outperforms standard rubber with superior durability, flexibility, and resistance to chlorine and harsh water conditions for extended service life.
- Leak-Proof Seal & Strong Flush Performance: This canister flush valve gasket effectively stops leaks, prevents ghost flushing, restores powerful flush performance, and improves water efficiency, helping reduce unnecessary water bills.
- Easy & Tool-Free Installation: Designed with an upgraded lip edge, this GP1059291 flush valve seal allows quick removal and installation in minutesno tools or professional plumber required for fast toilet repair.
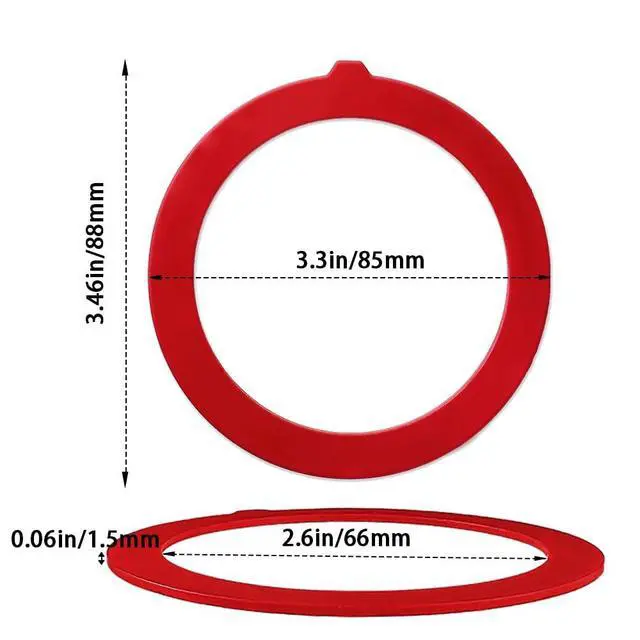
- 3 Pack Value Toilet Repair Kit: Includes 3 pack flush valve seals (Outer Diameter 3.3", Inner Diameter 2.6"), ideal as a complete Kohler toilet repair kit and backup replacement parts to keep your toilet running efficiently.
+
+
Overview
Specs
Reviews

Any questions? Our AI mode will help you find out quickly.
Try me now
Material: rubber
Size: Outside Diameter- 3.375", Inside Diameter- 2.75".
Color: Red
Compatible with: Replacement for K-GP1059291 for K-4436 Part
Package Include:
3 x Flush Valve Seal for Kohlers
Installation instructions:
1) Turn the stem inside the cylinder 1/4 of a turn counter-clockwise, the trick is to lift the can and do it from under the can (but still inside the can). Note: If you try to turn from the top of the canister, you may break the valve stem.
2) Remove the stem and old gasket, be sure to wipe off any old rotting rubber on the surface of the old seal.
3) Secure the inner ring of the seal around the tank lip. You should go around it a few times to make sure it fits.
4) Once you've done this, just do the opposite of what you did to put it back together, remember to turn the stem from below the tank, not the top. You should also give it a few test rinses to make sure it's fully functioning and sealing properly.
Warranty & Returns
Warranty, Returns, And Additional Information
Warranty
- Please contact the Seller directly for warranty information. Warranty information may also be found on the Manufacturer's website.
- CONTACT
Return Policies
- Return for refund within: 30 days
- Return for replacement within: 30 days
- This item is covered by Sonwirely Return Policy
Manufacturer Contact Info
- For a directory of all our manufacturers, please click below.
- Manufacturers Directory
LOADING...