Your Browsing History
Meet Your Seller
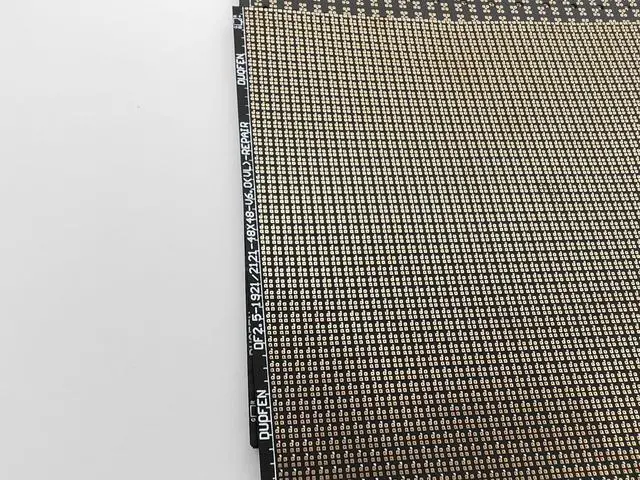
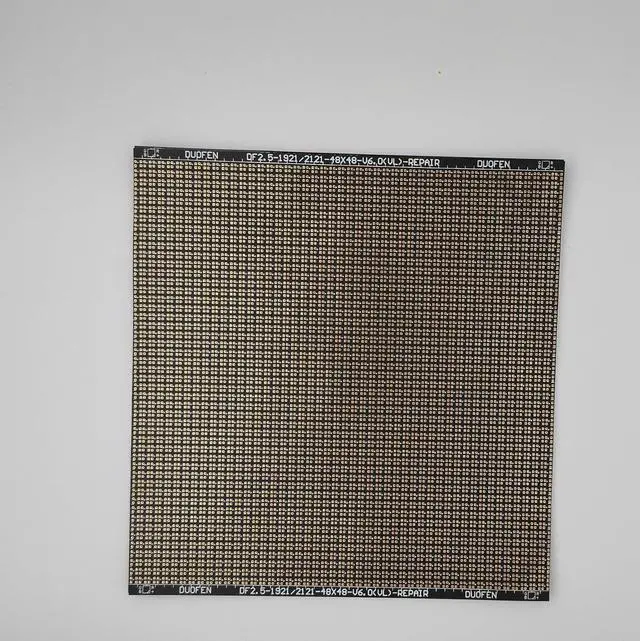
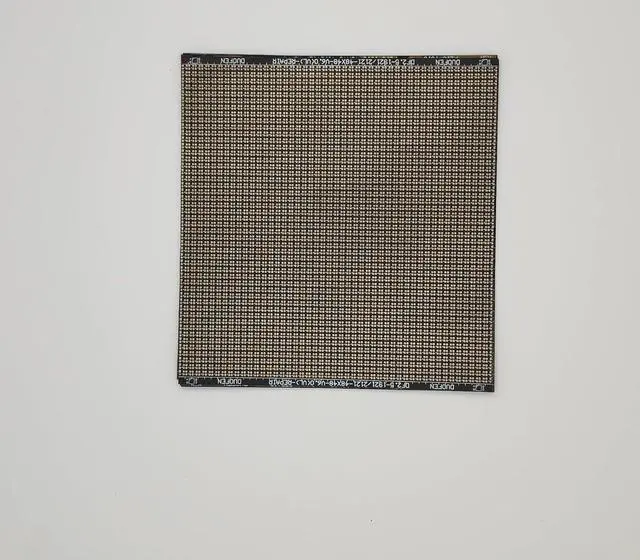
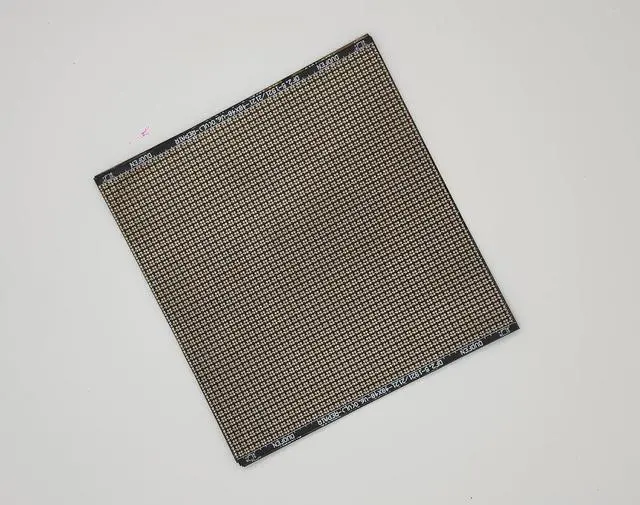
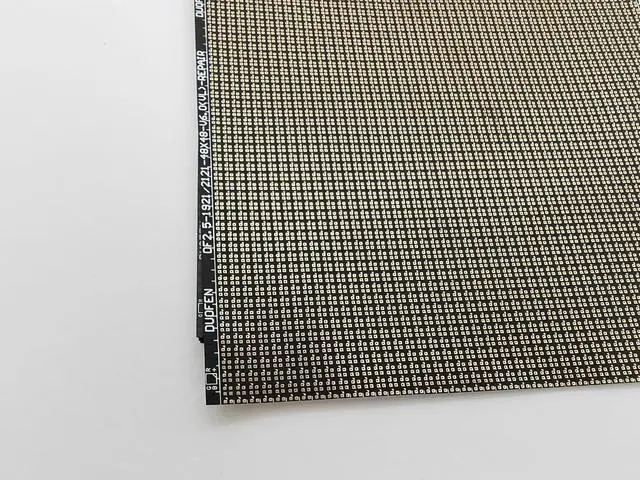
P2.5-1921-2121(VL) Circuit Paper LED Maintenance pad Paper for LED Display Screen
- Modle:P2.5 Circuit Paper for LED maintenance pad paper for LED display screen
- LED LIGHTS: 1921-2121
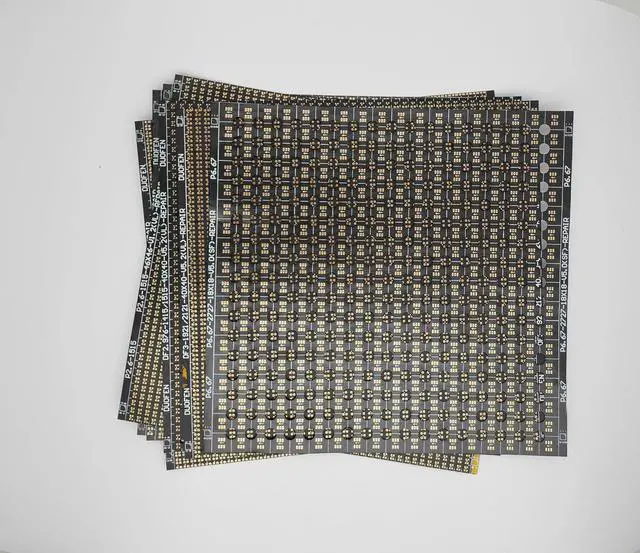
- Circuit Paper is a kind of double-layer flexible circuit boardIts thickness is only 0.08-0.1mm
- The collision of LED display during installation, disassembly and transportation can easily lead to PCB pad falling off. At this time, you need to use the Circuit Paper to repair PCB
+
+
Overview
Specs
Reviews
Any questions? Our AI mode will help you find out quickly.
Try me now
LED maintenance pad paper for LED display screen P1.25/P1.56/P1.875/P1.923/P2.5/P3.91/P4.81Circuit Paper
P3.91-LED 2121 /1921 SIZE 120*125mm
P4.81-LED 2121 /1921 SIZE 120*125mm
P2.5-LED 2121 /1921 SIZE 120*125mm
P3-LED 2121 /1921 SIZE 120*125mm
P1.25-LED 1010 SIZE 80*85mm
P1.538-LED 1010/1212 SIZE 80*85mm
P1.5625-LED 1010/1212 SIZE 80*85mm
P1.667-LED 1010/1212 SIZE 80*85mm
P1.839-LED 1515 SIZE 80*85mm
P1.86-LED 1515 SIZE 80*85mm
P1.875-LED 1515 SIZE 80*85mm
P1.923-LED 1515 SIZE 80*85mm
P2-LED 1515 SIZE 80*85mm
P2.5-LED 1515 /1415 SIZE 120*125mm
P2.976-LED 2121 /2020 SIZE 120*125mm
P4-LED 2121 /1921 SIZE 120*125mm
P4.81-LED 2727 /2525 SIZE 120*125mm
P4-LED 1515 SIZE 120*125mm
P4.81-LED 3528 SIZE 120*125mm
P5-LED 2121 SIZE 120*125mm
P5-LED 3528SIZE 120*125mm
P3-LED 1515/1415 SIZE 120*125mm
1How to choose a circuit paper?
1The pixel pitch of the original LED module needs to be consistent with the circuit paper;
2The original LED bead specifications need to be consistent with the circuit paper;
3Some products have differences between vertical and horizontal lamps (vertical lamps are more common, while horizontal lamps are less common); If the original LED module is a vertical lamp, the circuit paper for the vertical lamp should be selected.
2What is the Circuit Paper?
Circuit Paper is a kind of double-layer flexible circuit boardIts thickness is only 0.08-0.1mm
3.Where is the Circuit Paper used?
The collision of LED display during installation, disassembly and transportation can easily lead to PCB pad falling off. At this time, you need to use the Circuit Paper to repair PCB.
4.How to use the Circuit Paper?
First step, you need to prepare the following maintenance tools and consumables: anti-static bracelet, soldering iron, hot air gun, multimeter, tweezers, tin wire, solder paste, scissors, screwdriver, lamp beads, Circuit Paper, IC, etc.
The second step is to clean the damaged pad, scrape the damaged PCB pad with a knife blade, and wipe it with alcohol to prevent short circuit with the Circuit Paper.
The third step is to cut different sizes of Circuit Paper and tin on both sides of the pad, so that the short circuit of the lamp foot can not be caused by too much tin.
The fourth step is to adjust the soldering iron temperature to about 320 , clamp the tin-coated Circuit Paper with tweezers on the left hand, align it with the position of the soldering pad of the PCB lamp tube, press it gently on the pad, and then heat it with soldering iron or hot air gun to make the Circuit Paper and the PCB pad fully fuse, pay attention to the common poles to be aligned;
The fifth step is to light up the module, display in full white, adjust the brightness to the acceptable range for naked eyes by sweeping obliquely, weld the qualified beads to the Circuit Paper, pay attention to the polarity direction of the beads, and test whether the pins are connected with the multimeter before welding
Step 6: after the module test is qualified, the lamp beads in the maintenance part need to be filled with glue. (indoor module does not need glue filling)

P3.91-LED 2121 /1921 SIZE 120*125mm
P4.81-LED 2121 /1921 SIZE 120*125mm
P2.5-LED 2121 /1921 SIZE 120*125mm
P3-LED 2121 /1921 SIZE 120*125mm
P1.25-LED 1010 SIZE 80*85mm
P1.538-LED 1010/1212 SIZE 80*85mm
P1.5625-LED 1010/1212 SIZE 80*85mm
P1.667-LED 1010/1212 SIZE 80*85mm
P1.839-LED 1515 SIZE 80*85mm
P1.86-LED 1515 SIZE 80*85mm
P1.875-LED 1515 SIZE 80*85mm
P1.923-LED 1515 SIZE 80*85mm
P2-LED 1515 SIZE 80*85mm
P2.5-LED 1515 /1415 SIZE 120*125mm
P2.976-LED 2121 /2020 SIZE 120*125mm
P4-LED 2121 /1921 SIZE 120*125mm
P4.81-LED 2727 /2525 SIZE 120*125mm
P4-LED 1515 SIZE 120*125mm
P4.81-LED 3528 SIZE 120*125mm
P5-LED 2121 SIZE 120*125mm
P5-LED 3528SIZE 120*125mm
P3-LED 1515/1415 SIZE 120*125mm
1How to choose a circuit paper?
1The pixel pitch of the original LED module needs to be consistent with the circuit paper;
2The original LED bead specifications need to be consistent with the circuit paper;
3Some products have differences between vertical and horizontal lamps (vertical lamps are more common, while horizontal lamps are less common); If the original LED module is a vertical lamp, the circuit paper for the vertical lamp should be selected.
2What is the Circuit Paper?
Circuit Paper is a kind of double-layer flexible circuit boardIts thickness is only 0.08-0.1mm
3.Where is the Circuit Paper used?
The collision of LED display during installation, disassembly and transportation can easily lead to PCB pad falling off. At this time, you need to use the Circuit Paper to repair PCB.
4.How to use the Circuit Paper?
First step, you need to prepare the following maintenance tools and consumables: anti-static bracelet, soldering iron, hot air gun, multimeter, tweezers, tin wire, solder paste, scissors, screwdriver, lamp beads, Circuit Paper, IC, etc.
The second step is to clean the damaged pad, scrape the damaged PCB pad with a knife blade, and wipe it with alcohol to prevent short circuit with the Circuit Paper.
The third step is to cut different sizes of Circuit Paper and tin on both sides of the pad, so that the short circuit of the lamp foot can not be caused by too much tin.
The fourth step is to adjust the soldering iron temperature to about 320 , clamp the tin-coated Circuit Paper with tweezers on the left hand, align it with the position of the soldering pad of the PCB lamp tube, press it gently on the pad, and then heat it with soldering iron or hot air gun to make the Circuit Paper and the PCB pad fully fuse, pay attention to the common poles to be aligned;
The fifth step is to light up the module, display in full white, adjust the brightness to the acceptable range for naked eyes by sweeping obliquely, weld the qualified beads to the Circuit Paper, pay attention to the polarity direction of the beads, and test whether the pins are connected with the multimeter before welding
Step 6: after the module test is qualified, the lamp beads in the maintenance part need to be filled with glue. (indoor module does not need glue filling)
Warranty & Returns
Warranty, Returns, And Additional Information
Warranty
- Please contact the Seller directly for warranty information. Warranty information may also be found on the Manufacturer's website.
- CONTACT
Return Policies
- Return for refund within: 30 days
- Return for replacement within: 30 days
- This item is covered by PartsPro Store Return Policy
Manufacturer Contact Info
- For a directory of all our manufacturers, please click below.
- Manufacturers Directory
LOADING...