




 here!
here!
I’m your shopping assistant for PC builds, upgrades, and everything tech.
Got questions? Ask away!
Start a conversation
here!
I’m your shopping assistant for PC builds, upgrades, and everything tech.
Got questions? Ask away!
Start a conversation
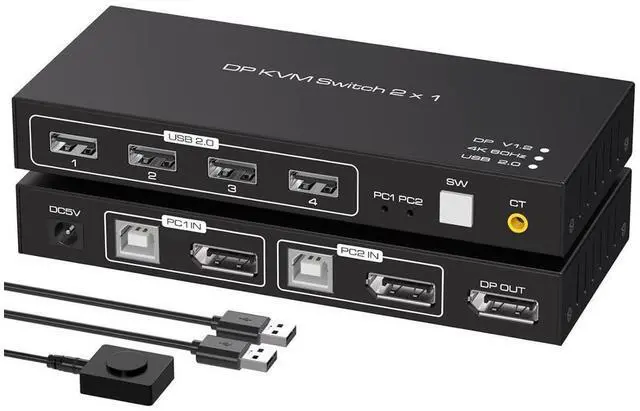
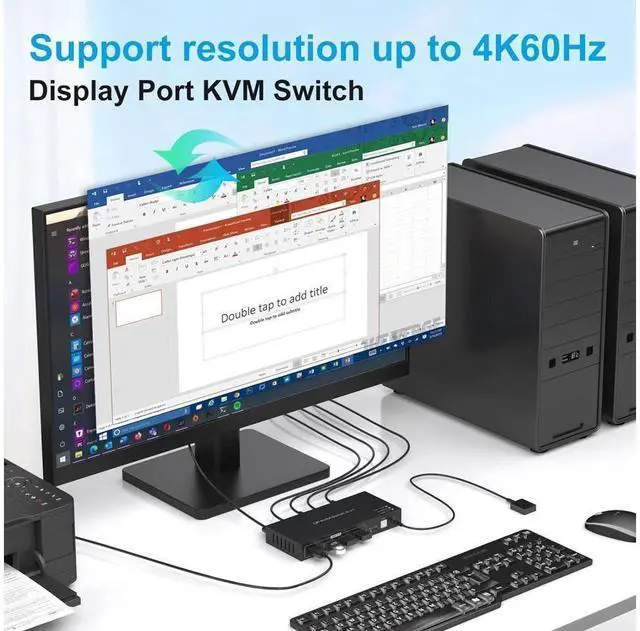
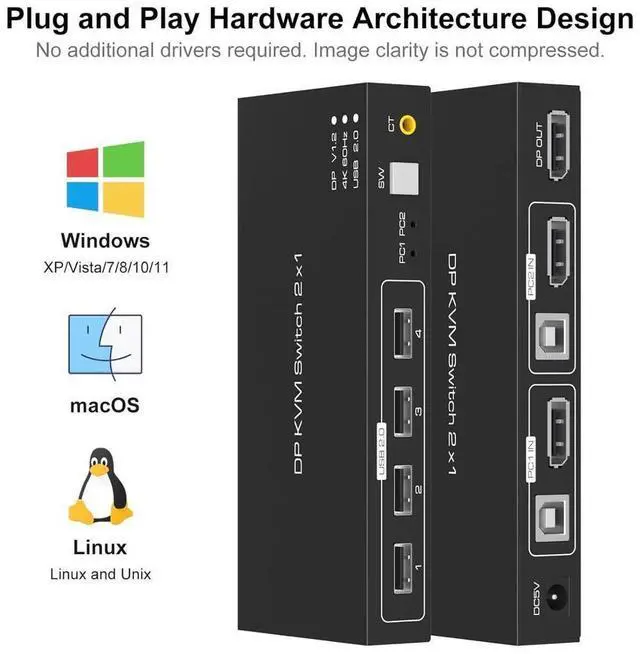
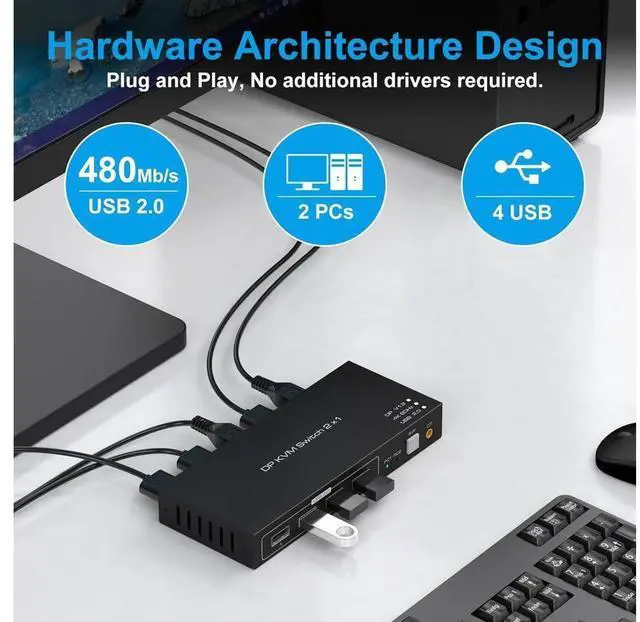
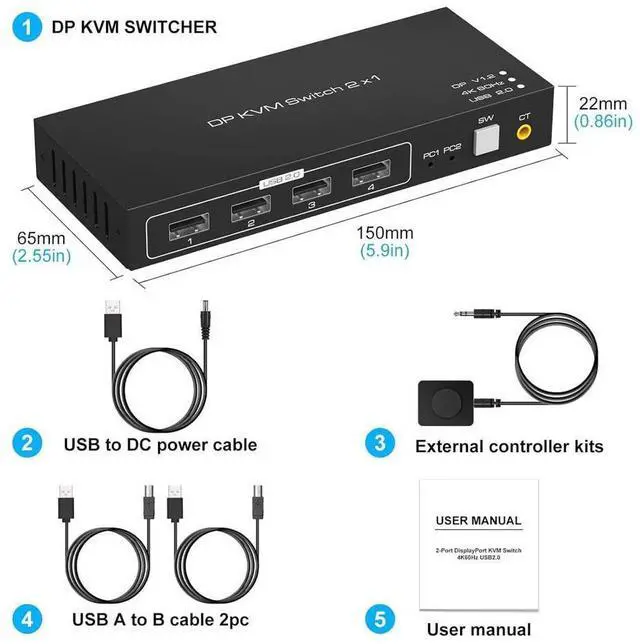



Any questions? Ask CelesteSM will help you find out quickly.
Features:
1. High Compatibility, Can Auto-match Source and Display Device;
2. The Kvm Switch USB 2.0 Built-in Automatic Adjustment System, Make The Image Smooth, Clear and Stable;
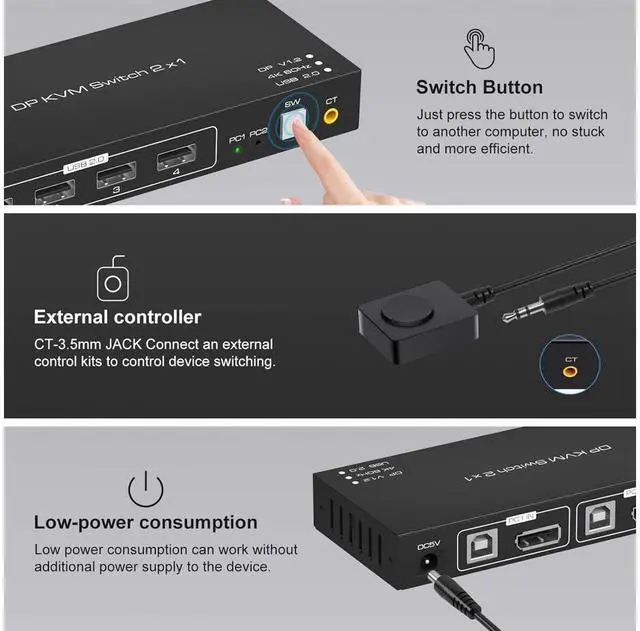
3. No Need to Install The Driver, Support Remote Control With an External Controller;
4. Easily Switches Between Systems Via Push Buttons With LED Indicating The Active Computer;
How to Use:
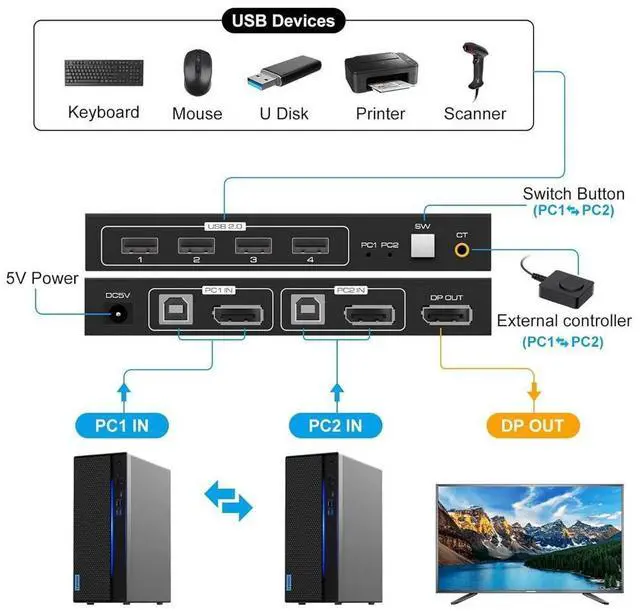
1. Connect the DP output port of the computer 1 to the DP_IN1 input port on the back of the KVM switcher through an DP cable.
2. Connect the USB port of the computer 1 to the USB_IN1 port on the back of the KVM switcher through an DP cable.
3. Connect the DP output port of the computer 2 to the DP_IN2 input port on the back of the KVM switcher through an DP cable.
4. Connect the USB port of the computer 2 to the USB_IN2 port on the back of the KVM switcher through an DP cable.
5. Connect the DP_OUT behind the KVM switcher to the monitor via an Displayport cable.
6. Connect a mouse, printer, USB stick, etc. to the front USB port.
7. Switch between computer 1 and computer 2 through the buttons on the panel or external control kits.
Note: If it cannot drive USB devices, please connect to 5V power supply.


