

- Free 30-day Returns
Meet Your Seller
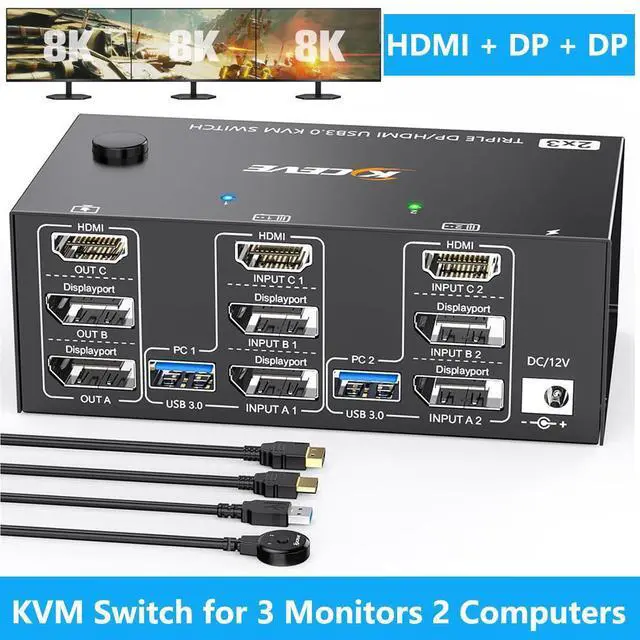
WRIARICH KVM Switch 3 Monitors 2 Computers 8K@60Hz 4K@144Hz, 2 Displayport + HDMI Triple Monitor USB 3.0 KVM Switch with 4 USB 3.0 Port for Keyboard Mouse, with Wired Remote & Power Adapter
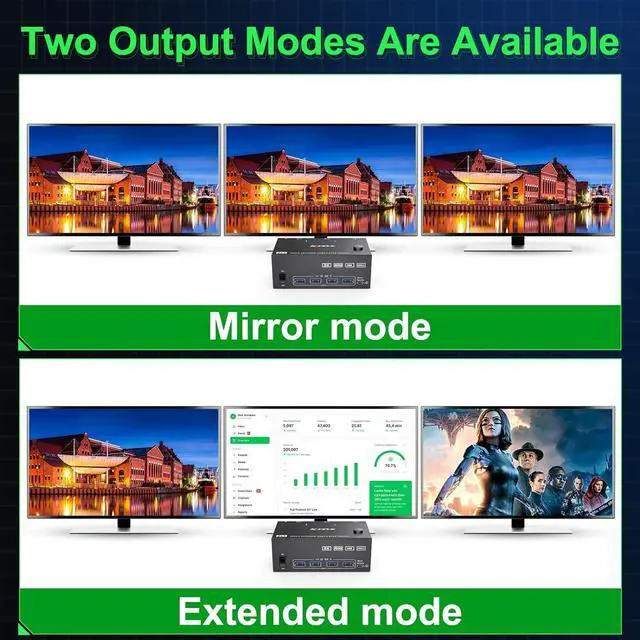
- [Triple Monitor KVM Switch 2PC] This KVM Switch perfect for hooking up 2 PCs to share 4 USB 3.0 ports and 3 monitors (supports extended and mirrored display modes).Pls Note: extended mode can output 3 different screens and mirror mode can output 3 identical screens.
- [Ultra HD 8K] Support resolution up to 8K@60Hz 4K@144Hz and downwards,makes the picture quality clearer. Note: Final resolution is also subject to graphic cards, monitors, cables.
- [ with 4 USB 3.0 Ports] KVM Switch has 4 integrated USB 3.0 ports for keyboard, mouse, printer,USB flash drive,etc. Supports ultra-high-speed 5Gbps data transmission, 10x faster than USB 2.0.
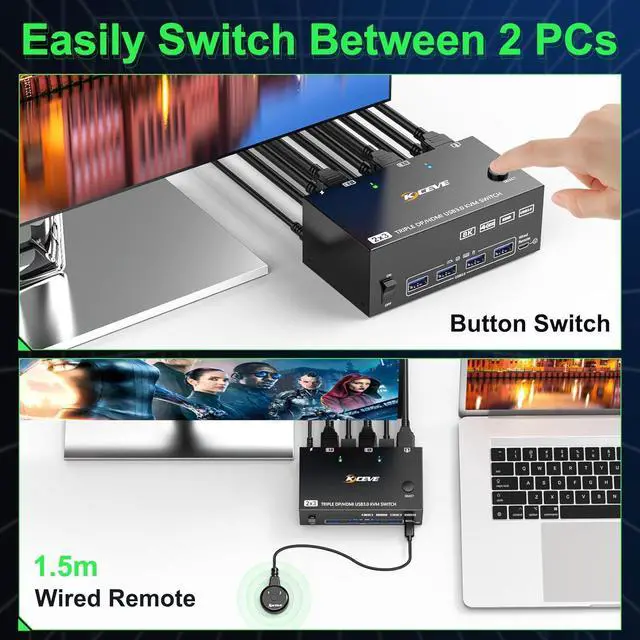
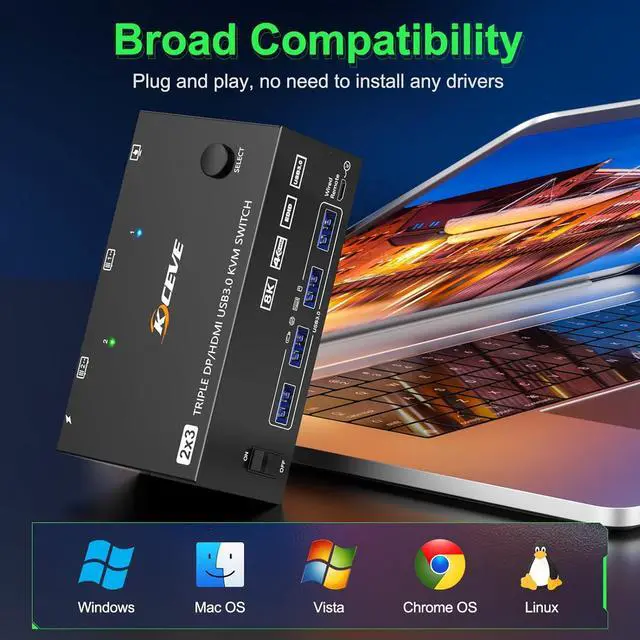
- [Great compatibility & 2 switching modes] Driver-free for Windows, Mac, Linux, Unix, Ubuntu. You can press the button on the panel or use the wired remote to switch the 2 computers.Two color LED indicate the active computer.
- [ON-OFF Switch Designed] The upgraded 12V power adapter makes the KVM switch work smoother and provides more stable recognition.
Any questions? Our AI beta will help you find out quickly.
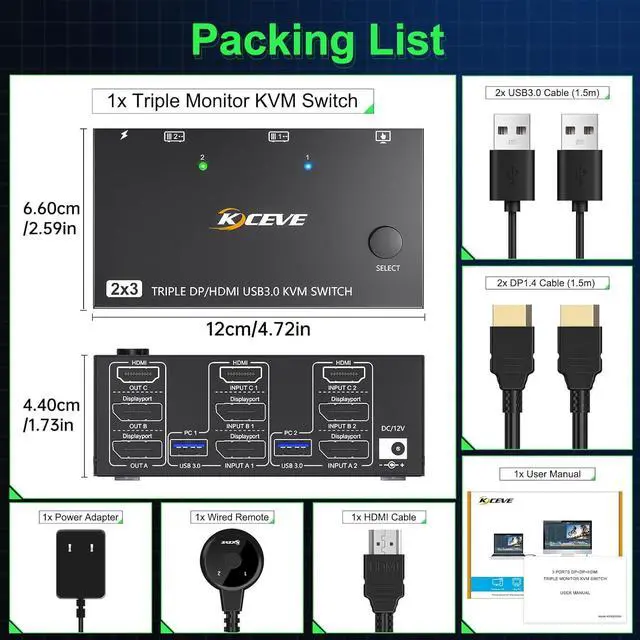
Package included:
1x KVM Switch, 2x DP 1.4 Cable, 1x HDMI 2.1 Cable, 2x USB 3.0 Cable, 1x Power Adapter, 1x Wired remote, 1x User's manual.
Connection steps:
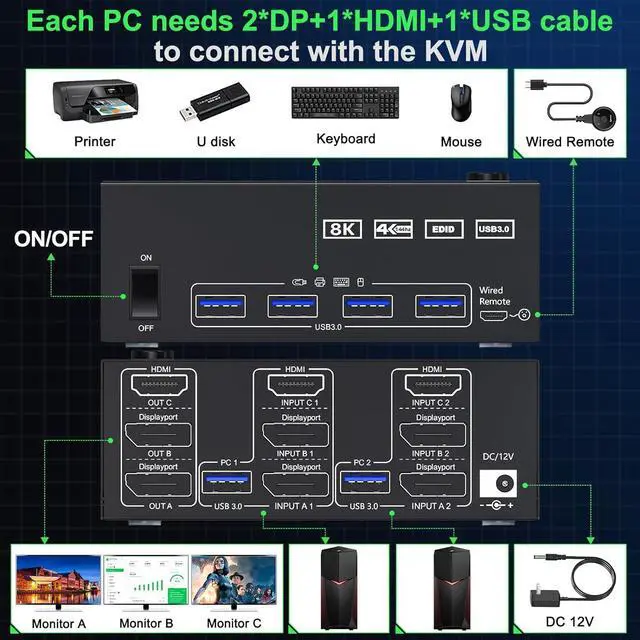
Triple monitor KVM switch, each computer requires 1 x HDMI+2 x DisplayPort + 1 x USB cable to connect the 3-monitor KVM switch, OUT A, OUT B, OUT C, with 3 monitors.
Adapters are required if your PC does not have 2 x DP + 1 x HDMI ports.
Step 1. Connect 1*HDMI+1*DP cable+1*DP cable+1*USB cable between INPUTA1 and KVM
Step 2. Connect 1*HDMI+1*DP cable+1*DP cable+1*USB cable between INPUTA2 and KVM
Step 3: Connect 1*HDMI+1*DP cable+1*DP cable+1*USB cable between OUT A monitors and KVM
Step 4. Connect your USB device (keyboard, mouse, printer, USB stick, etc. ) to the USB 3.0 port of the KVM.
Step 5: Connect the DC/12V adapter to the KVM switch
Step 6. Plug the wired remote control into the "SELECT" port to switch between PC1 and PC2 remotely.
Warranty & Returns
Warranty, Returns, And Additional Information
Warranty
- Please contact the Seller directly for warranty information. Warranty information may also be found on the Manufacturer's website.
- CONTACT
Return Policies
- Return for refund within: 30 days
- Return for replacement within: 30 days
- This item is covered by Lou Di Shi Lou Xing Qu Liu Li Shang Mao Return Policy
Manufacturer Contact Info
- For a directory of all our manufacturers, please click below.
- Manufacturers Directory