

  • $22.90
  • Free 45-day Returns
  • Ships from China.
    Price alert
    Shop it at NeweggBusiness.

    Meet Your Seller

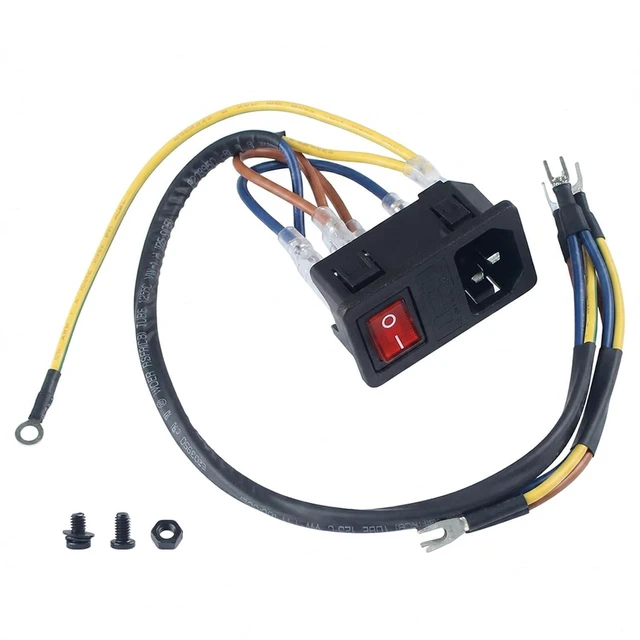
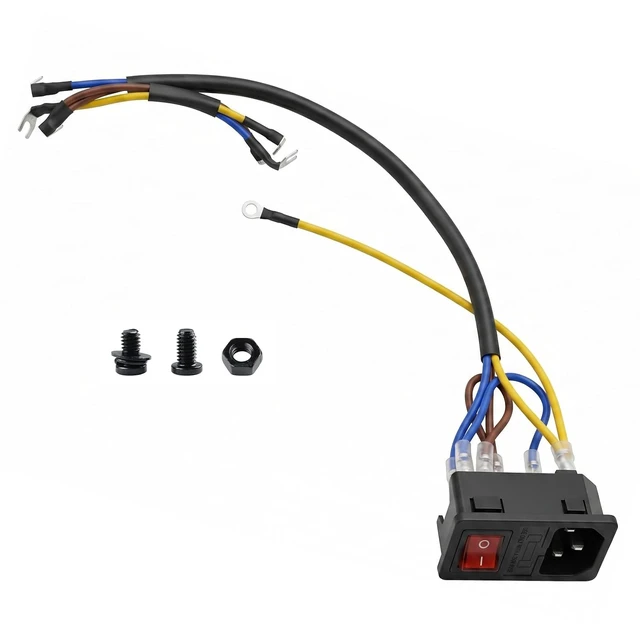
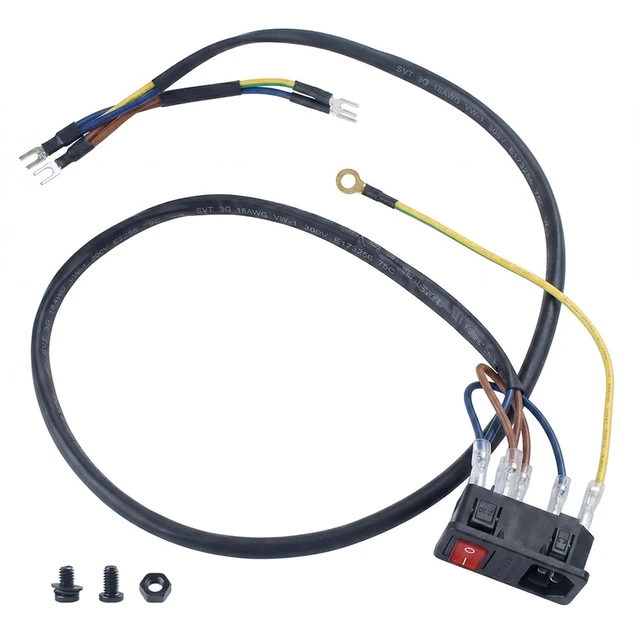
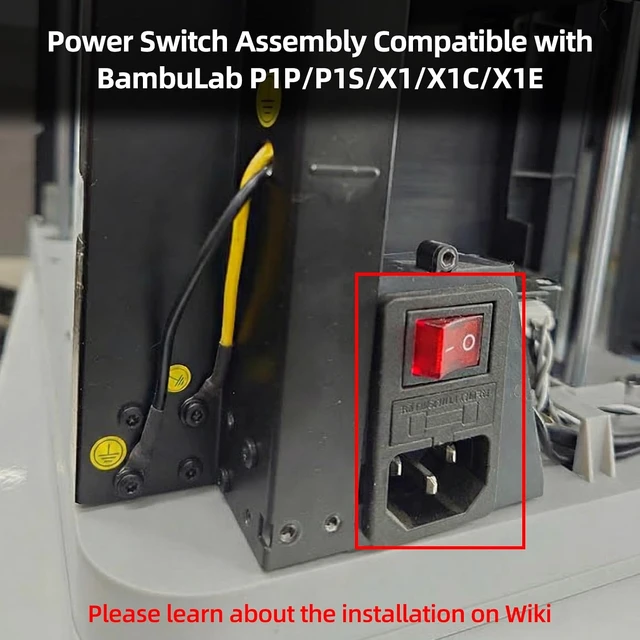
    Power Switch Assembly Compatible with BambuLab P1P/P1S/X1/X1C

    • The spare kit is designed specially for Bamboo X1/P1 series 3D printing project. If you are an X1E user and need to replace the AC to power supply connection cable. Tip: Not for P2S/H2D/H2C/H2S/A1/A1 Mini
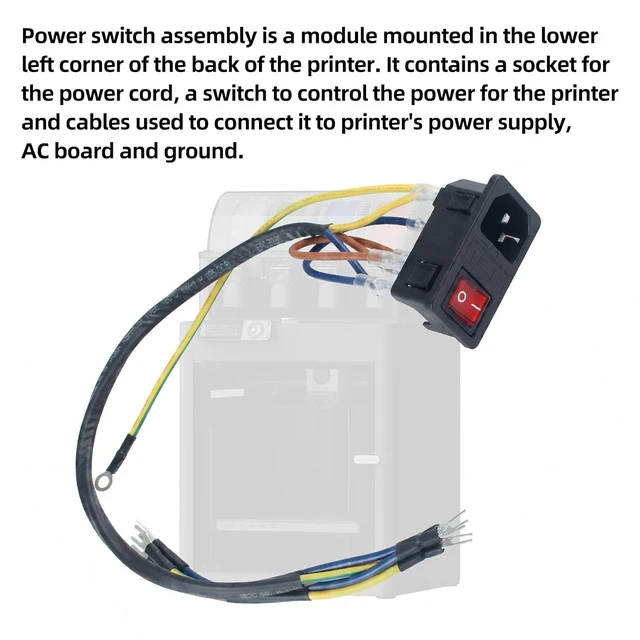
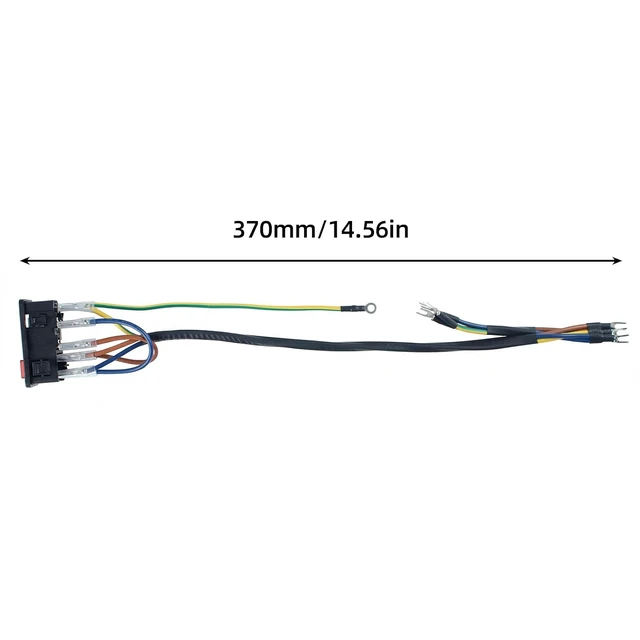
    • Power switch assembly is a module mounted in the lower left corner of the back of the printer. It contains a socket for the power cord, a switch to control the power for the printer and cables used to connect it to printer's power supply, AC board and ground
    • When to Use: The switch is damaged; The internal connection cable is damaged; The socket has poor contact
    • It's crucial to power off the printer before performing any maintenance work on the printer and its electronics, including tool-head wires, because leaving the printer on while conducting such tasks can cause a short circuit, which can lead to additional electronic damage and safty hazard
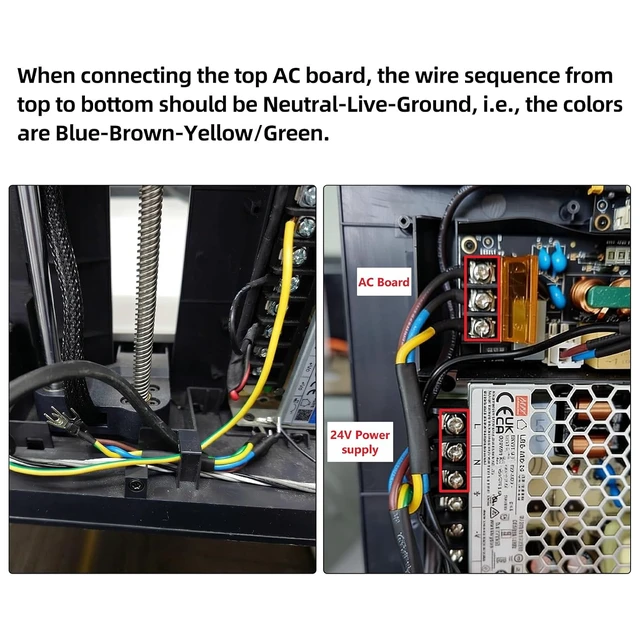
    • Easy to instal, firstly disconnect power cord, Remove screw on rear cover and rear cover, remove excess chute and right side panel, then remove cable cover, disconnect the power cables from the power module and AC board, remove ground wire, finally remove the broken original power switch module, replace new. Please learn about the installation on Wiki
    +
    +
    Overview
    Specs
    Reviews

    Any questions? Ask CelesteSM will help you find out quickly.

    1. The spare kit is designed specially for Bamboo X1/P1 series 3D printing project. If you are an X1E user and need to replace the AC to power supply connection cable. Tip: Not for P2S/H2D/H2C/H2S/A1/A1 Mini
    2. Power switch assembly is a module mounted in the lower left corner of the back of the printer. It contains a socket for the power cord, a switch to control the power for the printer and cables used to connect it to printer's power supply, AC board and ground
    3. When to Use: The switch is damaged; The internal connection cable is damaged; The socket has poor contact
    4. It's crucial to power off the printer before performing any maintenance work on the printer and its electronics, including tool-head wires, because leaving the printer on while conducting such tasks can cause a short circuit, which can lead to additional electronic damage and safty hazard
    5. Easy to instal, firstly disconnect power cord, Remove screw on rear cover and rear cover, remove excess chute and right side panel, then remove cable cover, disconnect the power cables from the power module and AC board, remove ground wire, finally remove the broken original power switch module, replace new. Please learn about the installation on Wiki


    Warranty & Returns

    Warranty, Returns, And Additional Information

    Warranty

    • Please contact the Seller directly for warranty information. Warranty information may also be found on the Manufacturer's website.
    • CONTACT

    Return Policies

    • Return for refund within: 45 days
    • Return for replacement within: 30 days
    • This item is covered by TechDen Return Policy

    Manufacturer Contact Info

    LOADING...