

Your Browsing History

Meet Your Seller

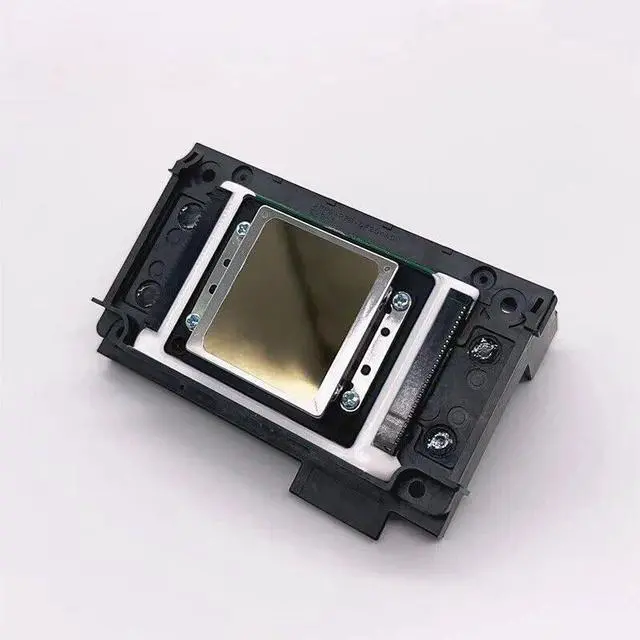
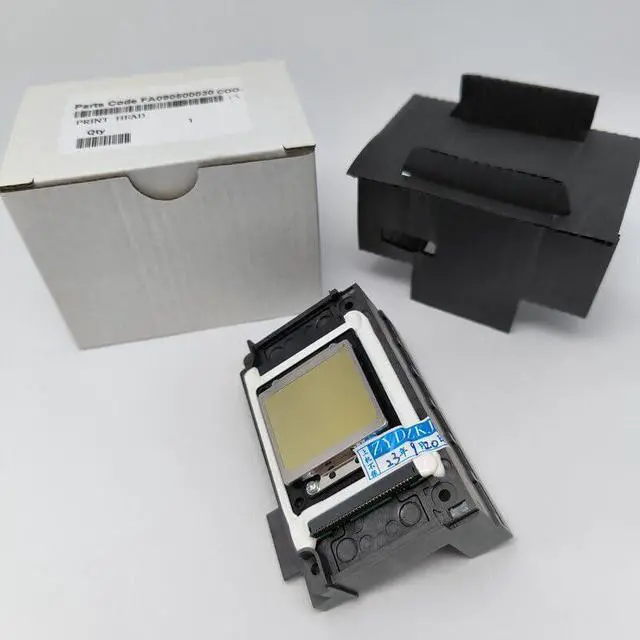
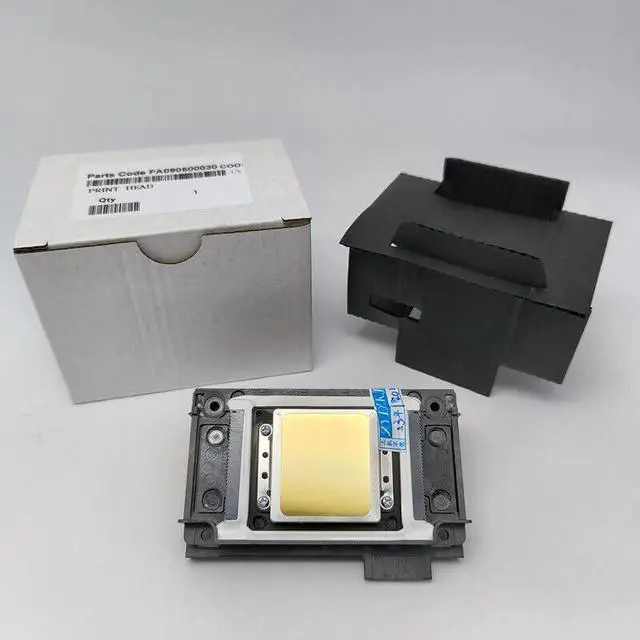
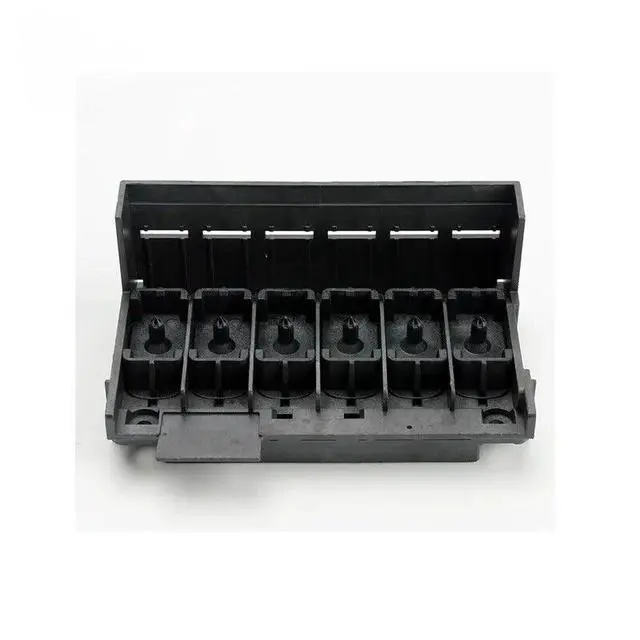
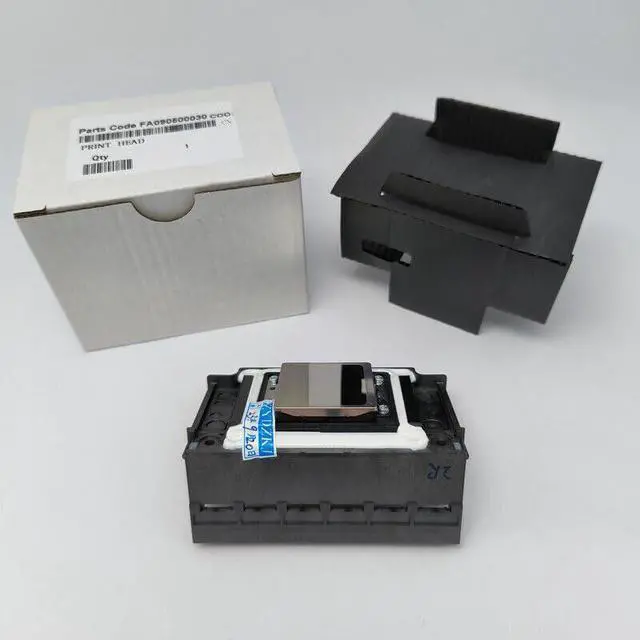
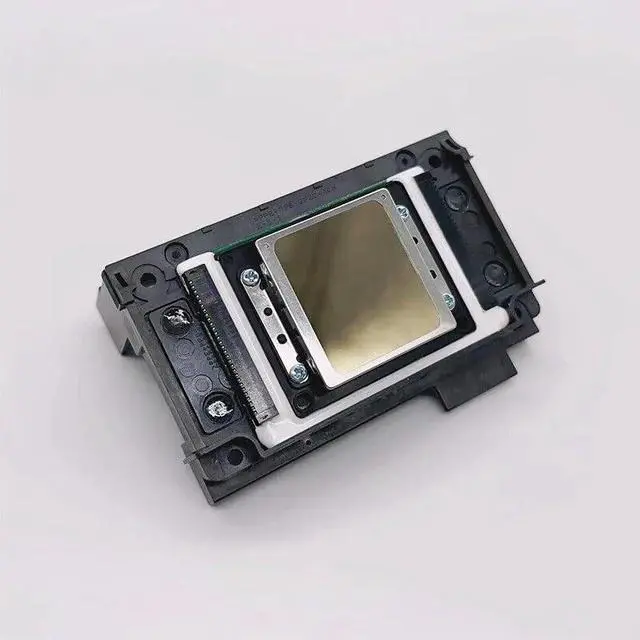


New XP600 Print Head F1080 for DTF Printer Compatible with XP610 XP700 XP701 XP850 UV & DTF Printer
Limited time offer, ends 08/27 By CoreComp Shop
- The updated XP600 print head works with a range of modified printers, DTF printers, and UV printers. Professional users can handle the installation themselves. Upon receiving the printhead, you might notice red liquid on the head surface. This is normal; the red fluid is a protective moisturizing solution that prevents the head from drying out or becoming clogged. Please do not confuse it with ink. After you have properly installed the new printhead on your printer, avoid printing an image immediately. You must first inject ink into the printhead by selecting the "add ink" option in your printer software. The head requires even ink distribution. Next, execute a cleaning cycle by clicking the "clean" button in your software on the computer. After adding the ink, perform cleaning via the software. It is standard to complete two cleaning cycles. Then, proceed to print a nozzle test pattern. Only after the nozzle test pattern is satisfactory should you print a picture. Please keep this in mind, as it is crucial
+
+
Overview
Specs
Reviews

Any questions? Our AI mode will help you find out quickly.
Try me now
The updated XP600 print head works with a range of modified printers, DTF printers, and UV printers. Professional users can handle the installation themselves. Upon receiving the printhead, you might notice red liquid on the head surface. This is normal; the red fluid is a protective moisturizing solution that prevents the head from drying out or becoming clogged. Please do not confuse it with ink. After you have properly installed the new printhead on your printer, avoid printing an image immediately. You must first inject ink into the printhead by selecting the "add ink" option in your printer software.
The head requires even ink distribution. Next, execute a cleaning cycle by clicking the "clean" button in your software on the computer. After adding the ink, perform cleaning via the software. It is standard to complete two cleaning cycles. Then, proceed to print a nozzle test pattern. Only after the nozzle test pattern is satisfactory should you print a picture. Please keep this in mind, as it is crucial
The head requires even ink distribution. Next, execute a cleaning cycle by clicking the "clean" button in your software on the computer. After adding the ink, perform cleaning via the software. It is standard to complete two cleaning cycles. Then, proceed to print a nozzle test pattern. Only after the nozzle test pattern is satisfactory should you print a picture. Please keep this in mind, as it is crucial
Warranty & Returns
Warranty, Returns, And Additional Information
Warranty
- Please contact the Seller directly for warranty information. Warranty information may also be found on the Manufacturer's website.
- CONTACT
Return Policies
- Return for refund within: 30 days
- Return for replacement within: 30 days
- This item is covered by CoreComp Shop Return Policy
Manufacturer Contact Info
- For a directory of all our manufacturers, please click below.
- Manufacturers Directory
LOADING...