







MOOCY Cable Clip
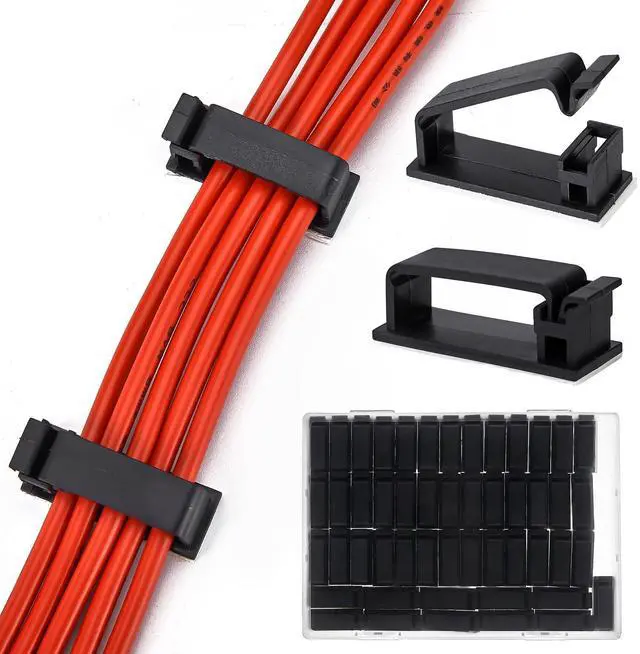
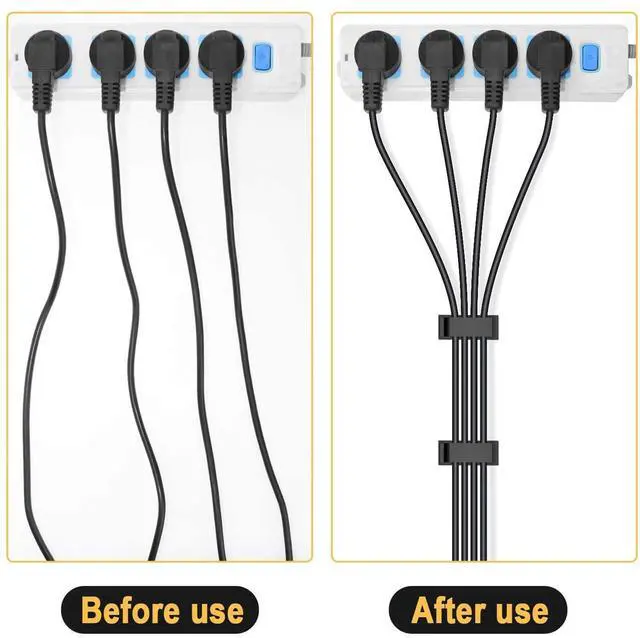
Do you want your desk to be clean and organized? When you see the disorganized data cables, charging cables, Ethernet cables, and all kinds of cables on your desk, it is not comfortable to see the disorganized cables under your desk.
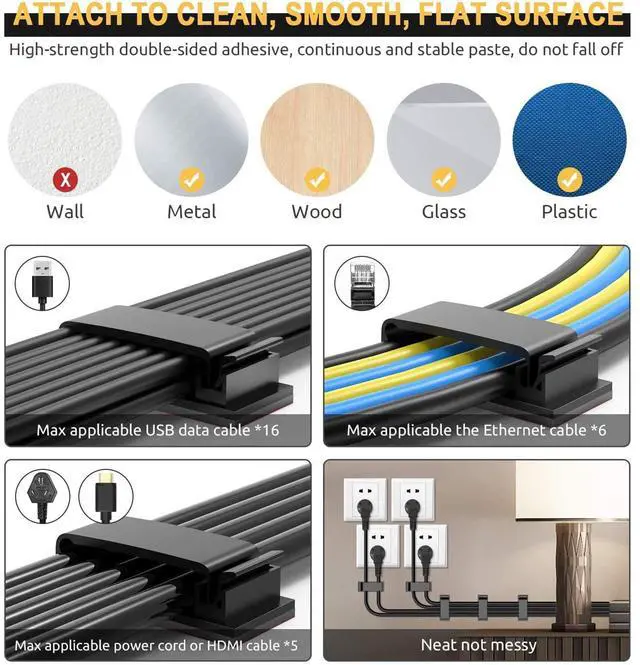
MOOCY offers a way to get rid of this annoyance.This cable clip is suitable for organizing all kinds of cables, and it is super convenient to use.
You can easily manage your office, home and car wiring, faraway from the trouble of irregular wiring, and give you a clean and comfortable environment.Now Please Choose it.
High Quality
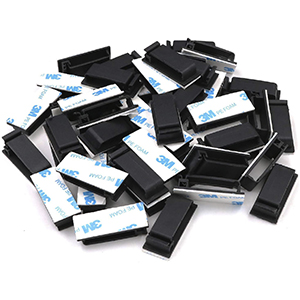
All-acrylic construction for strength and durability in demanding applications, optimising the tape's performance on a wider range of surfaces.
Replaces spot welds, screws, rivets, and liquid adhesives for long term use indoors and outdoors Easy to apply, versatile, and aesthetically pleasing Improvements that can be seen and felt.
Installation steps
Step 1
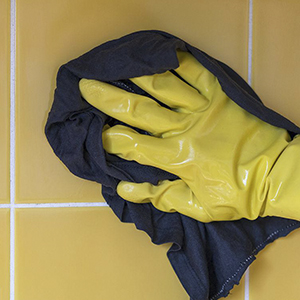
Clean the surface and product, prevent them from dust, wet, heat and oild.
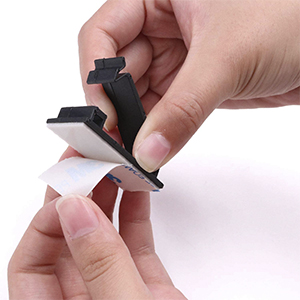
Step 2
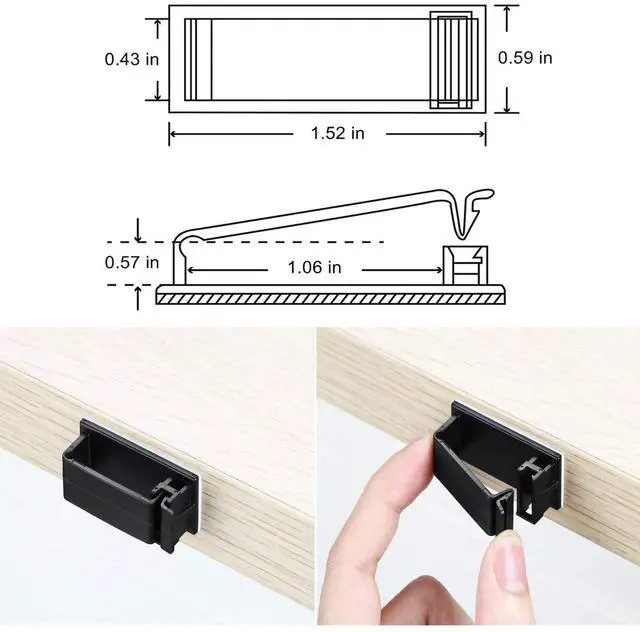
Peel off the sticker. Attach to a smooth, clean surface such as glass, plastic, metal, porcelain and ceramic.
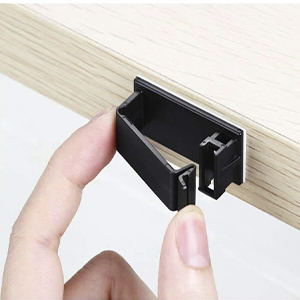
Step 3
Use your thumb to press them in for the first 15-20 seconds.
MOOCY Cable Clip
Do you want your desk to be clean and organized? When you see the disorganized data cables, charging cables, Ethernet cables, and all kinds of cables on your desk, it is not comfortable to see the disorganized cables under your desk.
MOOCY offers a way to get rid of this annoyance.This cable clip is suitable for organizing all kinds of cables, and it is super convenient to use.
You can easily manage your office, home and car wiring, faraway from the trouble of irregular wiring, and give you a clean and comfortable environment.Now Please Choose it.
High Quality
All-acrylic construction for strength and durability in demanding applications, optimising the tape's performance on a wider range of surfaces.
Replaces spot welds, screws, rivets, and liquid adhesives for long term use indoors and outdoors Easy to apply, versatile, and aesthetically pleasing Improvements that can be seen and felt.
Installation steps
Step 1
Clean the surface and product, prevent them from dust, wet, heat and oild.
Step 2
Peel off the sticker. Attach to a smooth, clean surface such as glass, plastic, metal, porcelain and ceramic.
Step 3
Use your thumb to press them in for the first 15-20 seconds.