Your Browsing History


Any questions? Our AI beta will help you find out quickly.
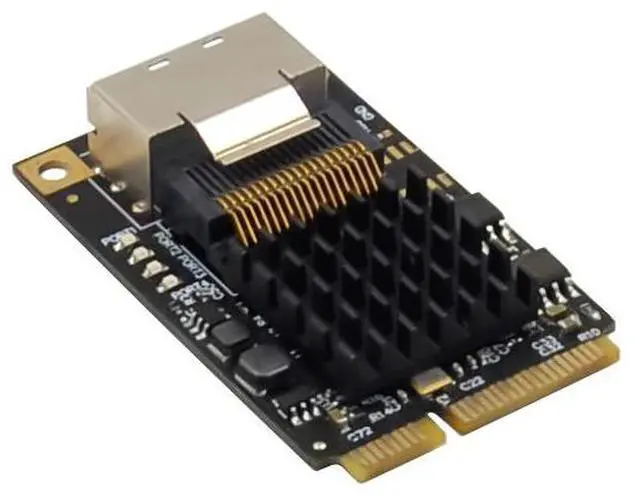
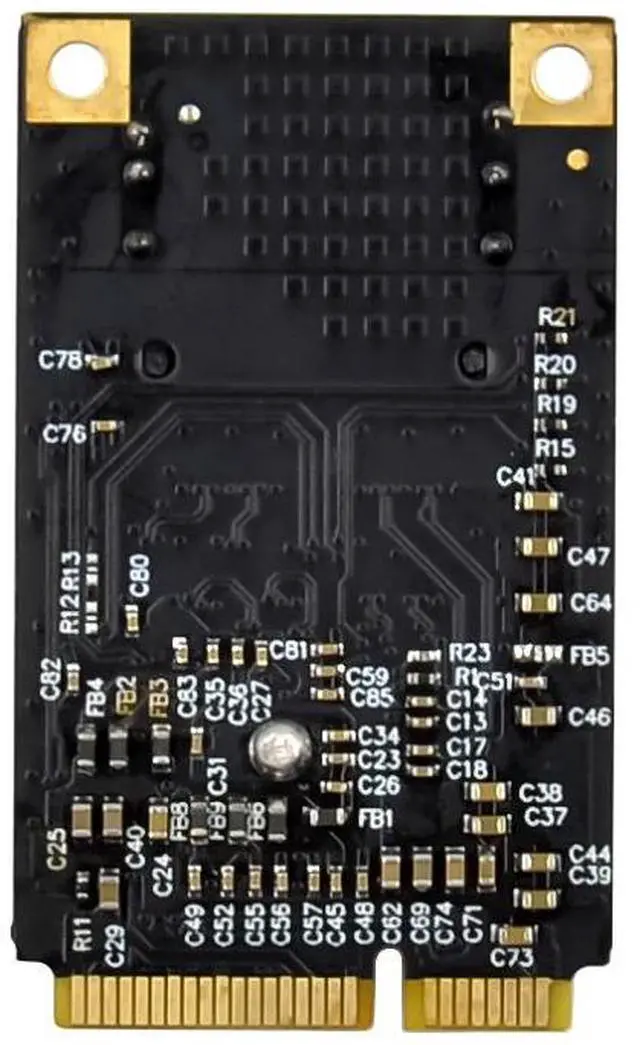
Compatible with PCI-E MINI Card Electromechanical specification revision1.2
Compatible with Full size MINI card type form factor
Compliant with PCI-Express Specification V2.0 and backward Compatible with PCI-Express 1.x
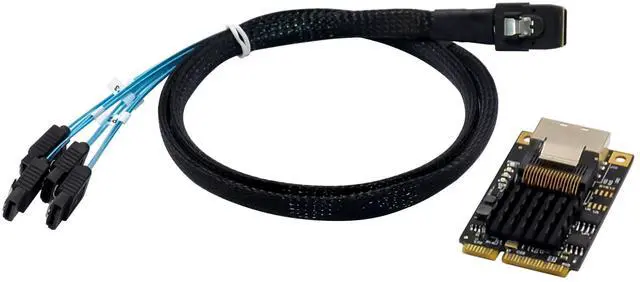
Downstream : SAS 36PIN
Compliant with Serial ATA Specification 3.0
Supports communication speeds of 6Gbps,3Gbps,1.5Gbps
Hot plug and Hot Swap
Support Native Command Queue(NCQ)
Support Port Multiplier FIS based switching or command based switching
Compatible with SATA6G,3G and 1.5G hard drives
Drivers support for Window XP/VISTA/Win7/Win8/Server2003/server2008 R2,Linux2.6.x and above
Package content
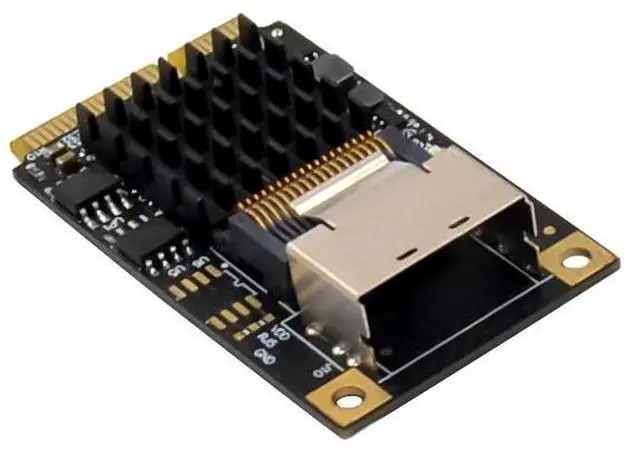
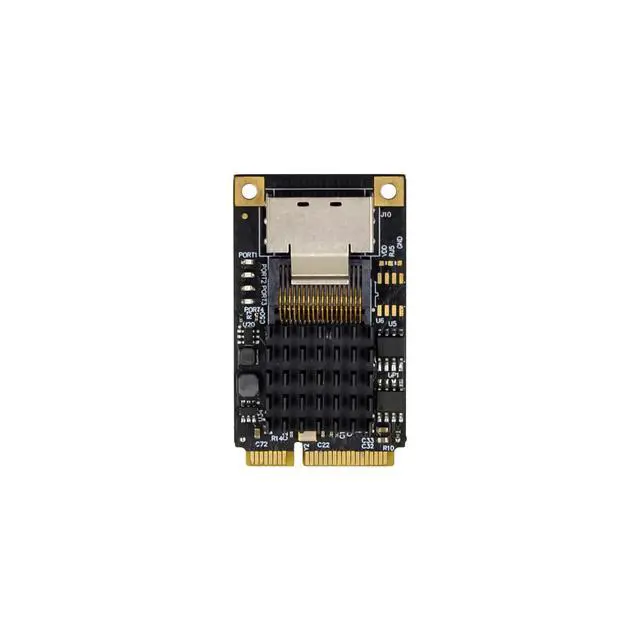
1 x MINIPCIE Marvell 88SE9215 SAS expansion CARD
1 x Users Manual
1 x SAS36PIN to 4-SATA Cable
1 x CD Driver
Accessories
System Requirements
Supports windows xp /Vista/Win7/Win8/Server2003/Server2008 R2.Linux2.6.x and above
One available MINIPCIE slot
Hardware installation
1.Turn off the power to your computer
2.Unplug the power cord and remove your computers cover
3.Locate to an empty MINIPCIE slot on the motherboard.
4.To install the board, carefully align the cards MINIPCIE connector with the selected MINIPCIE slot on the motherboard, installed of fixing screws
5.Attach your internal device to the MINIPCIE SATAIII controller card
6.Replace the Slot brackets holding screw to secure the card
7.Replace the computer cover and reconnect the power cord
Driver installation
For Windows Vista, Server 2008, Win7, Win8, server 2008 R2 Operating Systems:
1.Start windows and insert the driver CD into the CD-ROM drive, assume drive A.
2.Windows will automatically detect the SATA card, Right-click Marvell console ATA Device with yellow mark in the Other Devices and select Update Driver Software.
3.Select Browse my computer for driver software
4.Browse to the following folder on the driver CD according to your operating system:
-windows vista, server2008, windows7, windows 8 32-bit:
A:\2010A2\Marvell\92xx\windows vista_2008_7_8\i386
-windows vista, server 2008, windows7, windows8 64-bit and server 2008 R2:
A: \2010A2\Marvell\92xx\windows vista_2008_7_8\amd64
5.Follow the on-screen instruction to install the driver.
6.After successful installation, the device is list in the Device Manager as Marvell unify configuration(under system devices)
For Windows XP, SERVER 2003 operation system:
1.Start windows and insert driver CD into the CD-ROM drive, assume drive A
2.Windows will automatically detect the SATA card, select No ,not this time and click the NEXT button to continue
3.Select install from a list or specific location (Advance) and click on the Next button.
4.Browse to the following folder on the driver CD according to your operating system:
-Windows XP 32-bit and Server 2003 32-bit
A:\2010A2\Marvell\92XX\Windows2003_XP\i386
-Windows XP64-bit and server2003 64-bit:
A:\2010A2\Marvell\92XX\Windows2003_XP\amd64
5.Follow the on-screen instruction to install the driver.
6.After successful installation, The SATA controller is listed in the Device Manager as Marvell 92xx SATA 6G controller(under SCSI and RAID controllers)
7. For this controller an additional device Marvell Console SCSI Processer device is detected, select "No, not this time" and click the next button to continue
8. Select "install form a list or specific location (Advance)" and click on the Next button.
9. Browse to the following folder on the driver CD according to your operating system:
-Windows XP 32-bit and Server 2003 32-bit:
A:\2010A2\Marvell\92xx\Windows2003_xp\i386
-Windows xp 64-bit and server2003 64-bit:
A:\2010A2\Marvell\92xx\Windows2003_xp\amd64
10.follow the on-screen instruction to install the driver.
11. After successful installation, the device is listed in the Device Manager as Marvell Unify configuration (under system devices)
12.Once driver installation is completed, you can now connect your external devices to the SATA card. To install the driver for the external devices, please refer to the external device users mauanls.
For Linux OS
Linux distributions contain Inbox drivers for AHCI devices. The drivers are installed automatically during the Linux OS installation
Support
More information and settings, please refer to the User Guides or you can contact us.