Your Browsing History


Any questions? Our AI beta will help you find out quickly.
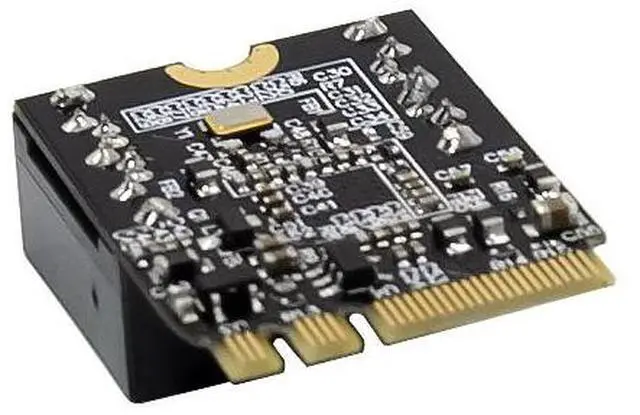
Single-lane(x1)PCI-Express End-point controller with PHY integrated
Compliant with PCI Express 2.0 Gen1
Compliant with PCI Express M.2 Specification version1.0
Compliant with PCI Power Management 1.2
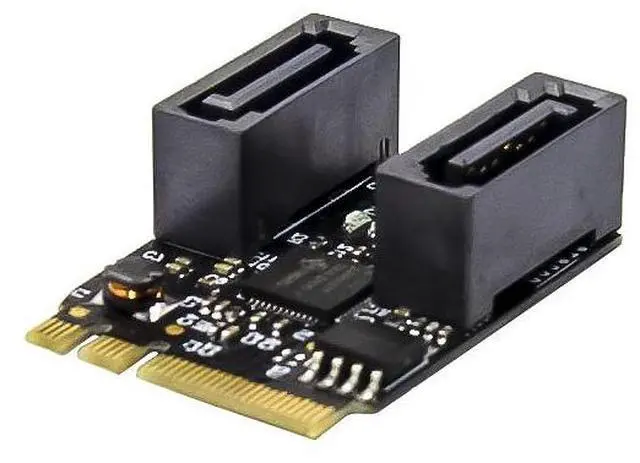
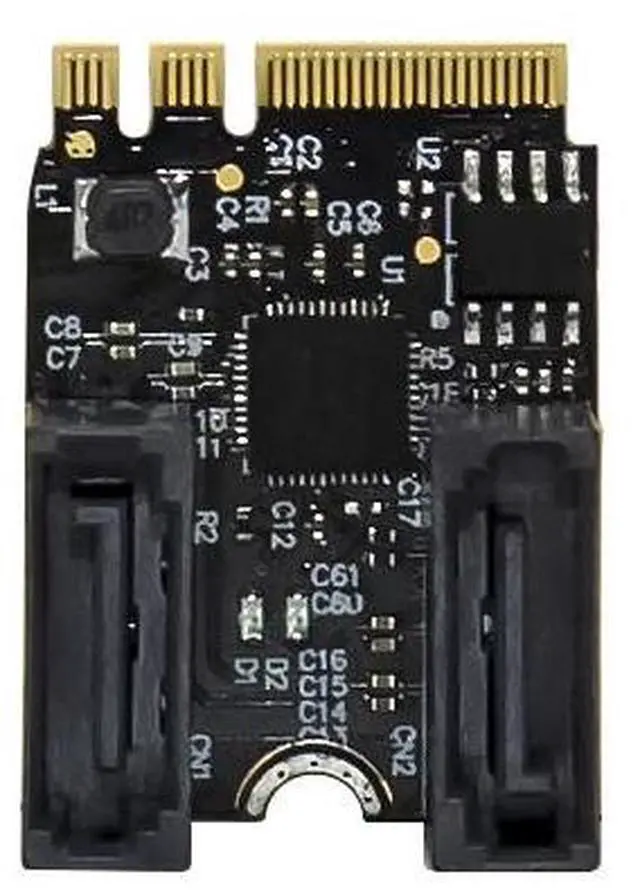
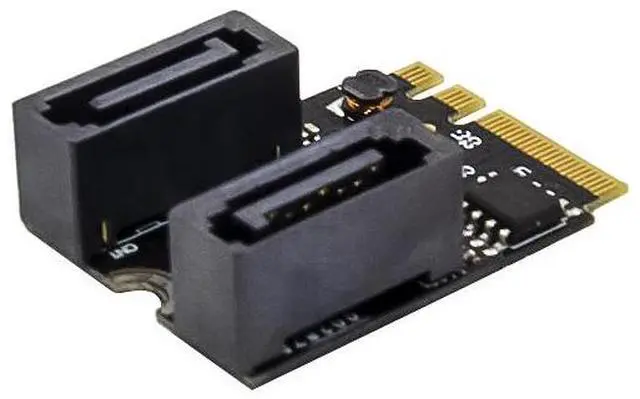
Connector type: A+E KEY, Size: 22*30mm
Supports 2-SATA port
On-board with LED read/write indicator
Supports command-based and FIS-based for port Multiplier, not supported RAID
Complies with SATA Specification Revision 3.2
Supports Serial ATA 3.0 transfer rate up to 6Gbps
Supports communication speed of 6Gbps,3Gbps,1.5Gbps
Supports Gen1m and Gen2m SATA PHY
Supports AHCI mode and IDE programming interface
Support Native Command Queue (NCQ)
Supports SATA link power saving mode (partial and slumber)
Supports SATA plug-in detection capable
Supports drive power control and staggered spin-up
Supports SATA partial/slumber power management state
Supports Windows7, Windows8, Windows10 and Linux-base OS
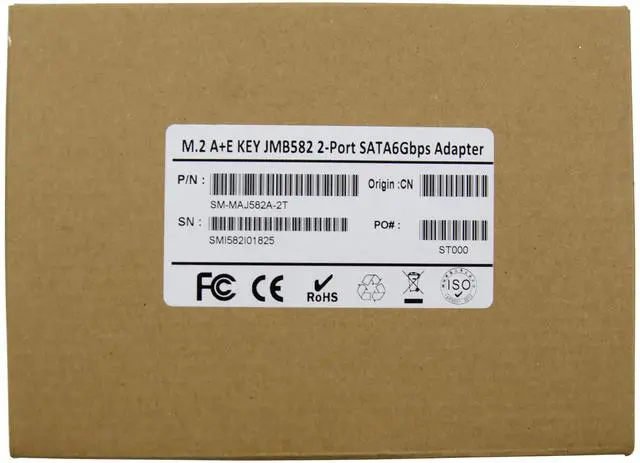
Package content
1 x M.2 A+E JMB582 2-Port SATA 6G Expansion card
1 x Users Manual
2 x SATA cable
System Requirements
Linux-based OS 2.6.20 and above
Win7/Win8/Win8.1/Win10 32/64bit
Win Server2003,2008,2012,2016
Mac OS 10.3 or later version
An available MINIPCIE slot
Hardware installation
1.Turn off the computer and all external devices connected to it
2.Open the computer case, Refer to your computer user manual for more details
3.Find an available MINIPCIE slot and remove the slot bracket, save the bracket screw for later use.
4.Insert the MINIPCIE SATA card to the MINIPCIE slot firmly and evenly, take care not to force it into the slot. Once you have properly positioned the MINIPCIE SATA card into the slot. secure it with the bracket screw you have just saved
5.Connect the SATA devices with SATA cable to the MINIPCIE SATA card.
6.Secure the computer case and switch on your computer.