


Binardat engaged in the research and development, manufacturing, sales and service of ethernet network and comprehensive IT peripherals.
Binardat is your trusted supplier of modern networking products, solutions and supplies meant to help you stay connected with the world around you!

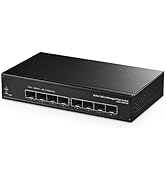
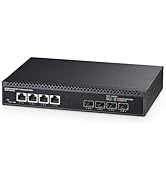
Choose More 2.5G/10G Switch
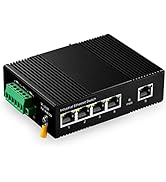
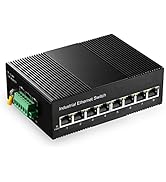
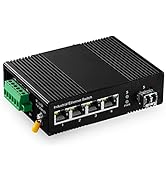
Choose More Industrial Switch
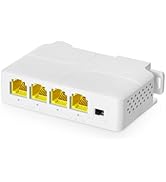
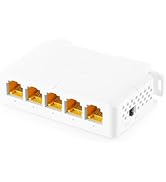
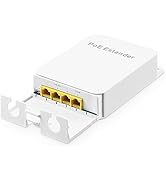
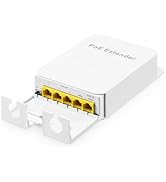
Choose More PoE Extender
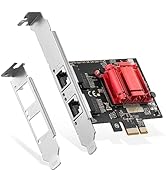
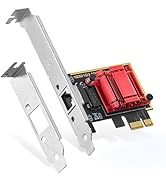
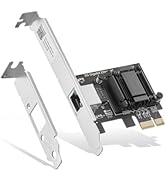
Choose More Network card
Choose More Network card


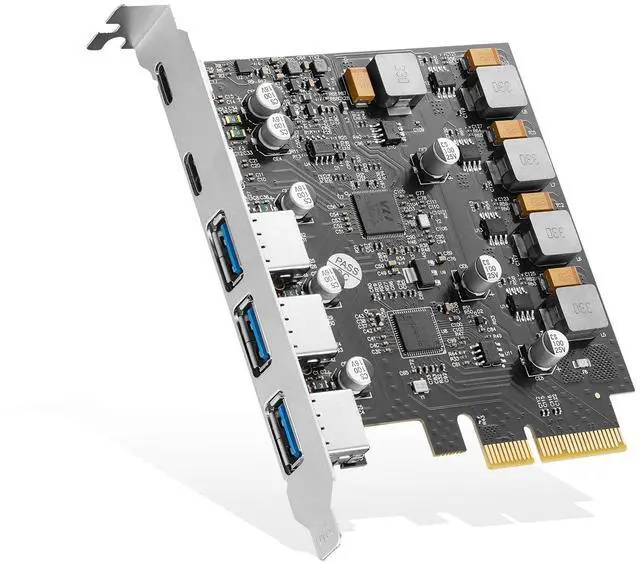
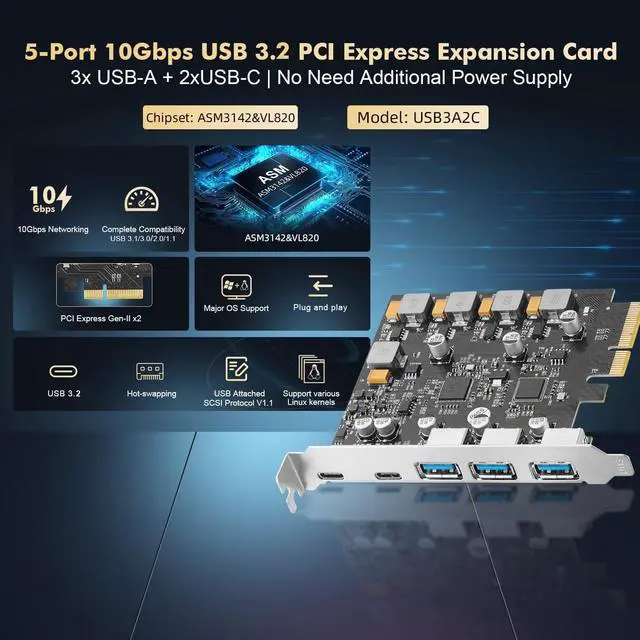
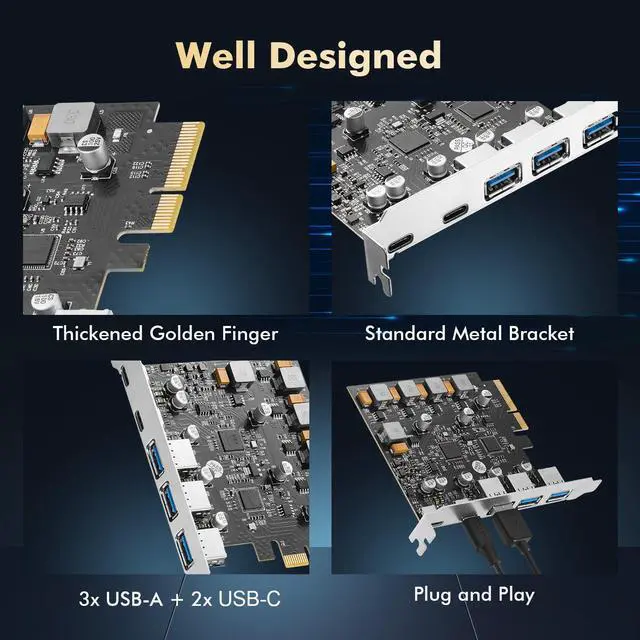
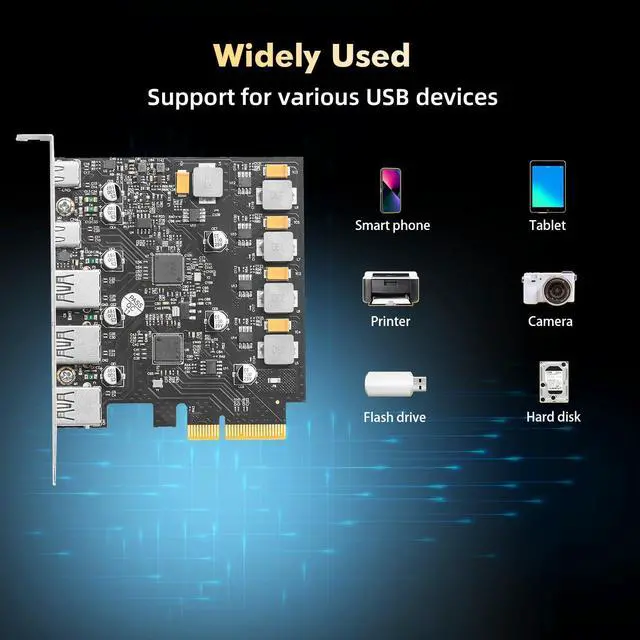
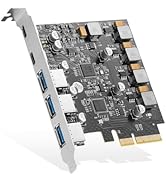
The PCIe ASM3142 3A2C USB3.2 10Gbps Card is provides three USB-A and two USB-C ports by ASM3142&VL820 combination chips, bridging PCI Express to USB3.2 Gen-II , compliant with USB3.2 Specification Revision1.0 and Intel eXtensible Host Controller Interface Specification revision 1.1, it supports the new feature of USB3.2 Gen2, named multiple INs to achieve fully utilization rate of 10Gbps data rate, taking advantage of the available bandwidth of USB3.2 Gen2 bus. The USB3.2 Card application of Desktop PC, Workstations, Servers, etc.
Key Features:
- Support PCI Express Gen-II x2
- Compliant with PCI Express Base3.0 Specification
- Compliant with PCI Express card Electromechanical 2.0 specification
- Compliant with Universal Serial Bus 3.2 Specification Revision1.0
- Compliant with eXtensible Host Controller Interface specification Revision 1.1
- Compliant with USB Attached SCSI Protocol Revision 1.0
- Compliant to USB Type-C Specification Rev1.3
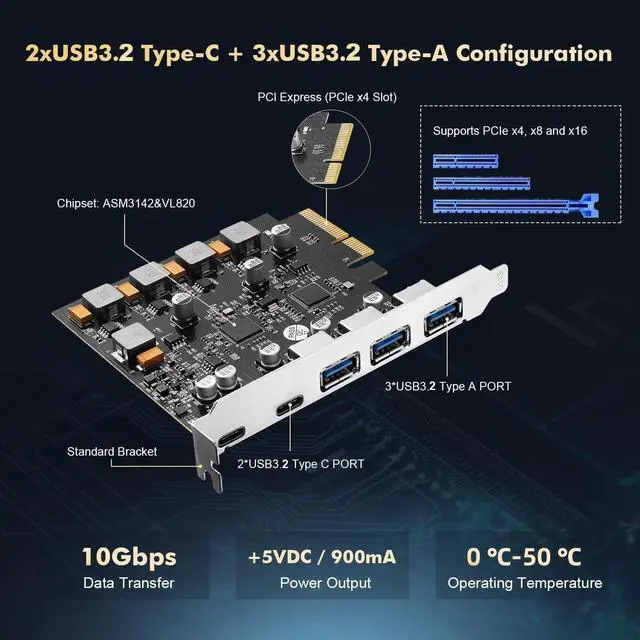
- PCI Express interface: X4
- Support high bandwidth performance with low latency
- Support PCI Express Link power management
- Support 3x USB3.2 Type-A and 2x USB3.2 Type-C
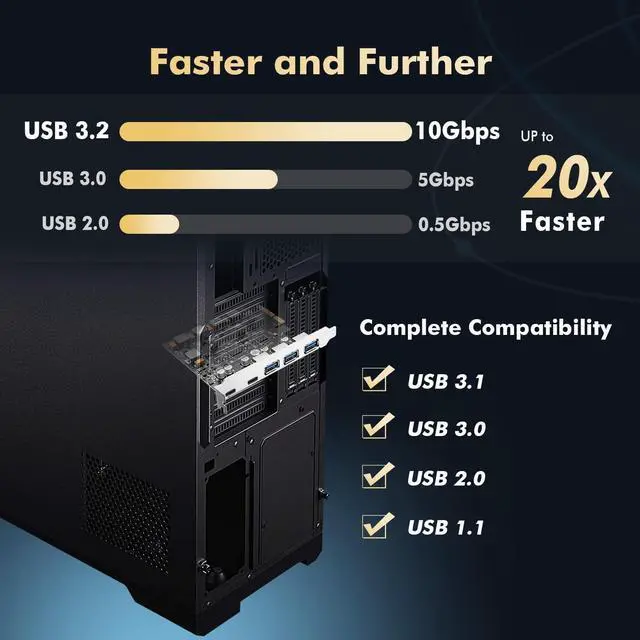
- Each port transmission speeds up to USB3.2 Gen-II 10Gbps
- Maximum current 1A each USB3.2 Type-A
- Maximum current 3A each USB3.2 Type-C
- Supports USB battery charging Specification v1.2
- Support for Vendor specific charging modes eg, Apple2.4A, Samsung, etc
- Support USB SuperSpeed+(10Gbps),SuperSpeed(5Gbps),HighSpeed(480Mbps) , FullSpeed(12Mbps),and LowSpeed(1.5Mbps) transmission
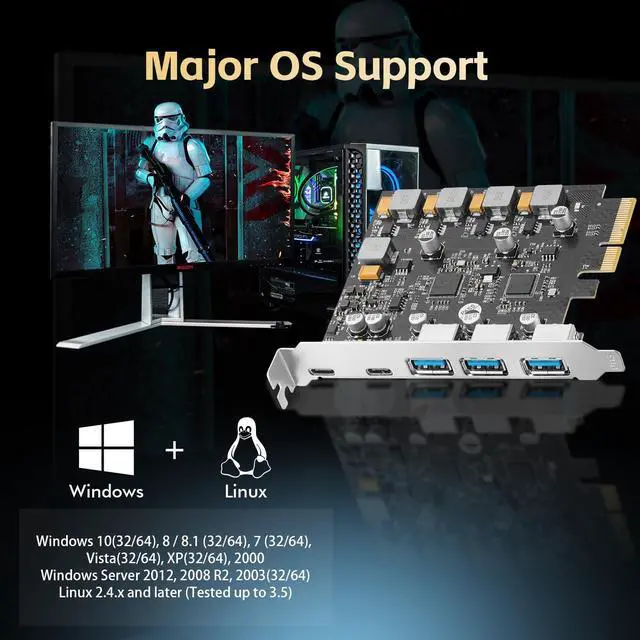
- Support proprietary driver for Windows 7,and in box driver for Windows8,Window8.1,Server2012 and Windows 10
- Support various Linux kernels
- Chipset: ASM3142+VL820
Hardware Installation
1. Turn Off the power to your computer.
2. Unplug the power cord and remove your computer’s cover.
3. Remove the slot bracket from an available PCIe X16 slot.
4. To install the card, carefully align the card’s bus connector with the selected PCIe slot on the motherboard. Push the board down firmly.
5. Replace the slot bracket’s holding screw to secure the card.
6. Replace the computer cover and reconnect the power cord.
The PCIe ASM3142 3A2C USB3.2 10Gbps Card is provides three USB-A and two USB-C ports by ASM3142&VL820 combination chips, bridging PCI Express to USB3.2 Gen-II , compliant with USB3.2 Specification Revision1.0 and Intel eXtensible Host Controller Interface Specification revision 1.1, it supports the new feature of USB3.2 Gen2, named multiple INs to achieve fully utilization rate of 10Gbps data rate, taking advantage of the available bandwidth of USB3.2 Gen2 bus. The USB3.2 Card application of Desktop PC, Workstations, Servers, etc.
Key Features:
- Support PCI Express Gen-II x2
- Compliant with PCI Express Base3.0 Specification
- Compliant with PCI Express card Electromechanical 2.0 specification
- Compliant with Universal Serial Bus 3.2 Specification Revision1.0
- Compliant with eXtensible Host Controller Interface specification Revision 1.1
- Compliant with USB Attached SCSI Protocol Revision 1.0
- Compliant to USB Type-C Specification Rev1.3
- PCI Express interface: X4
- Support high bandwidth performance with low latency
- Support PCI Express Link power management
- Support 3x USB3.2 Type-A and 2x USB3.2 Type-C
- Each port transmission speeds up to USB3.2 Gen-II 10Gbps
- Maximum current 1A each USB3.2 Type-A
- Maximum current 3A each USB3.2 Type-C
- Supports USB battery charging Specification v1.2
- Support for Vendor specific charging modes eg, Apple2.4A, Samsung, etc
- Support USB SuperSpeed+(10Gbps),SuperSpeed(5Gbps),HighSpeed(480Mbps) , FullSpeed(12Mbps),and LowSpeed(1.5Mbps) transmission
- Support proprietary driver for Windows 7,and in box driver for Windows8,Window8.1,Server2012 and Windows 10
- Support various Linux kernels
- Chipset: ASM3142+VL820
Hardware Installation
1. Turn Off the power to your computer.
2. Unplug the power cord and remove your computer’s cover.
3. Remove the slot bracket from an available PCIe X16 slot.
4. To install the card, carefully align the card’s bus connector with the selected PCIe slot on the motherboard. Push the board down firmly.
5. Replace the slot bracket’s holding screw to secure the card.
6. Replace the computer cover and reconnect the power cord.
Binardat engaged in the research and development, manufacturing, sales and service of ethernet network and comprehensive IT peripherals.
Binardat is your trusted supplier of modern networking products, solutions and supplies meant to help you stay connected with the world around you!
Choose More 2.5G/10G Switch
Choose More Industrial Switch
Choose More PoE Extender
Choose More Network card
Choose More Network card