Your Browsing History
- Free 30-day Returns
$45.99

Meet Your Seller
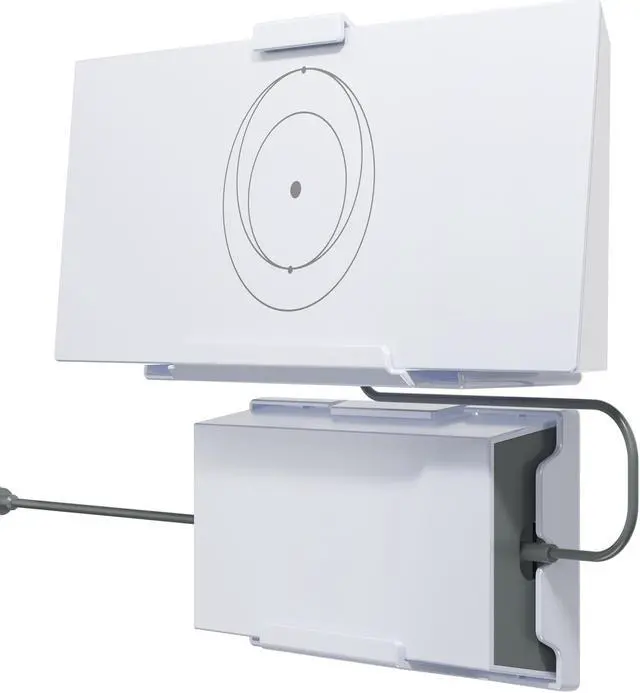


Starlink Gen 3 Router Wall Mount Kit with Power Supply Mounting Bracket
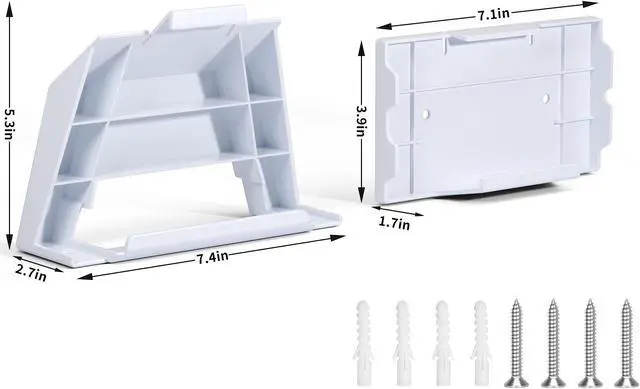
- High Quality MaterialsWhite Starlink mounting kit is made of ABS plastic material for not easily deformed or damaged by long time use.
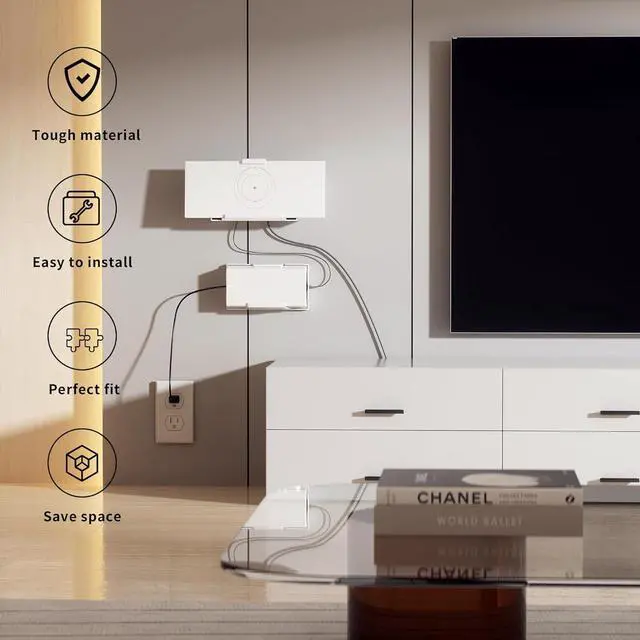
- Easy to Install: Starlink Gen 3 router stand kit is lightweight and practical, easy to carry and store, with self-tapping screws and expansion bolts, you can easily install on any wall in your home.
- Neat & Tidy: The clever design of the starlink wall mount addresses cable clutter, promoting a tidy and organized setup that enhances both comfort and aesthetics.
- Signal Stability: This Starlink mounting bracket kit offers extra stability for your router without compromising signal transmission.
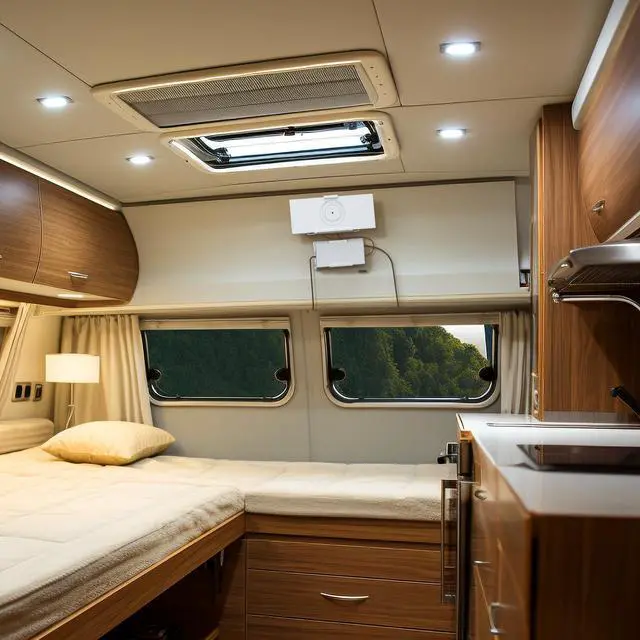
- Multi-Functional: Starlink supply bracket kit serves not just as a wall bracket but can also be conveniently placed on a desktop or any other desired location.
+
+
Overview
Specs
Reviews
Any questions? Our AI beta will help you find out quickly.
Try me now
Starlink Gen 3 router and power stand set is a very useful product designed to solve space problems.
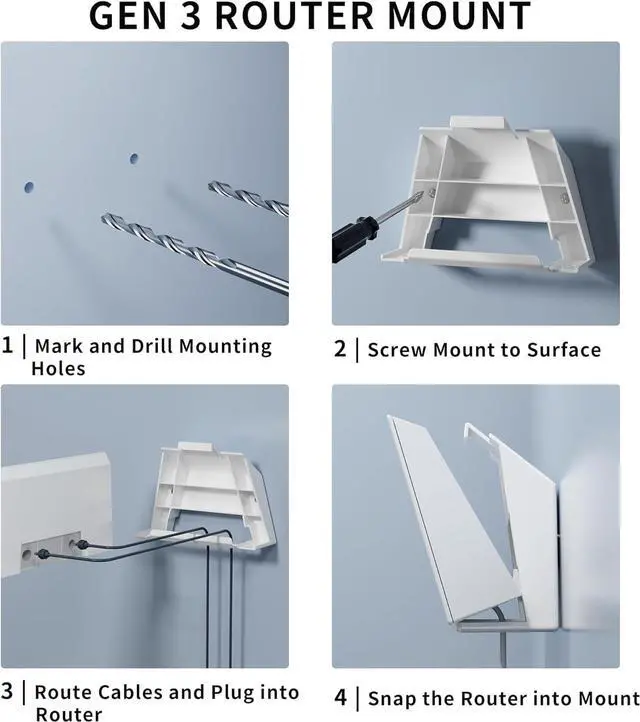
Installation Guide
1. Preparation
You need to prepare drill bit, markers, Phillips screwdriver.
Choose a flat and sturdy wall or surface near the power outlet.
2. Marking and drilling
Mark the installation position with a marker.
Drill holes, pay attention to the depth to avoid damaging the wall.
3. Install the mounting bracket
Align the mounting bracket with the holes.
Use a phillips screwdriver to fix the mounting bracket.
4. Mounting the router and power
Place the router and power on the mounting bracket.
Connect the cables to ensure firmness.
5. Organize cables
Secure the cables to the mounting bracket to avoid accidental pulling out of the cables.
Warranty & Returns
Warranty, Returns, And Additional Information
Warranty
- Please contact the Seller directly for warranty information. Warranty information may also be found on the Manufacturer's website.
- CONTACT
Return Policies
- Return for refund within: 30 days
- Return for replacement within: 30 days
- This item is covered by LingGo Return Policy
Manufacturer Contact Info
- For a directory of all our manufacturers, please click below.
- Manufacturers Directory
LOADING...