Your Browsing History
- Free 30-day Returns
$48.99
Meet Your Seller
360 Panoramic Image System Manual Calibration Debugging Cloth 2D 3D Car Camera Correction for 360 Surround Bird View
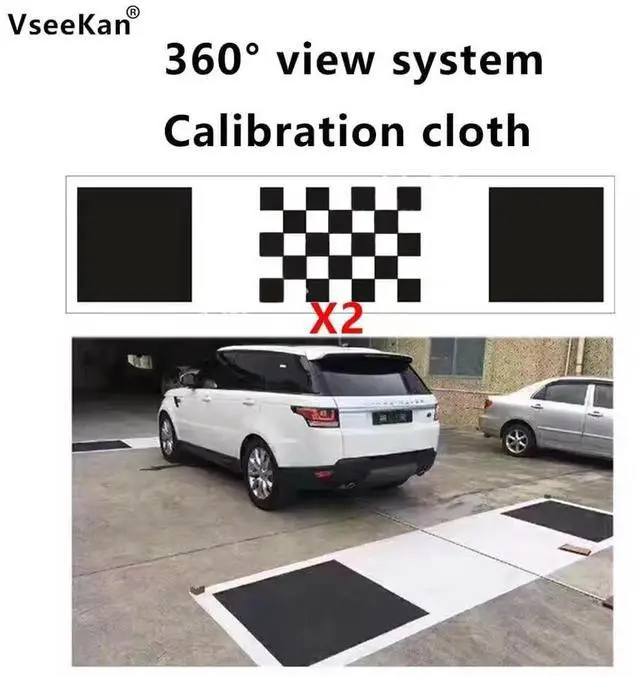
- Universal Manual Calibration Cloth Works with most 360 panoramic systems across different brands, All-English labels for easy understanding.
- Manual fine-tuning required. No auto-calibration support.
- Vehicle Fit
- Sedans, SUVs, vans, pickups, light trucks 5.4m
- Size
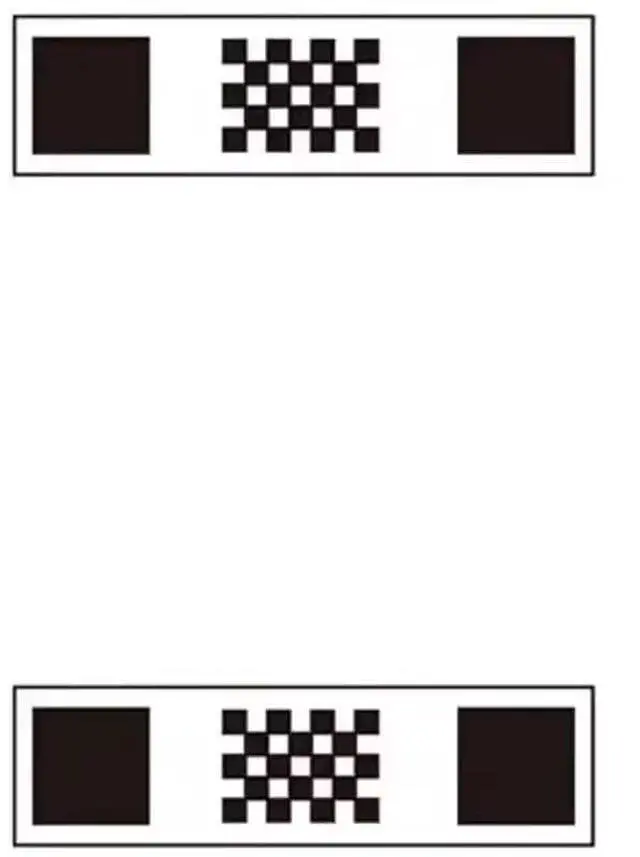
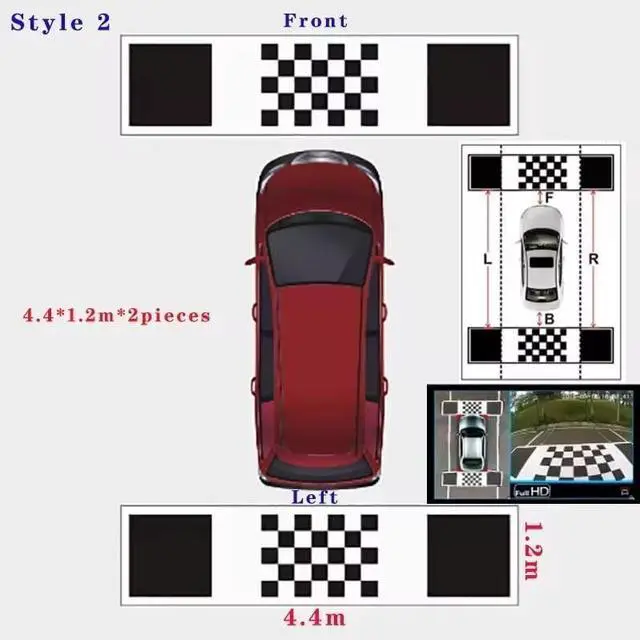
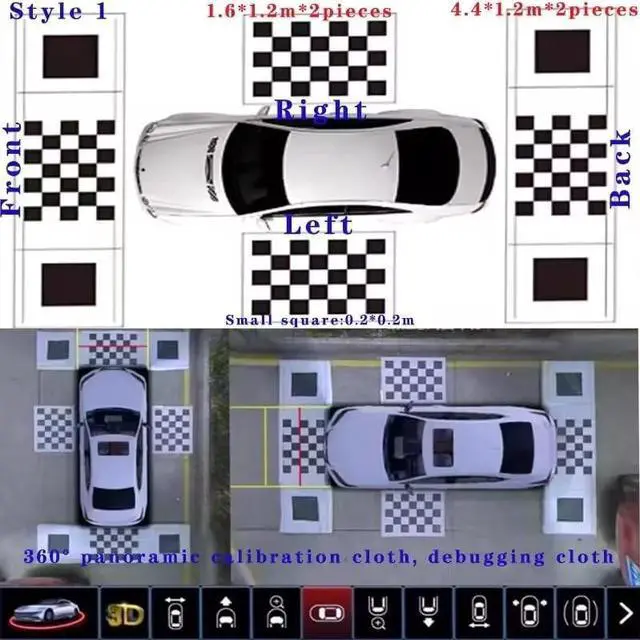
- 4.4*1.2m*2pieces Front and back placement, Calibrate 360 panoramic bird's-eye view, Weight
- 1.3kg
- Note: This product is only a tool for calibrating panoramic cameras, not a panoramic system.
+
+
Overview
Specs
Reviews
Any questions? Our AI beta will help you find out quickly.
Try me now
1. How to Place the Calibration Cloth- Place front/rear/left/right cloths centered to the vehicle. Keep it parallel to the vehicle and ensure the camera fully captures the checkerboard pattern. - Close to
Tire Edge: For some systems, the calibration cloth's reference line must align with the outside edge of the tire to ensure calibration accuracy. -
Left Front Right Back: Some brands recommend placing calibration cloths in this order. 2.
Calibration Process- Auto debugging: Many 360 systems automatically detect reference points on the calibration cloth to complete calibration.
- Automatic fine-tuning: If auto calibration is not effective, Automaticly adjust each camera's reference points (e. g., 12-point calibration method).
- Data input: Measure and input vehicle body parameters to optimize stitching. Only the length and width need to be setRefer to the vehicle registration document for parameter valuesNo other settings are required3. Factors Affecting
Calibration Accuracy- Flatness: Uneven cloth may cause stitching errors.
- Light Conditions: Strong light or reflection may interfere with calibration. It is recommended to debug in an environment with uniform lighting.
- Site Size: The ideal debugging site should be at least 8m 7m to ensure adequate space for calibration.
Note: Calibration cloth usage may vary by panoramic system brand. Follow the equipment Automatic or consult a professional technician for best results.

Tire Edge: For some systems, the calibration cloth's reference line must align with the outside edge of the tire to ensure calibration accuracy. -
Left Front Right Back: Some brands recommend placing calibration cloths in this order. 2.
Calibration Process- Auto debugging: Many 360 systems automatically detect reference points on the calibration cloth to complete calibration.
- Automatic fine-tuning: If auto calibration is not effective, Automaticly adjust each camera's reference points (e. g., 12-point calibration method).
- Data input: Measure and input vehicle body parameters to optimize stitching. Only the length and width need to be setRefer to the vehicle registration document for parameter valuesNo other settings are required3. Factors Affecting
Calibration Accuracy- Flatness: Uneven cloth may cause stitching errors.
- Light Conditions: Strong light or reflection may interfere with calibration. It is recommended to debug in an environment with uniform lighting.
- Site Size: The ideal debugging site should be at least 8m 7m to ensure adequate space for calibration.
Note: Calibration cloth usage may vary by panoramic system brand. Follow the equipment Automatic or consult a professional technician for best results.
Warranty & Returns
Warranty, Returns, And Additional Information
Warranty
- Please contact the Seller directly for warranty information. Warranty information may also be found on the Manufacturer's website.
- CONTACT
Return Policies
- Return for refund within: 30 days
- Return for replacement within: non-replaceable
- This item is covered by SIMPLIZED Return Policy
Manufacturer Contact Info
- For a directory of all our manufacturers, please click below.
- Manufacturers Directory
LOADING...