

Your Browsing History
- Free 30-day Returns
$102.99

Meet Your Seller


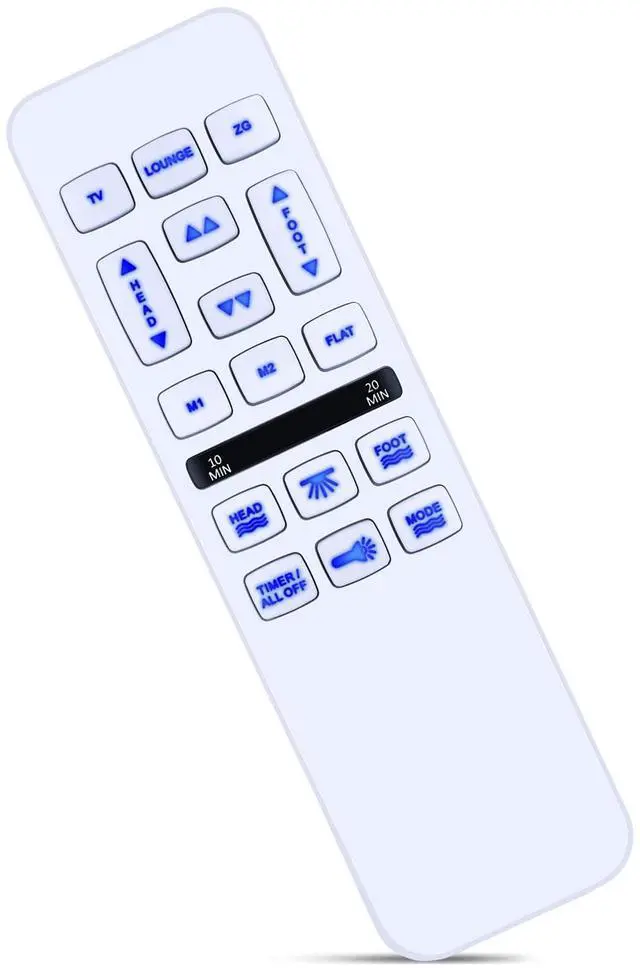
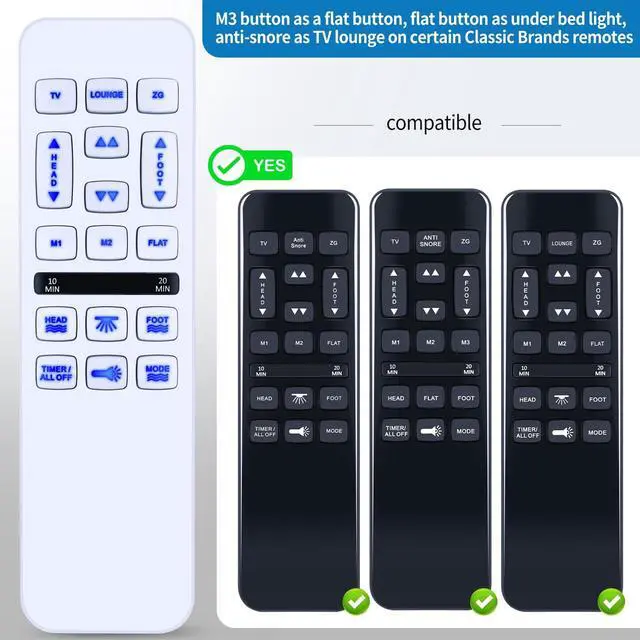
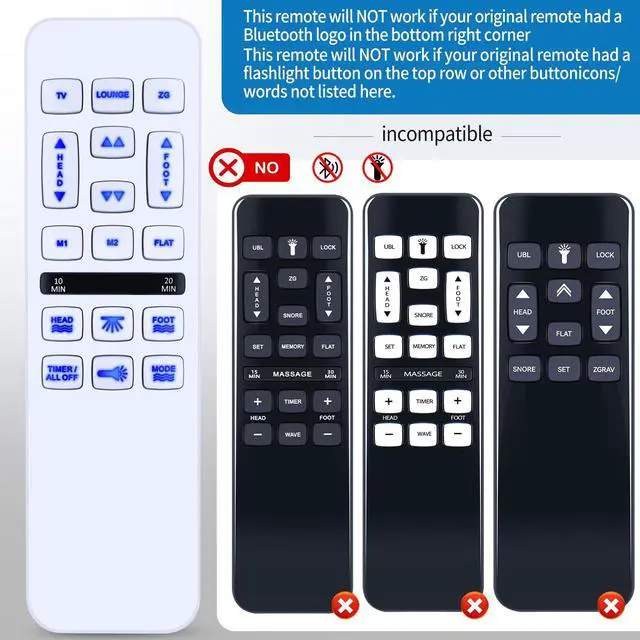
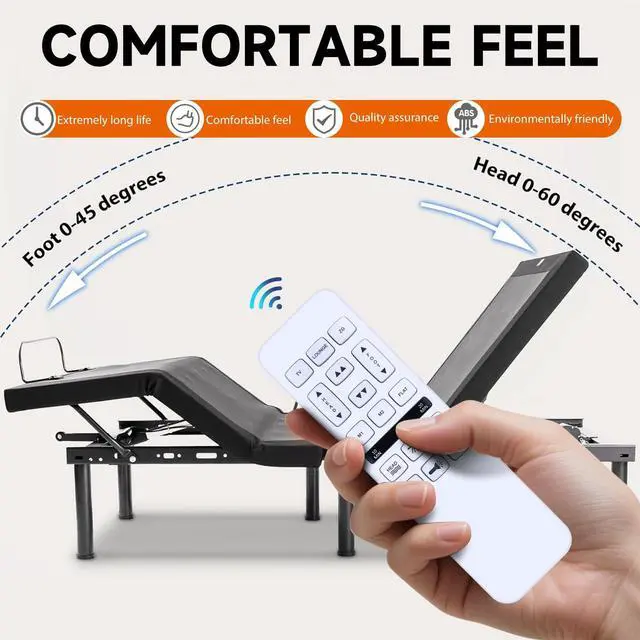
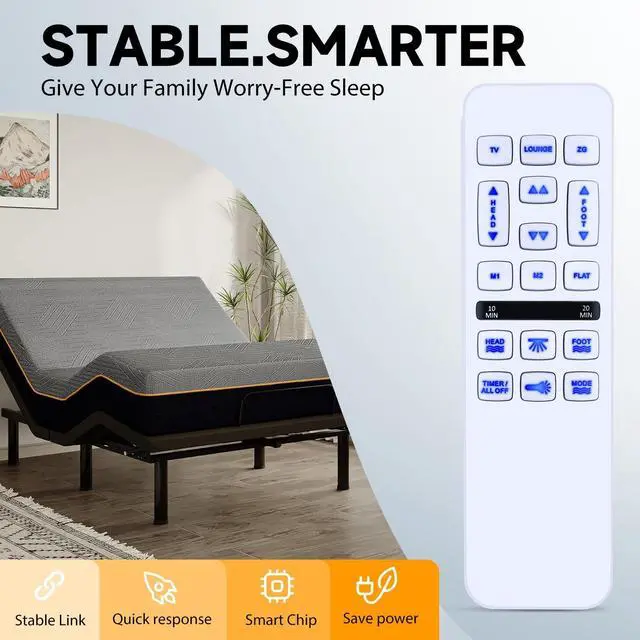


ZWP Replacement Remote Control Compatible for Mlily, Bedtech, or Richmat HJH55, Mattress Firm 600 or 3000 Control Box HJC18 iDealBed Custom Comfort Adjustable Bed Base
- Compatible with Mlily, Bedtech, or Richmat HJH55, Mattress Firm 600 or 3000 Control Box HJC18 iDealBed Custom Comfort Adjustable Bed Base
- How to pairing 1. Disconnect the power cord of the control box, wait for 1 minute,and then re-insert it into the socket(complete step 2 within 10 seconds) 2. Ensure Power: Make sure your adjustable bed base is plugged into a working power outlet. 3. Locate Pairing Button: Find the pairing button on the control box of your adjustable bed base.This box isusually located under the bed frame, near the head or foot end. It may be labeled"PAIR," "SYNC, or have asmall button. 4. Activate Pairing Mode on Base: Press and hold the pairing button on the control box for approximately 3-5seconds until you hear a beep or see an indicator light flash.This indicates the base is in pairing mode.
- 5. Activate Pairing Mode on Remote: While the base is in pairing mode (within 10-20 seconds),press and hold the "FLAT" button on your new remote control.Some remotes ma
+
+
Overview
Specs
Reviews

Any questions? Our AI mode will help you find out quickly.
Try me now
How to pairing
1. Disconnect the power cord of the control box, wait for 1 minute, and then re-insert it into the socket (complete step 2 within 10 seconds)
2.
Ensure Power: Make sure your adjustable bed base is plugged into a working power outlet.
3.
Locate Pairing Button: Find the pairing button on the control box of your adjustable bed base. This box isusually located under the bed frame, near the head or foot end. It may be labeled"PAIR, " "SYNC, or have asmall button.
4. Activate Pairing Mode on
Base: Press and hold the pairing button on the control box for approximately 3-5seconds until you hear a beep or see an indicator light flash. This indicates the base is in pairing mode.
5. Activate Pairing Mode on
Remote: While the base is in pairing mode (within 10-20 seconds), press and hold the "FLAT" button on your new remote control. Some remotes may require pressing and holding the "HEAD UP" and "FO0T DOWN" buttons simultaneously, or a dedicated "PAIR" button if present.
6.
Confirm Pairing: Release the button (s) on the remote when the indicator light on the control box stops flashing or you hear another beep, signifying successful pairing.
7.
Test Functionality: Test all remote functions (head/foot adjustment, flat presets) to ensure proper operation.
1. Disconnect the power cord of the control box, wait for 1 minute, and then re-insert it into the socket (complete step 2 within 10 seconds)
2.
Ensure Power: Make sure your adjustable bed base is plugged into a working power outlet.
3.
Locate Pairing Button: Find the pairing button on the control box of your adjustable bed base. This box isusually located under the bed frame, near the head or foot end. It may be labeled"PAIR, " "SYNC, or have asmall button.
4. Activate Pairing Mode on
Base: Press and hold the pairing button on the control box for approximately 3-5seconds until you hear a beep or see an indicator light flash. This indicates the base is in pairing mode.
5. Activate Pairing Mode on
Remote: While the base is in pairing mode (within 10-20 seconds), press and hold the "FLAT" button on your new remote control. Some remotes may require pressing and holding the "HEAD UP" and "FO0T DOWN" buttons simultaneously, or a dedicated "PAIR" button if present.
6.
Confirm Pairing: Release the button (s) on the remote when the indicator light on the control box stops flashing or you hear another beep, signifying successful pairing.
7.
Test Functionality: Test all remote functions (head/foot adjustment, flat presets) to ensure proper operation.
Warranty & Returns
Warranty, Returns, And Additional Information
Warranty
- Please contact the Seller directly for warranty information. Warranty information may also be found on the Manufacturer's website.
- CONTACT
Return Policies
- Return for refund within: 30 days
- Return for replacement within: non-replaceable
- This item is covered by SIMPLIZED Return Policy
Manufacturer Contact Info
- For a directory of all our manufacturers, please click below.
- Manufacturers Directory
LOADING...