



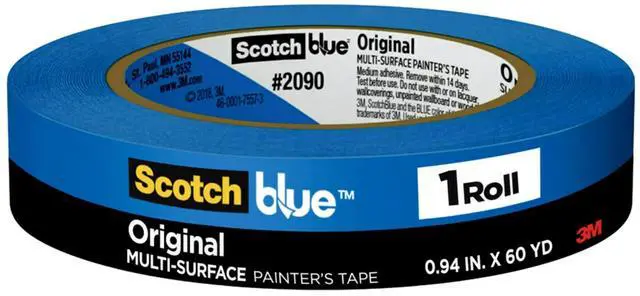
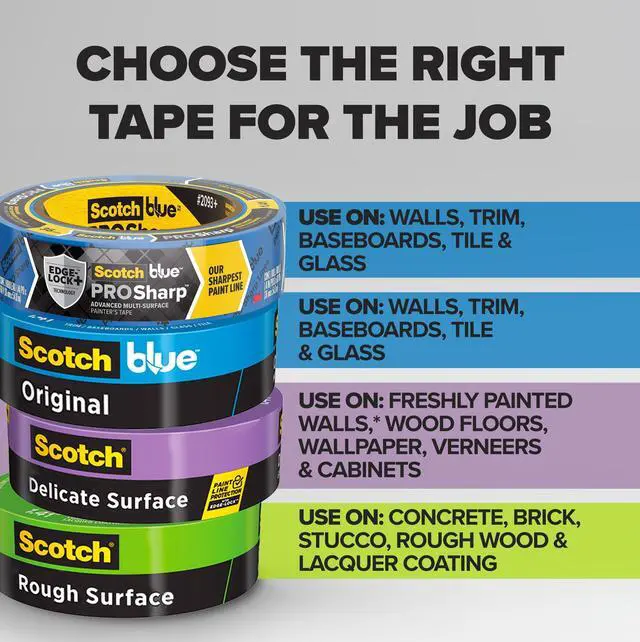



 2090 Original | 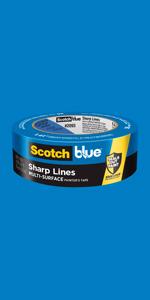 2093 Sharp Lines | 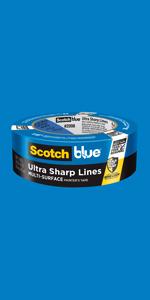 2098 Ultra Sharp Lines | 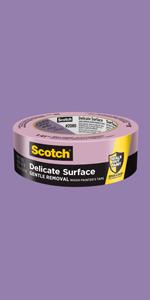 2080 Delicate Surfaces | 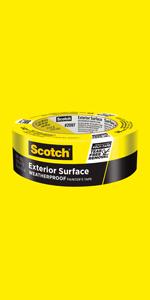 2097 Exterior Surfaces | 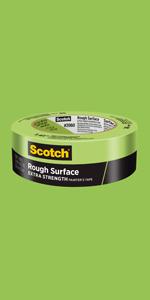 2060 Rough Surfaces | |
|---|---|---|---|---|---|---|
| Customer Reviews | — | — | — | — | — | — |
| Price | — | — no data | — no data | — | — no data | — |
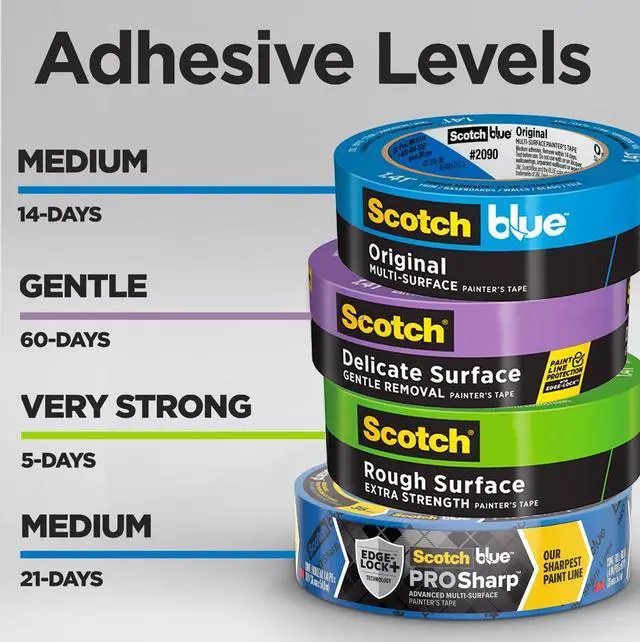
| Adhesion Level | Medium | Medium | Medium | Medium | High | Very High |
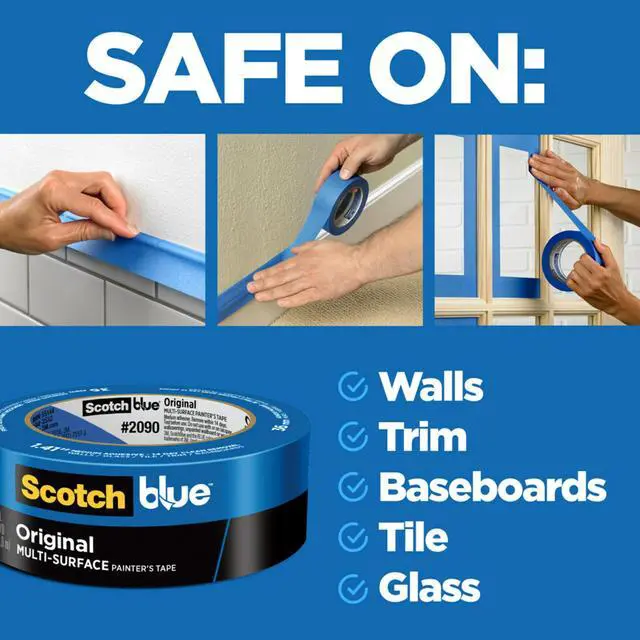
| Walls & Ceilings | Lightly Textured Drywall (painted over 7 days ago), Plaster Walls | Lightly Textured Drywall (painted over 7 days ago), Plaster Walls | Lightly Textured Drywall (painted over 7 days ago), Plaster Walls | Lightly Textured Drywall (painted 1-7 days ago), Wallcoverings & Wallpaper | no data | no data |
| Baseboards & Door Trim | Wood Trim/Baseboards, Aluminum, Metal | Wood Trim/Baseboards, Aluminum, Metal | Wood Trim/Baseboards, Aluminum, Metal | no data | no data | no data |
| Floor | Unfinished Hardwood, Marble, Slate | Marble, Slate | Marble, Slate | Finished or Engineered Hardwood | no data | Unfinished Hardwood, Brick, stone, Grout, Concrete, Cement |
| Other Interior Surfaces | Countertops, Tile, Caulk, Window Glass, Hardware, Plastic | Countertops, Tile, Caulk, Window Glass, Hardware | Countertops, Tile, Caulk, Window Glass, Hardware | Cabinets, Veneers | no data | Brick Wall or Fireplace, Lacquer Coatings |
| Exterior Surfaces | Hardware, Window Glass, Trim (metal, wood) Siding (wood, non-rough clapboard) | Window Glass | no data | Hardware, Window Glass, Trim (metal, wood, vinyl), Siding (wood, non-rough clapboard, vinyl) | Brick, Stone, Grout, Concrete, Cement, Trim (metal, wood), Siding (wood, non-rough clapboard) |
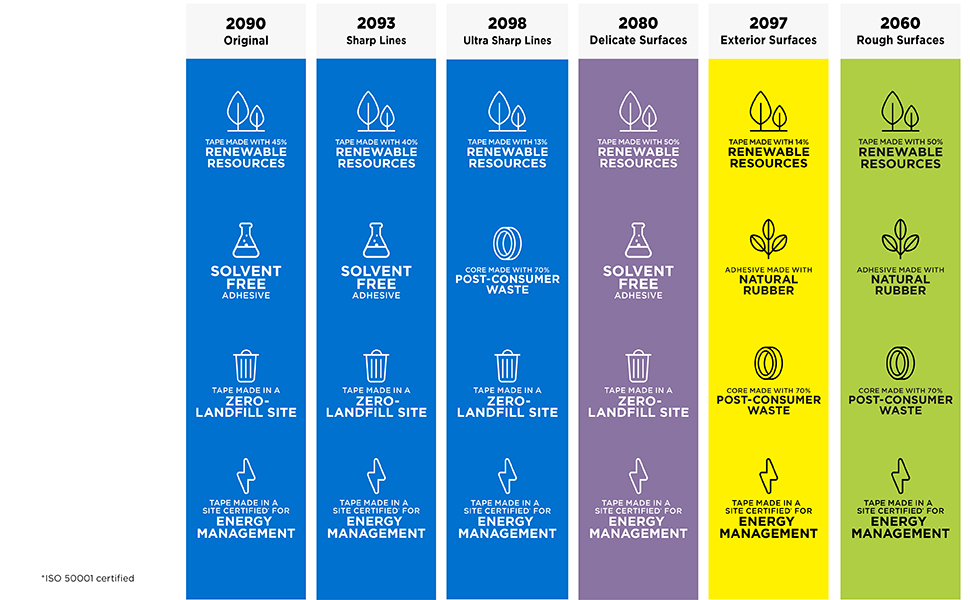
Sustainability
Surface Prep & Tape Application
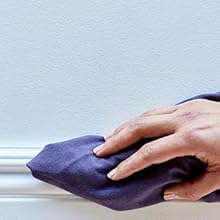
Clean Surface
The surface should be clean, dry and dust-free so the tape sticks properly.
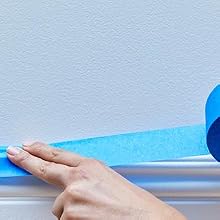
Apply Tape
Lay tape onto the surface, pressing down as you go. Don’t stretch the tape, or it may lift or break.
Secure Tape
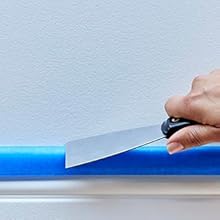
Press tape down firmly with a smooth edge, like a putty knife or credit card.

Let Tape Set
Wait about 30 to 60 minutes before you begin painting.
Proper Tape Removal

Wait
Wait until the paint is dry to the touch before removing the tape. Check the paint can for the manufacturer's dry times.
Score
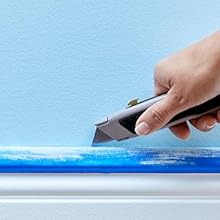
Use a putty knife or razor blade to score along the edge of the tape. This prevents paint from being pulled up with the tape and from cracking along the paint line.
Tape
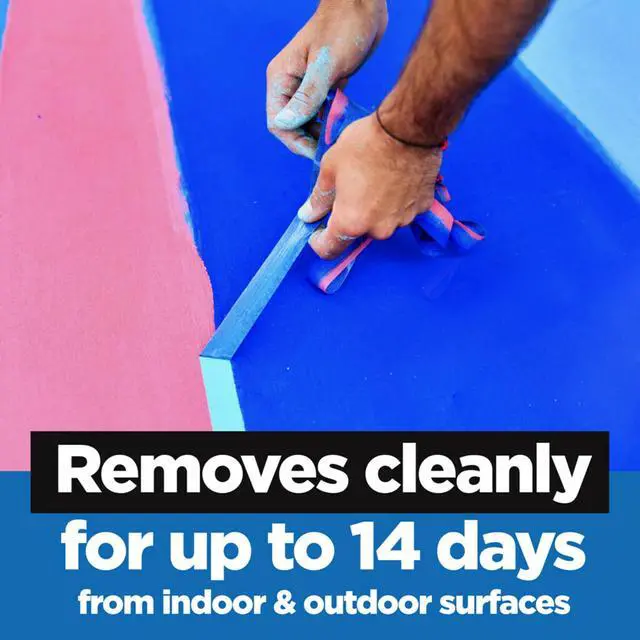
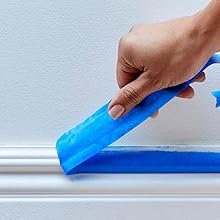
Taking your time, lift up the painter’s tape and pull it back on itself, removing at a 45 degree angle. If adhesive sticks to the surface, try a 90-degree angle.
Clean Finish
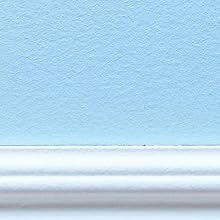
You’ll get a sharp, clean line and a professional looking paint job!
2090 Original | 2093 Sharp Lines | 2098 Ultra Sharp Lines | 2080 Delicate Surfaces | 2097 Exterior Surfaces | 2060 Rough Surfaces | |
|---|---|---|---|---|---|---|
| Customer Reviews | — | — | — | — | — | — |
| Price | — | — no data | — no data | — | — no data | — |
| Adhesion Level | Medium | Medium | Medium | Medium | High | Very High |
| Walls & Ceilings | Lightly Textured Drywall (painted over 7 days ago), Plaster Walls | Lightly Textured Drywall (painted over 7 days ago), Plaster Walls | Lightly Textured Drywall (painted over 7 days ago), Plaster Walls | Lightly Textured Drywall (painted 1-7 days ago), Wallcoverings & Wallpaper | no data | no data |
| Baseboards & Door Trim | Wood Trim/Baseboards, Aluminum, Metal | Wood Trim/Baseboards, Aluminum, Metal | Wood Trim/Baseboards, Aluminum, Metal | no data | no data | no data |
| Floor | Unfinished Hardwood, Marble, Slate | Marble, Slate | Marble, Slate | Finished or Engineered Hardwood | no data | Unfinished Hardwood, Brick, stone, Grout, Concrete, Cement |
| Other Interior Surfaces | Countertops, Tile, Caulk, Window Glass, Hardware, Plastic | Countertops, Tile, Caulk, Window Glass, Hardware | Countertops, Tile, Caulk, Window Glass, Hardware | Cabinets, Veneers | no data | Brick Wall or Fireplace, Lacquer Coatings |
| Exterior Surfaces | Hardware, Window Glass, Trim (metal, wood) Siding (wood, non-rough clapboard) | Window Glass | no data | Hardware, Window Glass, Trim (metal, wood, vinyl), Siding (wood, non-rough clapboard, vinyl) | Brick, Stone, Grout, Concrete, Cement, Trim (metal, wood), Siding (wood, non-rough clapboard) |
Sustainability
Surface Prep & Tape Application
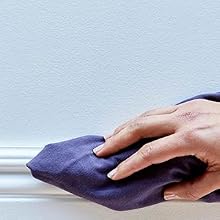
Clean Surface
The surface should be clean, dry and dust-free so the tape sticks properly.
Apply Tape
Lay tape onto the surface, pressing down as you go. Don’t stretch the tape, or it may lift or break.
Secure Tape
Press tape down firmly with a smooth edge, like a putty knife or credit card.
Let Tape Set
Wait about 30 to 60 minutes before you begin painting.
Proper Tape Removal
Wait
Wait until the paint is dry to the touch before removing the tape. Check the paint can for the manufacturer's dry times.
Score
Use a putty knife or razor blade to score along the edge of the tape. This prevents paint from being pulled up with the tape and from cracking along the paint line.
Tape
Taking your time, lift up the painter’s tape and pull it back on itself, removing at a 45 degree angle. If adhesive sticks to the surface, try a 90-degree angle.
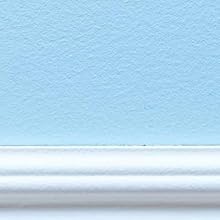
Clean Finish
You’ll get a sharp, clean line and a professional looking paint job!