


Easy Application
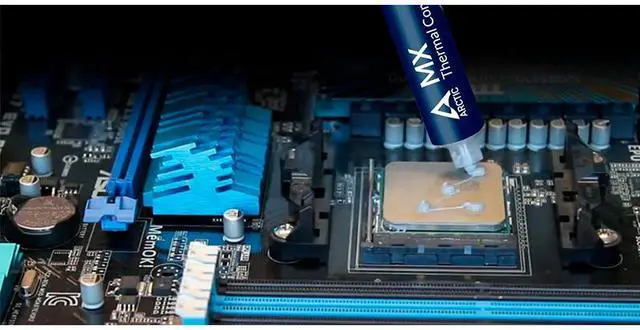
Thanks to its consistency, MX-5 is easy to apply, even for beginners. The video in the picture gallery demonstrates different application techniques to avoid air pockets between processors and coolers.

Lowest Thermal Resistance
The surfaces of processor chips and cooler floors are covered with microscopic dents; ARCTIC's MX-5 thermal paste is composed of carbon microparticles which fill these cavities. This leads to high thermal conductivity, guaranteeing that heat is dissipated efficiently from the CPUs, GPUs or power semiconductor components.

Outstanding Results
With its new formula, the MX-5 allows a low minimum bondline thickness and thus features in combination with a high thermal conductivity a very low thermal resistance. Thanks to its non-drying and non-bleeding properties, it guarantees a good long-term performance.

Safe Application
In contrast to pastes based on metal oxides or liquid metal, ARCTIC MX-5 Heatsink Plaster is neither electrically conductive nor capacitive. This eliminates the risk of short circuits and discharges, plus you don't have to worry about corrosion damage to the cooler base caused by liquid metal.

Since the mere thermal conductivity value cannot provide any information about the actual performance, we put our MX-5 thermal grease up against a broad field of competitors under laboratory conditions. The temperature difference between CPU and cooler base was measured.

Award Winning Thermal Paste
The performance of our ARCTIC MX-5 Thermal Compound has been tested and honored by numerous independent magazines.
Value for Money
A high performance thermal compound perfect for system builders, there's no surprise that the MX-5 exceeds your expectations for its low price tag.
Features: - High long-term stability -Completely metal-free, eliminating the risk
- Viscosity: 550 poise
- Density: 3.2g/cm³
- Working temperature: -40~180°C
- Resistance: 1.9 × 10^13 Q-cm
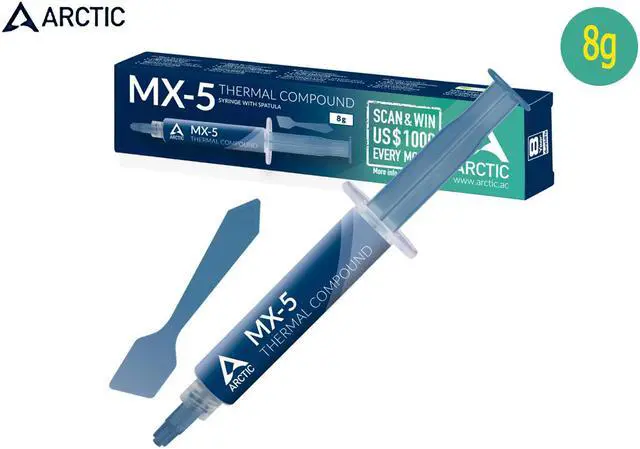
- Content: 8g

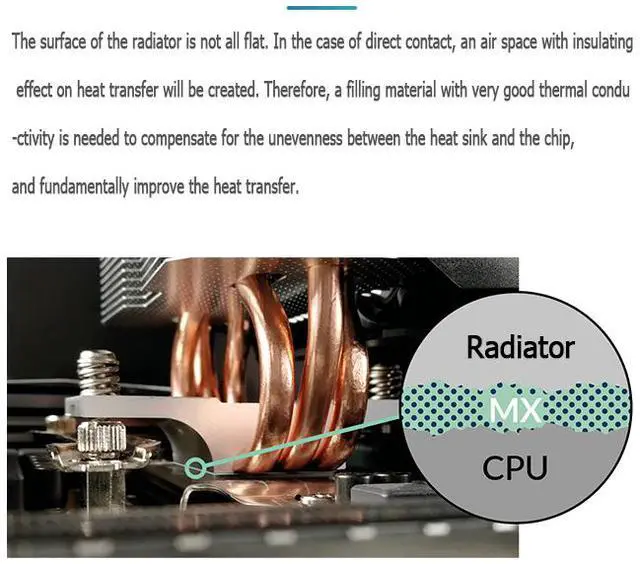
The surface of the radiator is not all flat. In the case of direct contact, an air space with insulating effect on heat transfer will be created. Therefore, a filling material with very good thermal conductivity is needed to compensate for the unevenness between the heat sink and the chip, and fundamentally improve the heat transfer.
Must see before installing CPU:
1. Remove the original CPU, clean up the dust on the fan and heat sink, and clean up the original silicone grease remaining on the heat sink, especially the hardened silicone grease. This is very important!
2. Insert the newly bought CPU in the correct direction and apply a layer of silicone grease on the top of the CPU. Take the small sticks of silicone grease in the needle tube as an example, squeeze 2-3 small grids of silicone grease on it.)
3. Reinstall the heat sink, first press the heat sink with your fingers and move it up and down, left and right, let the silicone grease inside spread out evenly and exhaust air, and then follow the numerical order marked on the fixing screw on the heat sink (or diagonally) Tighten the screws one by one, turn a few times each time, and then unscrew one screw. Don't screw one screw to the end, rotate one by one until the balance is fixed.
