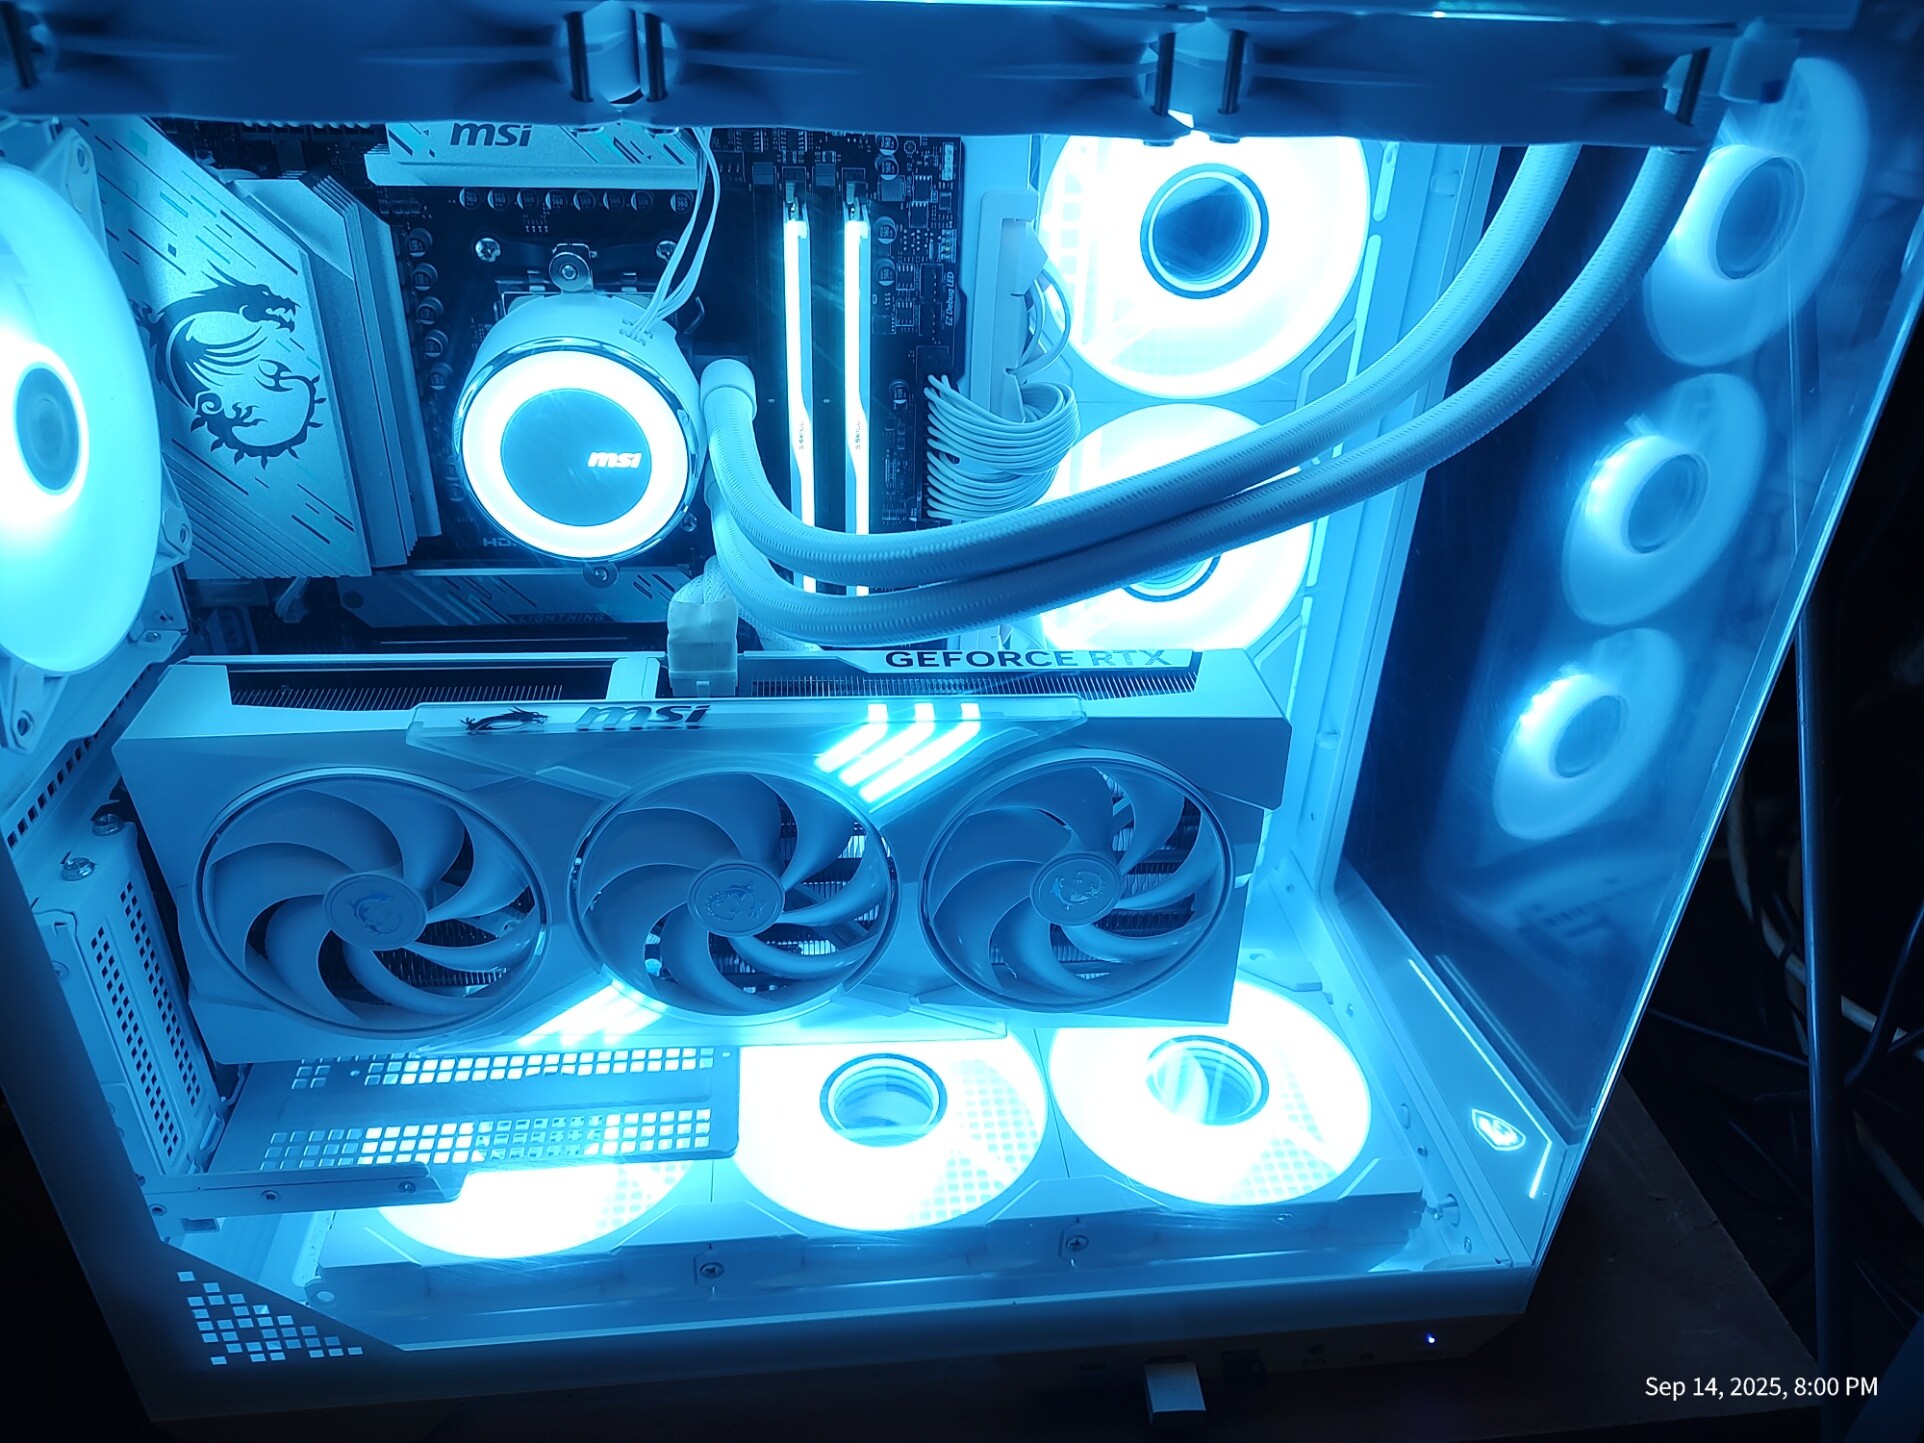
POST on first boot, as expected! ![]()
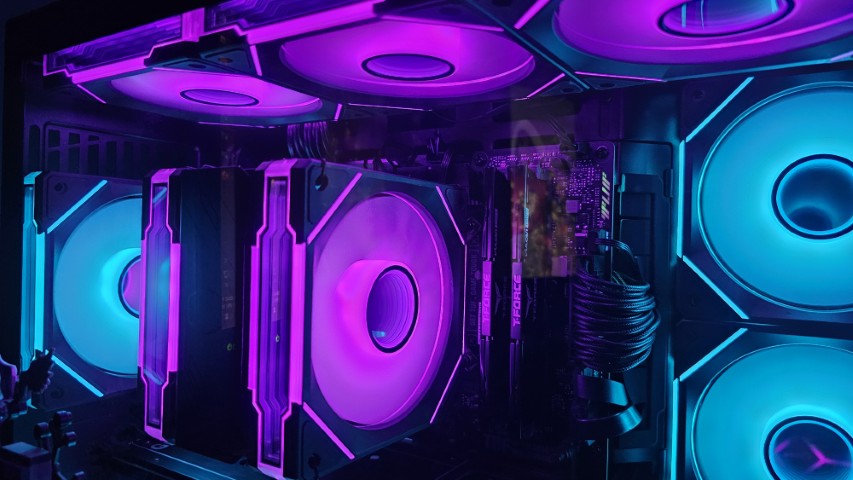
A beautiful and feature-rich Lian Li O11D mini-V2. I would advise planning your fan wire mapping like I did in the other post, testing wire length to different mobo PWM and ARGB headers with daisy chain combinations if you’re really seeking cleanliness, and then doing the ‘guts’ installation first, out of the case (if you don’t know - research it and save the headaches - CPU, RAM, NVMe, and your air cooler if using, should all go in while placing your mobo on top of the box it came in before you get out those mobo screws for the standoffs - it’s okay if you don’t know the first time - that’s why these communities exist ![]() ). I ended up one better and have no exposed wires on the “face” of the mobo other than my GPU, where I didn’t use CHA_FAN1 header after all (the one near the CPU) so everything else is the mobo’s edge headers, as you want with an aquarium case. SSDs and HDDs can be at the end as long as you’ve plugged in SATA cables to the mobo and passed through to the back chamber.
). I ended up one better and have no exposed wires on the “face” of the mobo other than my GPU, where I didn’t use CHA_FAN1 header after all (the one near the CPU) so everything else is the mobo’s edge headers, as you want with an aquarium case. SSDs and HDDs can be at the end as long as you’ve plugged in SATA cables to the mobo and passed through to the back chamber.
The angled intake fans at the bottom are aesthetically pleasing and provide nice function, but they’ll block all headers at the bottom on the mobo. That requires the final PWM and ARGB connection first if using bottom headers, a slip into place and secure screws, and then you can take up wiring slack in the 2nd chamber. Same with top fans blocking some areas, but again, that’s part of the nice tight fit, it’s so clean. AND both top and bottom fan brackets are completely removable, making fan install a breeze…you see what I did there….okay, I’ll stop. Rear fan can’t go in until after mobo either. Side intake fans done at your leisure. GPU was obviously plug-n-play at the end. You shouldn’t be able to pick the wrong cable with modern PSUs (SeaSonic will always get my business). For my build, the RTX 5060Ti can’t even use/doesn’t need the high-power cable, so it’s PCIe and plug it in. Asus Prime logo aside, it’s a Tough Gaming one now - increased clock and power wattage boost just a bit with bios exchange before I even attempt any OC (I will give JayzTwoCents a shout out on that, not that he needs my help…).
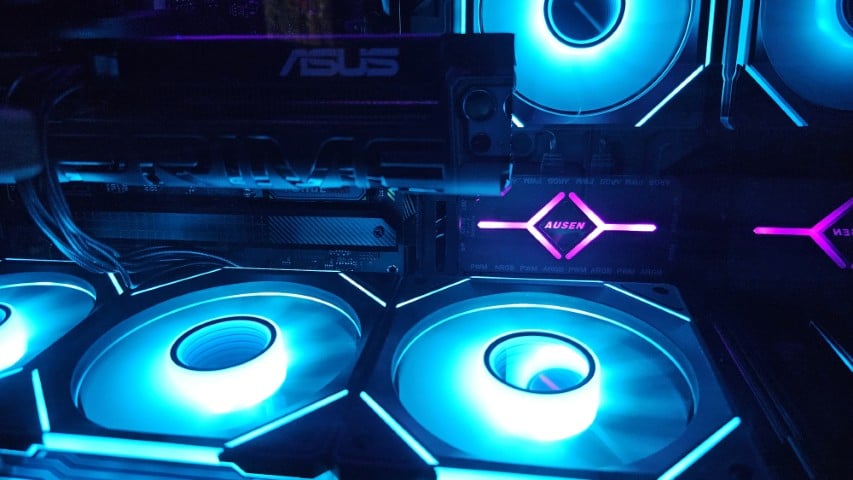
As with any build, there’s always something that gets you - at least mine was small. The fan hub. I’m only using the ARGB part of it so I can control PWM with Fan Control (thanks Remi!). However, while it looks cools, I can’t yet get it to give up it’s control of my RGB, but it was necessary use because if you put too many fans in daisy chain to the mobo you risk damaging the header. My hub is SATA powered, and I guess I need to find a spot on the front panel connector header to get the ‘on/off’ remote switch into in an attempt to let it release itself (or throw it away and find one that didn’t cost $11 ![]() ). This case doesn’t have a reset button that is supposedly what swaps between remote and mobo control.
). This case doesn’t have a reset button that is supposedly what swaps between remote and mobo control.
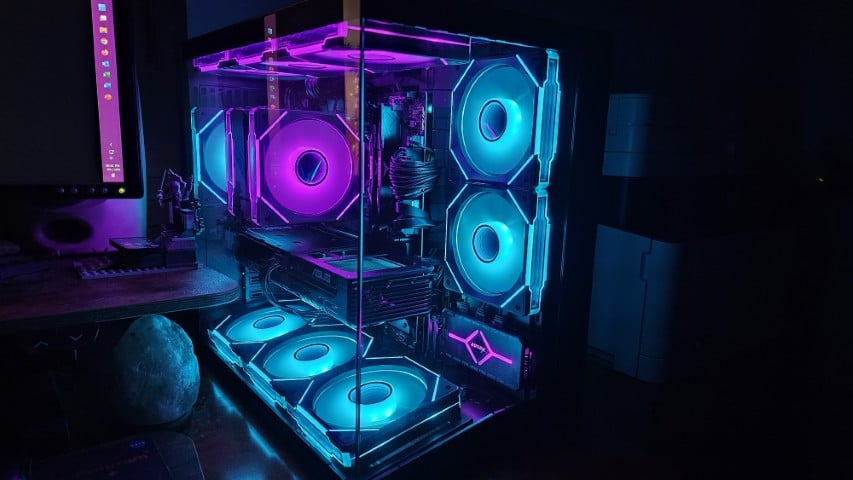
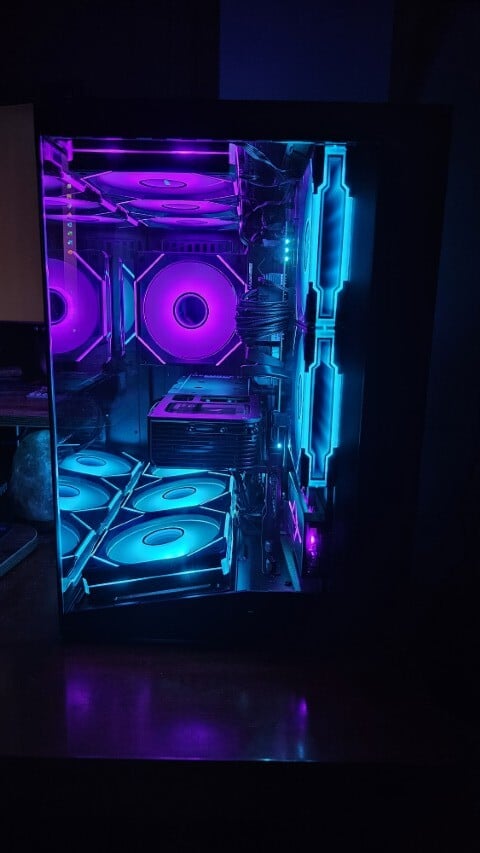
It was such an easy case to build in overall. I’ve seen some complaints that the angled bezel of the 2 glass pieces aren’t a perfect fit at the corner where they meet. It’s nothing to worry about and I don’t want them to be touching too much, TBH. Do you want 2 pieces of tempered glass rubbing if you open to adjust, exchange a part or tinker? There’s plenty of intake pressure and air moving. Set up your fan curves logically. I’m not going to link you to the YouTubers who’ve run the numbers after Lian Li sent out this for their testing a few months ago. This is O11D magic - get it if you like the look. I waited specifically for this case to build this ‘late model’ ripper and this will last me years!
If anyone is interested, even though this is HW building…I suppose SW counts:
Win11 Pro, Games, OBS Studio, VideoProc Vlogger, Office 24 Pro Plus, Chrome & FF, CPU-Z, GPU-Z, HWMonitor, Speccy (backup for HWM), Nvidia App, GPU Tweak, Task Mgr Deluxe64, Powertoys, Windhawk, WizTree, Fan Control & OpenRGB (deleted Armoury Crate because…yeah delete it), RevoUninstaller & CCleaner. Stress testing: OCCT, Prime, Furmark, Heaven
Get busy building if you’re ready!!