Your Browsing History
₩108,431
VAT-Inclusive Price
Ships from Hong Kong.
Most customers receive within 10-17 days.
Best Sellers
- ₩110,798
- + FREE SHIPPING
- ₩117,659
- + FREE SHIPPING

Meet Your Seller
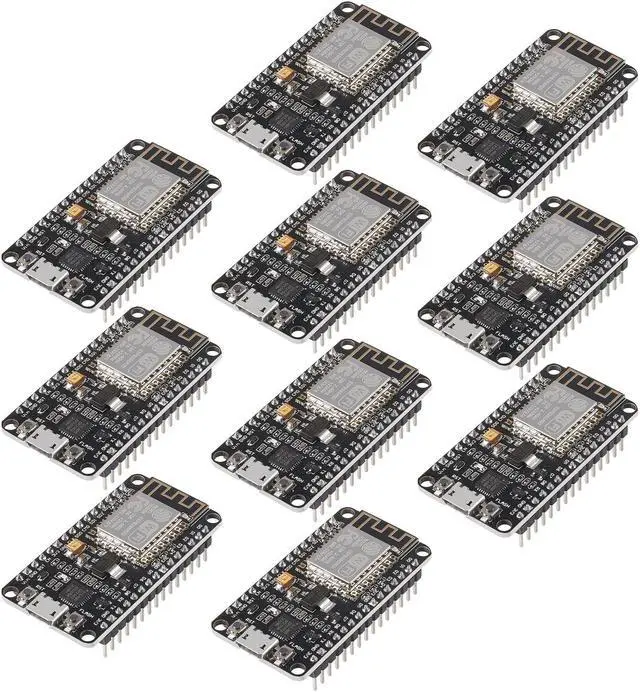


10PCS ESP8266 ESP-12F Development Board Internet NodeMCU WiFi Serial Wireless Module NodeMCU-12F CP2102 Based on ESP8266 WiFi Module for motherbord IDE/Micropython
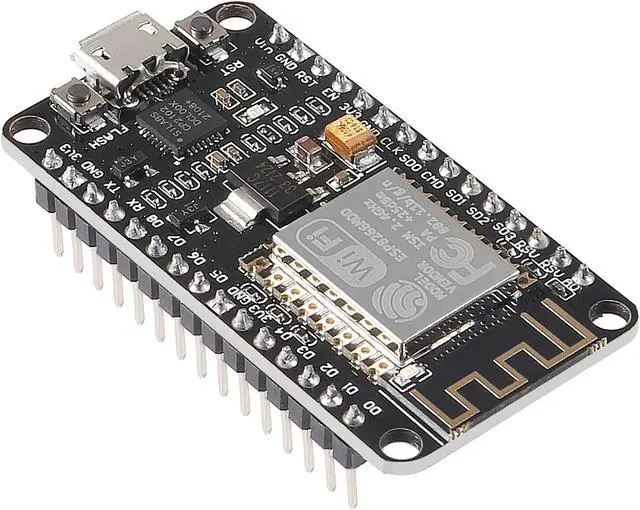
- ESP8266 is a highly integrated chip designed for the needs of a new connected world.It offers a complete and self-contained Wi-Fi networking solution, allowing it to either host the application or to offload all Wi-Fi networking functions from another application processor.
- The controllers are easy to program by using the CP2102-USB interface without having to press the flash and reset buttons before each flash operation.
- It is an integrated unit with all available resources on board. It's very easy for Arduino projects or any development board with I / O pins. Modern Internet development tools can use the built-in API to instantly put your idea on the fast track.
- ESP8266 NodeMcu board has powerful on-board processing and storage capabilities, allows to be integrated with sensors and other specific applicated devices through its GPIOs.
- Perfectly compatible with the motherbord IDE/Mongoose IoT/Micropython. This ESP8266NodeMcu development board can be use for small
+
+
Overview
Specs
Reviews
Steps of
How to use:
1. Download the motherbord IDE, the latest version.
2. Install the IDE
3. Set up your motherbord
IDE as: Go to File. Preferences and copy the URL below to get the
ESP board manager extensions:
http: //arduino. esp8266. com/stable/package_esp8266com_index. json.
Placing the http: // before the URL lets the IDE use it. Otherwise it gives you a protocol error.
4. Go to Tools > Board > Board Manager> Type ""esp8266"" and download the Community esp8266 and install.
5.
Set up your chip as:
Tools -> Board -> NodeMCU 1.0 (ESP-12E Module)
Tools -> Flash Size -> 4M (3M SPIFFS)
Tools -> CPU Frequency -> 80 Mhz
Tools -> Upload Speed -> 921600
ToolsPort (whatever it is)
6. Download and run the 32 bit flasher exe at Github(Search for nodemcu/nodemcu-flasher/tree/master/ at Github)
github. com/nodemcu/nodemcu-flasher/tree/master/Win32/Release Or download and run the 64 bit flasher exe at: github. com/nodemcu/nodemcu-flasher/tree/master/Win64/Release
7. In motherbord IDE, look for the old fashioned Blink program. Load, compile and upload.
8. Go to FILE> EXAMPLES> ESP8266> BLINK, it will start blinking.
Firmware link:
http: //github. com/nodemcu/nodemcu-firmware
The Data download access to the website:
http: //www. nodemcu. com
Test Video:
http: //www. youtube. com/watch? v=Gh_pgqjfeQc
Package including:
10 x ESP8266 ESP-12F NodeMcu development board
Warranty & Returns
Warranty, Returns, And Additional Information
Return Policies*
- Return for refund within: 30 days
- Return for replacement within: non-replaceable
- This item is covered by Voltrix Return Policy
- *Subject to applicable law
Warranty Notice:
This product does not include manufacturer warranty when purchased or used outside of its designated sales region. By purchasing internationally, you acknowledge that warranty support from the manufacturer will not be available.
Manufacturer Contact Info
- For a directory of all our manufacturers, please click below.
- Manufacturers Directory
LOADING...
LOADING...