

Your Browsing History
- Free 30-day Returns
$69.50

Meet Your Seller


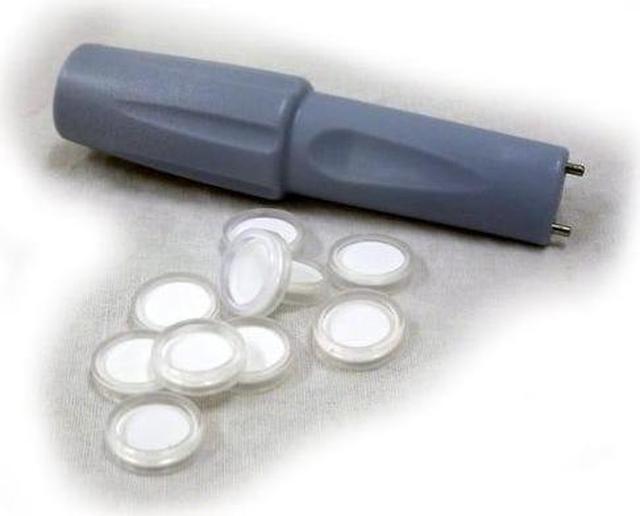
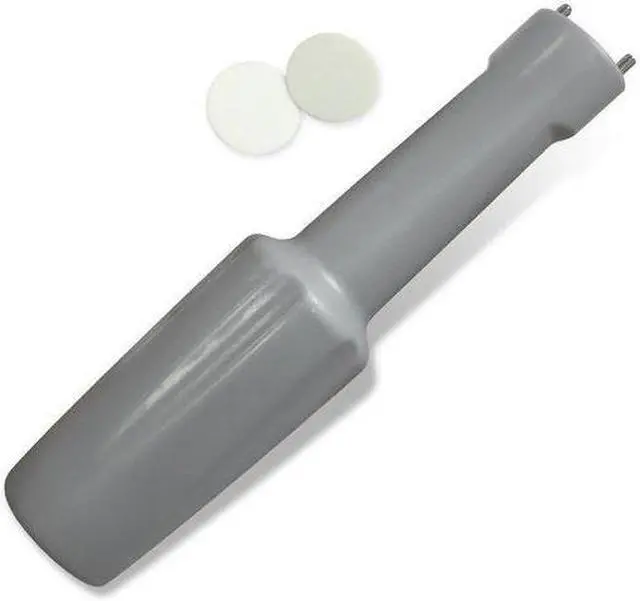


Inogen One G2/G3/G4 Output Filter Replacement Kit
- Easy to insert and remove.
- Output Filter should be replaced annually.
- Output Filter protects O2 therapy patients from inhaling small particles.
+
+
Overview
Specs
Reviews

Any questions? Our AI mode will help you find out quickly.
Try me now
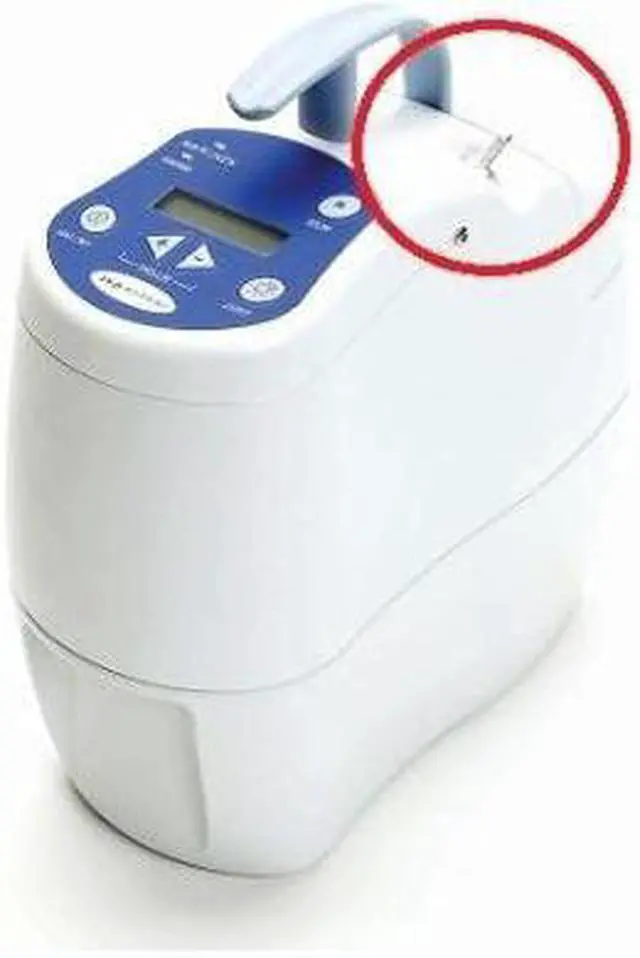
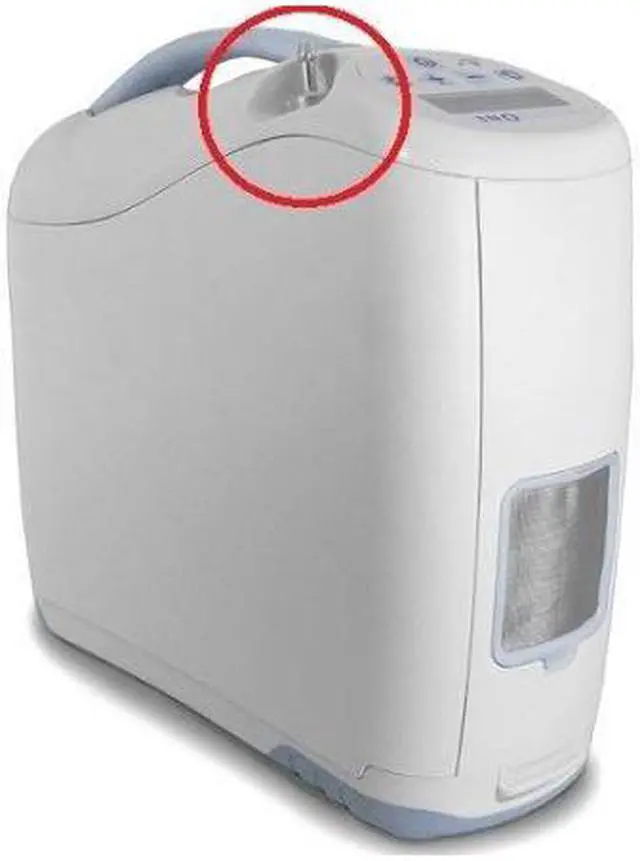
Output Filters for the Inogen One and Inogen One G2 are intended to protect the user from the inhalation of small particles in the product gas flow. On both the Inogen One and Inogen One G2 the output filter is conveniently located behind the removable cannula nozzle fitting and should be inspected and replaced on an annual basis. These filters are compatible with all Inogen One and Inogen One G2 Portable Oxygen Concentrators. Inogen requires that this filter be replaced between patients. The output filter may be replaced by the equipment provider or by the owner using the Output Filter To replace the Product Filter 1.
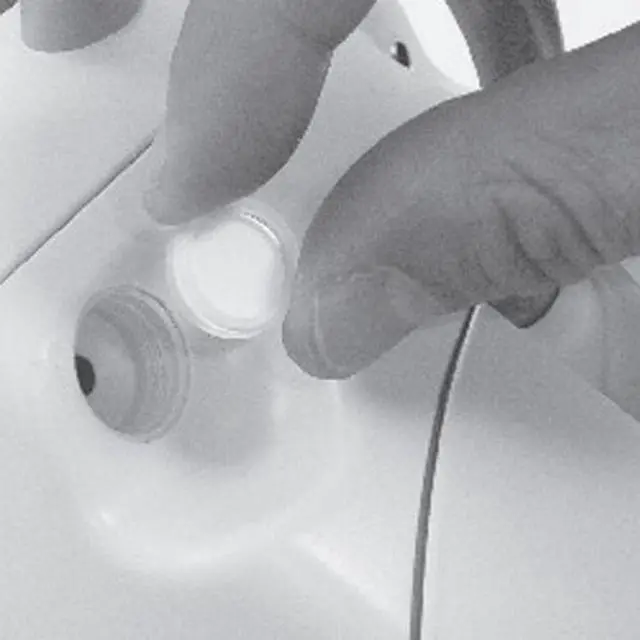
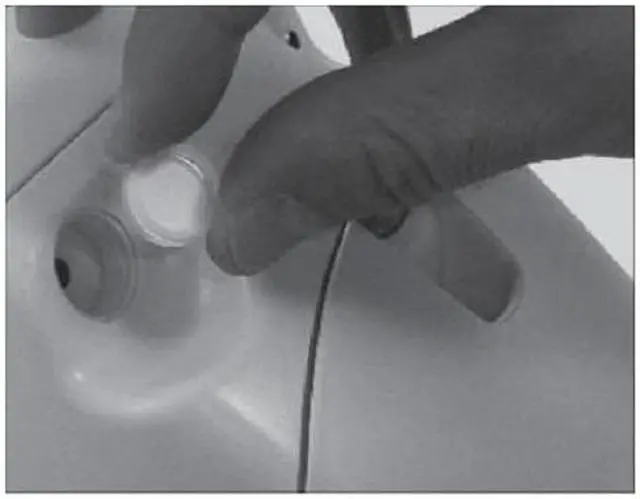
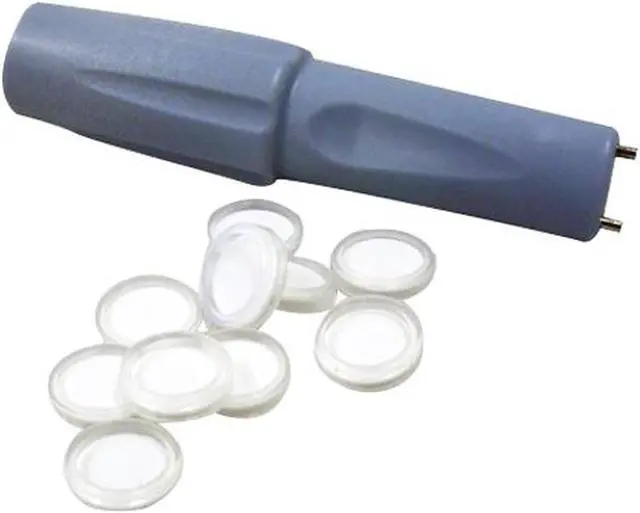
Use the Spanner Wrench for the Output Filter to access the product filter. The tool has two prongs that mate with two indentations located on the surface of the metal nozzle fitting on the Inogen One. 2. Carefully remove the nozzle fitting by unscrewing it in a counter-clockwise direction. 3. The filter, a hard plastic disk with a silicone gasket on its outer edge, will be visible in the recess once the hose barb is removed. 4. Remove the filter, and inspect the recess to make sure it is free of debris.
You may require a pointed object to aid in removing the filter. 5. Install a replacement filter. 6. Carefully screw the nozzle fitting back into the recess (clockwise) until it bottoms out on the filter gasket. Take care to squarely screw the nozzle fitting into the threads. Do not overtighten.
Includes: -
1 x Spanner Wrench 1 x Filters
Use the Spanner Wrench for the Output Filter to access the product filter. The tool has two prongs that mate with two indentations located on the surface of the metal nozzle fitting on the Inogen One. 2. Carefully remove the nozzle fitting by unscrewing it in a counter-clockwise direction. 3. The filter, a hard plastic disk with a silicone gasket on its outer edge, will be visible in the recess once the hose barb is removed. 4. Remove the filter, and inspect the recess to make sure it is free of debris.
You may require a pointed object to aid in removing the filter. 5. Install a replacement filter. 6. Carefully screw the nozzle fitting back into the recess (clockwise) until it bottoms out on the filter gasket. Take care to squarely screw the nozzle fitting into the threads. Do not overtighten.
Includes: -
Warranty & Returns
Warranty, Returns, And Additional Information
Warranty
- Please contact the Seller directly for warranty information. Warranty information may also be found on the Manufacturer's website.
- CONTACT
Return Policies
- Return for refund within: 30 days
- Return for replacement within: 30 days
- This item is covered by Y&A Group LLC Return Policy
Manufacturer Contact Info
- For a directory of all our manufacturers, please click below.
- Manufacturers Directory
LOADING...