Building Your Own Gaming PC Is Easier Than You Think
The idea of building a PC from scratch can seem intimidating -- but in 2026, the process is more accessible than ever. Modern components are designed with builders in mind: AM5 CPUs cannot be installed the wrong way, RAM only fits in the correct orientation, and most cases come with illustrated assembly guides. Building your own PC saves $150-$300 compared to an equivalent pre-built system, gives you complete control over component quality, and provides the satisfaction of knowing exactly what is inside your machine.
This guide walks you through every step for a budget gaming PC targeting 1080p to light 1440p gaming in 2026 at around $900-$1,000.
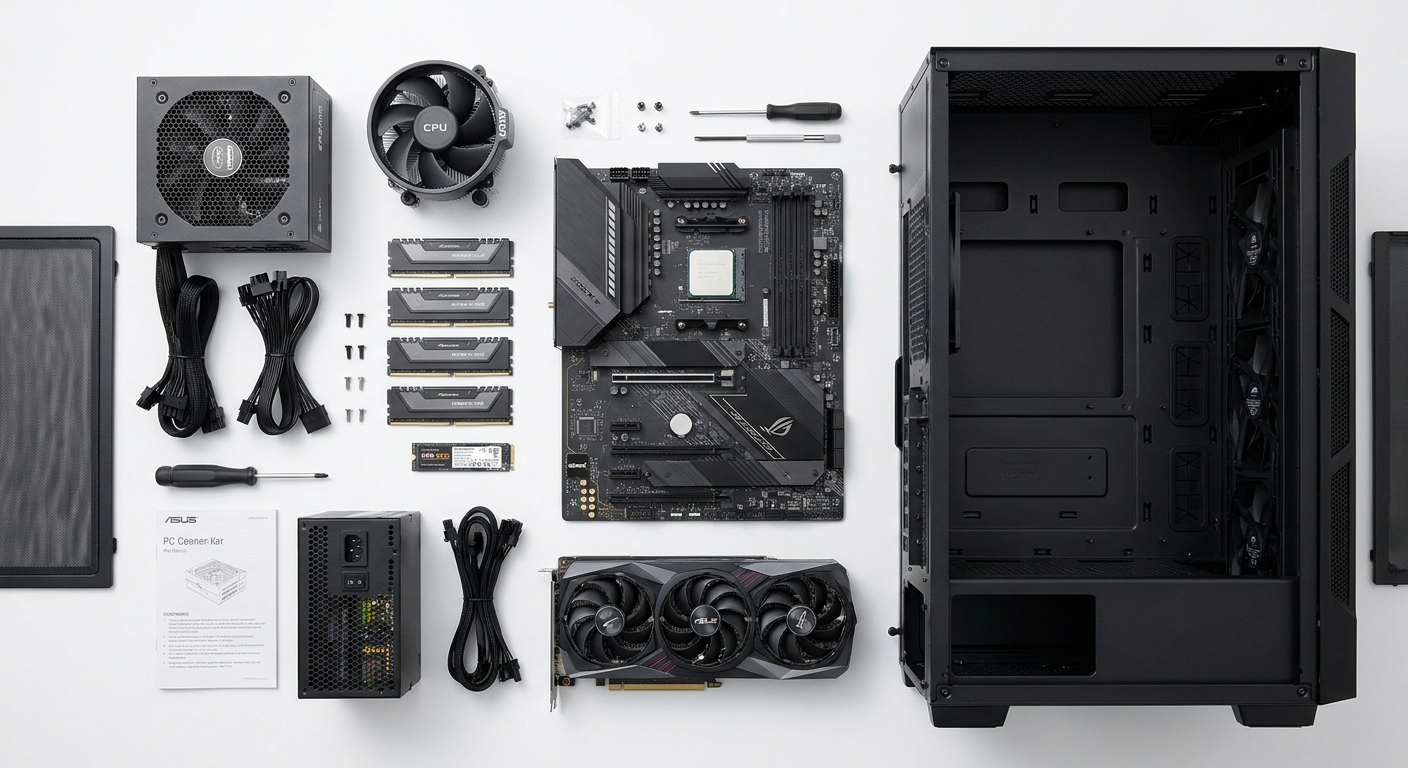
Background: Why Build in 2026?
Component availability has improved significantly after the supply disruptions of 2020-2023. GPUs are in stock at or near MSRP for most models. DDR5 prices have dropped to near DDR4 historical pricing. AM5 motherboards start under $150. The result: a $900-$1,000 self-build delivers noticeably better performance than a pre-built at the same price, with more control over critical components like the PSU and case.
Step 1: Choose Your Parts
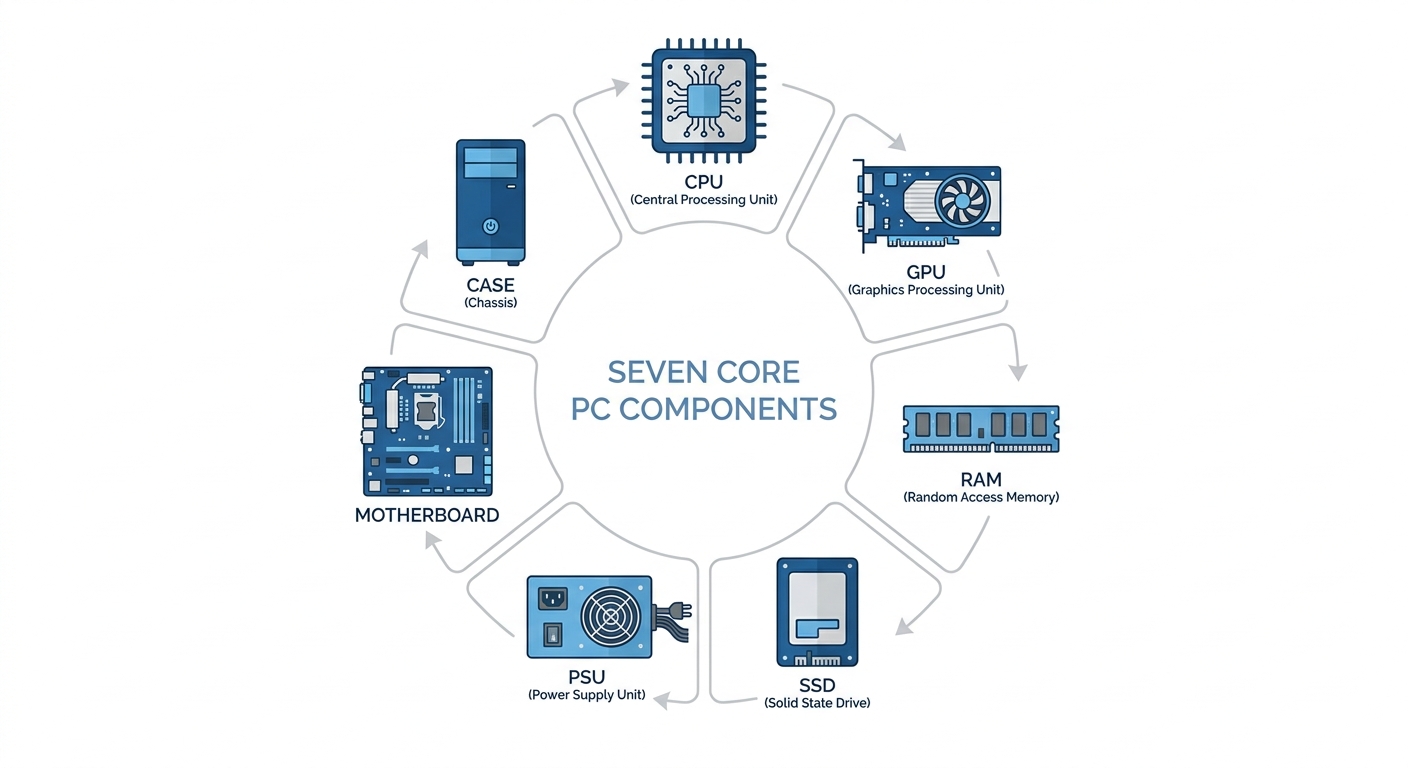
| Component | Recommended Pick | Price (Newegg, approx) | Why This Choice |
|---|---|---|---|
| CPU | AMD Ryzen 5 9600X | ~$195 | 6-core Zen 5, strong gaming IPC, 65W TDP |
| Motherboard | ASUS PRIME B850-PLUS WiFi | ~$160 | B850 chipset, PCIe 5.0, Wi-Fi 6E |
| RAM | G.Skill Flare X5 DDR5-6000 32GB | ~$90 | DDR5-6000 CL30, optimal for Ryzen 9000 |
| GPU | RTX 5060 Ti 16GB or RX 9060 XT | ~$400 | Best 1080p-1440p value GPU tier in 2026 |
| SSD | WD Black SN850X 1TB NVMe | ~$80 | PCIe 4.0, fast sequential reads, reliable |
| PSU | Corsair RM750e 750W 80+ Gold | ~$90 | Fully modular, ATX 3.1, sufficient for this build |
| Case | Lian Li Lancool 207 | ~$80 | Excellent airflow, includes 4 fans, great value |
Total: approximately $1,095. Browse components: Ryzen 5 9600X | B850 Motherboard | RTX 5060 Ti
Step 2: Prepare Your Workspace
Gather a Phillips #2 screwdriver (the only tool required for most builds), a flat static-safe work surface, and good lighting. Ground yourself by touching a metal surface before handling components. Lay out all components and confirm you have everything before starting.
Step 3: Install CPU into Motherboard (Off-Case)
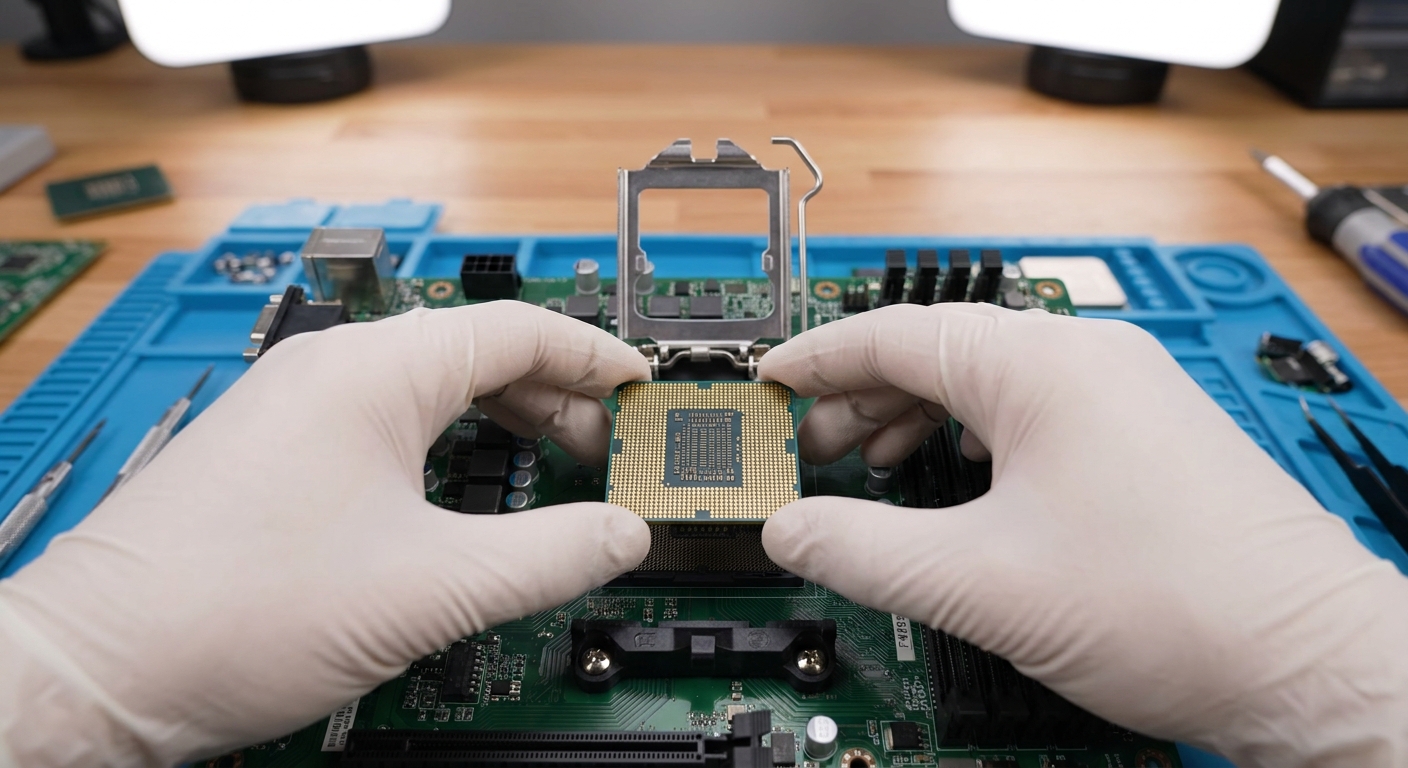
Always install the CPU, RAM, and SSD into the motherboard before placing it in the case -- this is called an "outside the case test" and is strongly recommended for first-time builders. For the Ryzen 5 9600X on AM5: open the retention arm on the CPU socket, align the triangle marker on the CPU with the socket corner, gently place the CPU (no force needed), then close the retention arm.
Step 4: Install RAM and SSD
Insert RAM into slots A2 and B2 (second and fourth slots from the CPU -- check your manual). Press firmly until both latches click. For the NVMe SSD, remove the heatsink screw, slide the SSD in at an angle, press flat, and secure with the M.2 screw.
Step 5: Install CPU Cooler
Apply thermal paste to the CPU IHS (a pea-sized amount in the center). Mount the cooler using the AM5 mounting hardware. Tighten screws in an X pattern to ensure even pressure. Connect the fan header to the CPU_FAN header on the motherboard.
Step 6: Install Motherboard into Case
Install the I/O shield into the rear of the case. Lower the motherboard onto the standoffs, align the I/O shield ports, and secure with the provided motherboard screws -- do not overtighten.
Step 7: Install PSU and GPU
Mount the PSU in the bottom PSU shroud and secure with four screws. Connect the 24-pin ATX main connector and the 8-pin EPS CPU power connector. Install the GPU into the primary PCIe x16 slot and connect the 16-pin 12V-2x6 power cable from the PSU.
Step 8: Connect Case Cables and Fans
Connect the front panel connectors (power button, reset, LEDs, USB headers, audio header) per the diagram in your motherboard manual. Route all cables through the cable management channels behind the motherboard tray before closing the side panel.
Step 9: First Boot and BIOS Setup
Connect monitor, keyboard, and mouse. Power on -- if all components are correctly seated, you will reach the BIOS. Enable XMP/EXPO for your RAM to run at DDR5-6000 as rated. Confirm the SSD appears in storage devices. Save and exit. Install Windows 11 from a USB drive.
Step 10: Install Drivers and Test
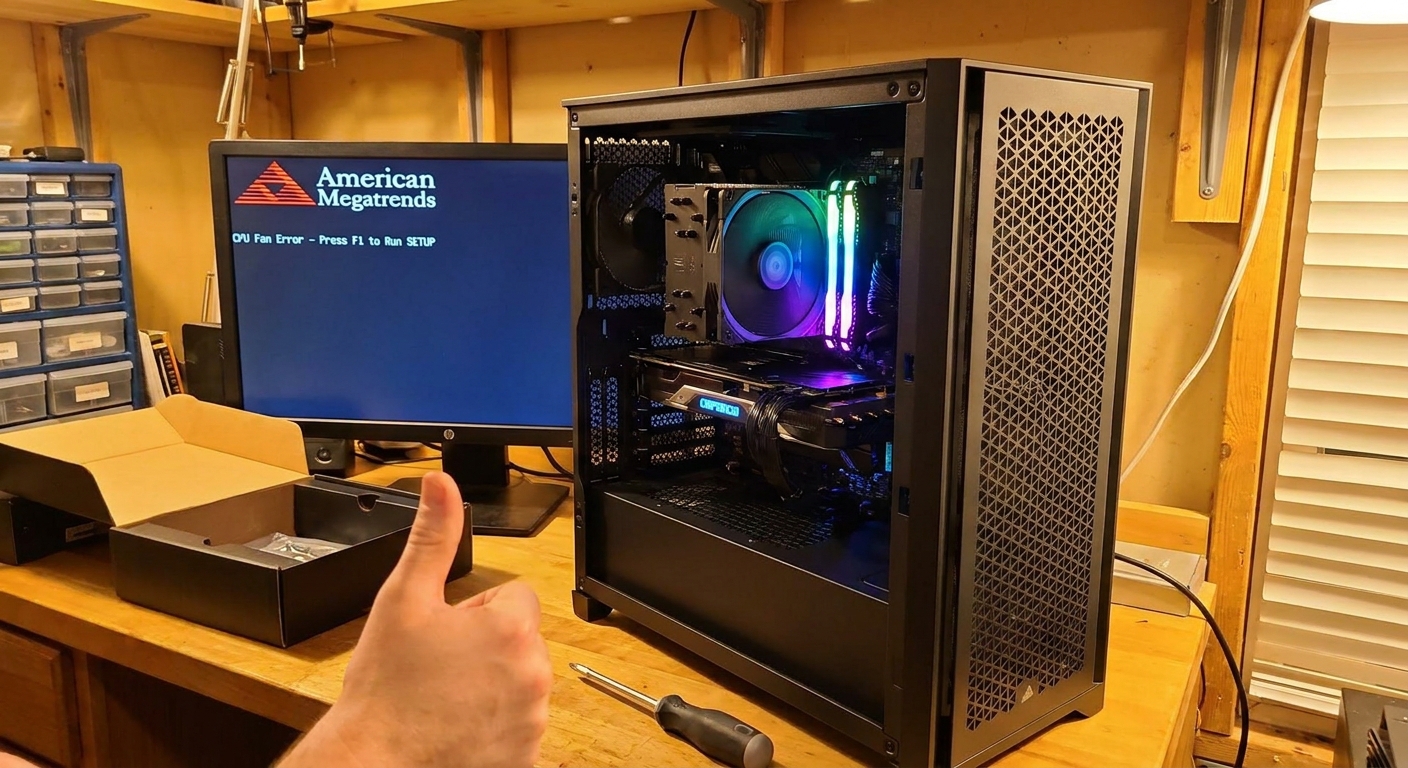
Install AMD chipset drivers and your GPU drivers. Run a quick stress test (Furmark for GPU, Cinebench for CPU) to confirm temperatures are normal -- GPU under 85 degrees C and CPU under 80 degrees C during load are healthy targets. If all passes, your build is complete and game-ready. Use the Newegg PC Builder Tool to configure, check compatibility, and purchase all parts in one place.
Read More
- - Newegg's official step-by-step video guide covering the complete assembly process.
- Best PC Builds for Gaming 2026 (Tom's Hardware) - Tested and recommended parts lists at every budget from $800 to $4,000+.
- PC Building Guide 2026 (PC Build Helper) - Step-by-step beginner guide covering every stage of the build process.
- Newegg PC Builder Tool - Compatibility checker and custom PC builder for verifying your parts list before purchasing.
- AMD Ryzen 5 9600X Official Page - Full official specs, TDP, and platform compatibility.
Frequently Asked Questions
Common questions from first-time PC builders.