Steve Dent wrote an interesting article for Engadget recently where he explains how to build a high-end, overclocked PC “as an idiot.” While I found his tutorial very informative and was appreciative he purchased several parts from Newegg; it got me thinking.
What if you don’t want or need an overclocked PC? What if you just want something…good enough?
Well, this is how you build a regular old PC while trying to save a buck:
Steve used nothing but top-of-the-line components for his build but we’re going to take the exact opposite approach. Instead of maxing out our RAM and running dual SSDs, we’re going to use nothing but mid-range hardware. Our machine won’t be a beastly overclocked rig like Steve’s, but it will be powerful enough to do just about everything we need.
And we’ll do this without spending thousands of dollars.
Here’s what Steve used for his build:
- CASE: Thermaltake Chaser A71 Full Tower – $139.99
- CPU: Intel Haswell-E 5820K Core i7 – $389.99
- MOBO: ASRock X99 Extreme6 – $279.99
- GPU: ASUS STRIX GTX780 OC 6GB – $1,290.00
- RAM: 16GB G.Skill DDR4 Ripjaws 4 – $209.99
- SSD: Samsung XP941 256GB M.2 PCIe – $219.99
- SSD: Kingston HyperX 240GB $149.99
- PSU: Cooler Master V-Series 850W – $174.99
- COOLING: Corsair H100i – $99.99
- OS: Windows 8.1 64-bit – $99.99
TOTAL: $3054.91
And here’s our lineup:
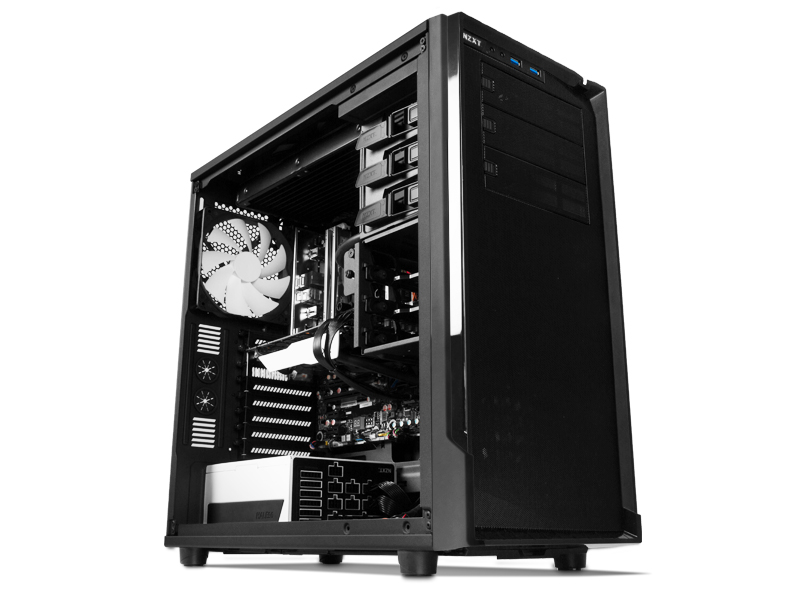
- CASE: NZXT Source 530 Full Tower – $89.99
- CPU: Intel Core i5-4460 Haswell – $189.99
- MOBO: ASRock Fatal!ty Z97 Killer – $119.99
- GPU: ZOTAC ZT-90101-10P GeForce GTX 970 – $309.99
- RAM: 8GB G.Skill DDR3 Ripjaws X – $59.99
- SSD: Samsung 850 EVO-Series 250GB – $119.99
- PSU: EVGA SuperNOVA 750W – $84.99
- COOLING: Coolermaster Hyper 212 EVO – $34.99
- OS: Ubuntu – $0.00
TOTAL: $1009.92
Piecing It All Together
Watching Steve put his build together further solidifies our belief the PC is not dead. Steve’s overclocking tutorial breaks down the process in simple steps anyone can follow, but we need to make these steps even simpler because we won’t be overclocking at all. Instead, we’ll just worry about putting this PC together so we can use it. Fortunately, this isn’t as intimidating as most people imagine.
According to Steve:
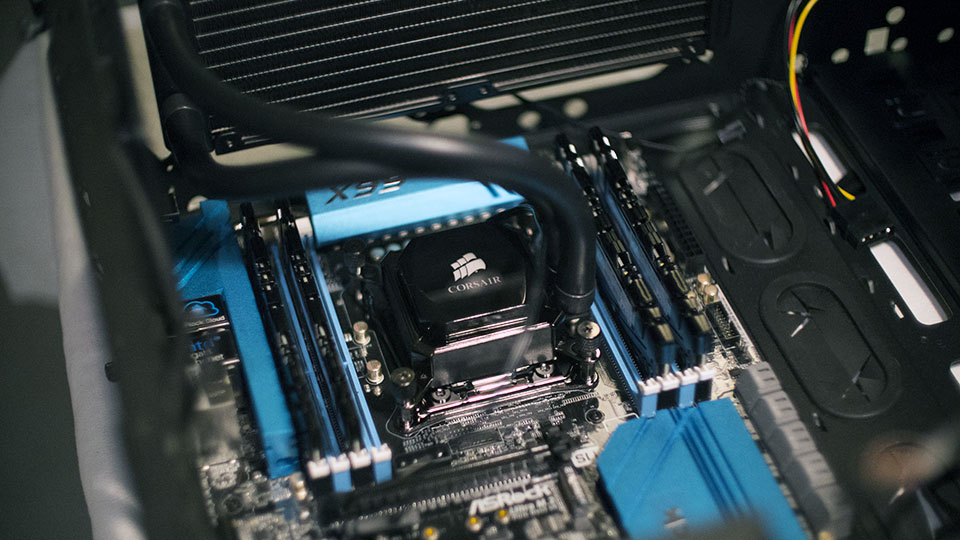
“Putting the system together was straightforward, apart from the odd detour into stupid-ville. Installation consisted of screwing the motherboard and power supply to the case, installing the processor and cooling system and then jamming the rest of the components and cables in the only holes they fit in. (The exception being the header connectors, which are always a pain.) There was some cable-neatening to be done afterward, but I’m not what you’d call anal-retentive.”
If an “idiot” can build a PC, so you can you. But if you’re still not convinced you can build your own PC, take a look at our comprehensive tutorial where you learn all the basics. We’ll even guide you through the part-selection process so you can build a PC that’s more tailored for your exact needs.
And just in case you do want to overclock, we can show you that too.
A PC Can Be Whatever You Want It to Be
Many of you don’t need a high-end, overclocked PC like Steve’s; and that’s OK. A personal computer should be exactly like the name says: personal. And that’s why we love it when you share your PC hardware on social media because it shows the world that no two PCs are alike.
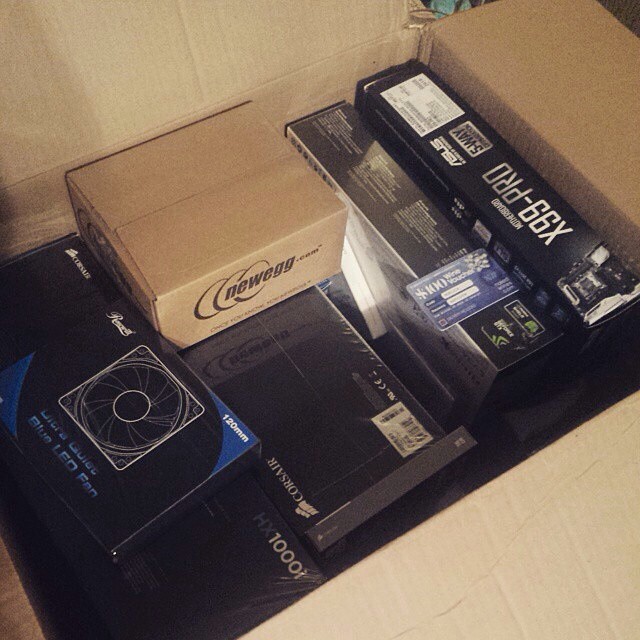
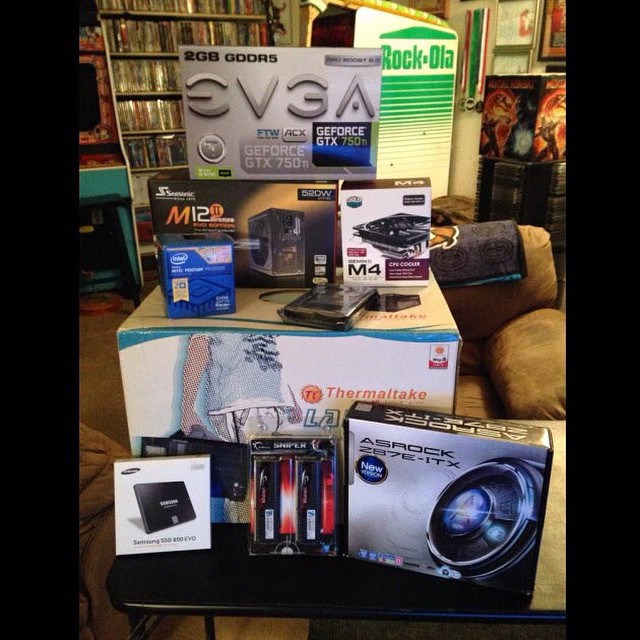
Here are some customers who prove it with their recent orders:

via @itiscaseyhello

via @lalukee

via @youkaisilence

via @sprinter461
What’s Inside Your PC?
We’re curious to know what’s inside your PC and want to know why it’s in there. Did you go for power or savings? Was appearance your major concern or was it the form factor? Let us know in the comments below or tag us in social media so we can take a look! We may even post your picture on here so everyone can admire your glorious build.
And, sorry Steve, you’re not an idiot. Let us know if you need help choosing parts for your next build. We’d be happy to help!


