 When constructing your own gaming PC, having to choose between a solid state drive (SSD) or hard disk drive (HDD) can be difficult. Hard disk drives are cheaper and more common, but their reliance on internal moving parts means that they’re much more prone to breaking down, and they tend to be slower.
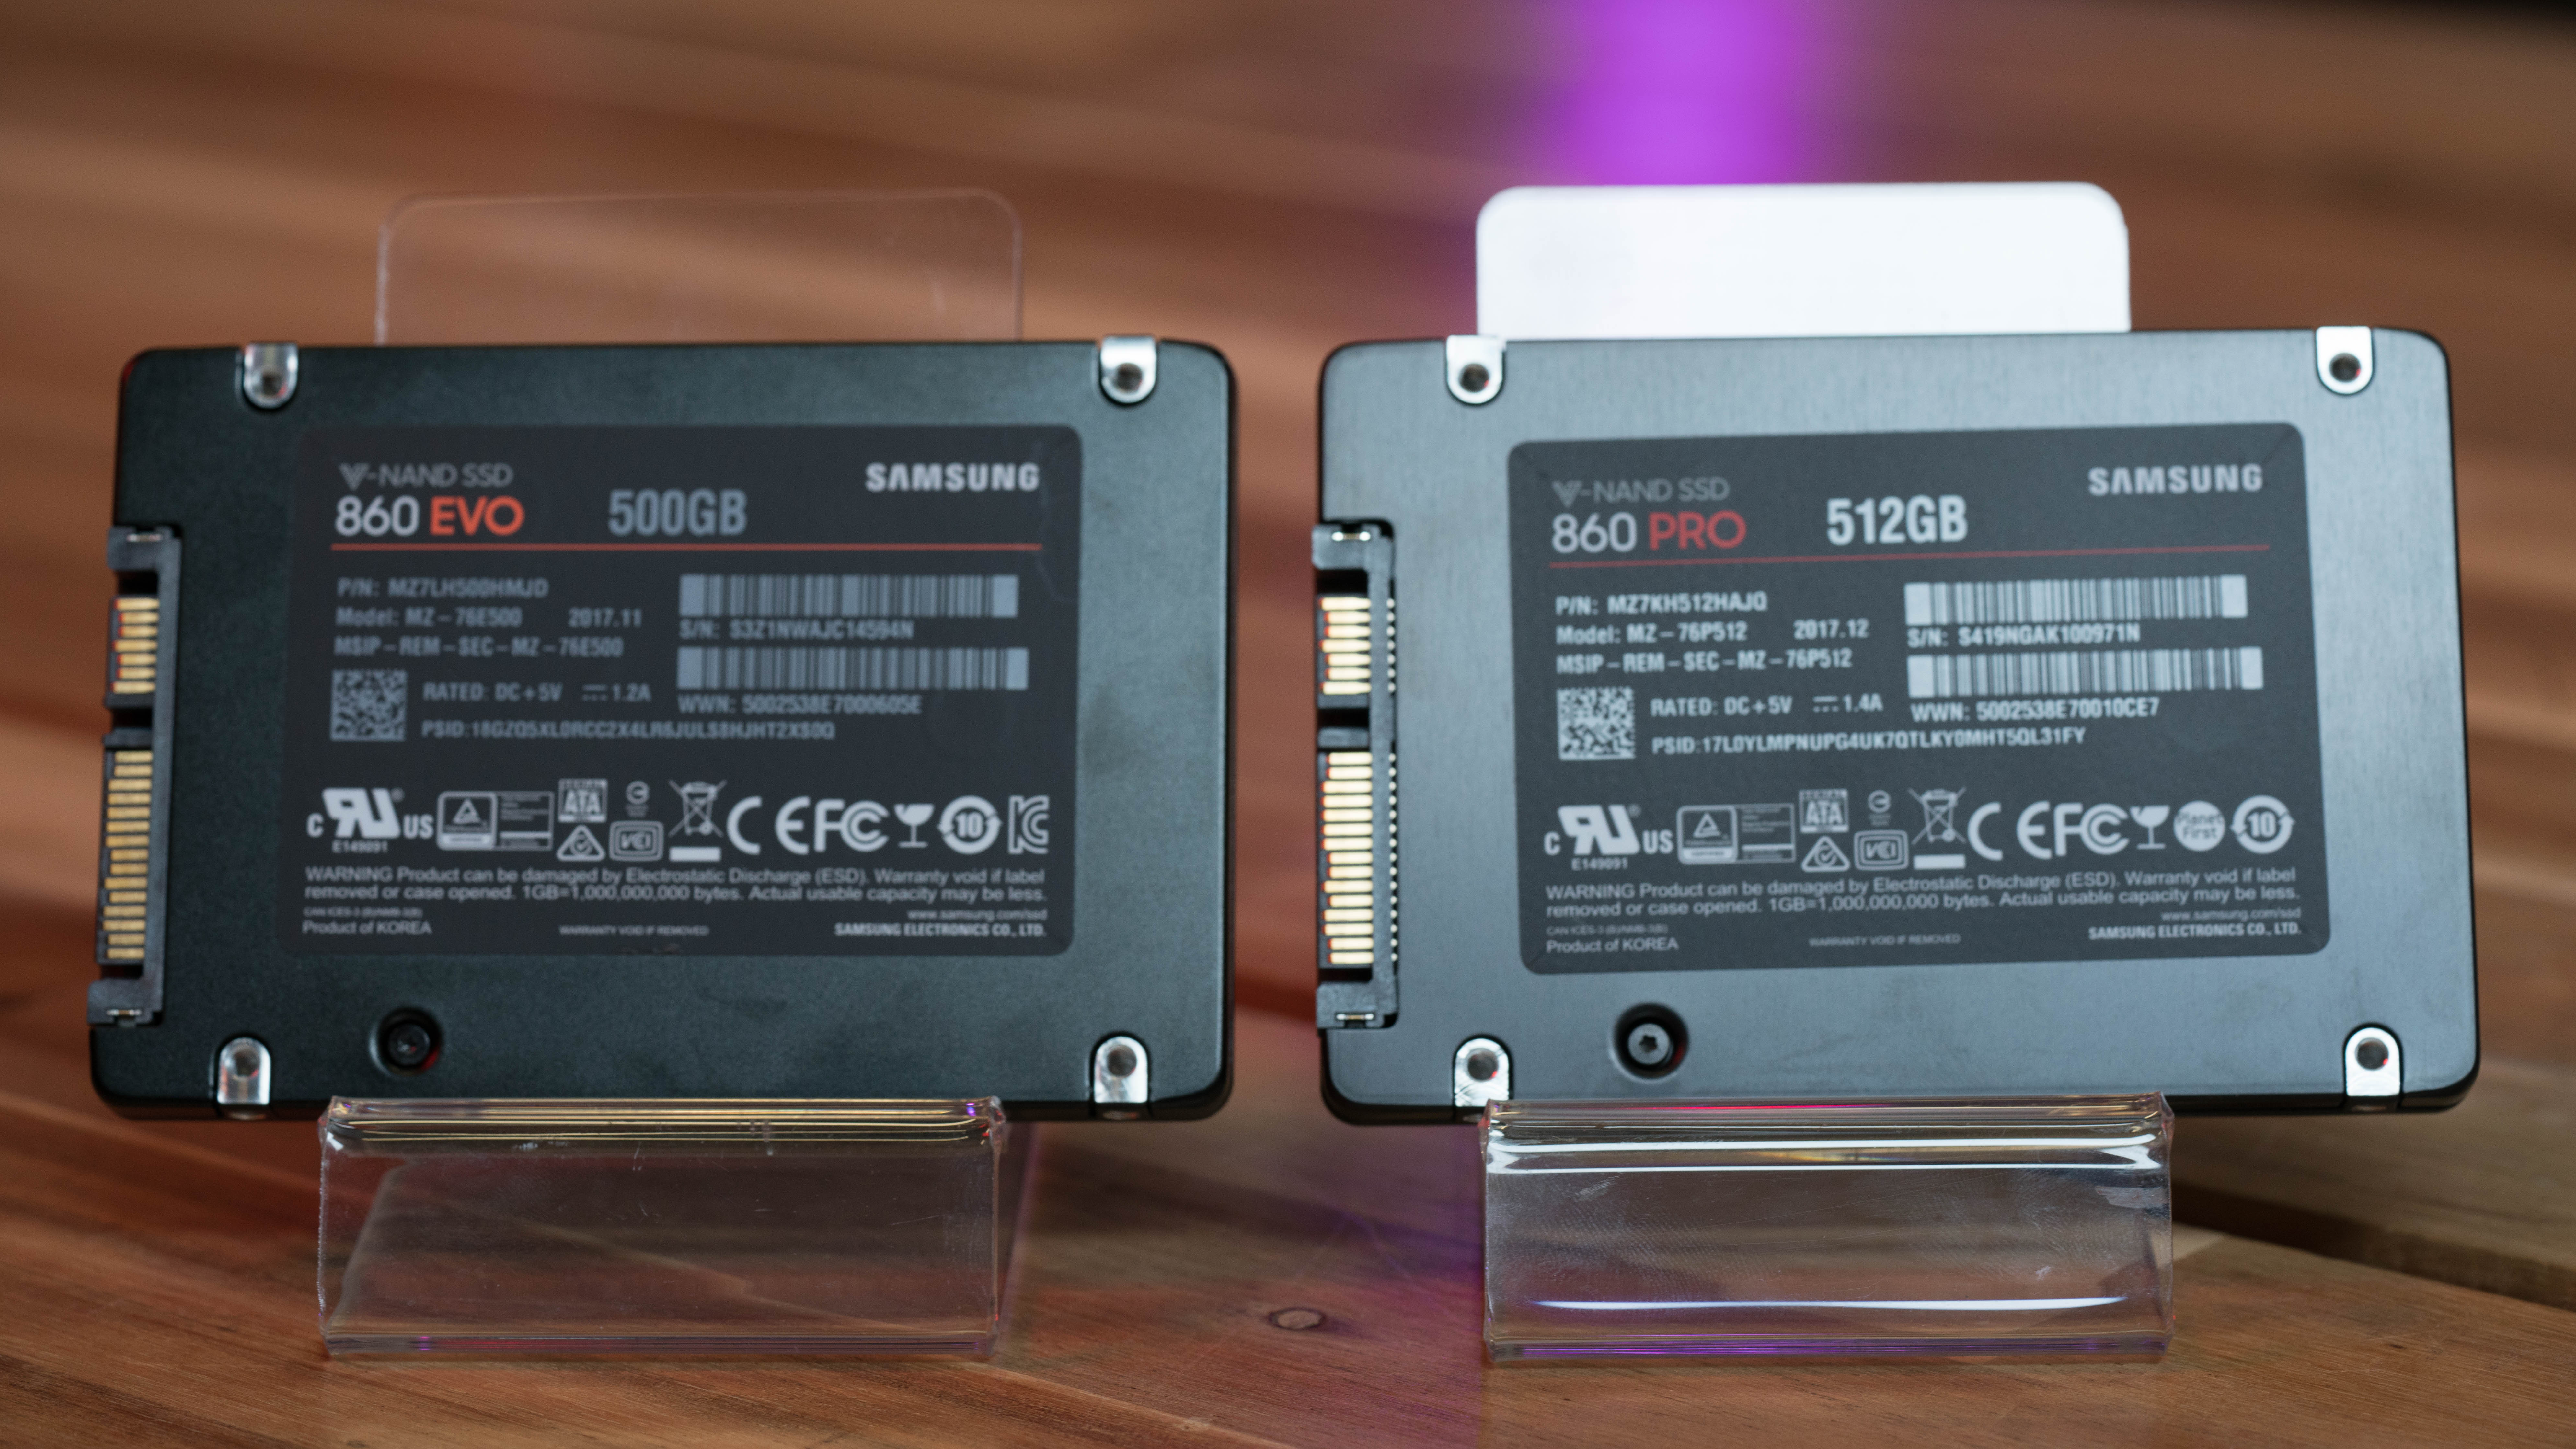
Solid state drives, meanwhile, are far more durable and load faster than HDD’s since they have no moving parts, but they’re also noticeably more expensive (for comparison, a 250GB SSD costs about as much as a 1TB HDD). Here’s a little secret though: you don’t actually have to choose.
If you’re willing to invest in both an HDD and an SSD, there’s a way to configure them so that you get the best of both worlds. The process of running two operating systems on your PC is known as dual-booting. When done with two separate drives, it most often involves configuring your system so that the SSD does the heavy lifting of booting and running your operating system, while the HDD is used for the less demanding task of file storage.
Using an SSD and an HDD in tandem
Before you begin the process of dual-booting, you’ll want to ensure you have the necessary hardware components. First, you’ll obviously need both a working SSD and HDD. Buying both kinds of drives is more expensive than simply going with one or the other, but the long-term benefits are well-worth the extra cost.
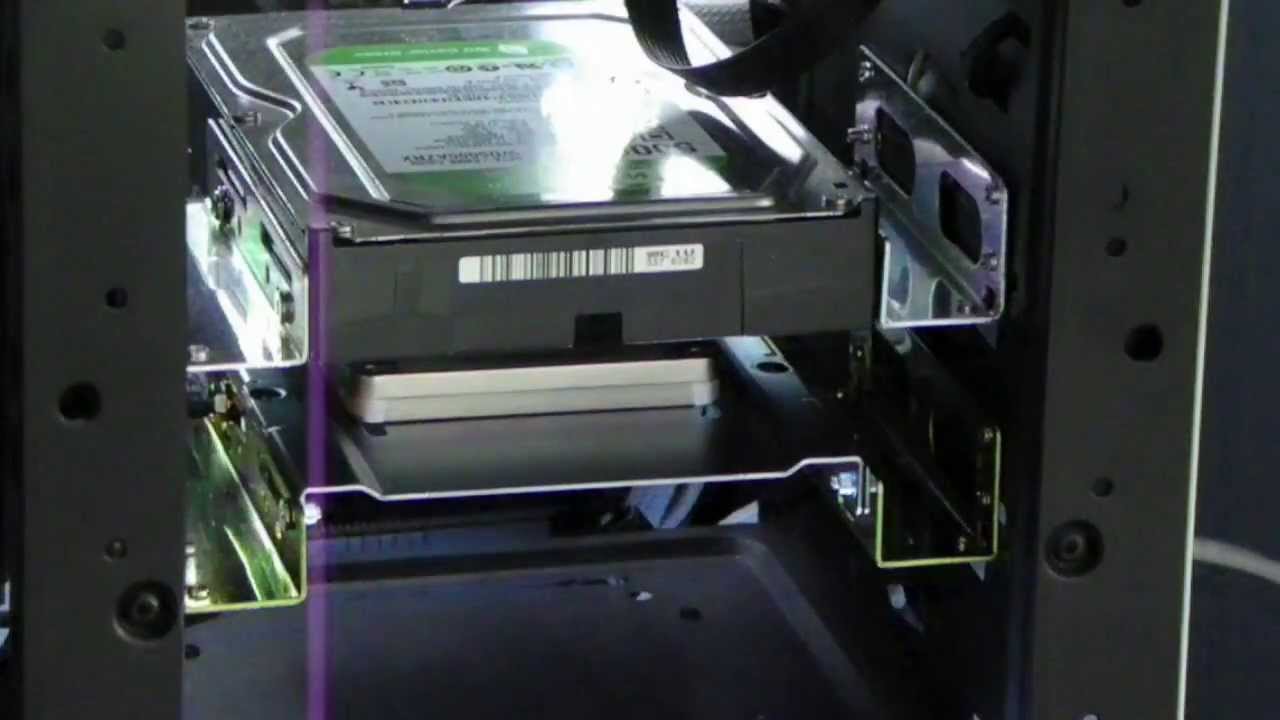
Since the SSD is only being used for your computer’s operating system, it doesn’t need much space. A 120GB SSD should be fine, but if you want to be absolutely safe you can go with a 250GB drive. Also, make sure you’re able to mount both 3.5-inch and 2.5-inch hard drives into your case. Computer cases are form-factored to fit 3.5-inch drives (the standard size for most HDD’s), and some even come with extra mounting brackets to fit 2.5-inch drives (the standard size for SSD’s). However, chances are good you’ll have to buy a separate 2.5-inch mounting bracket.
Installing your operating system to the SSD
 Once you’re sure you can properly mount both drives, go ahead and do so, but make sure you only hook the SSD up to your motherboard. This will ensure your computer doesn’t automatically try to install your operating system to the HDD. With the SSD hooked up, power on the computer, insert your installation media (disc or USB drive), and install your operating system. For this guide we’ll assume you’re installing Windows.
Formatting your HDD for storage
Installing and updating Windows can take some time, so be patient. When your OS is fully up to date and running, now’s the time to plug your HDD into your motherboard, afdter turning off your computer and unplugging it of course. Chances are your HDD won’t be storage-compatible right from the start, which is what the Disk Management function is for. Disk Management is an inherent Windows function which can be accessed in Windows 10 by typing “Disk Management” into your desktop search bar.
The Disk Management screen will bring up a list of all disk drives connected to your computer, and if you plugged your HDD in correctly, you should see it on the list. Right click on your HDD and select the “format” option. If prompted, make sure you set the File System type as NTFS. After the formatting process is finished, you can right click on the drive again and assign it a custom name and drive letter (if you want). 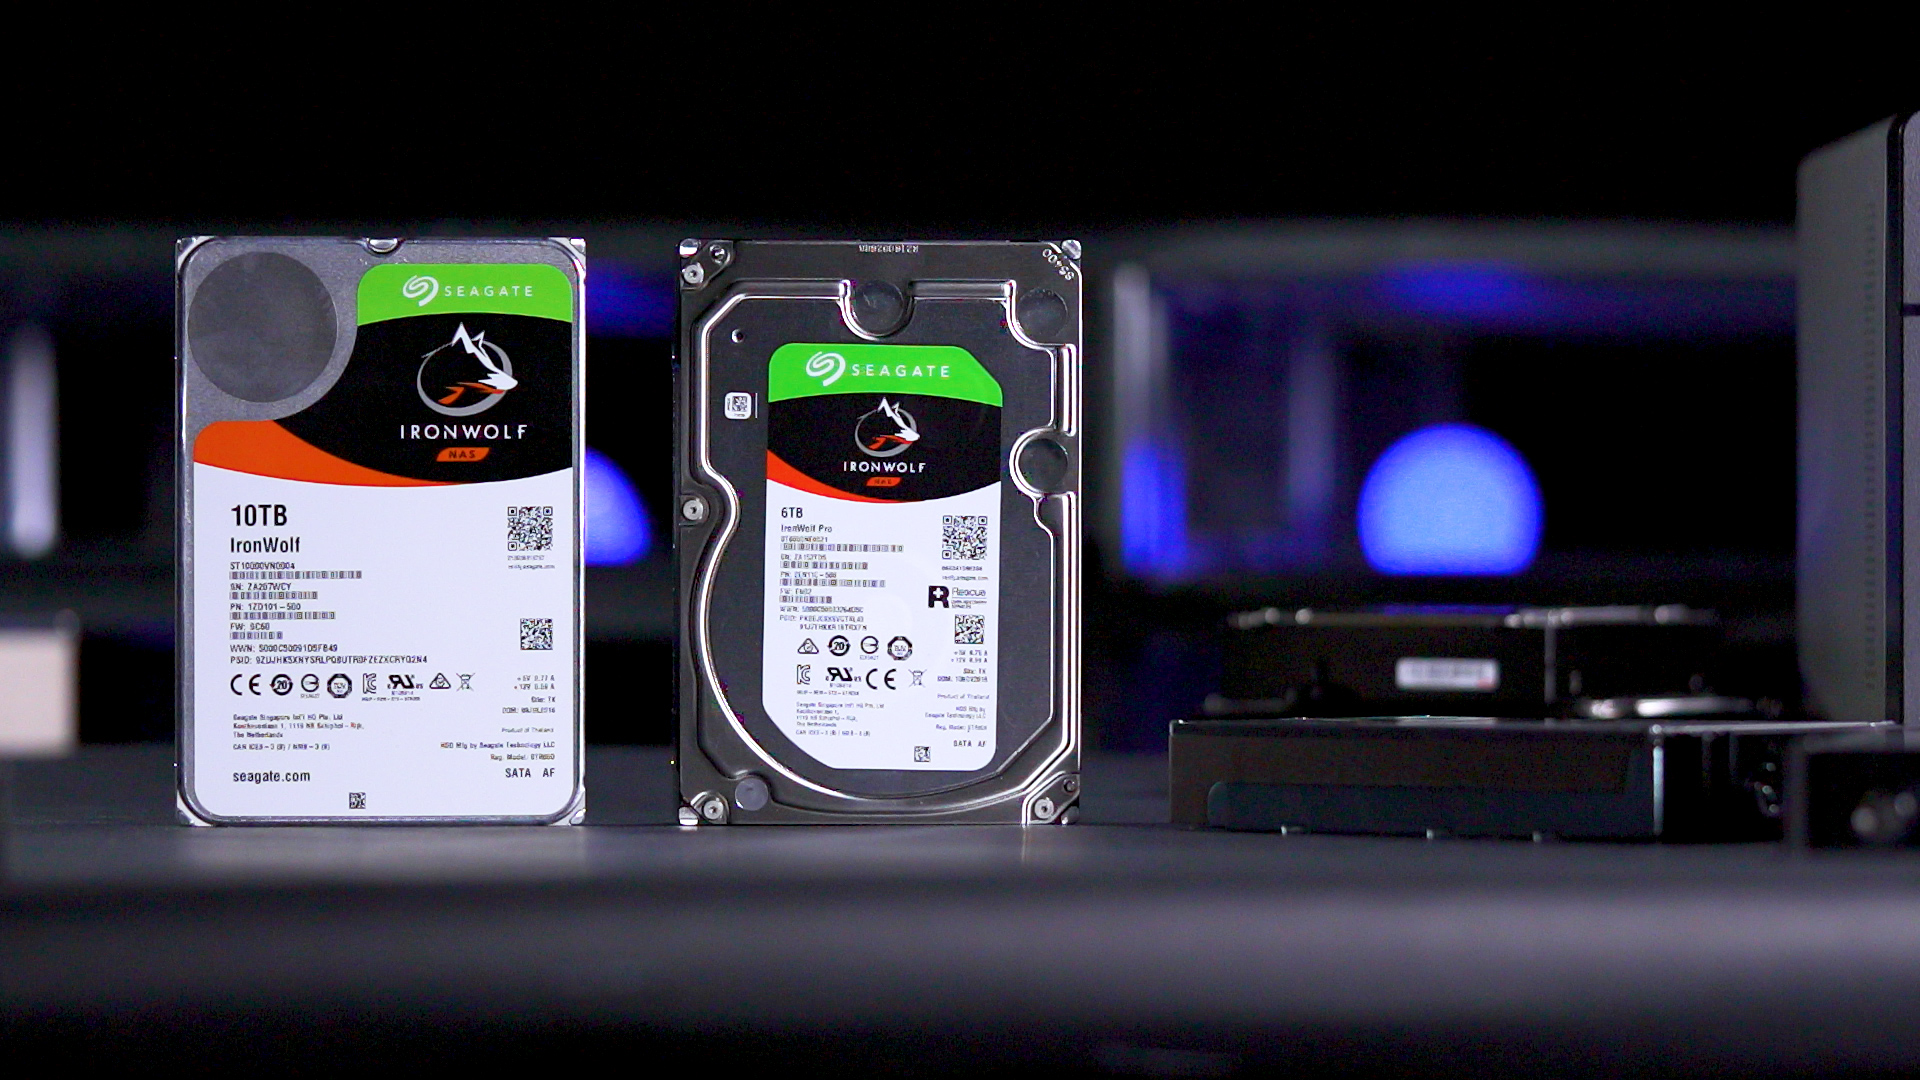 With your HDD properly formatted, you can now start using it for file storage. Before you download and install anything, though, navigate to your computer’s Settings menu (in Windows 10, click the Windows icon on your desktop and then on the gear wheel icon). From Settings go to System, then Storage, and finally click on the “Change where new content is saved” option. Change whatever categories you feel are necessary to the HDD storage drive (at the very least you should change your New apps category). Following the above procedure will ensure your computer doesn’t try to install new apps and games to your much smaller SSD. Make sure to follow the same procedure with any third-party gaming platforms you use like Steam or Uplay.
Setting the boot order in BIOS
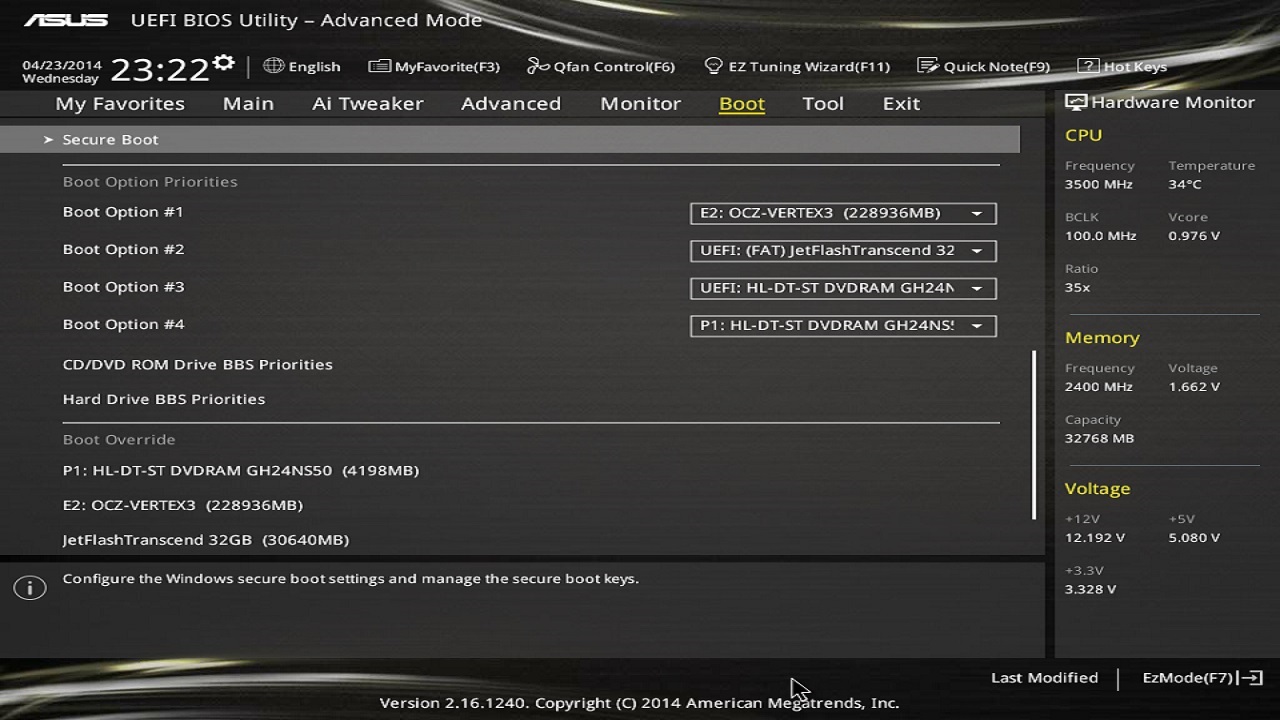 One final step to take is to ensure you have a proper boot order set up. This is done in your computer’s BIOS menu, and the specific method for accessing your BIOS varies between different motherboard manufactures. You basically have to press a certain key during the moments when your computer is first powering on (before you see the starting Windows logo).
Most of the time that key is something like F10 or F2, and you might have to Google your motherboard’s specific model to find out which key you need to press to access the BIOS. Once you’ve accessed your BIOS, you’ll want to find the boot order screen. Ensure that your SSD is the very first item in the boot order, restart, and you should be good to go.
Enjoy your speedy boot times, and all that extra storage!