As an avid lurker of the Newegg Gallery, I love seeing images of custom loop water-cooled PCs. They are always something to behold. Sure, AIO CPU coolers get the job done fine, but there’s something about water cooling a video card that is so cool. But is custom loop water cooling worth it? This past year, I ventured to find out the answer by building my own custom loop PC.
What is custom loop cooling?
First, let’s get a definition together. When you build a custom loop cooling system, you’re bringing together your own water cooling components (Pump, radiator, tubing, water reservoir) and integrating them into your system. It can be many times more difficult than purchasing an off-the-shelf AIO CPU cooler from the likes of Cooler Master, Corsair, and other major brands.
Why Did I Go Custom Loop?
What kicked off my custom loop build was a mixture of boredom, opportunity, and the fact that I was finally able to snag an RTX 3080 right before the Lite Hash Rate announcement in May. Naturally, my first step was to put the RTX 3080 in an old case with a 7th gen Intel Core i7 7700k to start mining Ethereum. Meanwhile, I kept my RTX 2080 in my main gaming PC as it still held up decently well for the latest games on medium settings.
After several weeks, I noticed that my hash rate was on the RTX 3080 was half of where it was when I first started. After researching the cause, the problem was found to be thermal throttling caused by insufficient thermal padding on the memory modules on the backside of the card. Memory junction temperatures were nearly hitting 109°C while mining. Research reveals that the answer was to take apart the card and put thermal pads on the memory modules. But instead of just doing that, I reasoned that it would be an opportunity to put the RTX 3080 into my workhorse PC and create a custom loop cooling solution. It wasn’t the logical choice, but rather one driven by interest and a desire to tinker.
The Components
The build now stood at the specs below.
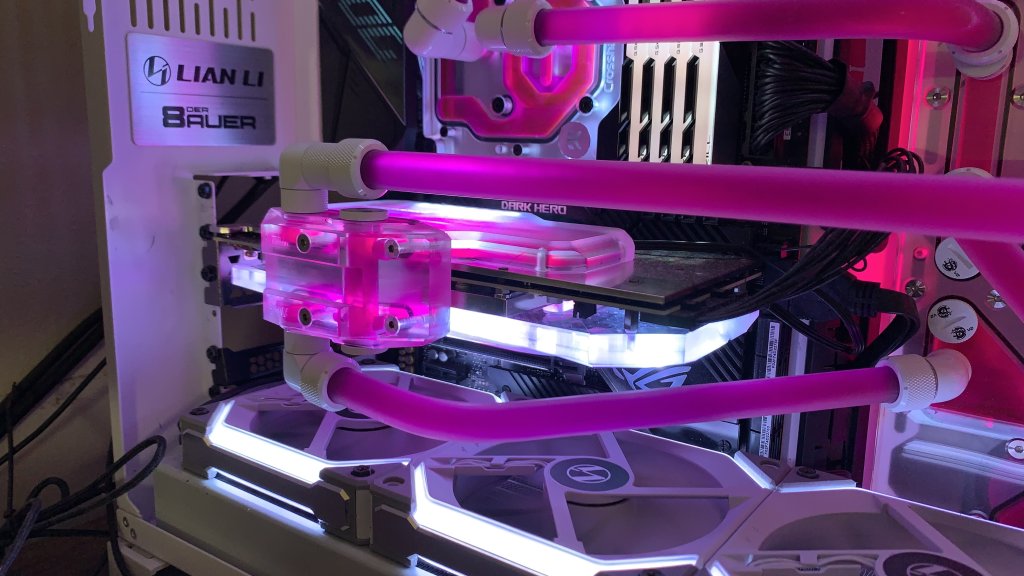
| CPU | AMD Ryzen 7 5900X | Video Card | Gigabyte Gaming OC RTX 3080 |
| Memory | G.Skill Trident Z Neo 32 GB DDR4 3600 | Motherboard | ASUS Crosshair VIII Dark Hero |
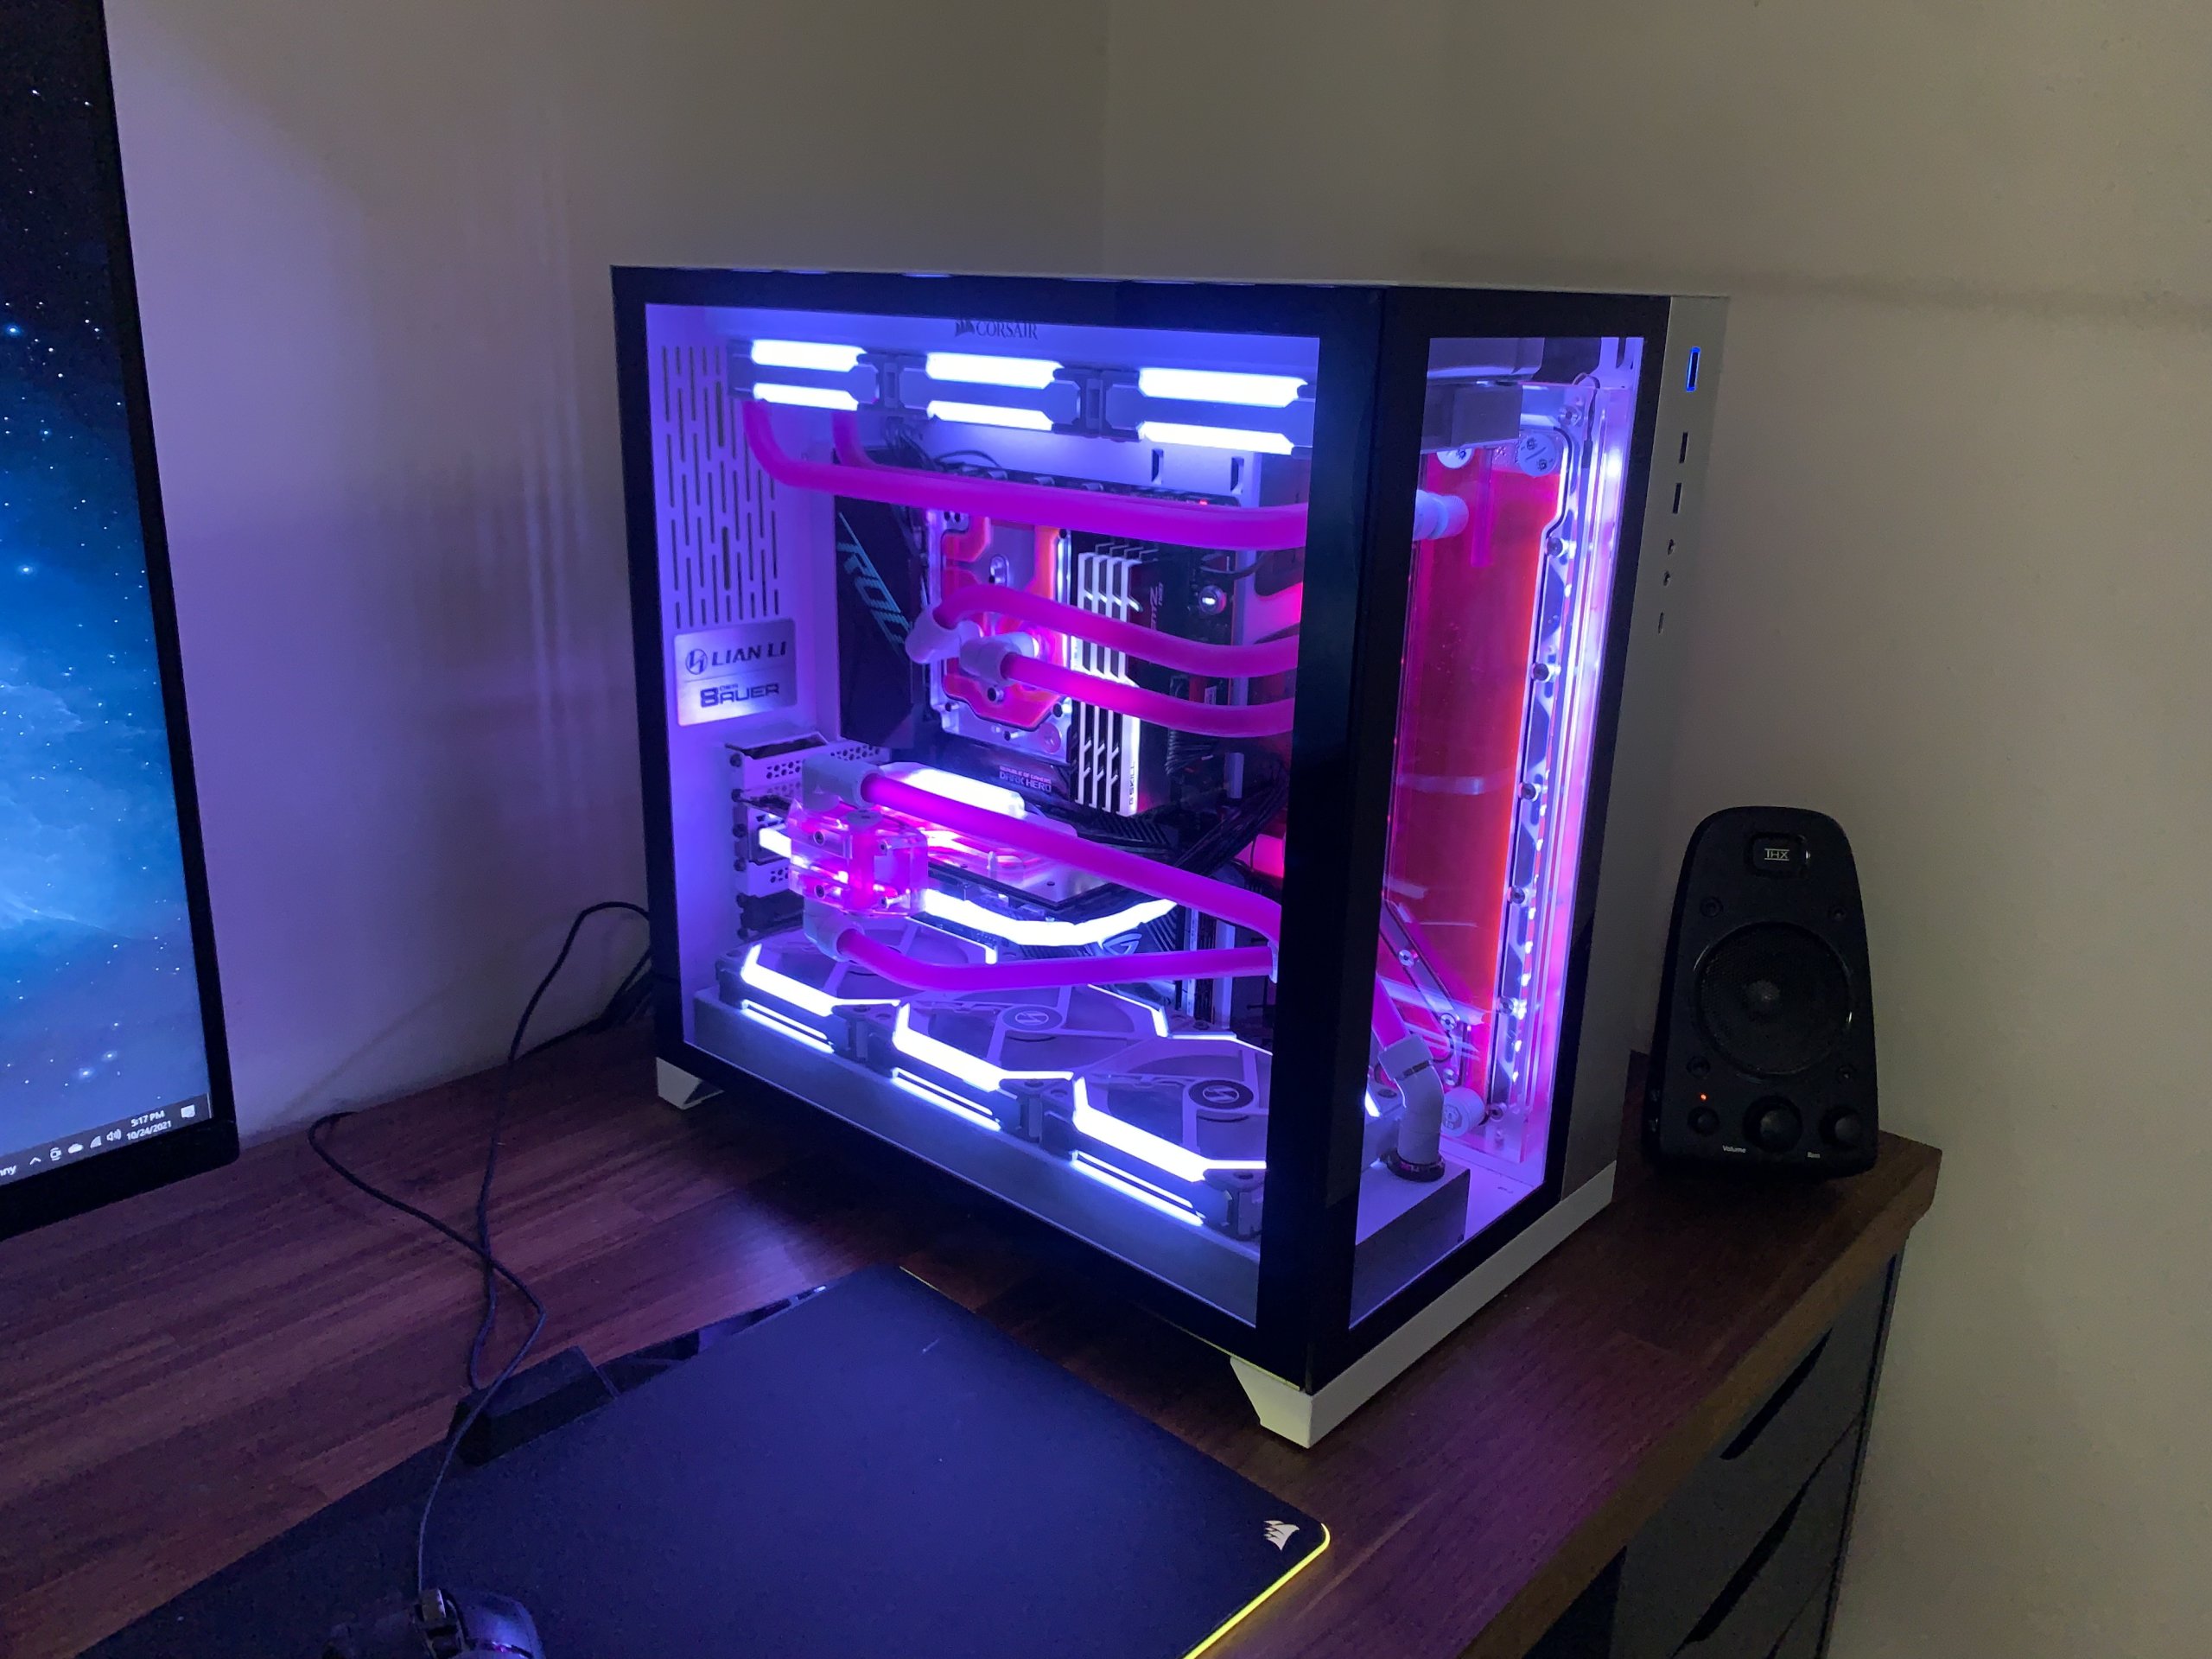
| Storage | Samsung 970 Pro 512 GB NVMe | Case | Lian Li O11 Dynamic – White |
On top of that, I added the following water cooling components.
| CPU/Motherboard Block | EK Quantum Momentum Crosshair VIII Hero D-RGB Monoblock | Reservoir/Pump | Bitspower Sedna O11D Distro Plate |
| CPU Block | Bykski GPU Block with Active Backplate | Radiators | XSPC AX360 Triple-Fan Radiator 360mm |
| Fans | 2x Lian Li SL120 RGB White Three Fan Pack | Tubing | Corsair Hydro X Series XT Hardline 12mm Tubing Satin Transparent |
| Fittings | 14x Bitspower Advanced Multi-Link Fittings
2x Corsair Hydro X Series 45 Degree Rotary Adapter 2x Corsair Hydro X Series 90 Degree Rotary Adapter |
Coolant | EKWB CryoFuel Premix Coolant Powder Pink |
| Tools | 12mm Hard Line Bending Kit
Heat Gun Sandpaper Deburring Tool |
Putting It All Together
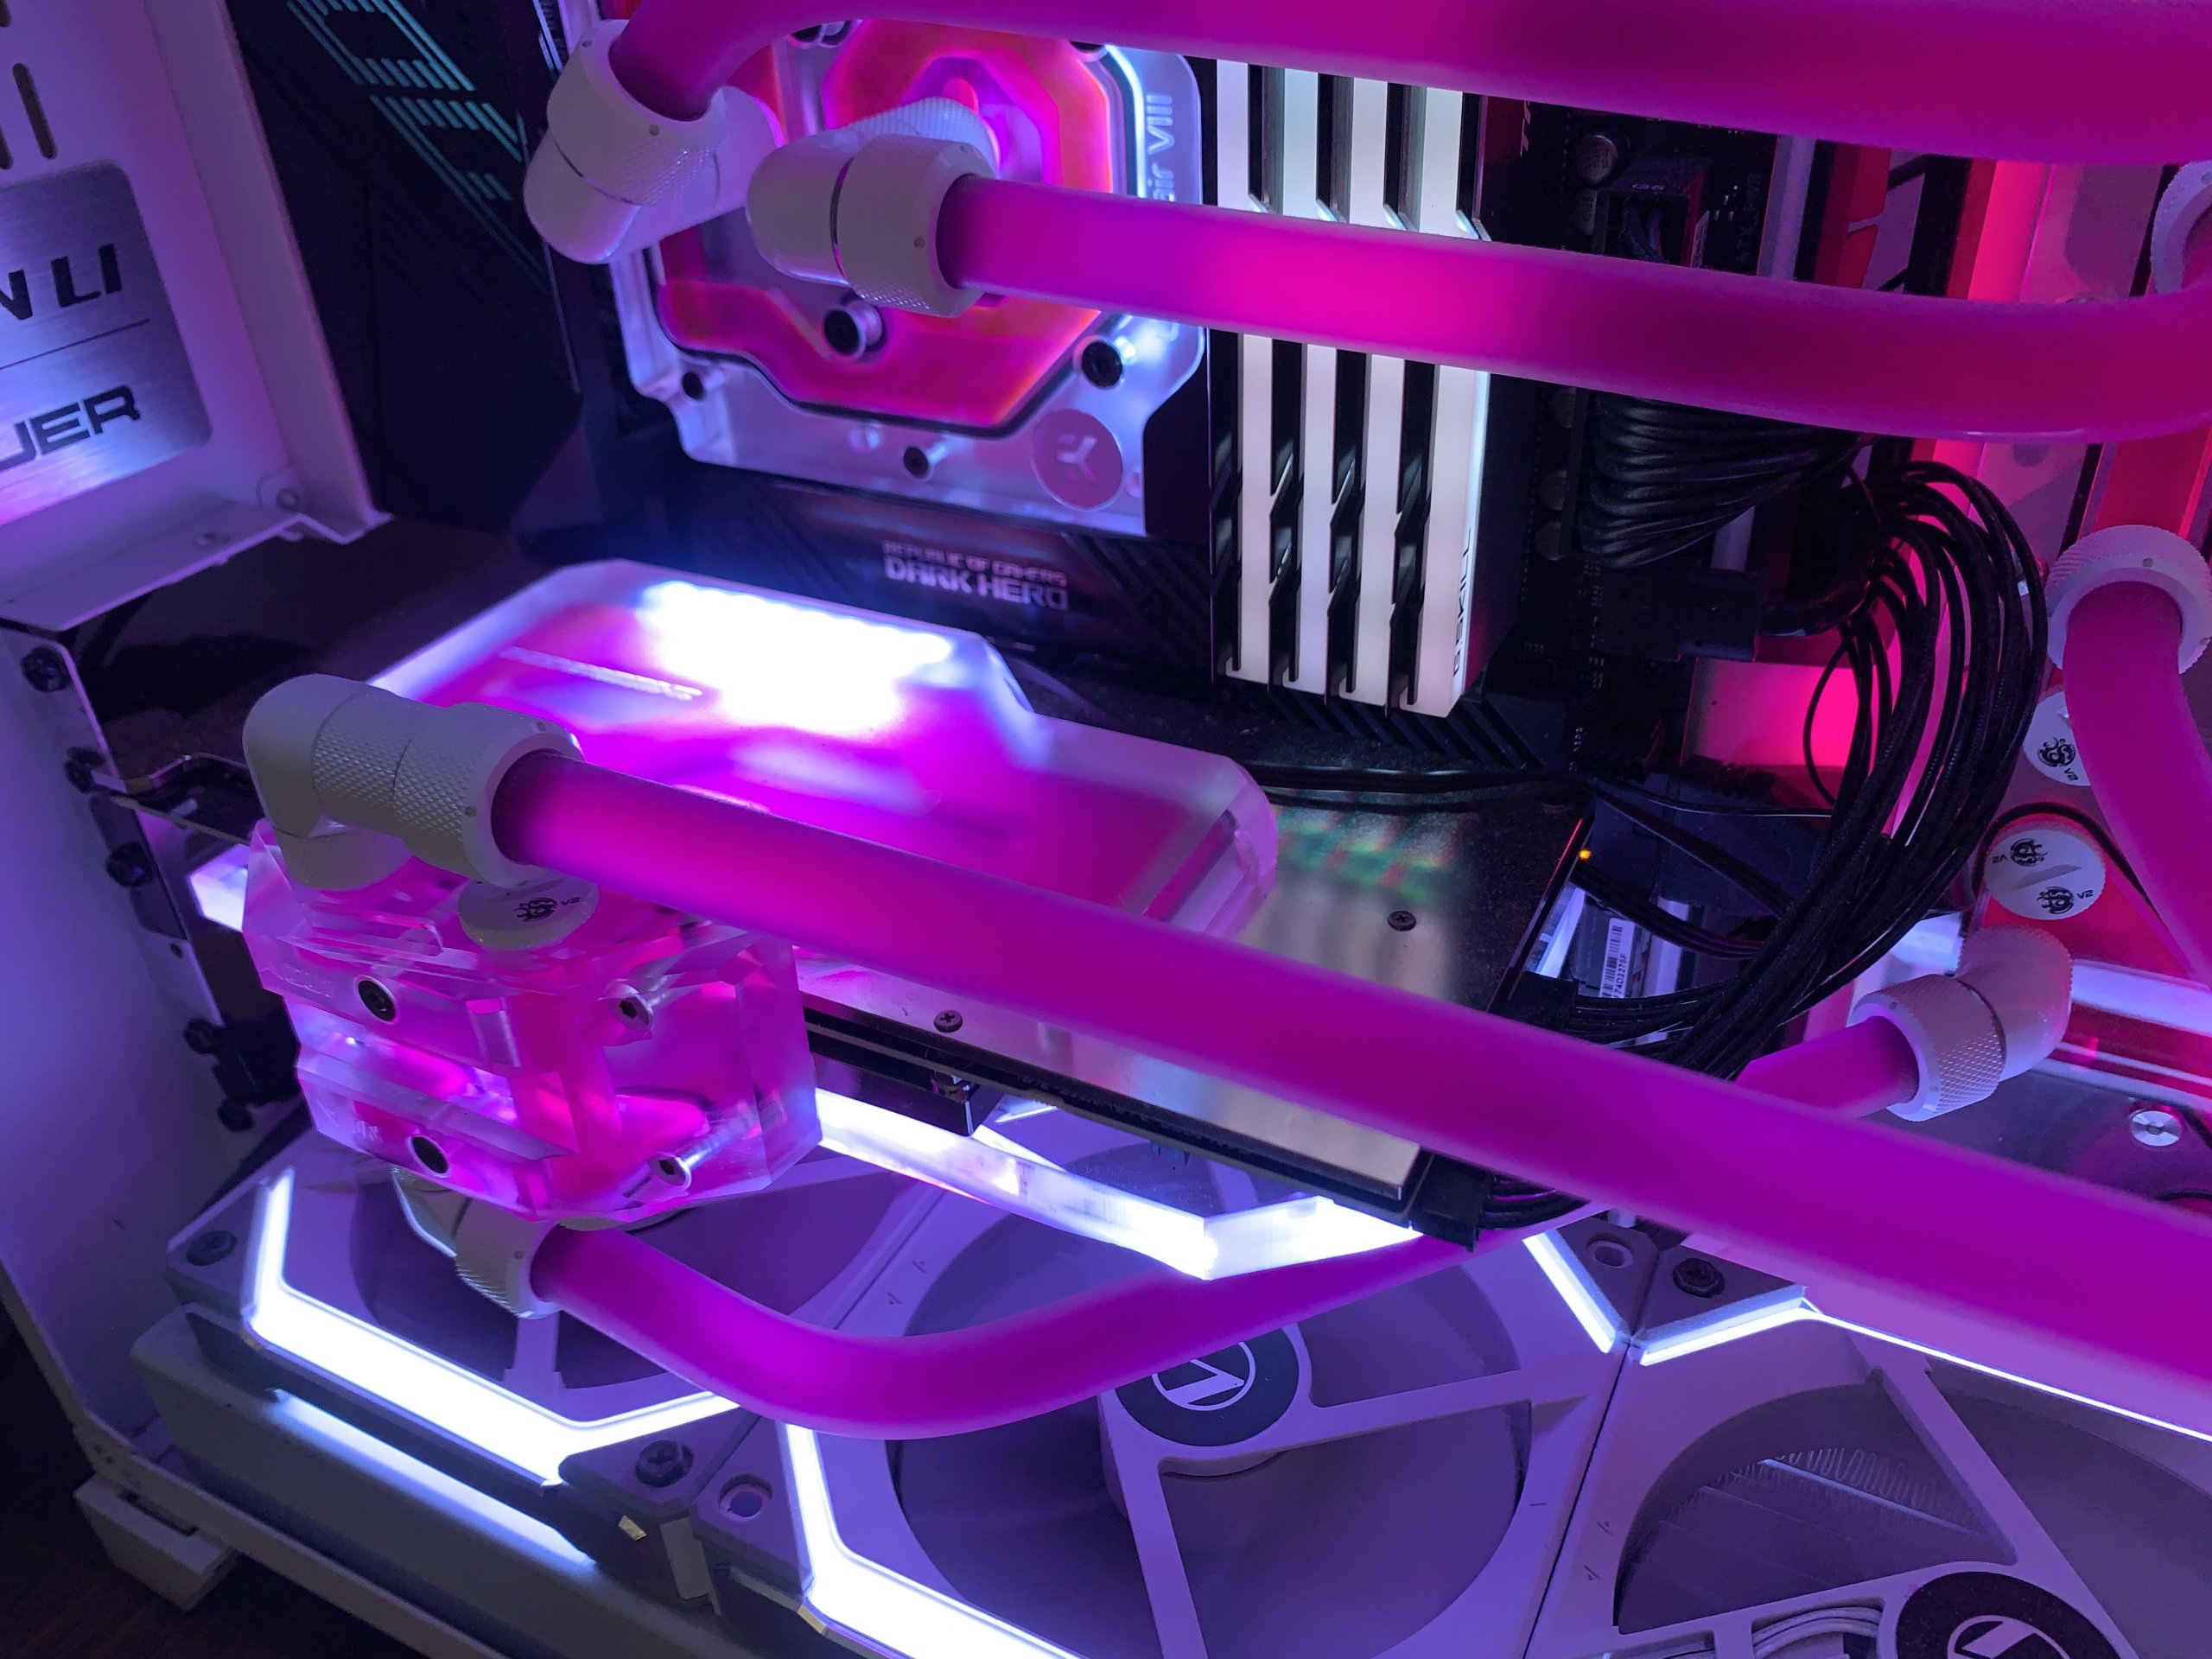
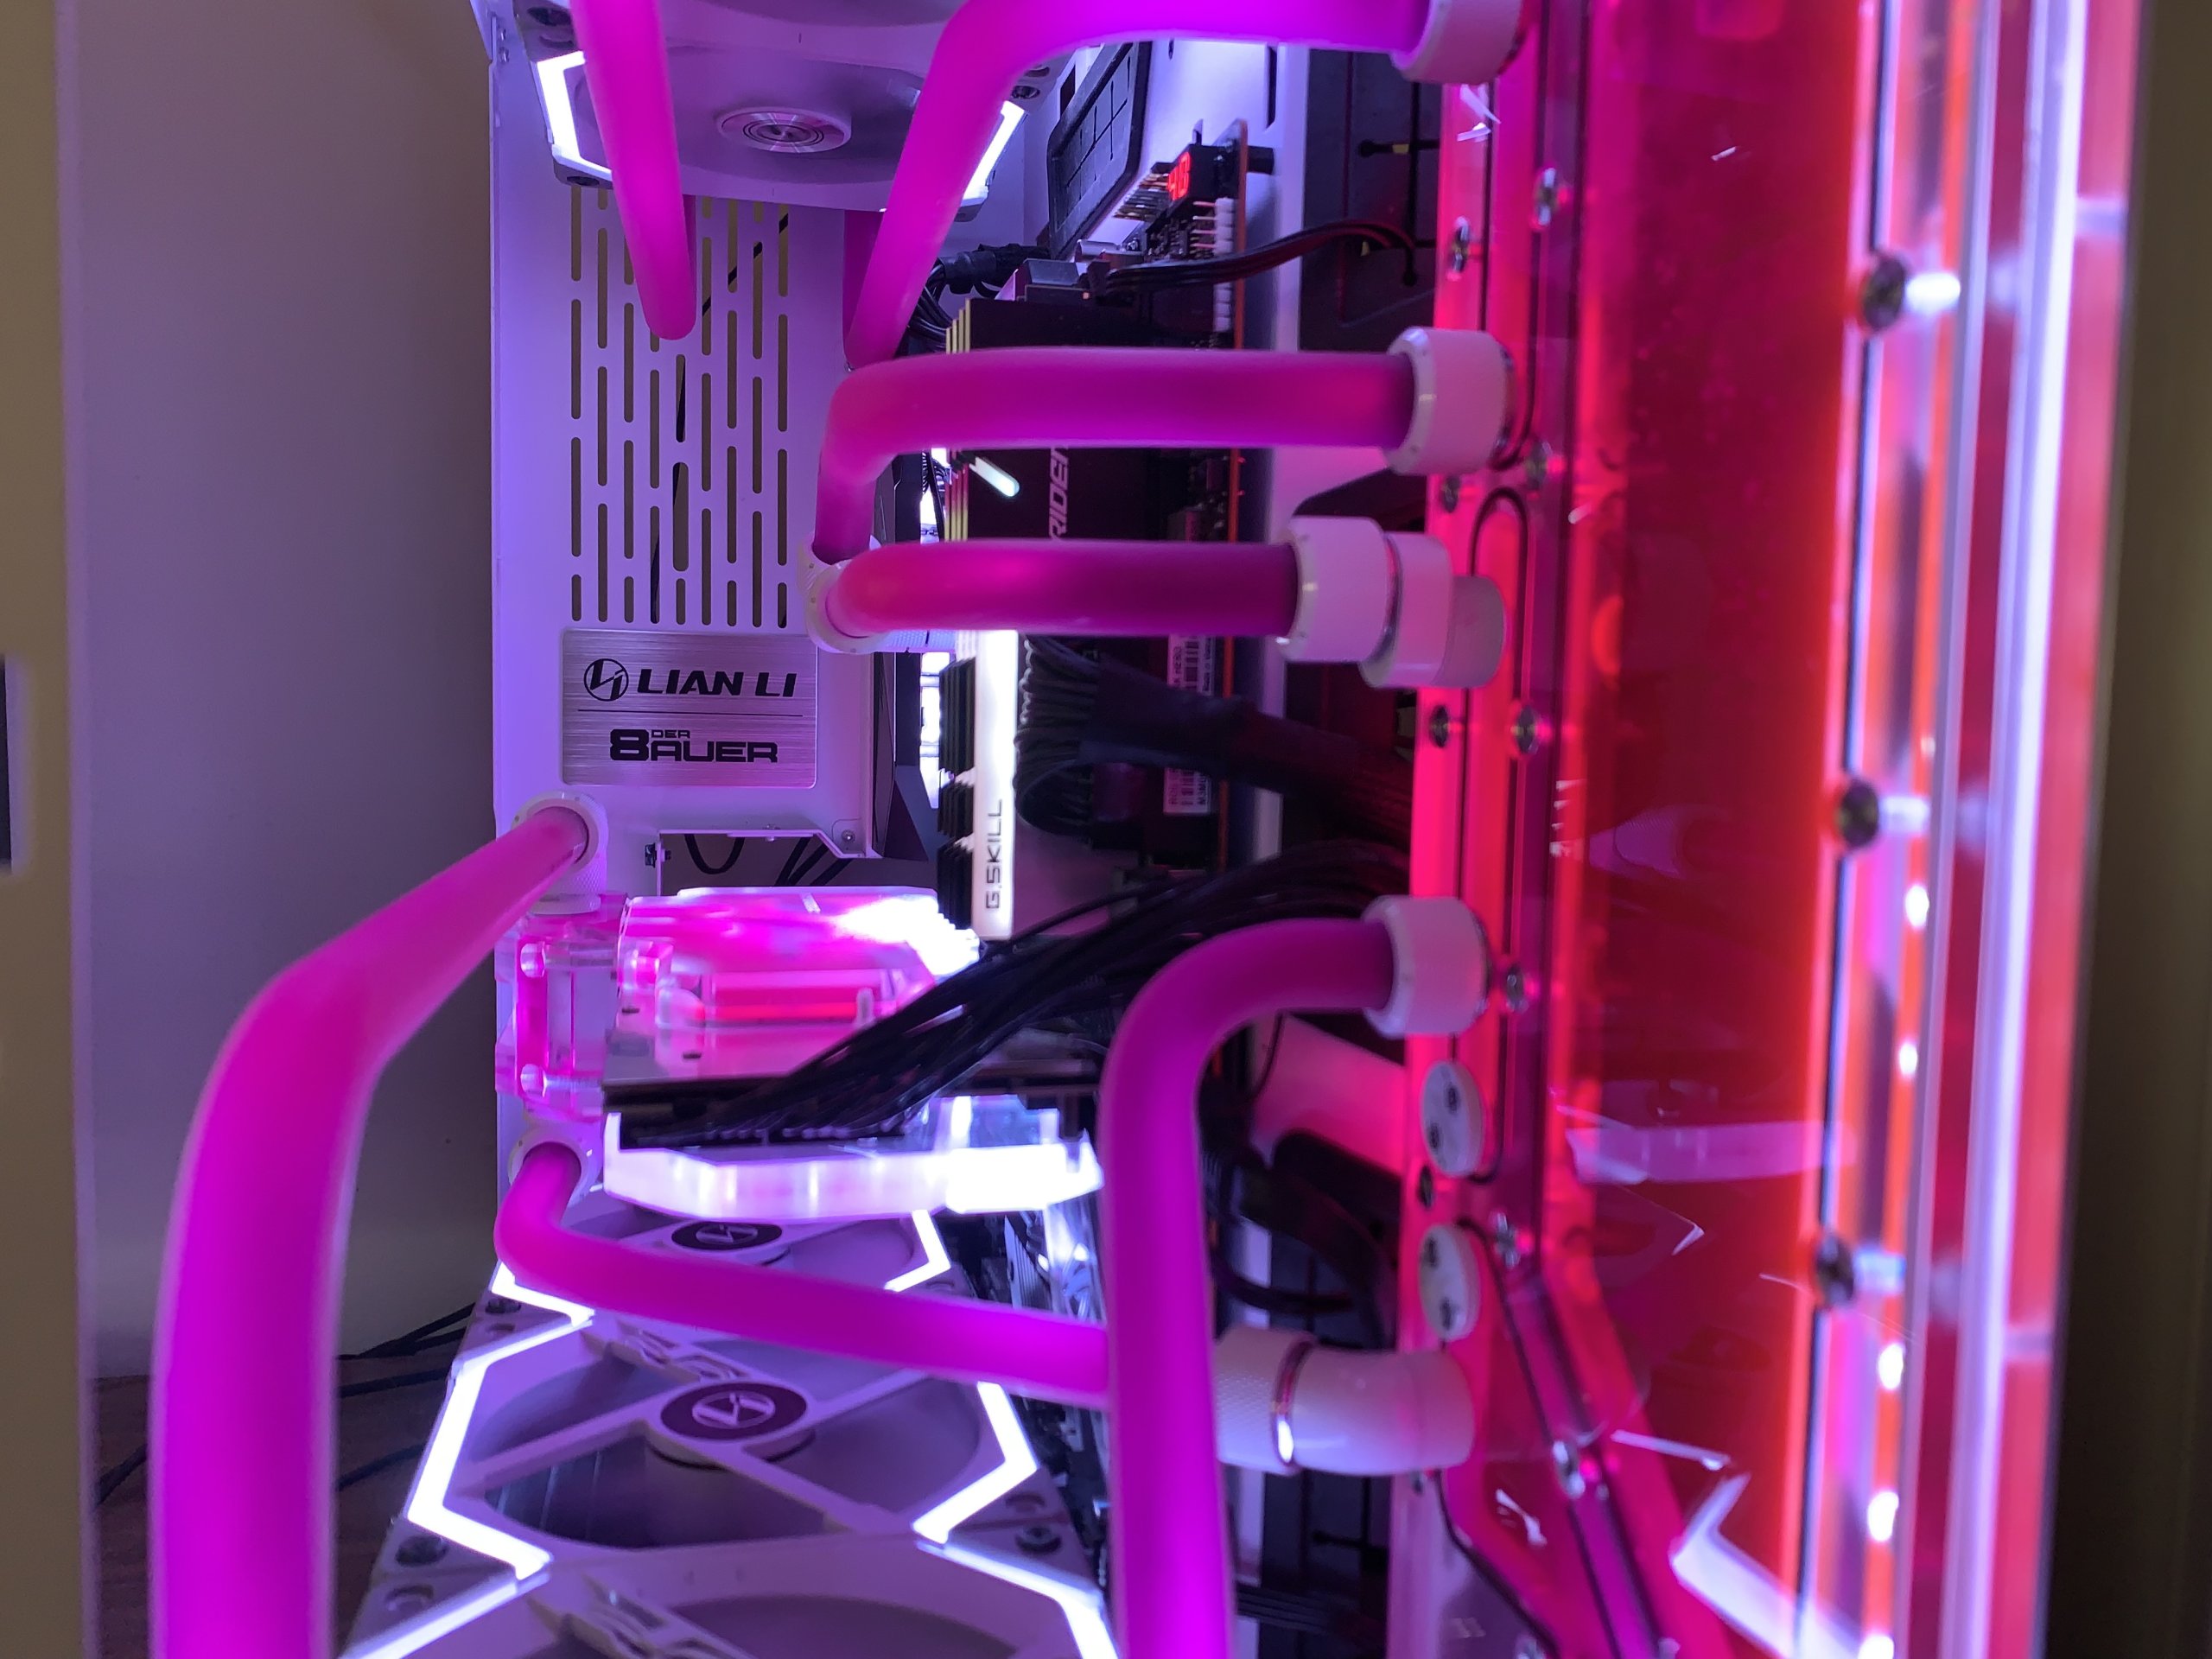
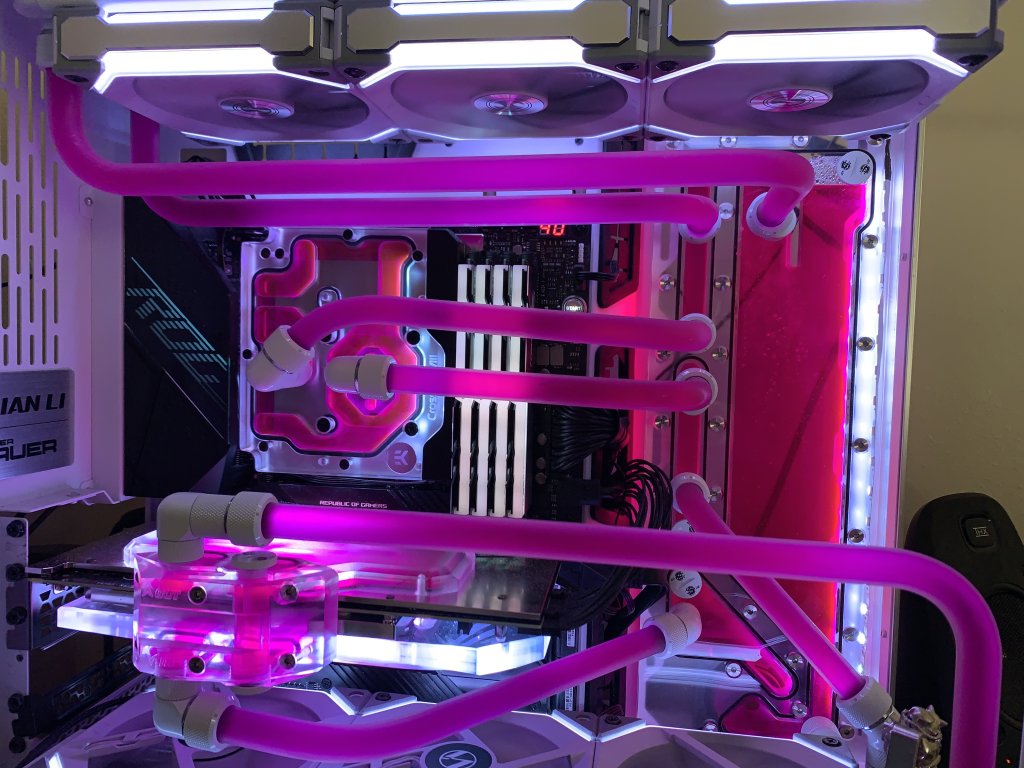
After purchasing all the water cooling components so that I could install them in one go, I began to start planning the loop order in my head. The loop order is simply the flow order of all the cooling components. It largely doesn’t matter from a performance perspective as the water flows through the system quickly enough that it averages out. But I liked the visuals of a distribution plate (Combination reservoir and pump) -> video card -> intake radiator -> distro plate -> CPU -> distro plate -> exhaust radiator -> distro plate. While this path required more tubing and was more difficult to create, it offered the showcase look I always liked.
As for installing the CPU and GPU water blocks, the process was much simpler, and consulting the instructions plus YouTube videos provided more than enough information. The blocks took no more than 15 to 20 minutes each to install. The Bitspower distribution plate was designed specifically for the O11 Dynamic and took no more than 5 minutes to install. Once the water blocks and distribution plates were installed, the hardware and wiring proceeded normally as any PC build.
The entire build took about a week working an hour or two a day, and the bulk of the time was spent on cutting, shaping, and installing the fittings and tubing. Bending hard tubing requires heating up it up with a heat gun and forming it with a mold while it cools. This process took multiple tries to really learn and I quickly found out that tubing runs with only one bend were much easier than those with multiple bends. After testing the system for leaks and finding none, it was time to turn on the system.
Was it Worth It?
My original goal was to reduce GPU core and memory temperatures to prevent thermal throttling. While I met that goal and lowered the memory junction temperature from 109c under load to an average of 100c with a 700 MHz memory overclock. I suspect I can lower that number even further by replacing the Bykski supplied 1.8mm thermal pads with Gelid 2.0mm thermal pads. But for now, the thermal throttling issue is solved and temperatures acceptable.

While mining, memory temps are higher than expected but still no thermal throttling.
CPU and motherboard temperatures were not a problem and custom loop water cooling added little performance value. An AIO or even air cooler would have sufficed. Ultimately, custom loop cooling only offered aesthetic benefits. In fact, installing a monoblock may have hurt temps since the voltage regulator modules (VRMs) heat up the block along with the CPU.

CPU idle temp is higher than expected and may need to be investigated.
Looking at it as a price to performance question, the answer to whether custom loop cooling is worth it is a resounding no for your average user or even hardcore gamer. It required purchasing multiple water cooling components on top of existing hardware. On top of being an expensive fix for ultimately what could have been solved with $10 thermal pads, it took longer to reach profitability from mining. I can only hope Ethereum stays on proof of work for a few months in order to maximize profits.
From a hobbyist perspective, I see how designing and creating a custom loop can be immensely satisfying. While they require a lot of time and resources to build, you get a showcase PC that you can be proud to display. Would I put myself through the whole process again? My answer is a no, but I wouldn’t rule it out entirely as it scratched the tinkering itch quite well.