Portable storage has come a long way in the last several years. Today, it’s easy to carry around 64GB of storage and more in a tiny USB drive and 4TB and more in a larger — but still reasonably sized — portable hard disk drive (HDD) or solid-state drive (SSD). That’s a great benefit for anyone with a portable machine that’s low on space, for photographers and videographers who need a place to store their work, or really just about anyone else who needs to transfer work from one machine or user to another.
But having access to so much portable storage has a dark side. The more information we can save in standalone devices that are easier to misplace and leave behind, the more we need to worry about nefarious parties gaining access to our personal data. That’s where secure storage comes in, which uses several different methods to encrypt the contents of our external storage devices to make it harder to access.
There are two main methods used to secure storage devices. First is software, where either an application or an operating system feature is used to encrypt the data on a device. The other is hardware, where an external storage device incorporates its own encryption chip and some method for entering the encryption key to unlock the data.
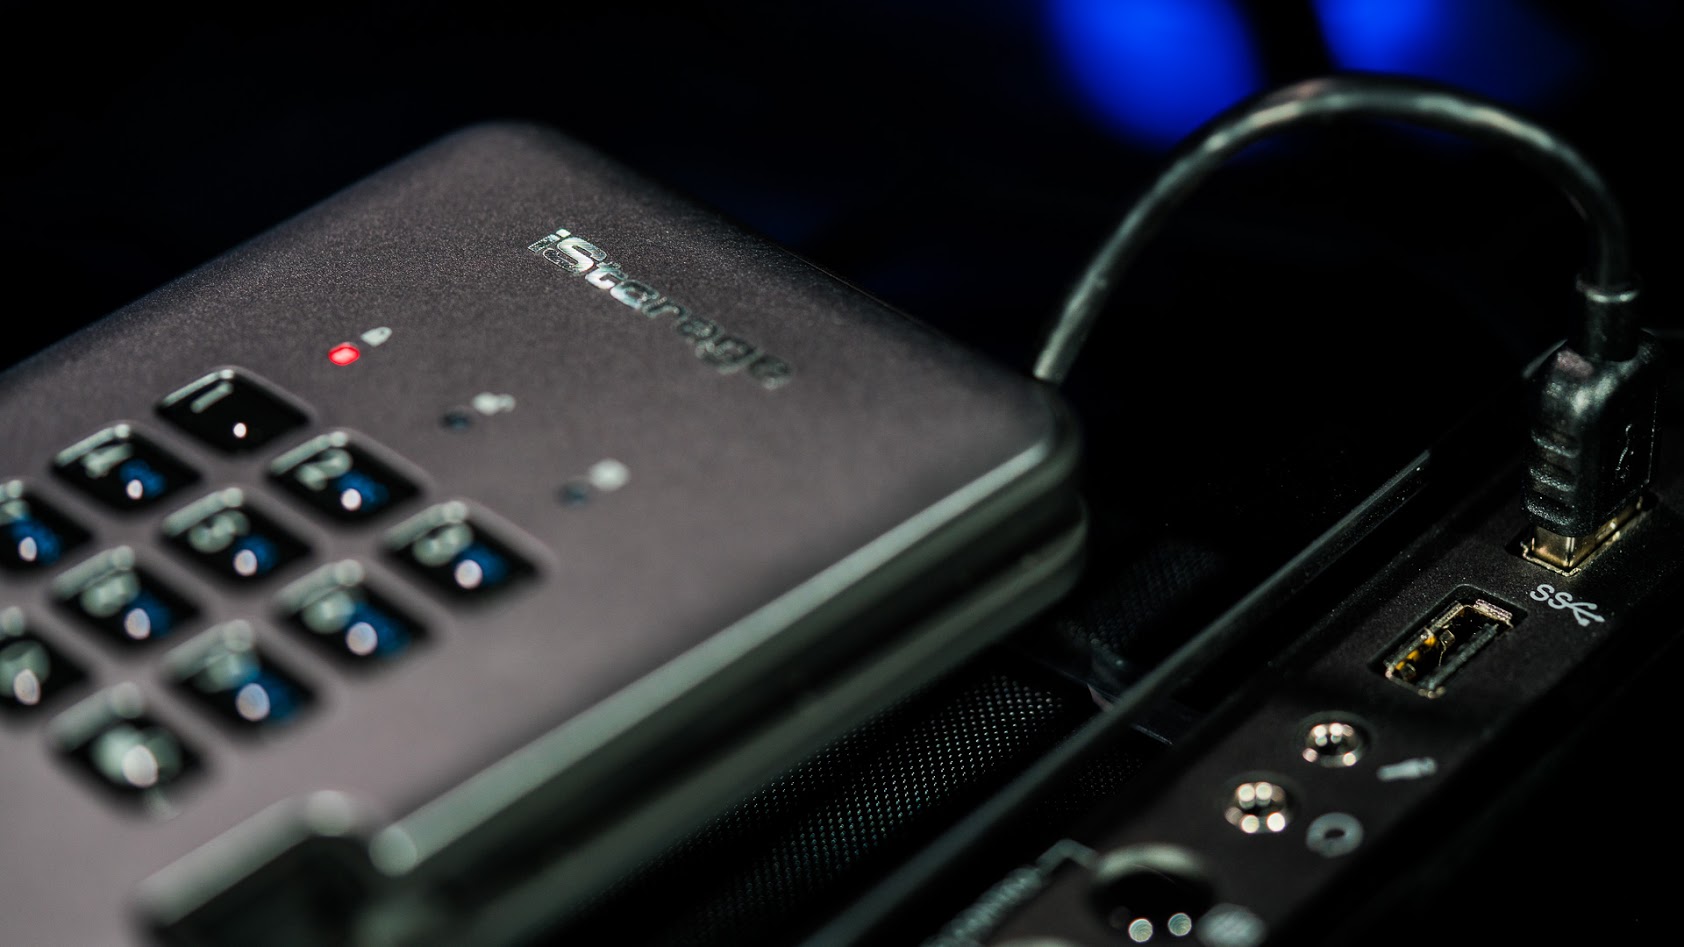
This article will provide an introduction to two of the most popular software solutions for securing your portable storage devices. For a look at hardware solutions, read our in-depth look at iStorage security drives.
Windows: BitLocker To Go
Windows includes support for encrypting drives via the BitLocker full disk encryption system that first made its debut in Windows Vista. You can use BitLocker to encrypt external drives just as easily as internal drives, and then securely access them on any machine running Windows Vista or later. Note that if you want to use BitLocker with older Windows XP or Vista systems (both of which require the BitLocker To Go Reader app), then the drive must be formatted as FAT16, FAT32, or exFAT. You can use NTFS drives with Windows 7 systems and later.
Enabling BitLocker
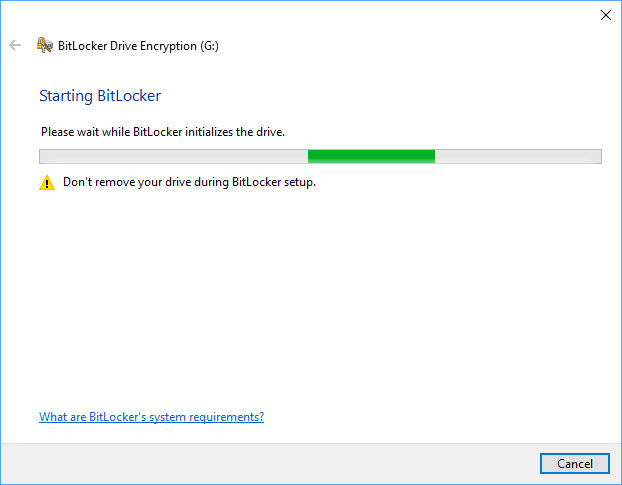
To encrypt an external drive using BitLocker using Windows 10 Fall Creators Update edition, right-click on the drive letter and select “Turn on BitLocker” from the menu. BitLocker will initiate the drive.

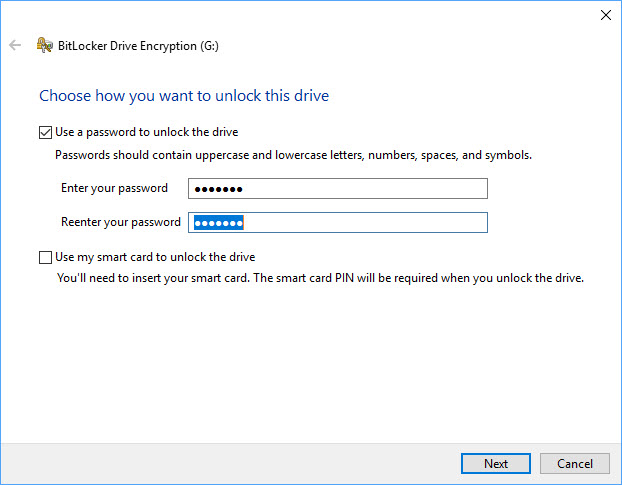
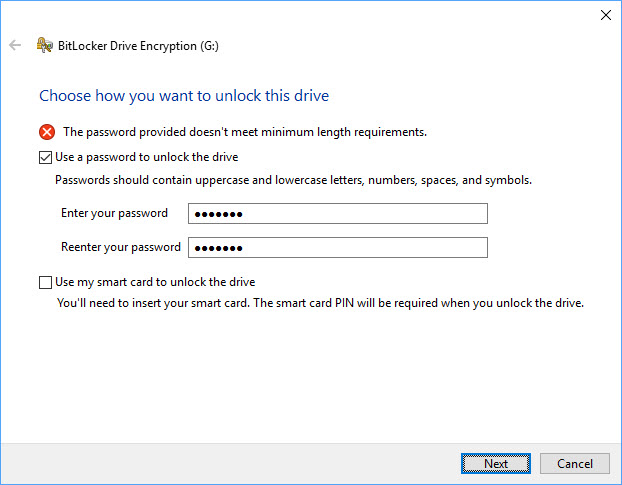
A dialog will open asking you to decide how to unlock the drive once it’s been encrypted. Choose to enter a password to unlock the drive to allow you to use it on other PCs. Note that you ned to use a password that’s at least eight characters and that has some mix of upper and lowercase letters, numbers, and special characters – you’ll get an error if you don’t create a strong enough password.
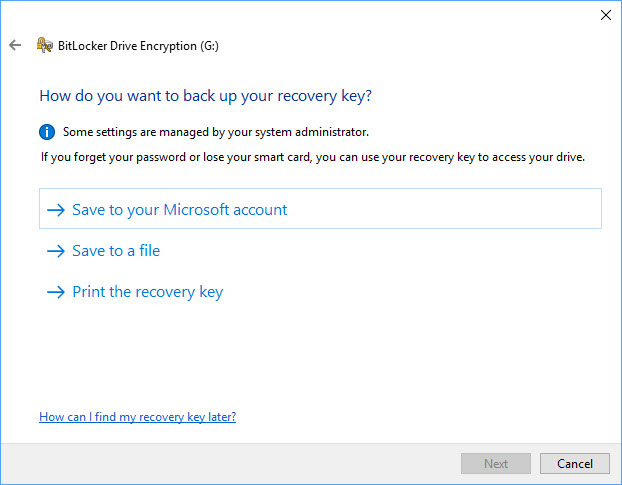
Next, you’ll be asked how you want to save your recovery key, which is what you can use to access the drive if you forget your password. Select the best option to proceed.
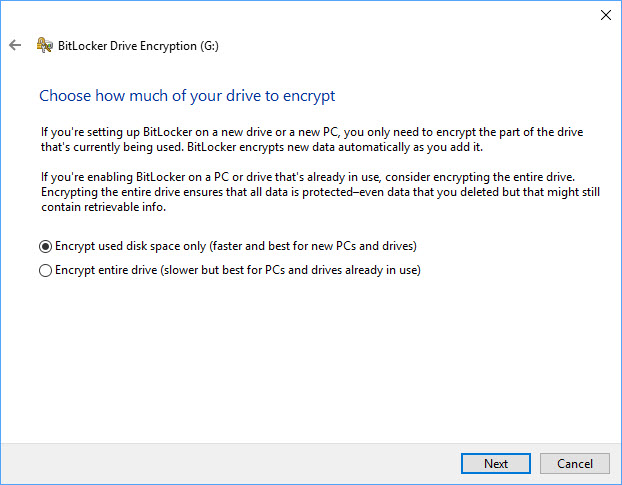
BitLocker will then ask how much of your drive to encrypt. You can choose just the used space if you’re starting with a new drive or to encrypt the entire drive if it already contains data.
In the next dialog, choose to use “Compatible mode,” which is best for removable drives to ensure that you can use it with any version of Windows. If you’re sure that you’ll be using at least Windows 10 (Version 1511) with the drive, then you can opt for the newer encryption mode.

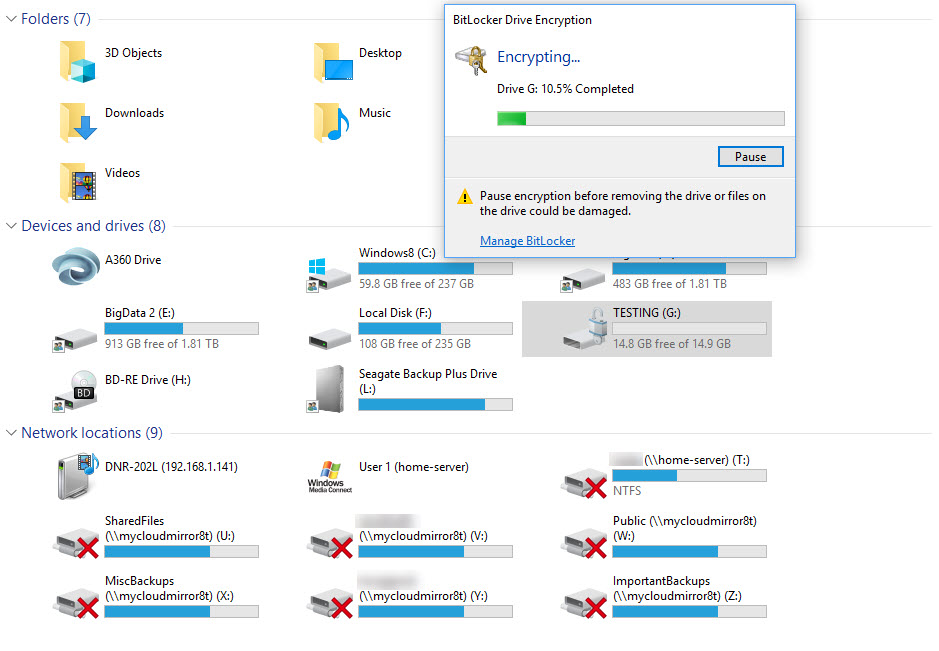
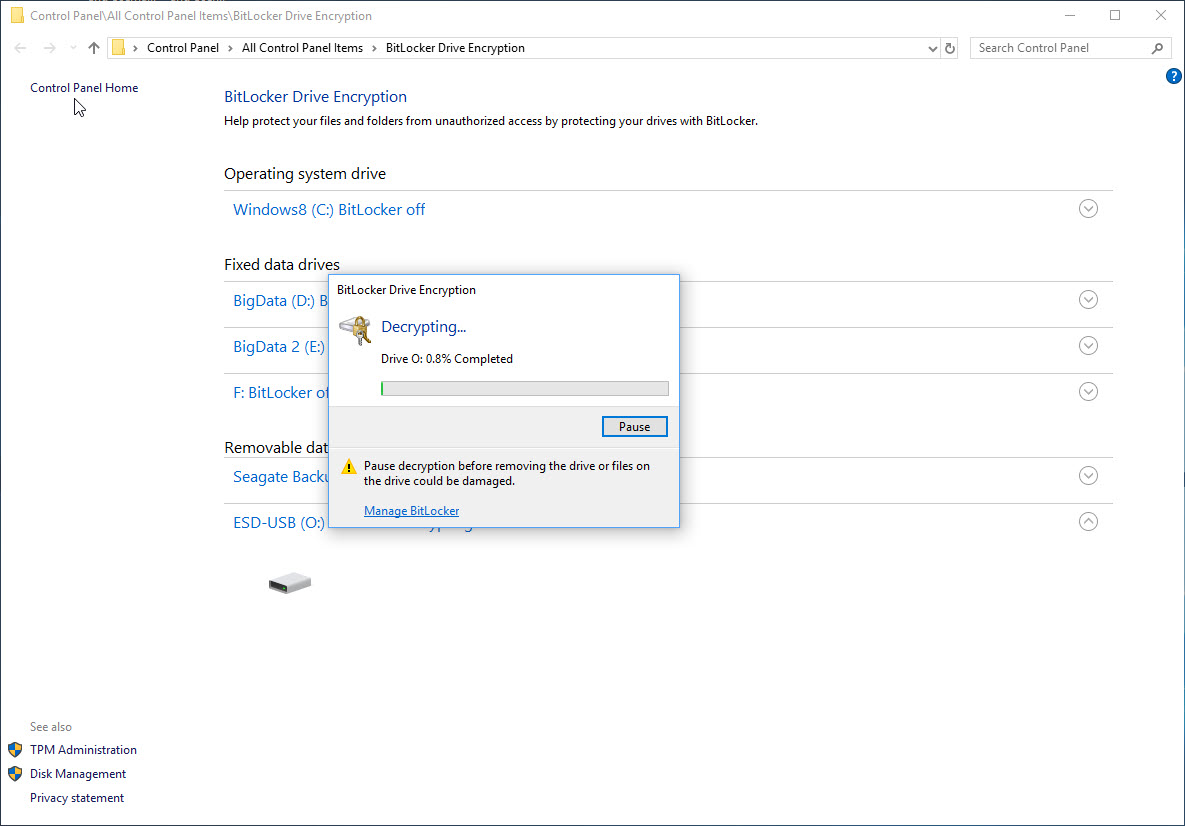
Now, you’re ready to start encrypting. Click “Start encrypting” and BitLocker will begin the process. Note that you can pause the process if you need to remove the drive, but don’t eject it without explicitly hitting the “Pause” button or the drive and its files can become corrupted.

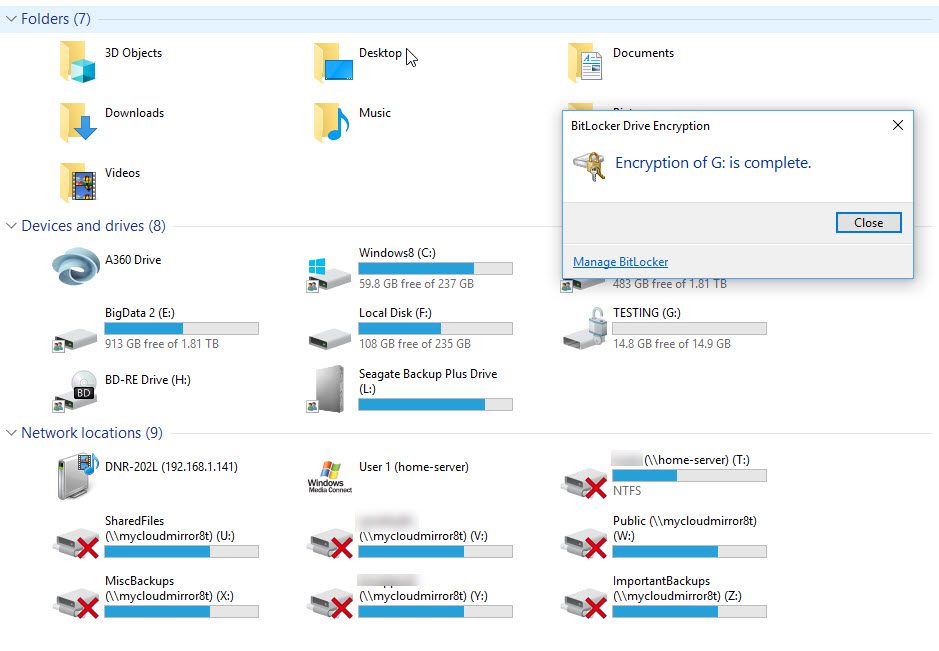
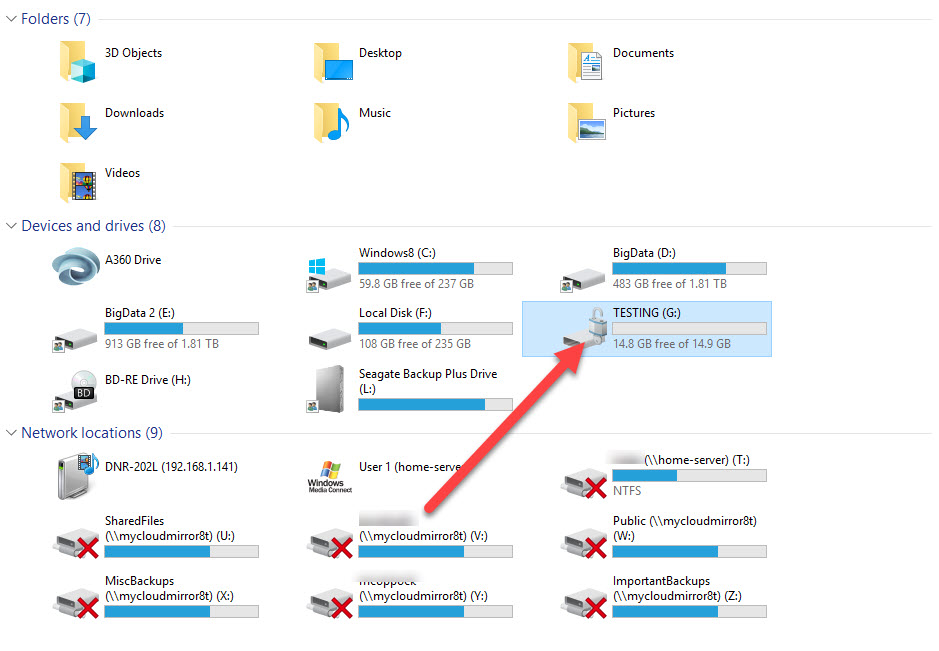
BitLocker will notify you when the encryption process is completed. You’ll also notice that the drive’s Windows Explorer icon has change to indicate that it’s now encrypted.
How to remove BitLocker
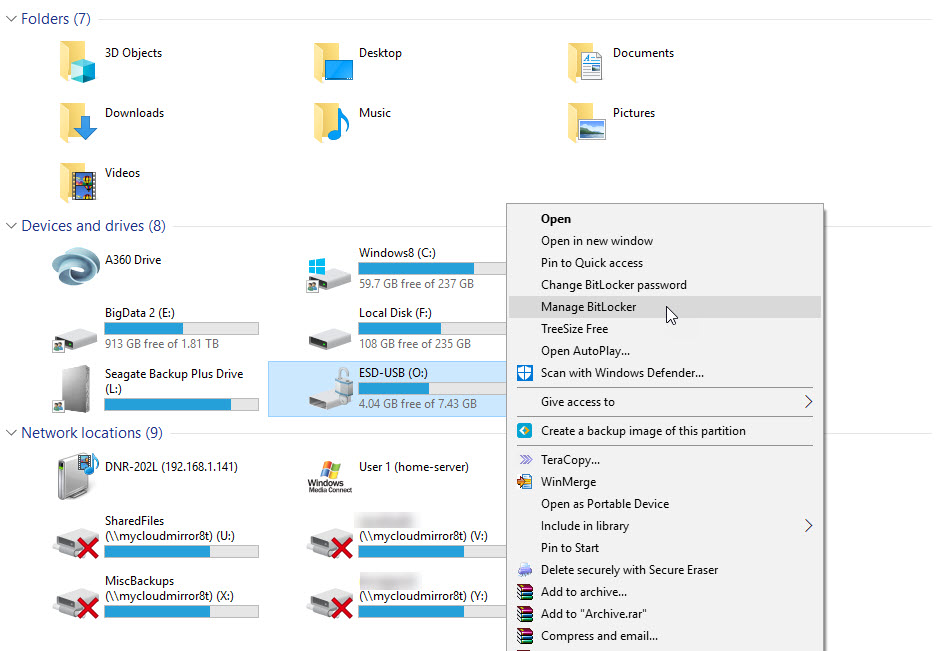
If you want to remove BitLocker from a drive, then you can right-click on the drive icon in Windows Explorer and select “Manage BitLocker.”
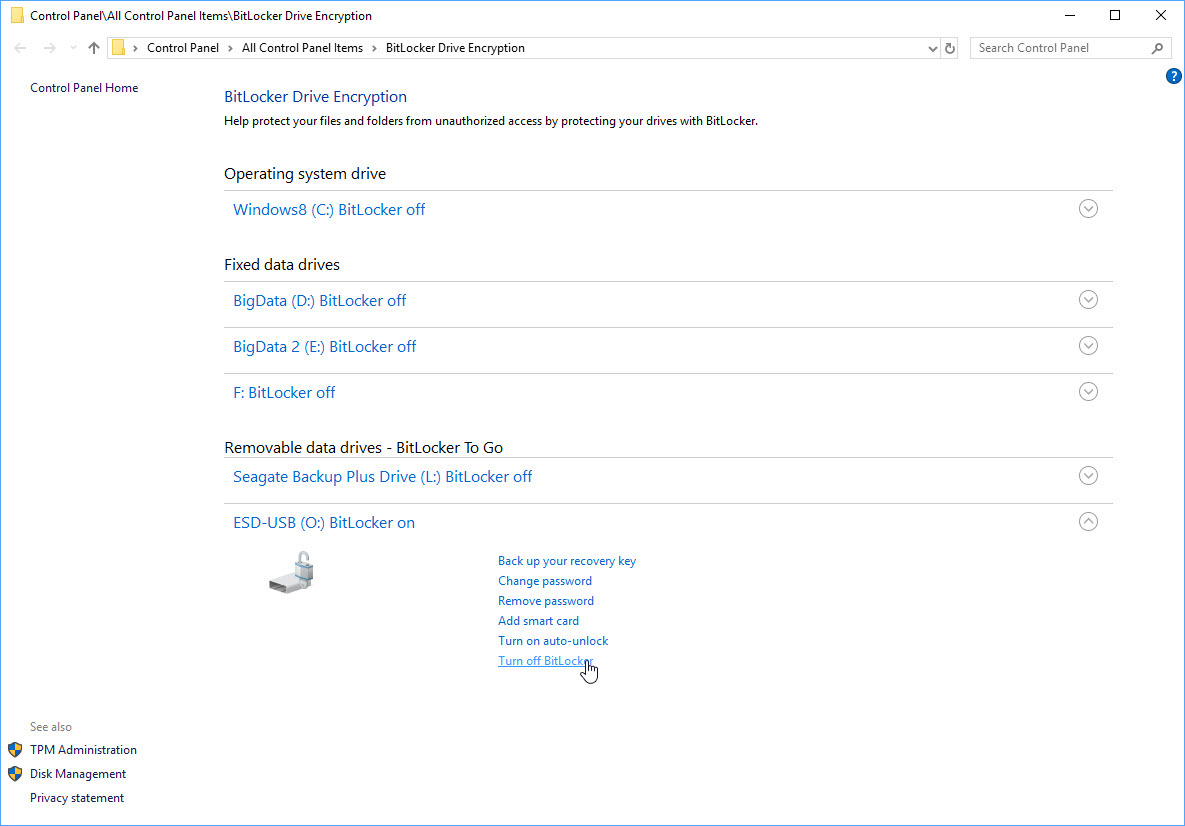
Then, select “Turn off BitLocker” for that drive on the following page.
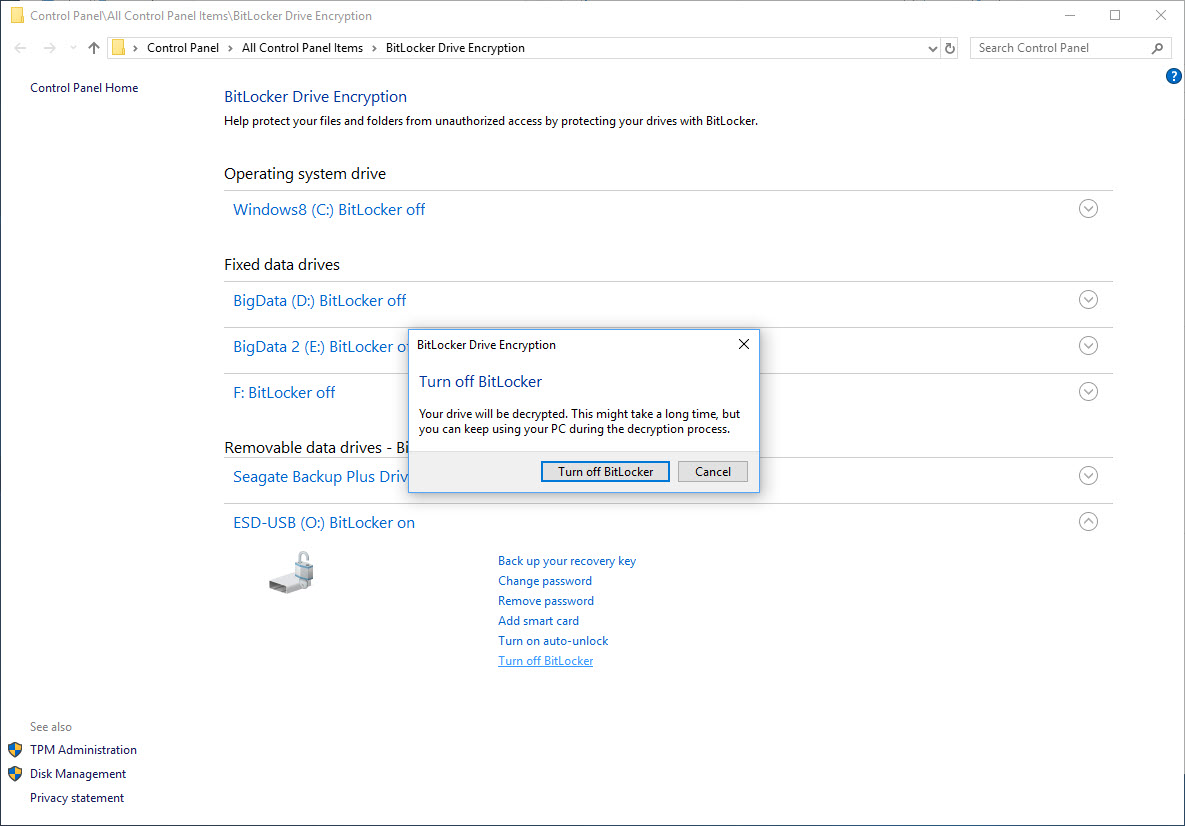
Click “Turn off BitLocker” to proceed. BitLocker will then decrypt the drive, and again hit the “Pause” button if you need to remove the drive before BitLocker has finished.
When BitLocker is finished decrypting the drive, its icon will return to its non-encrypted state.
Note that these instructions cover the simplest way of using BitLocker. If you have a machine with a Trusted Plaftorm Module (TPM) chip, you’ll get better security. And if you’re a part of an organization, then you might have specific ways to use BitLocker for encrypting drives. Finally, if you have a MacOS system, then you can download the BitLocker To Go Reader for Mac to access a drive that’s been encrypted using BitLocker.
MacOS Encryption
Encrypting a USB drive in MacOS is even simpler. Just plug in your drive, which needs to be formatted for the Mac file system (HFS+), and then open the Finder. The following are instructions on encrypting a USB drive for MacOS High Sierra, and note that the drive will only be accessible on MacOS machines.
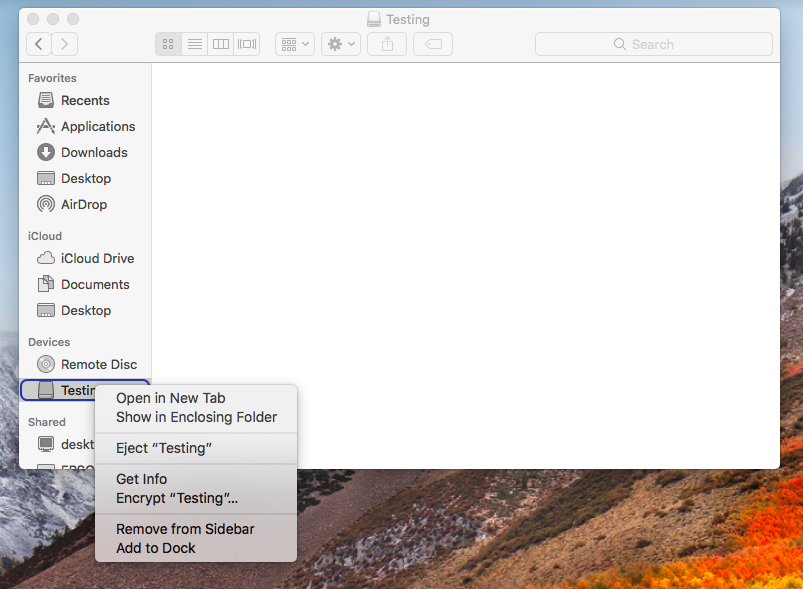
First, right-click on the drive and select “Encrypt” from the menu.
Enter a password, confirm it, and enter a hint so to help you recover the password later if necessary. Click “Encrypt Disk” when you’re done.

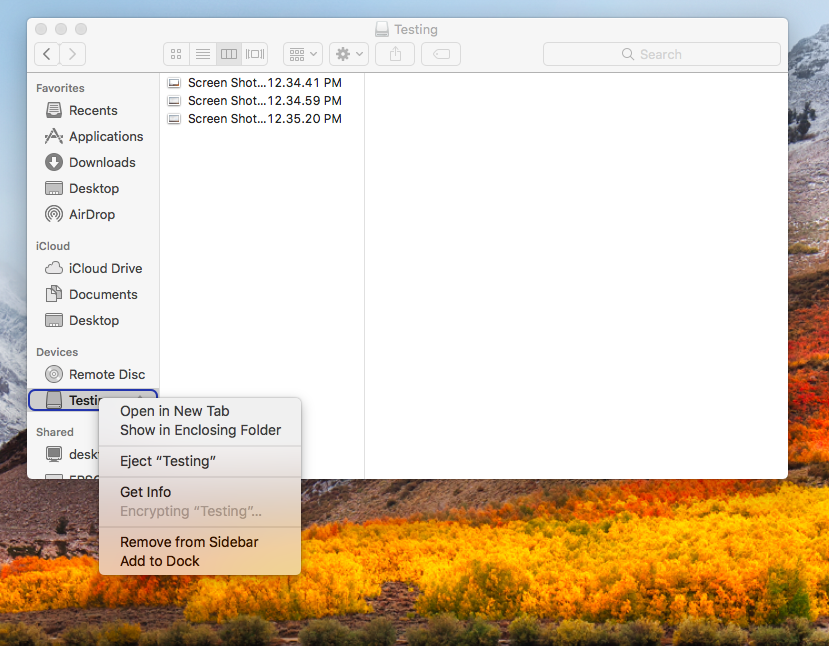
MacOS will then proceed to encrypt the drive, but it won’t give you a visible indication of the process. You can right-click on the drive in the Finder to check on the status.
Third-Party Apps
There are also many third-party apps that can be used to encrypt portable storage devices. Many of the apps are free and open source, and they provide a variety of capabilities and security levels. Here’s a quick list of some apps you might want to consider:
- Veracrypt (free)
- DiskCryptor (free)
- Rohos Disk ($35)
- GiliSoft USB Encryption ($50)
- Lacie Private-Public (Free)
Of course there’s more to keeping your data secure than just the programs discussed here, and there are limitations to software security. To learn more about the physical side of portable data security, make sure to check out our overview of the iStorage line of devices.