
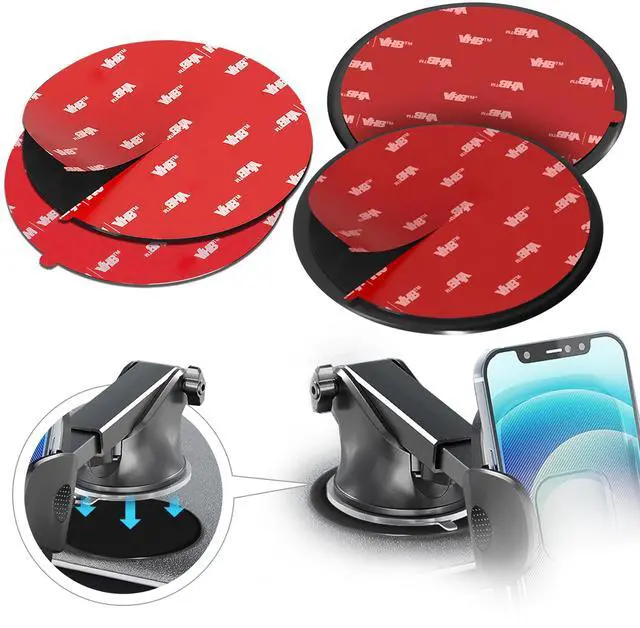


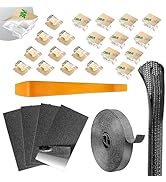
Premium Dashboard Mounting Disk for Suction Cup Holders


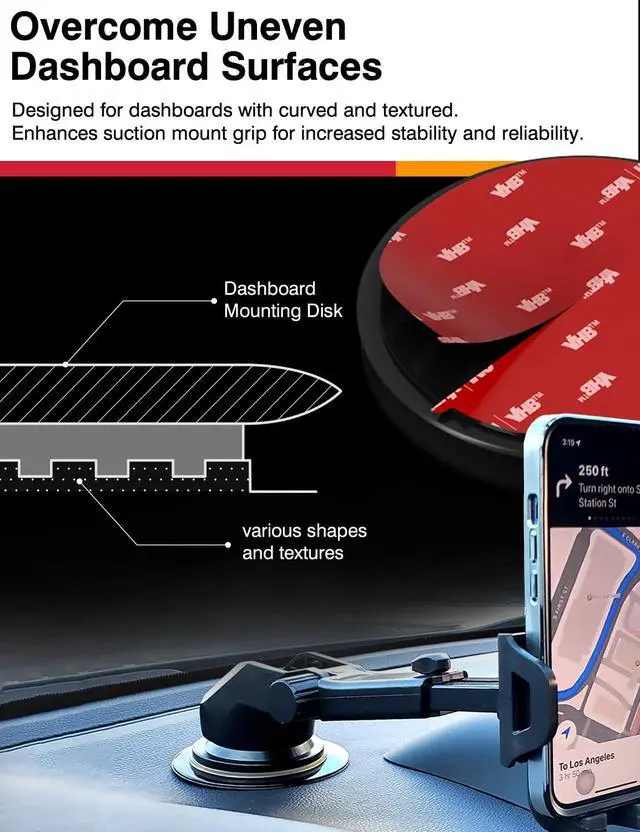
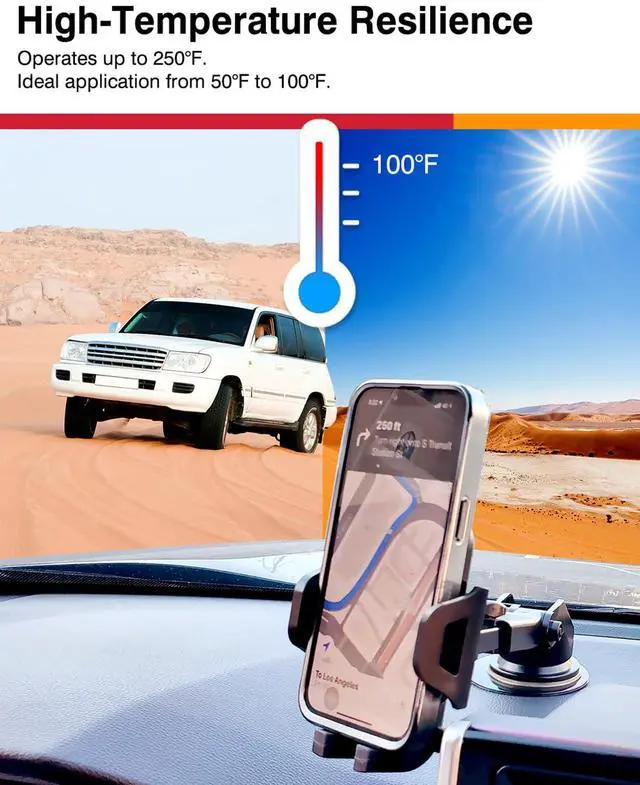
This mounting disk transforms your vehicle's dashboard into a reliable platform for your car phone holders, GPS navigators, and dash cams.
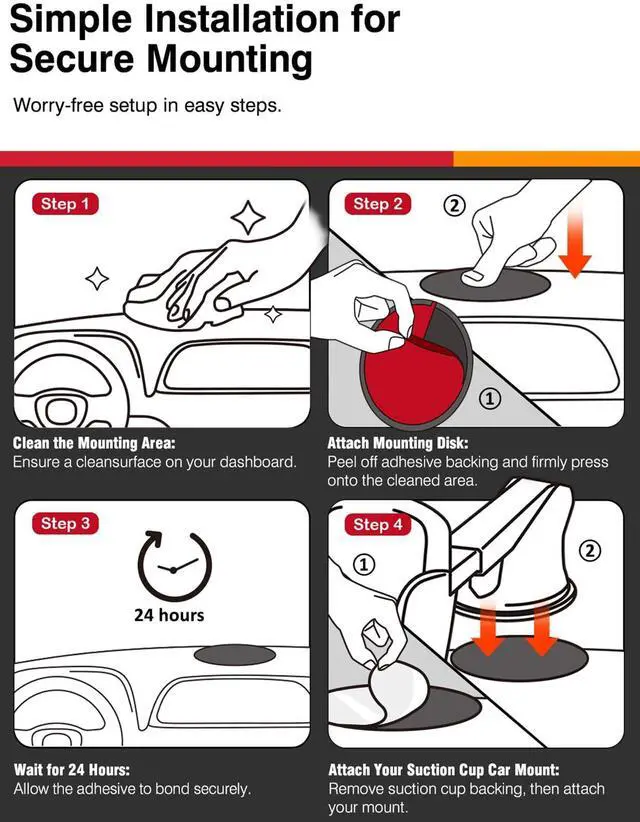
4 Simple Steps for Secure and Easy Installation

Clean the Dashboard Area
Ensure the intended mounting area on your dashboard is thoroughly cleaned for effective adhesion.

Attach Mounting Disk
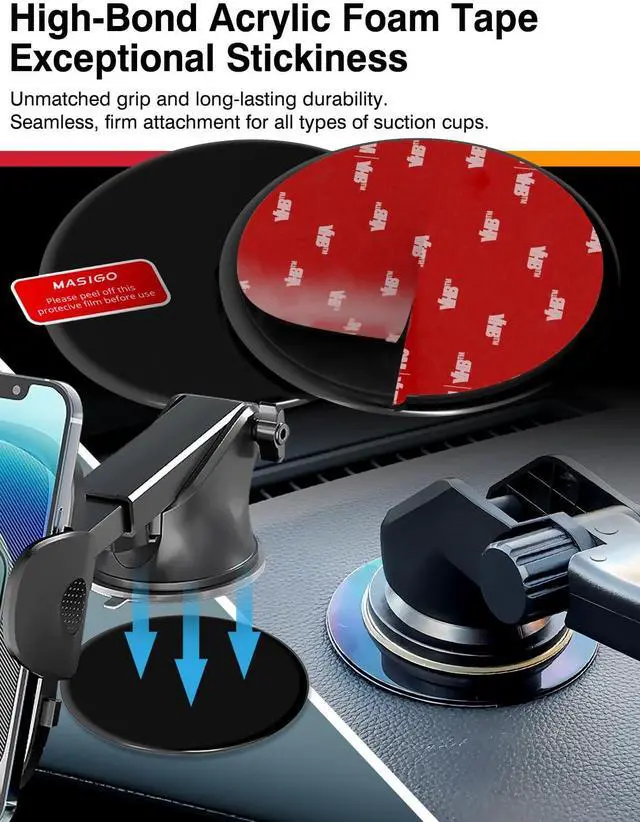
Carefully peel off the backing from the disk and firmly press it onto the cleaned surface for 30 seconds.

Wait for 24 Hours
Leave the disk to bond with the dashboard for 24 hours to achieve optimal adhesive strength.

Attach Your Suction Cup Car Mount
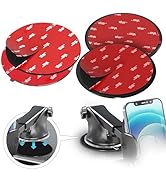
After the waiting period, attach your suction cup car mount to the center of the disk.
4 Easy Steps for Safe and Efficient Removal

Apply Heat
Loosen the suction cup first, and use a hair dryer to apply gentle heat around the edges of the disk to soften the adhesive.

Slide Dental Floss
Gently slide dental floss or fishing line behind the disk. Use a sawing motion to cut through the adhesive layer.

Pry the Disk Off
Use a plastic pry tool to gently lift the disk off. Start at an edge and slowly work your way around the disk.

Clean the Surface
Use a soft cloth or sponge to gently scrub the area and remove any remaining adhesive residue.
Choosing Comprehensive Vehicle Mounting Accessories
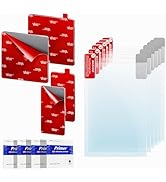
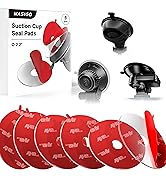
 Adhesives Dashboard Disk |  Phone Holder Sticky Pads |  Adhesives Dashboard Disk |  Vacuum Seal Grip Pads |  Tint-Safe Static Film |  Tint-Safe Mounting Kit |  Toll Pass Mounting Kit | |
|---|---|---|---|---|---|---|---|
Customer Reviews | — | — | — | — | — | — | — |
Price | — | — | — | — | — | — | — |
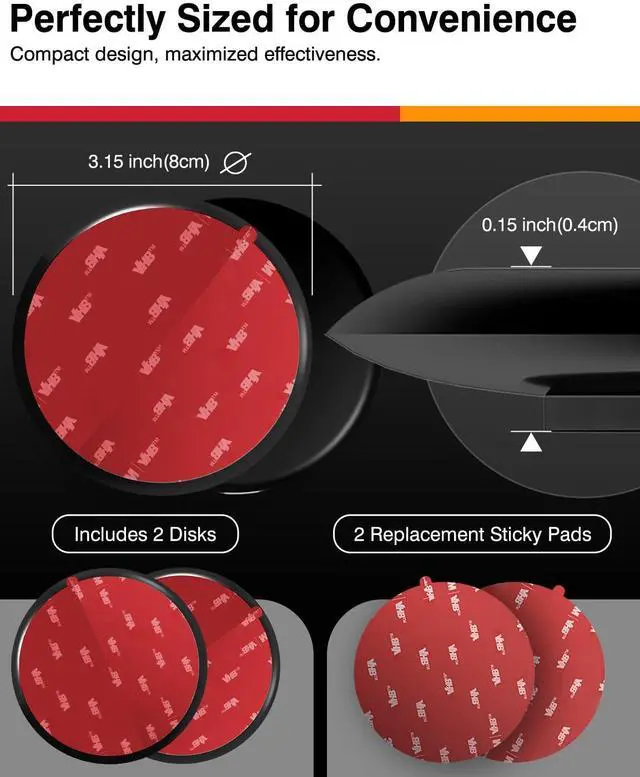
Size | Ø 3.15", 0.15" in thickness | Ø 3.15", Ø 0.91" | Ø 3.74", 0.15" in thickness | Ø 2.2", 0.04" in thickness | 4" x 6" (10 x 15cm) | 1.2" x 1.57, 1.1" x 0.71" | 5" x 2.5" (12.7 x 6.35cm) |
Color | Black | Grey | Black | Clear | Clear | Clear, Grey | Clear, White |
Materials | Automotive-Grade Acrylic Foam | Automotive-Grade Acrylic Foam | Automotive-Grade Acrylic Foam | Clear Acrylic Foam Tape | PET | PET and Acrylic Foam Tape | PET, PO, Acrylic |
Mounting Type | Dashboard Phone Holder | Adhesive for Dashboard Mount | Dashboard Phone Holder | Designed for Suction Cup Mount | Adhesive/Suction Cup/Sticker | Designed for Adhesive Mount | Adhesive Strips + Static Film |
Qty. | 2 Disks + 2 Replacement Pads | 4 pcs + 4 pcs | 2 Disks + 2 Replacement Pads | 6 PCS | 6 PCS | 4 Tapes + 2 Static Films | 4 Sets (8pcs) + 2 Films |
Heat Resistance | ? | ? | ? | ? | ? | ? | ? |
Premium Dashboard Mounting Disk for Suction Cup Holders


This mounting disk transforms your vehicle's dashboard into a reliable platform for your car phone holders, GPS navigators, and dash cams.
4 Simple Steps for Secure and Easy Installation
Clean the Dashboard Area
Ensure the intended mounting area on your dashboard is thoroughly cleaned for effective adhesion.
Attach Mounting Disk
Carefully peel off the backing from the disk and firmly press it onto the cleaned surface for 30 seconds.

Wait for 24 Hours
Leave the disk to bond with the dashboard for 24 hours to achieve optimal adhesive strength.
Attach Your Suction Cup Car Mount
After the waiting period, attach your suction cup car mount to the center of the disk.
4 Easy Steps for Safe and Efficient Removal

Apply Heat
Loosen the suction cup first, and use a hair dryer to apply gentle heat around the edges of the disk to soften the adhesive.

Slide Dental Floss
Gently slide dental floss or fishing line behind the disk. Use a sawing motion to cut through the adhesive layer.
Pry the Disk Off
Use a plastic pry tool to gently lift the disk off. Start at an edge and slowly work your way around the disk.
Clean the Surface
Use a soft cloth or sponge to gently scrub the area and remove any remaining adhesive residue.
Choosing Comprehensive Vehicle Mounting Accessories
Adhesives Dashboard Disk | Phone Holder Sticky Pads | Adhesives Dashboard Disk | Vacuum Seal Grip Pads |  Tint-Safe Static Film | Tint-Safe Mounting Kit | Toll Pass Mounting Kit |
|---|---|---|---|---|---|---|
| Customer Reviews | ||||||
| — | — | — | — | — | — | — |
| Price | ||||||
| — | — | — | — | — | — | — |
| Size | ||||||
| Ø 3.15", 0.15" in thickness | Ø 3.15", Ø 0.91" | Ø 3.74", 0.15" in thickness | Ø 2.2", 0.04" in thickness | 4" x 6" (10 x 15cm) | 1.2" x 1.57, 1.1" x 0.71" | 5" x 2.5" (12.7 x 6.35cm) |
| Color | ||||||
| Black | Grey | Black | Clear | Clear | Clear, Grey | Clear, White |
| Materials | ||||||
| Automotive-Grade Acrylic Foam | Automotive-Grade Acrylic Foam | Automotive-Grade Acrylic Foam | Clear Acrylic Foam Tape | PET | PET and Acrylic Foam Tape | PET, PO, Acrylic |
| Mounting Type | ||||||
| Dashboard Phone Holder | Adhesive for Dashboard Mount | Dashboard Phone Holder | Designed for Suction Cup Mount | Adhesive/Suction Cup/Sticker | Designed for Adhesive Mount | Adhesive Strips + Static Film |
| Qty. | ||||||
| 2 Disks + 2 Replacement Pads | 4 pcs + 4 pcs | 2 Disks + 2 Replacement Pads | 6 PCS | 6 PCS | 4 Tapes + 2 Static Films | 4 Sets (8pcs) + 2 Films |
| Heat Resistance | ||||||
| ? | ? | ? | ? | ? | ? | ? |
Premium Clarity Effortless Use


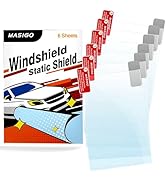
Windshield Mounting Accessory


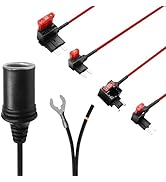
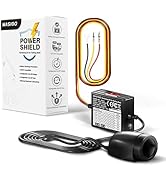
Dash Cam Accessories