Your Browsing History
- Free 30-day Returns
$1,928.98
Ships from China.
Sold by Special Pie Shooting Gear
Shipped by Special Pie Shooting Gear

Meet Your Seller
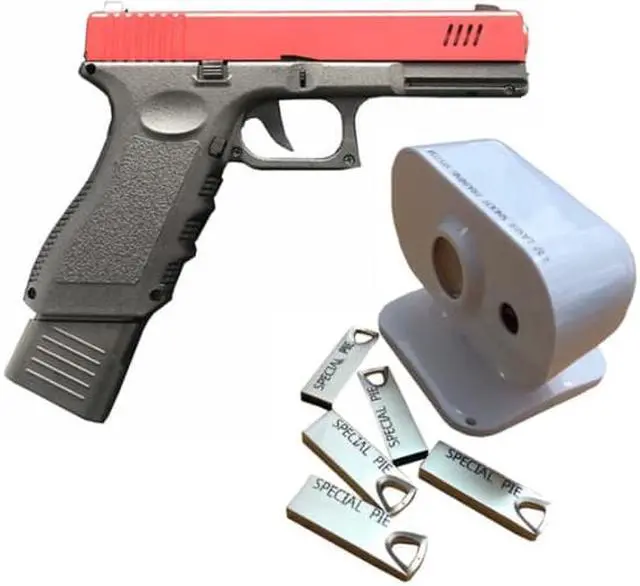
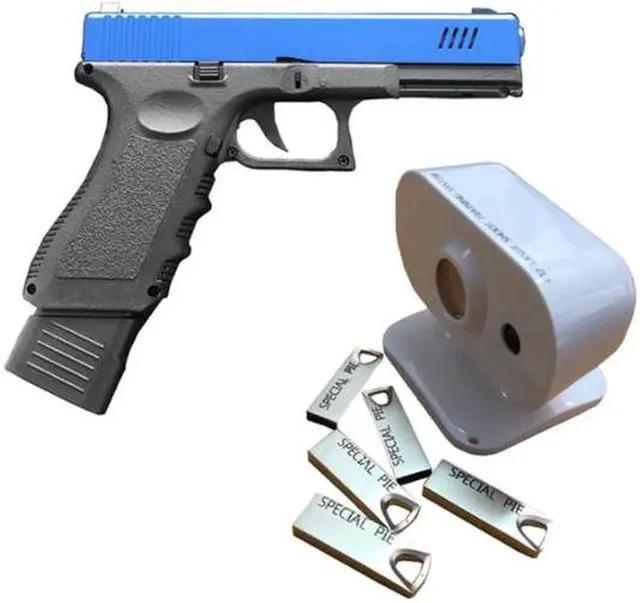
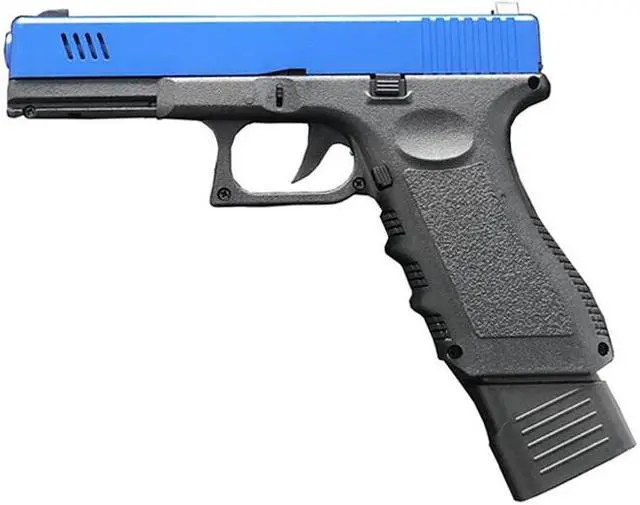
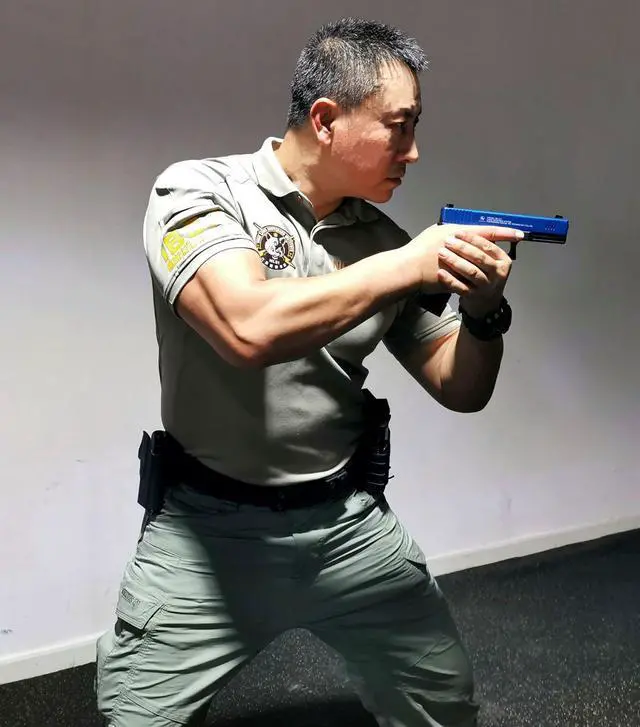


Specila Pie Somatosensory Electronic Recoil Handle Gun-butt Type Controller For Auxiliary Laser Game Accessories
- 1. H20 Laser Shooting Interactive Projection Kit consists of Laser Signal Tracker, shooting training software and infrared Pen.
- 2.The software provides many kinds real stages simulation for police, shooters of IPSC, IDPA, 3GUN and shooting enthusiast. It is notonly good for shooting training but also saving cost and time.
- 2. Product List :Products list of H20 Laser Shooting Training Kit H20 Laser Signal Tracker*1 Shooting training software*1 Infrared pen*1 5m USB cable*1.
+
+
Overview
Specs
Reviews
Any questions? Our AI mode will help you find out quickly.
Try me now
1. Function Introduction H20 Laser Shooting Interactive Projection Kit consists of Laser Signal Tracker, shootingtrainingsoftware and infrared Pen. The software provides many kinds real stagessimulation for police, shooters of IPSC, IDPA, 3GUN and shooting enthusiast. It is notonly good for shooting training but also saving cost and time. 2. Product List (1) Products list of H20 Laser Shooting Training Kit H20 Laser Signal Tracker*1 Shooting training software*1 Infrared pen*1 5m USB cable*1 3. Installation and Debugging 3.1P repare a computer installed with Win7 OS and a projector withresolution=1280*720px. Then connect the computer and Laser Signal Tracker with the USB cable, connect the computer and projector with HDMI or VGA cable.
3.2 Copy the software compressed package in the U disk to the computer desktop, unzip the software to folder and then install the software. Then 2 icons will appear on the computer desktop after installation: Laser shooting (Driver) and Shooting System (Software) after installation. Laser ShootingandShooting systemwill generate on the computer desktop after installation.
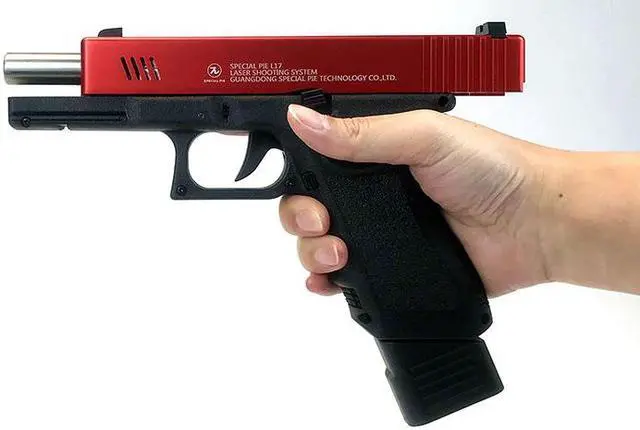
PS: Please turn off/ exit all computers antivirus software before installation. 3.3 Firstly, run Laser shooting on the computer desktop, an icon of Laser Shooting will appear at the right bottom of desktop, Left click the icon, the menu bar will appear, click Calibration to start calibrating. After entering calibration step, the projection screen will appear on the computer, you will see the screen shown below. Now please move or twist H20 to make sure that the whole projection screen can be seen. H20 can be twisted 360°, and you can twist and place it according to the actual situation. H20 does not need to be placed towards the middle of the projection scren, it can also be placed on the side, you just need to twist the H20 receiver so that it can see the whole projection screen. If youcant see the calibration interface clearly, please click on the four corners of the projection screen with infrared pen to make sure that there are bright spots on it, and then press the OK to confirm. 3.4 Use the infrared e-pen to do calibration: Make sure that the power of the e-pen has turned on and then click the center of red cross until it disappears and appears next red cross. Click every red cross in turn until finishing the calibration. Infrared e-pen that is powered offInfrared e-pen that is powered on 3.5 The interface will automatically turn back to computer desktop after calibration. 3.6 Double Click Shooting System to enter shooting training software and wait for 5 seconds, you can start shooting training after loading. 4. Operation 4.1 Double-click the Shooting System on the desktop to enter the software. 4.2 Please calibrate the laser simulator at the first time you use the system. After entering the software, please shoot Settings- at the right corner and select Simulator Reset. And then follow the prompts to do calibration. Please use the laser simulator to shoot middle of red point for 4 times. (If you find that the laser simulator is inaccurate after using for a period of time, you can do calibration again) 4.3 After entering the shooting training stages, the mouse cannot work here. You need to use it with L17 and other laser simulators.
4.4 Shoot the left and right arrows to view more stages. After confirming, use L17 or other shooting simulator to shoot the pictures of stages to enter. Some Shooting Stages 4.5 Basic shooting rules Select the shooting stages, enter the shooting interface after the stage is loaded, and wait for the system voice prompt to start. The paper targets need to be shot twice and steel targets need to be shot once, no shoot red targets (hostage targets). The score will be calculated automatically showed on the screen when you finish shooting. 4.6 Operation of exiting the software
A: If the software is on the score display interface and you want to exit the so
3.2 Copy the software compressed package in the U disk to the computer desktop, unzip the software to folder and then install the software. Then 2 icons will appear on the computer desktop after installation: Laser shooting (Driver) and Shooting System (Software) after installation. Laser ShootingandShooting systemwill generate on the computer desktop after installation.
PS: Please turn off/ exit all computers antivirus software before installation. 3.3 Firstly, run Laser shooting on the computer desktop, an icon of Laser Shooting will appear at the right bottom of desktop, Left click the icon, the menu bar will appear, click Calibration to start calibrating. After entering calibration step, the projection screen will appear on the computer, you will see the screen shown below. Now please move or twist H20 to make sure that the whole projection screen can be seen. H20 can be twisted 360°, and you can twist and place it according to the actual situation. H20 does not need to be placed towards the middle of the projection scren, it can also be placed on the side, you just need to twist the H20 receiver so that it can see the whole projection screen. If youcant see the calibration interface clearly, please click on the four corners of the projection screen with infrared pen to make sure that there are bright spots on it, and then press the OK to confirm. 3.4 Use the infrared e-pen to do calibration: Make sure that the power of the e-pen has turned on and then click the center of red cross until it disappears and appears next red cross. Click every red cross in turn until finishing the calibration. Infrared e-pen that is powered offInfrared e-pen that is powered on 3.5 The interface will automatically turn back to computer desktop after calibration. 3.6 Double Click Shooting System to enter shooting training software and wait for 5 seconds, you can start shooting training after loading. 4. Operation 4.1 Double-click the Shooting System on the desktop to enter the software. 4.2 Please calibrate the laser simulator at the first time you use the system. After entering the software, please shoot Settings- at the right corner and select Simulator Reset. And then follow the prompts to do calibration. Please use the laser simulator to shoot middle of red point for 4 times. (If you find that the laser simulator is inaccurate after using for a period of time, you can do calibration again) 4.3 After entering the shooting training stages, the mouse cannot work here. You need to use it with L17 and other laser simulators.
4.4 Shoot the left and right arrows to view more stages. After confirming, use L17 or other shooting simulator to shoot the pictures of stages to enter. Some Shooting Stages 4.5 Basic shooting rules Select the shooting stages, enter the shooting interface after the stage is loaded, and wait for the system voice prompt to start. The paper targets need to be shot twice and steel targets need to be shot once, no shoot red targets (hostage targets). The score will be calculated automatically showed on the screen when you finish shooting. 4.6 Operation of exiting the software
A: If the software is on the score display interface and you want to exit the so
Warranty & Returns
Warranty, Returns, And Additional Information
Warranty
- Please contact the Seller directly for warranty information. Warranty information may also be found on the Manufacturer's website.
- CONTACT
Return Policies
- Return for refund within: 30 days
- Return for replacement within: non-replaceable
- This item is covered by Special Pie Shooting Gear Return Policy
Manufacturer Contact Info
- For a directory of all our manufacturers, please click below.
- Manufacturers Directory
LOADING...